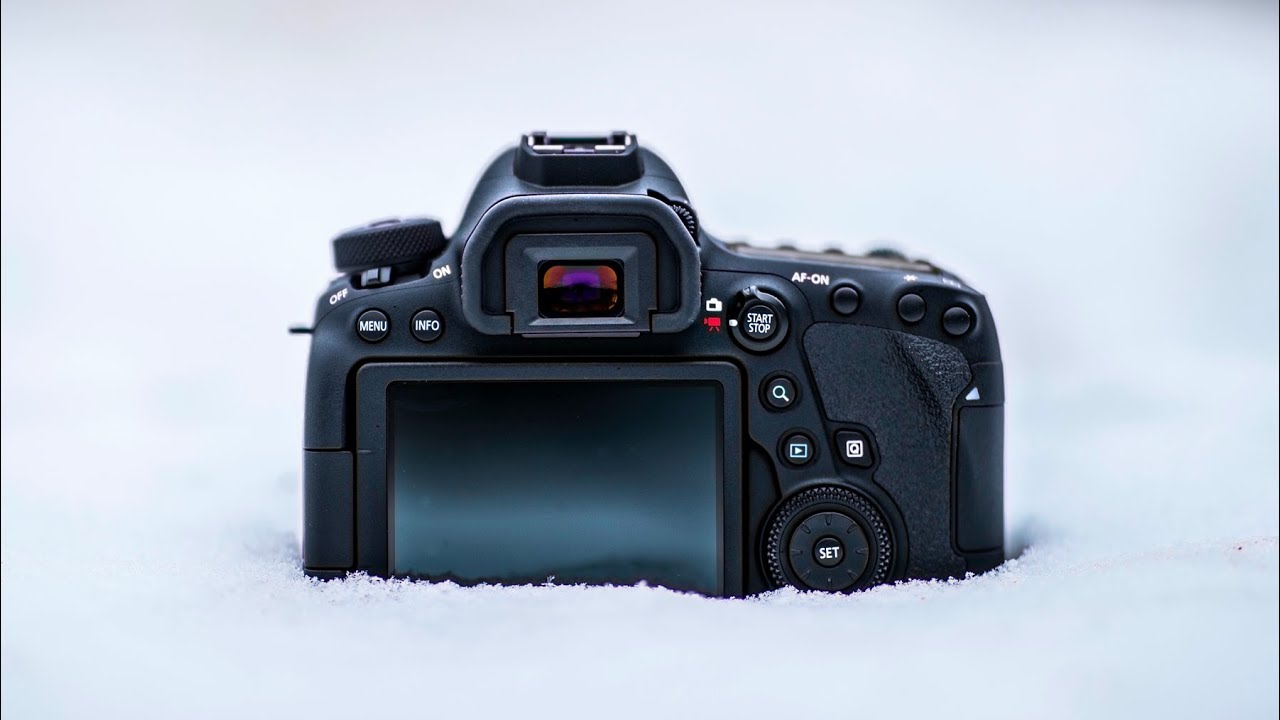
There’s a particular kind of camera frustration that sneaks up on you slowly. You don’t notice it all at once. It’s the ache in your wrist after an hour of shooting. It’s the awkward angle you have to hold the camera to see the screen while you’re talking to it. It’s the workflow slowdown that means footage sits on your drive for a week because rendering takes forever. For a long time, I told myself these were just the trade-offs of shooting on serious gear. Then I started watching how other working photographers actually make gear decisions, and I realized most of us are just suffering unnecessarily.
In this Peter McKinnon tutorial, he works through something a lot of photographers skip entirely: a real-world stress test of a camera before deciding whether to switch to it. Watch the full tutorial on YouTube – it’s worth your time. He’s been shooting on the Canon 1DX Mark II for years, loves it deeply, but has been wrestling with its size and the lack of a flip-out screen. When a friend recommended he try the Canon 6D Mark II, he didn’t just read the specs. He took it into the field, left everything else behind, and made himself use it. That’s the actual method worth learning here.
This framework applies whether you’re thinking about upgrading from a crop sensor to full frame, switching from Canon to Sony, or just wondering if that lighter mirrorless body is worth the trade-offs. Here’s how Peter approached it, and how I’d walk you through doing the same thing.
Step 1: Identify the Real Problem With Your Current Camera
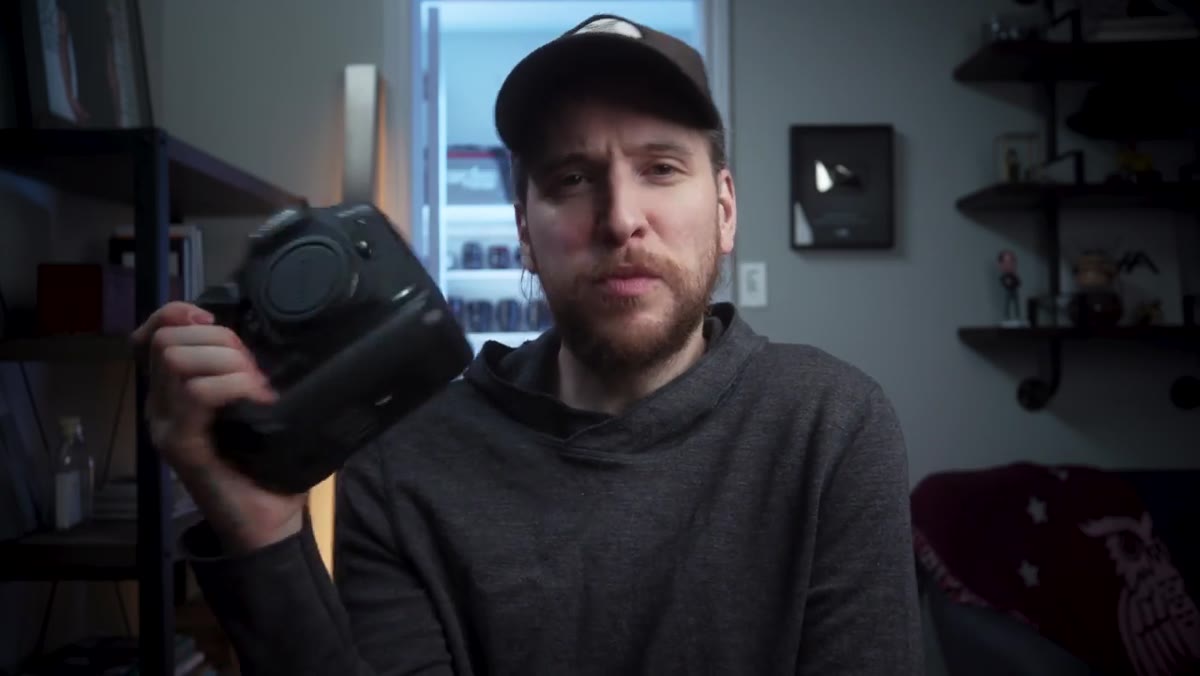 Peter explaining weight and flip screen frustrations with his 1DX
Before you even look at a new camera, get specific about what’s actually bothering you. Peter doesn’t just say “I want something new.” He names two concrete problems: the weight of the 1DX Mark II and the absence of a flip-out screen. Both issues are practical and directly tied to how he uses the camera – primarily for vlogging and run-and-gun video work.
Peter explaining weight and flip screen frustrations with his 1DX
Before you even look at a new camera, get specific about what’s actually bothering you. Peter doesn’t just say “I want something new.” He names two concrete problems: the weight of the 1DX Mark II and the absence of a flip-out screen. Both issues are practical and directly tied to how he uses the camera – primarily for vlogging and run-and-gun video work.
Write your complaints down. “It’s too heavy” is a start, but “it makes my shoulder hurt after two hours of street photography and I’m skipping shots because of it” is a problem worth solving. The more specific you are, the more clearly you’ll know whether a new camera actually fixes it – or whether you’re just chasing something shiny.
Step 2: Get a Real Recommendation From Someone Who Shoots Like You
 Peter describing Maddy’s call recommending the 6D Mark II
Peter didn’t stumble across the 6D Mark II on a spec sheet. A friend who shoots in a similar style used it, then called him directly and said it might solve his specific problems. That’s a very different data point than a review written for a general audience.
Peter describing Maddy’s call recommending the 6D Mark II
Peter didn’t stumble across the 6D Mark II on a spec sheet. A friend who shoots in a similar style used it, then called him directly and said it might solve his specific problems. That’s a very different data point than a review written for a general audience.
When you’re researching a camera switch, seek out people whose work and workflow match yours. A sports photographer’s opinion on a mirrorless body matters less to you if you’re a travel blogger who needs something light and quiet. Look for YouTube channels, forums, or photographers in your own niche. Ask them about the problems they had before they switched – not just why they love the new gear.
Step 3: Know Your Codec and Resolution Trade-offs Before You Go Out
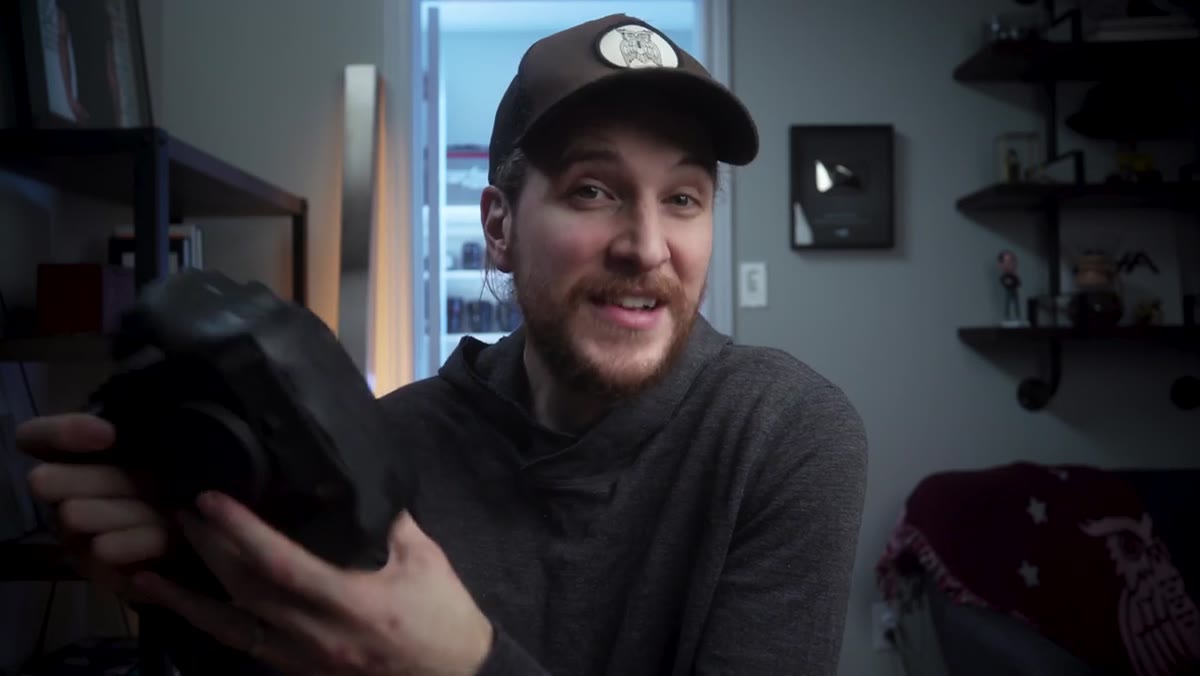 Peter discussing motion JPEG, 4K workflow, and why he shoots 1080p
This is the part most people skip, and it bites them later. Peter spends real time breaking down why he doesn’t shoot in 4K on the 1DX despite the camera supporting it. The reason is codec quality. Motion JPEG, the format the 1DX uses for 4K, compresses footage heavily and produces large files without a proportional quality gain. His solution is to shoot 1080p instead, which keeps his editing workflow fast and his file sizes manageable.
Peter discussing motion JPEG, 4K workflow, and why he shoots 1080p
This is the part most people skip, and it bites them later. Peter spends real time breaking down why he doesn’t shoot in 4K on the 1DX despite the camera supporting it. The reason is codec quality. Motion JPEG, the format the 1DX uses for 4K, compresses footage heavily and produces large files without a proportional quality gain. His solution is to shoot 1080p instead, which keeps his editing workflow fast and his file sizes manageable.
Before you commit to a camera, look up which codec it uses for video, how the compression handles color grading, and whether the file sizes fit your storage and editing setup. These are not exciting questions, but they will determine whether you actually enjoy using the camera after the novelty wears off.
Step 4: Leave Your Main Camera at Home for the Test
 Peter and Maddy heading out with only the 6D Mark II
This is the move that makes the whole test meaningful. Peter and his friend head out to shoot in the woods – riding an ATV, snowboarding, flying a drone – and they bring only the 6D Mark II. No safety net.
Peter and Maddy heading out with only the 6D Mark II
This is the move that makes the whole test meaningful. Peter and his friend head out to shoot in the woods – riding an ATV, snowboarding, flying a drone – and they bring only the 6D Mark II. No safety net.
When you’re testing a potential camera switch, resist the urge to bring your usual body as a backup. The moment you have your main camera in the bag, you’ll default to it the second anything feels unfamiliar. Give the new camera the full shoot. You need to find out how it handles low light, how the autofocus performs when your subject is moving, how long the battery lasts, and what it feels like to hold for three hours. You won’t get those answers shooting a few test frames in your living room.
Step 5: Shoot Across Your Actual Use Cases
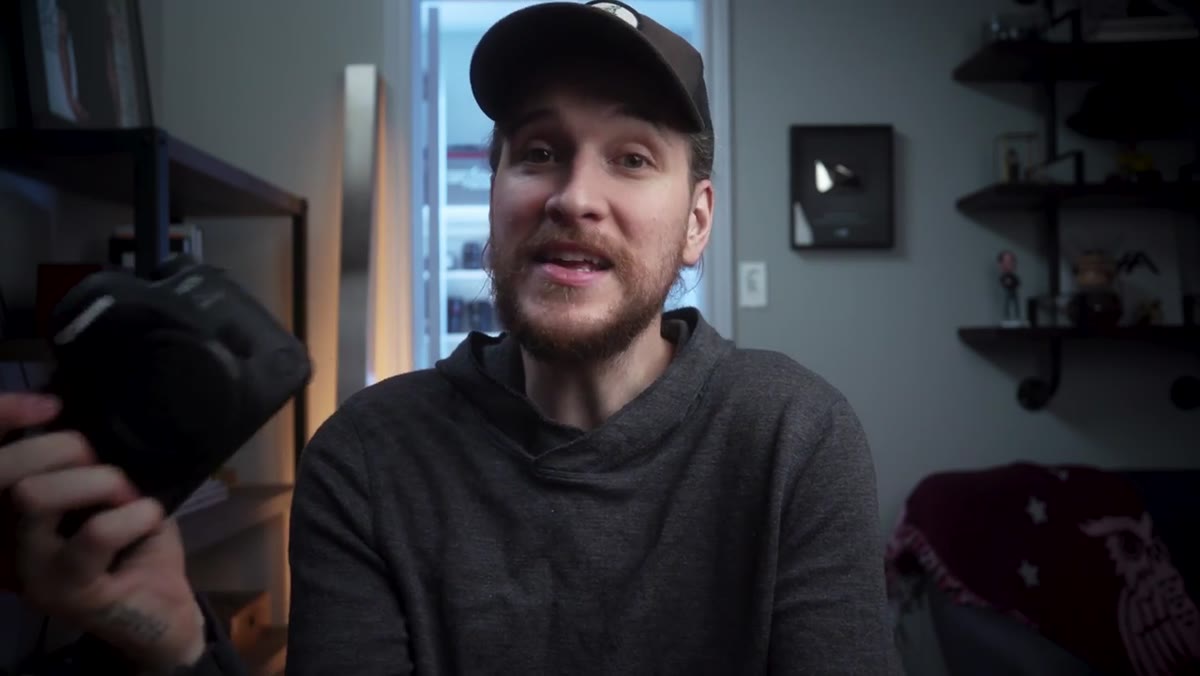 Peter listing plans to shoot B-roll, vlog, and test in the field
Peter specifically sets out to use the camera for vlogging footage (talking to it, holding it at arm’s length), B-roll (slower, more cinematic shots of the environment and action), and action footage. These represent three different demands on a camera, and he wants to know if one body can handle all of them.
Peter listing plans to shoot B-roll, vlog, and test in the field
Peter specifically sets out to use the camera for vlogging footage (talking to it, holding it at arm’s length), B-roll (slower, more cinematic shots of the environment and action), and action footage. These represent three different demands on a camera, and he wants to know if one body can handle all of them.
Map out your own use cases before the test day. If you shoot portraits, landscapes, and family events, test for all three on the same outing. If you shoot video and stills, do both. A camera that’s amazing for one thing but awkward for another might still not be the right switch for you.
Step 6: Assess the Result Honestly
 Peter calling the 6D Mark II the most underrated camera of 2017
After the shoot, Peter is candid about where the camera falls short – he would have loved 4K and 120fps – but he also acknowledges what it does well enough to recommend it without hesitation for a specific type of shooter. That balance is what makes his assessment useful.
Peter calling the 6D Mark II the most underrated camera of 2017
After the shoot, Peter is candid about where the camera falls short – he would have loved 4K and 120fps – but he also acknowledges what it does well enough to recommend it without hesitation for a specific type of shooter. That balance is what makes his assessment useful.
After your test shoot, ask yourself two questions. First: did it solve the problems I identified in Step 1? Second: did any new problems show up that I can live with? No camera is perfect. The goal is net improvement for your specific work.
What I’d Add: Give Yourself at Least Three Shoots Before Deciding
I tested a mirrorless body for two weeks a couple of years ago and nearly sent it back after the first outing because the menu system felt completely foreign. By the third shoot, I’d stopped thinking about the menus entirely and was just making pictures. Camera familiarity has a learning curve that’s separate from camera quality, and it’s easy to confuse “this feels weird” with “this isn’t right for me.”
If you’re doing a serious evaluation, commit to at least three full shooting sessions before making a final call. Try to vary the conditions – one indoor, one outdoor, one in the situation where your current camera frustrates you most. That third session is usually where the truth shows up.
The most important takeaway from Peter’s approach is this: test a camera the way you actually work, not the way a review tells you to. Spec sheets don’t capture what it feels like to hold something for four hours, or whether the flip-out screen makes you faster, or whether the battery dies right when you need it most. Real conditions do.
Watch the full tutorial on YouTube to see Peter’s full field test and hear his final verdict on whether he made the switch.
Comments (2)
My workflow just got 10x faster. Not even kidding.
Love how you break down complex stuff into manageable steps.
Leave a Comment