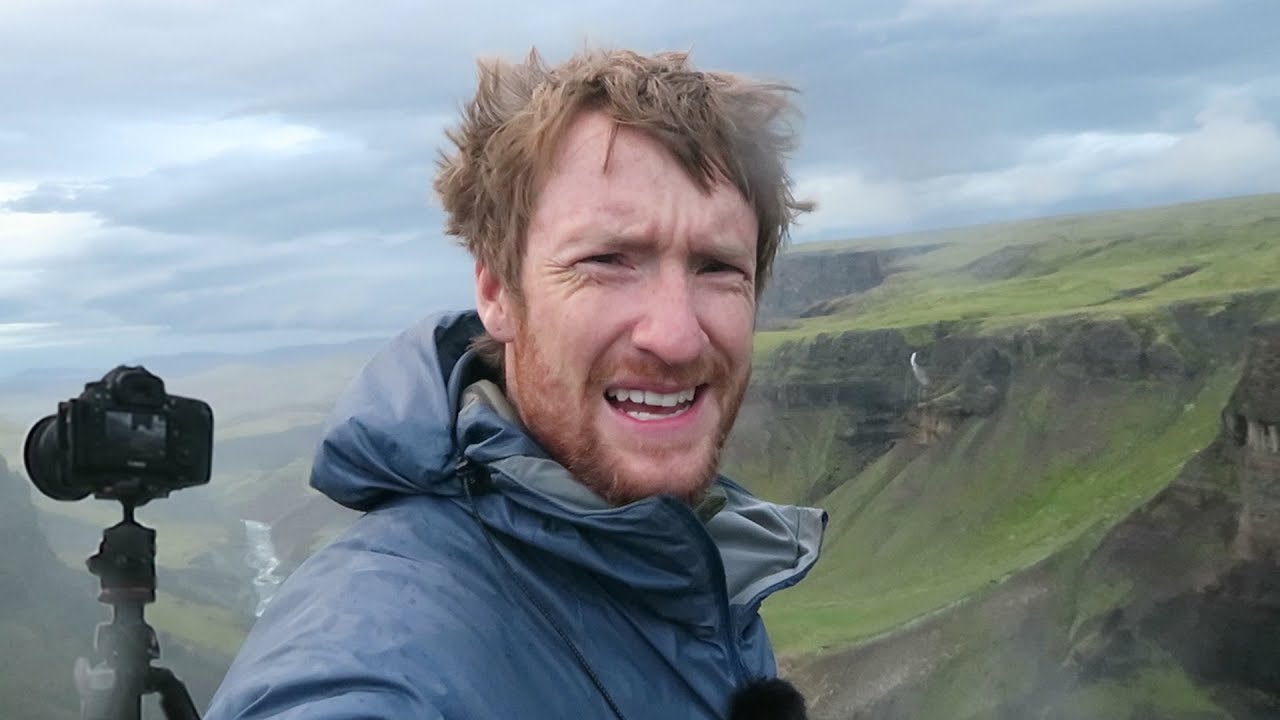
Every photographer I know has a version of the same story: you’ve planned a shoot for weeks, you show up, and the weather is genuinely miserable. Not moody-miserable. Actually miserable. Wind, rain, low visibility, the works. Most people pack up and leave. I used to be one of those people.
What changed my thinking wasn’t a book or a course. It was watching how working professionals handle exactly those conditions in real time. In this Thomas Heaton tutorial, Watch the full tutorial on YouTube, Heaton leads a photography workshop through the Icelandic Highlands during a storm that hits 50 mph winds and doesn’t let up for three days. It’s chaotic, physically demanding, and genuinely dangerous at points. And the images they come away with are extraordinary.
What makes this video worth studying isn’t just the dramatic setting. It’s the decision-making process Heaton models throughout, from how he reads a stormy sky, to when he chooses to shoot versus when he chooses to evacuate. That’s the real curriculum here. Seattle gets its share of miserable gray days, and this video completely rewired how I think about showing up to shoot in them.
Step 1: Reframe What “Good Light” Actually Means
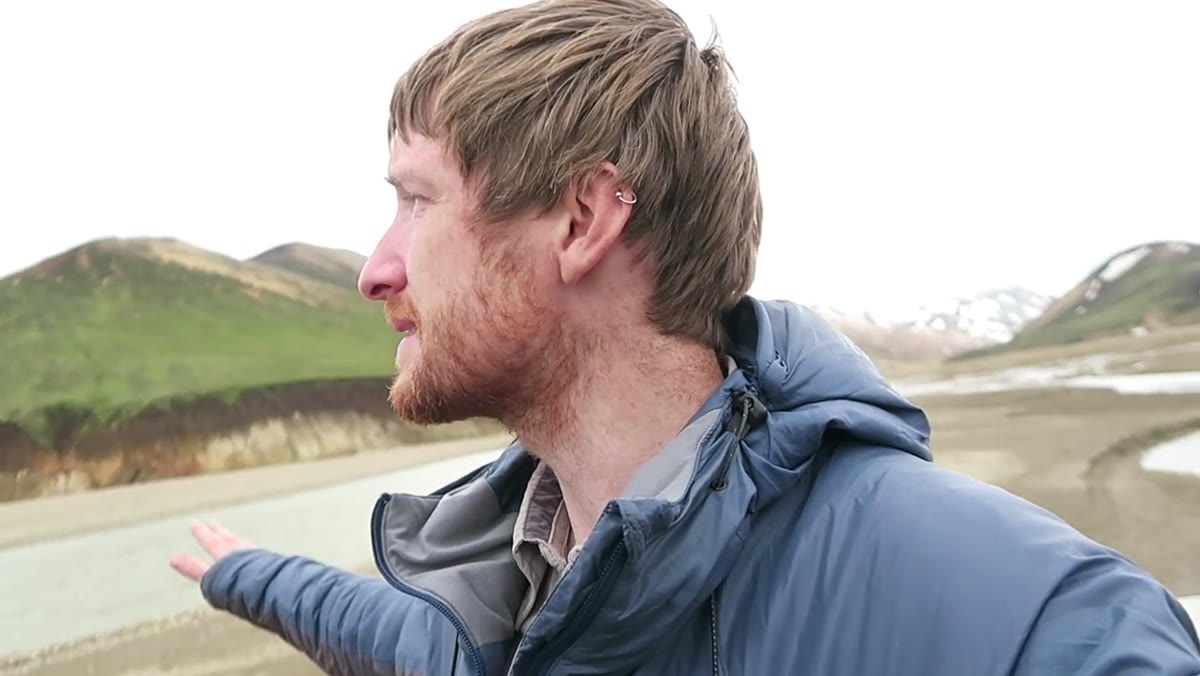 Heaton describing the overcast sky full of dramatic detail
The first thing Heaton does on this shoot, before a single camera comes out, is reframe the group’s expectations. There’s no golden hour. There’s no clear sky. What there is, he points out, is an overcast sky packed with texture, depth, and drama that you simply cannot manufacture on a sunny afternoon.
Heaton describing the overcast sky full of dramatic detail
The first thing Heaton does on this shoot, before a single camera comes out, is reframe the group’s expectations. There’s no golden hour. There’s no clear sky. What there is, he points out, is an overcast sky packed with texture, depth, and drama that you simply cannot manufacture on a sunny afternoon.
This is a real mindset shift worth practicing deliberately. Before your next shoot, swap the question “Is the light good?” for “What does this light make possible?” Flat gray skies diffuse harsh shadows. Storm clouds create movement and scale. Dark, brooding skies can make a landscape feel enormous and ancient in a way that a perfect sunset never could. Train your eye to look for what’s there rather than what’s missing.
Step 2: Scout the Same Location in Different Conditions
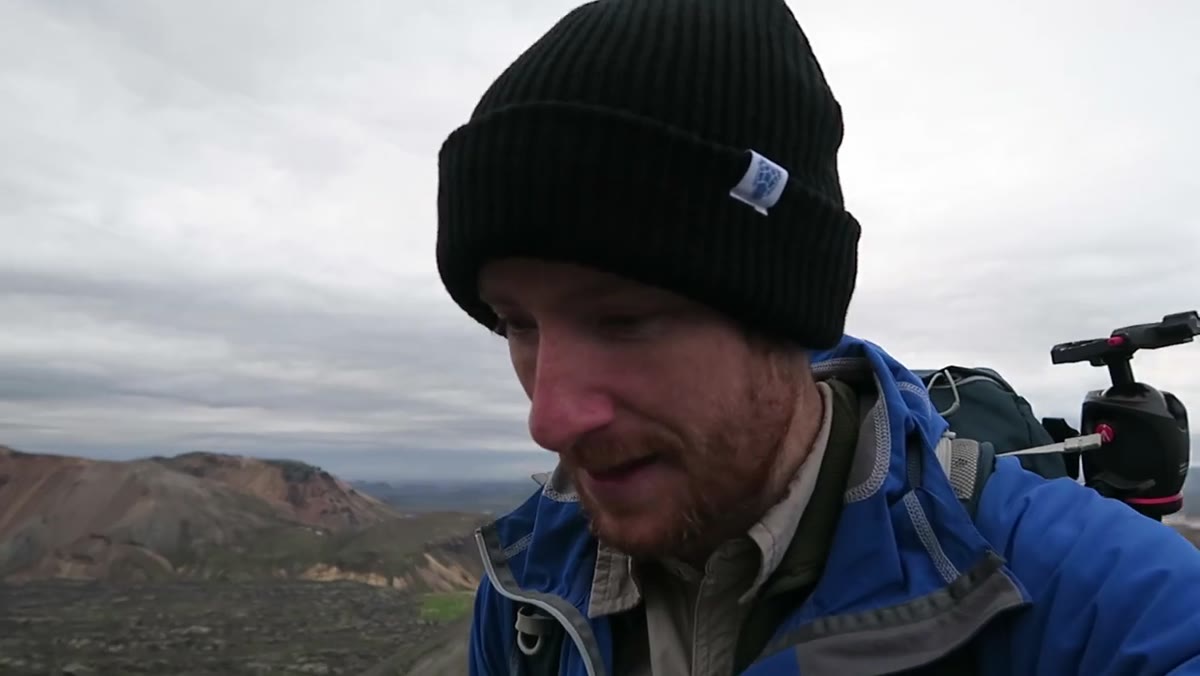 Heaton comparing last week’s colorful sky image to current storm conditions
One of the most instructive moments in the video is when Heaton holds up a photograph from the same summit taken the previous week under colorful, warmer skies. The comparison is striking. Both images are technically competent. But the storm-sky version has a weight and authenticity that the prettier version lacks.
Heaton comparing last week’s colorful sky image to current storm conditions
One of the most instructive moments in the video is when Heaton holds up a photograph from the same summit taken the previous week under colorful, warmer skies. The comparison is striking. Both images are technically competent. But the storm-sky version has a weight and authenticity that the prettier version lacks.
If you have a location you return to regularly, make a point of shooting it across seasons and weather conditions. Keep a folder organized by location rather than date. Over time, you build a reference library that helps you understand what a place can look like at its most dramatic, not just its most convenient. My Sunday photo walks started partly for this reason. The same block in my neighborhood looks completely different on a wet February morning versus a clear July afternoon.
Step 3: Assess Mood and Match Your Composition to the Sky
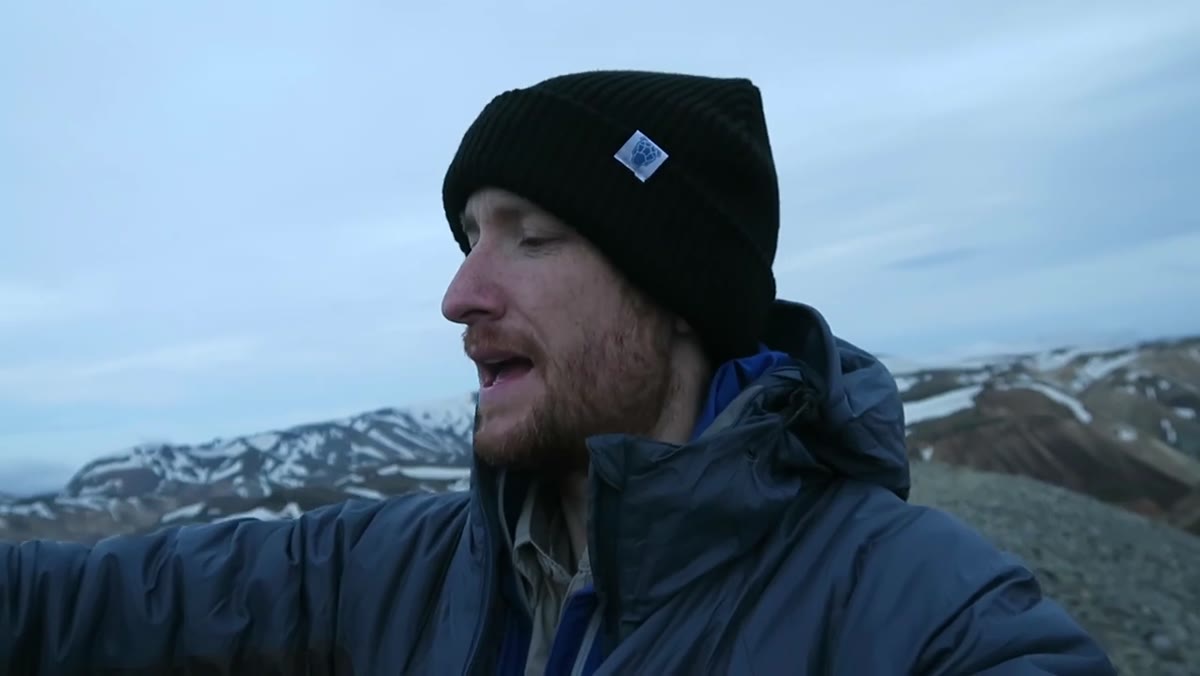
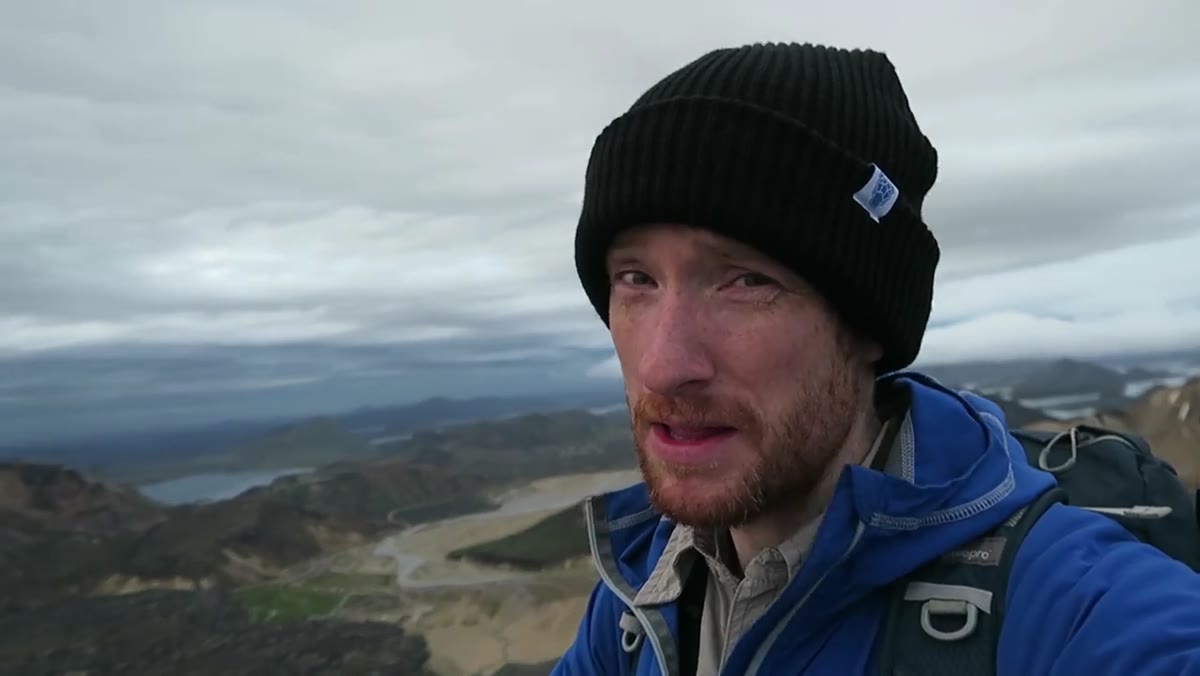 Heaton setting up at the summit, storm sky filling the frame above the landscape
Heaton makes an offhand comment at the summit that I’ve thought about many times since: the colorful sky from the previous week felt slightly wrong for this particular landscape. The terrain is raw and volcanic. A moody, turbulent sky matches it. A pastel sunrise does not.
Heaton setting up at the summit, storm sky filling the frame above the landscape
Heaton makes an offhand comment at the summit that I’ve thought about many times since: the colorful sky from the previous week felt slightly wrong for this particular landscape. The terrain is raw and volcanic. A moody, turbulent sky matches it. A pastel sunrise does not.
This is about compositional honesty. Let the prevailing mood of the sky guide your framing decisions. If the sky is the story, give it more real estate in your frame. Heaton shoots with the horizon low to let that enormous, churning cloud formation dominate. If you flip that in post, forcing color or lifting shadows to make a dark image “prettier,” you often lose what made the shot compelling in the first place.
Step 4: Shoot a Multi-Image Panoramic for Maximum Detail
 Camera settings displayed: 4/10 second, f/11, ISO 100, nine-image panoramic sequence
At the summit, Heaton sets up a panoramic sequence rather than a single wide shot. His settings: 4/10 of a second exposure, f/11, ISO 100. He captures approximately nine frames that, when stitched together, produce a file around 26,000 pixels wide. At that resolution, the cloud detail is extraordinary.
Camera settings displayed: 4/10 second, f/11, ISO 100, nine-image panoramic sequence
At the summit, Heaton sets up a panoramic sequence rather than a single wide shot. His settings: 4/10 of a second exposure, f/11, ISO 100. He captures approximately nine frames that, when stitched together, produce a file around 26,000 pixels wide. At that resolution, the cloud detail is extraordinary.
A few practical notes if you want to replicate this. Use a tripod and a remote shutter release to eliminate camera shake between frames. Overlap each frame by about 30 percent so your stitching software has enough shared data to work with. Keep your white balance locked on a manual setting rather than auto, or your frames will color-shift between shots. In Lightroom, you can stitch panoramics directly in the Develop module using Photo Merge. The resulting file gives you flexibility to print large or crop aggressively without losing quality.
Step 5: Know When to Stop Shooting and Prioritize Safety
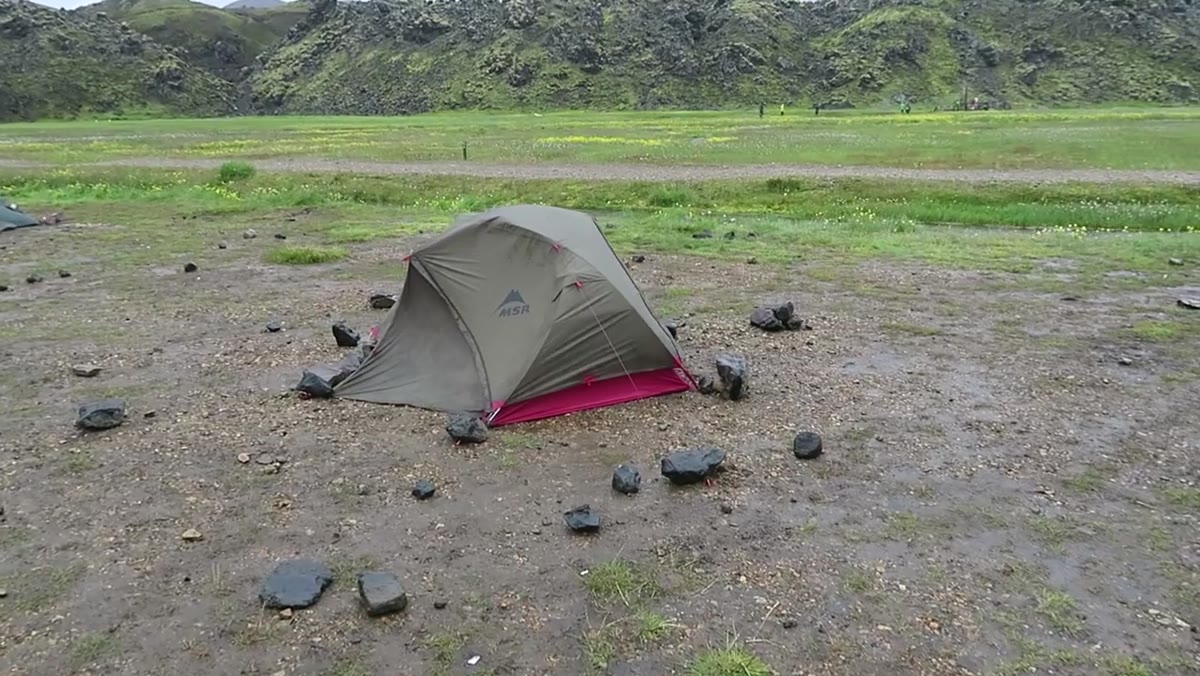 Group packing up camp as storm clouds close in on the Highlands
This is the step most photography tutorials skip entirely, and it might be the most important one. As the storm intensifies, campsite wardens advise Heaton’s group to pack up and leave the Highlands. He doesn’t fight it. They break camp, deal with difficult road conditions on the way out, and make it safely.
Group packing up camp as storm clouds close in on the Highlands
This is the step most photography tutorials skip entirely, and it might be the most important one. As the storm intensifies, campsite wardens advise Heaton’s group to pack up and leave the Highlands. He doesn’t fight it. They break camp, deal with difficult road conditions on the way out, and make it safely.
The road conditions they encounter are serious enough that getting out later would have been genuinely dangerous. The photography lesson here is unsexy but essential: no image is worth your safety or your group’s safety. Have an exit plan before you need one. Check weather forecasts obsessively when you’re shooting in remote or exposed locations. Know where you’ll go if conditions deteriorate faster than expected. The photographers who keep shooting for years are the ones who know when to put the camera away.
Step 6: Maximize Short Windows When Conditions Briefly Improve
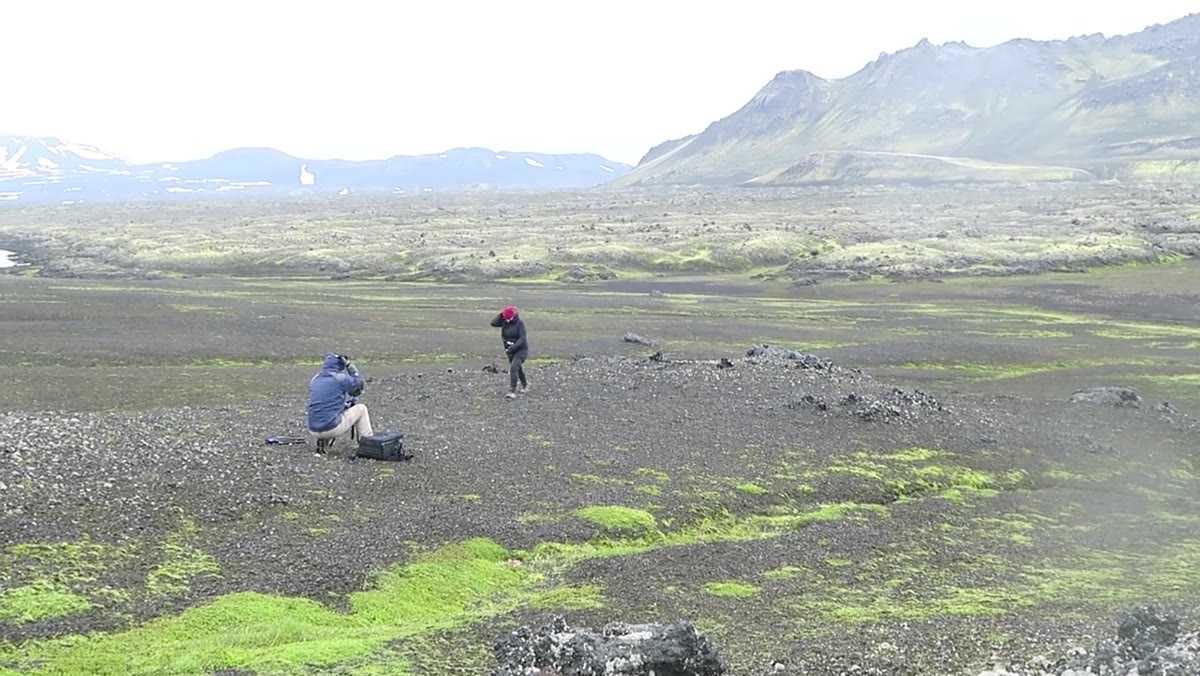 Heaton describing short bursts of shooting between storm bands
By day three of the storm, the group isn’t getting long, leisurely shooting sessions. What they’re getting is short breaks between rain bands where conditions become workable for 15 or 20 minutes. Heaton’s approach is to treat those windows as high-priority sprints rather than casual strolls.
Heaton describing short bursts of shooting between storm bands
By day three of the storm, the group isn’t getting long, leisurely shooting sessions. What they’re getting is short breaks between rain bands where conditions become workable for 15 or 20 minutes. Heaton’s approach is to treat those windows as high-priority sprints rather than casual strolls.
Have your camera settings pre-dialed for the conditions you expect. Know your composition before you step outside. When that window opens, you’re shooting within two minutes, not still adjusting. This is where having a simple pre-shoot checklist pays off. I keep a note in my phone: ISO, aperture, white balance, horizon level, lens choice. Running through five items takes 30 seconds and saves me from wasting half my window on setup.
A Note From My Own Shoots in Gray Weather
I’ll be honest: I resisted bad-weather shooting for a long time because the images required more work in post. Bright conditions are forgiving. Dark, stormy files can be noisy, underexposed in the shadows, and hard to color grade in a way that feels natural.
What helped me was starting with black and white conversions for stormy shots. Without color to distract the eye, the texture and drama of storm skies become the entire story, and there’s very little post-processing that can go wrong. Once I got comfortable reading those tonal relationships in monochrome, moving back to color edits felt much more intuitive. It’s a low-stakes way to start building confidence with difficult light.
The single biggest thing this video reinforced for me: dramatic images come from dramatic conditions, not from waiting for the weather to cooperate. The photographers who build compelling portfolios are the ones who show up precisely when everyone else is heading back to the car.
Watch the full tutorial on YouTube and pay particular attention to how Heaton talks to his group during the difficult moments. The technical instruction is valuable. The way he models calm, strategic decision-making under real pressure is what makes this one worth bookmarking.
Comments
Leave a Comment