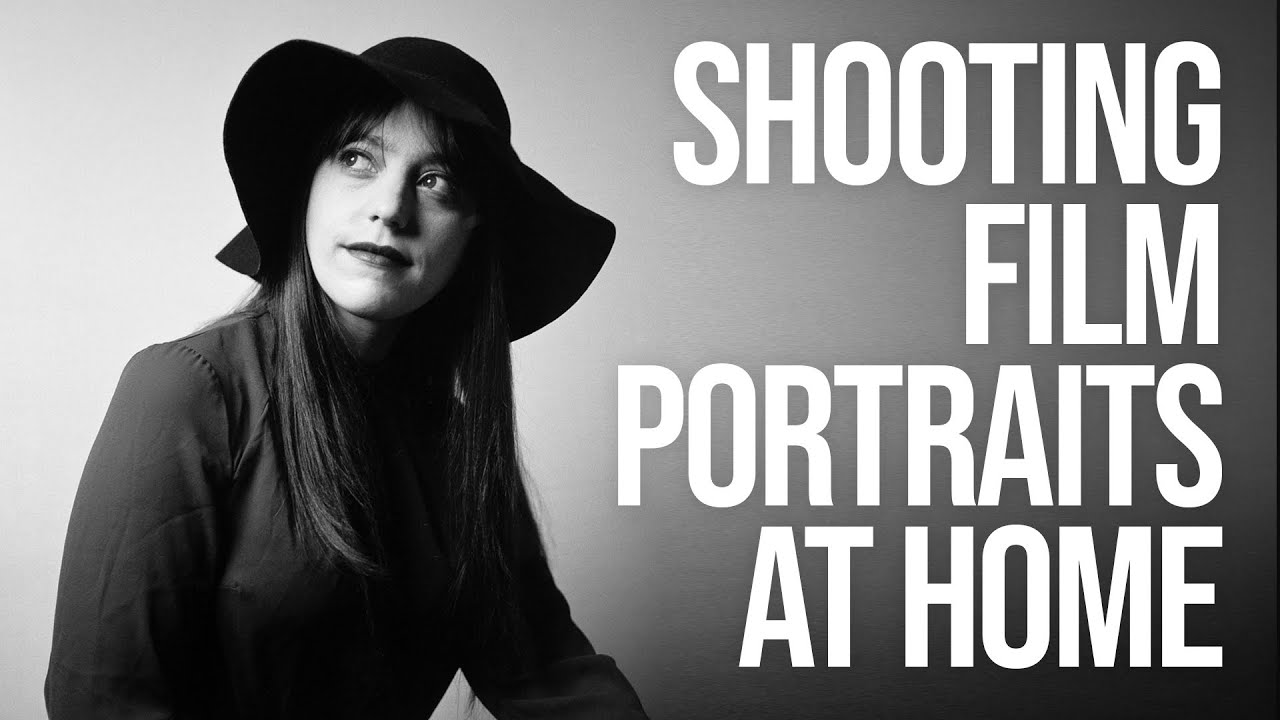
I have a complicated relationship with “staying home and shooting.” For years, I told myself I needed to be somewhere interesting before a portrait session was worth attempting. A good location, good light, some reason to leave the house. It took me an embarrassing amount of time to realize that the most controlled, repeatable, and honestly beautiful portrait work often happens in a single room with a couple of thoughtful decisions about gear and light. That mindset shift didn’t come easy, and it definitely got a push from watching photographers who work deliberately with analog tools.
Watch the full tutorial on YouTube
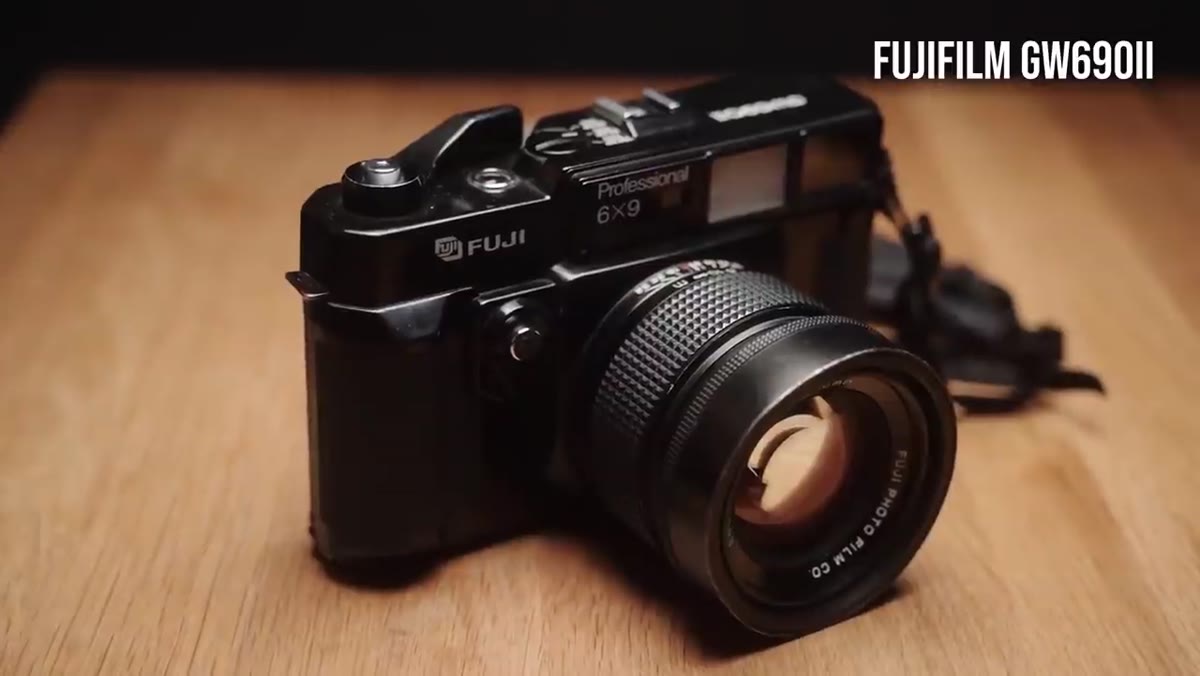
In this Sean Tucker tutorial, he works through a home portrait session using two very different film cameras: the large and imposing Fuji GW690ii, a medium format rangefinder that shoots 6x9cm negatives, and the more compact Yashica Electro 35 EM, a 35mm point-and-shoot style camera. What he demonstrates across this session is not just how to use these specific cameras, but how to think through a portrait shoot when your set is your living room and your subject is someone you actually know. The contrast between the two cameras also gives you a framework for thinking about when you want maximum image quality versus when you want ease and intimacy. Both are valid. Both produce something worth keeping.
Step 1: Choose Your Cameras Intentionally, Not Randomly
 Two film cameras side by side on a surface
The first decision in any film portrait session is which camera, and Tucker’s approach here is instructive. He is not using these two cameras interchangeably. The Fuji GW690ii is a medium format beast, literally nicknamed “the Texas Leica,” and it produces negatives so large that the resulting scans or prints carry an almost tactile quality. The Yashica EM, by contrast, is small, quiet, and unintimidating. Think about what your subject needs. A camera the size of a paperback book pointed at someone’s face creates a different energy than a camera the size of a small loaf of bread. Start your session planning with that question, not with which camera looks cooler on a shelf.
Two film cameras side by side on a surface
The first decision in any film portrait session is which camera, and Tucker’s approach here is instructive. He is not using these two cameras interchangeably. The Fuji GW690ii is a medium format beast, literally nicknamed “the Texas Leica,” and it produces negatives so large that the resulting scans or prints carry an almost tactile quality. The Yashica EM, by contrast, is small, quiet, and unintimidating. Think about what your subject needs. A camera the size of a paperback book pointed at someone’s face creates a different energy than a camera the size of a small loaf of bread. Start your session planning with that question, not with which camera looks cooler on a shelf.
Step 2: Set Up a Minimal, Repeatable Home Environment
 Simple home interior with subject positioned near window
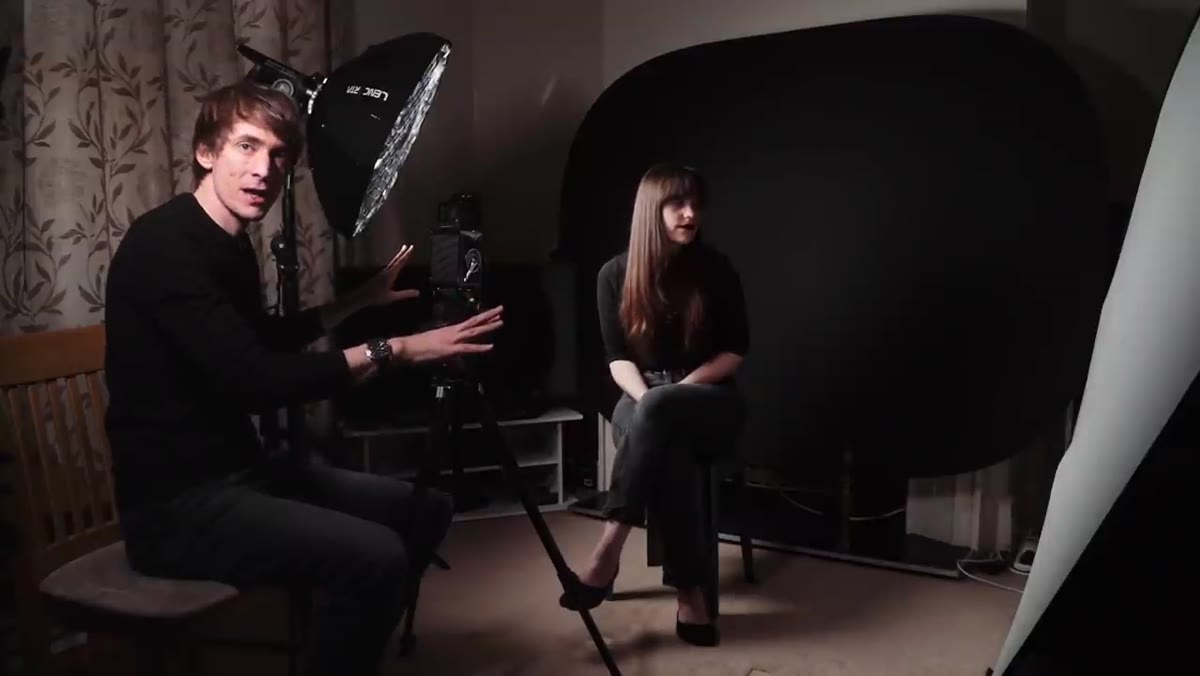
Tucker shoots in a home environment rather than a dedicated studio, and that is worth paying attention to. The key is controlling variables so you can make consistent choices across a roll of film. Pick one wall, one corner, one window. Eliminate visual clutter from the frame before you ever load the camera. Film gives you a fixed number of exposures per roll, so you want to spend those frames on portraits, not on figuring out why the background looks busy. If you are shooting 120 format in a camera like the GW690ii, you may have as few as eight frames per roll. Every single one counts.
Simple home interior with subject positioned near window
Tucker shoots in a home environment rather than a dedicated studio, and that is worth paying attention to. The key is controlling variables so you can make consistent choices across a roll of film. Pick one wall, one corner, one window. Eliminate visual clutter from the frame before you ever load the camera. Film gives you a fixed number of exposures per roll, so you want to spend those frames on portraits, not on figuring out why the background looks busy. If you are shooting 120 format in a camera like the GW690ii, you may have as few as eight frames per roll. Every single one counts.
Step 3: Work Out Your Exposure Before You Start Shooting
 Photographer adjusting camera settings by window light
With film, especially medium format film, there is no chimping. You cannot look at a screen and decide to adjust. Tucker’s process involves reading the light carefully before committing to a setting. Use a handheld light meter if you have one, or use your phone’s metering app as a starting point. For window-lit portraits, a good starting place is ISO 400 film, an aperture around f/4 to f/5.6 to keep the face in focus while softening the background, and a shutter speed that your meter confirms is appropriate for the ambient light. Write those numbers down. Stick to them across the roll unless the light changes significantly. Consistency across a roll makes the final edit feel like a cohesive series rather than a collection of experiments.
Photographer adjusting camera settings by window light
With film, especially medium format film, there is no chimping. You cannot look at a screen and decide to adjust. Tucker’s process involves reading the light carefully before committing to a setting. Use a handheld light meter if you have one, or use your phone’s metering app as a starting point. For window-lit portraits, a good starting place is ISO 400 film, an aperture around f/4 to f/5.6 to keep the face in focus while softening the background, and a shutter speed that your meter confirms is appropriate for the ambient light. Write those numbers down. Stick to them across the roll unless the light changes significantly. Consistency across a roll makes the final edit feel like a cohesive series rather than a collection of experiments.
Step 4: Direct Your Subject Toward Natural Connection
 Subject being directed, relaxed posture near window
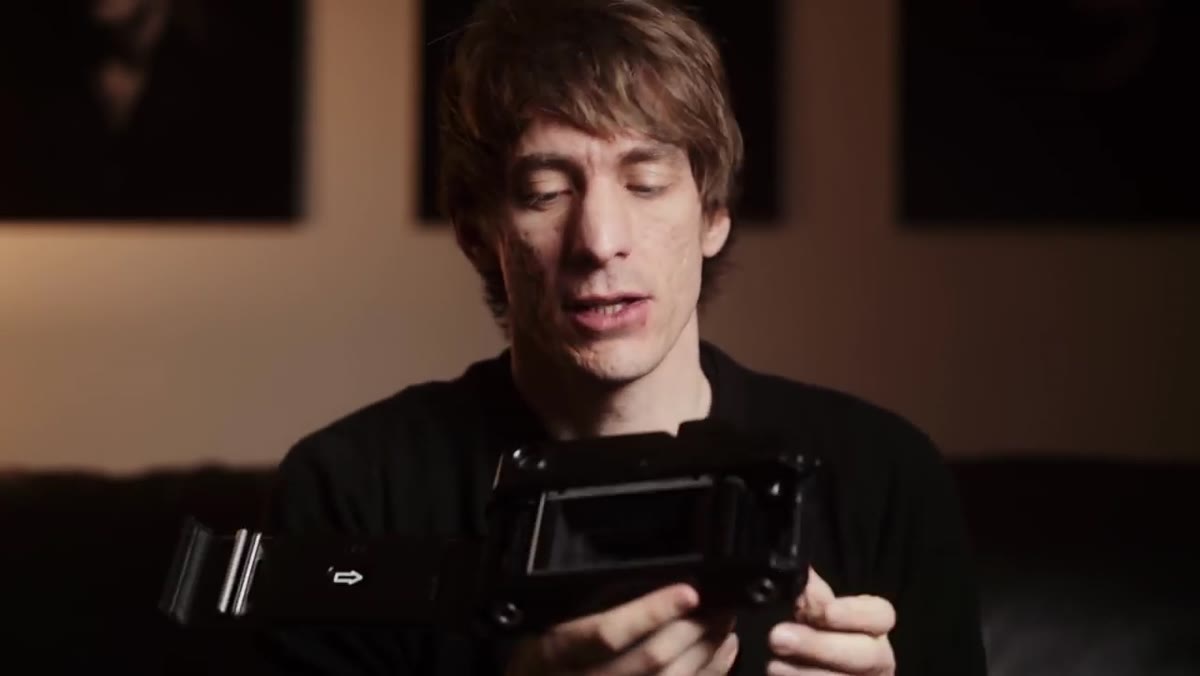
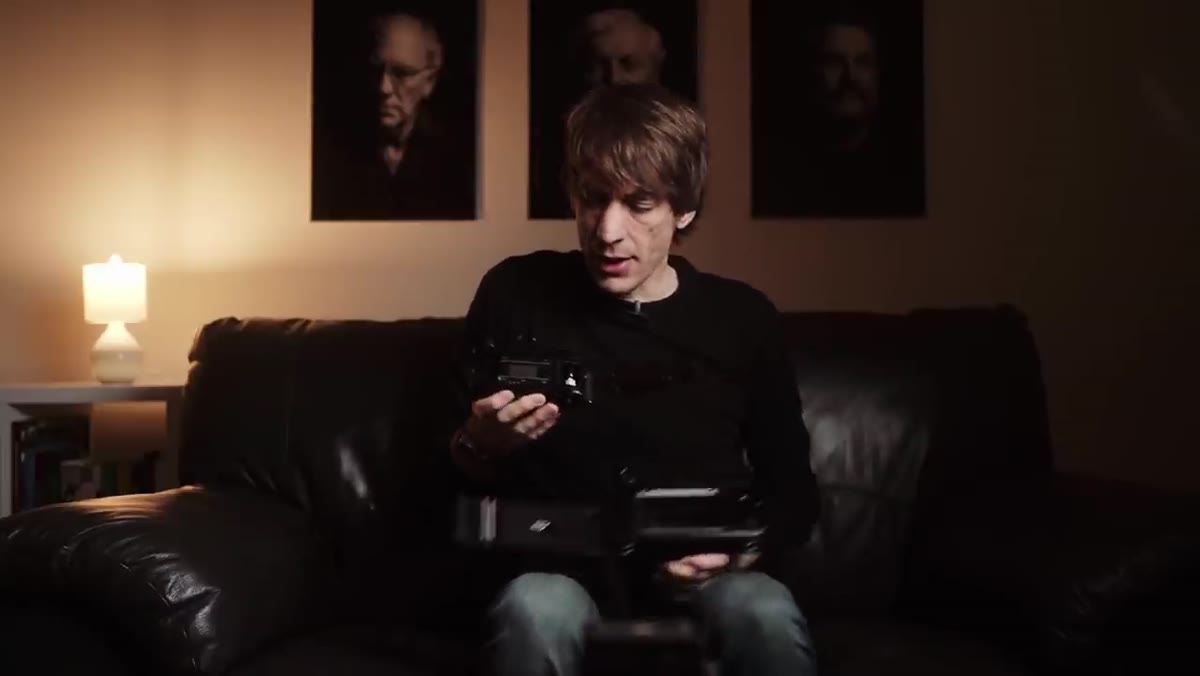
The biggest separator between film portraits that feel alive and ones that feel stiff is direction. Tucker works with his subjects conversationally, keeping them talking and moving slightly rather than freezing them into a pose. With a rangefinder camera like the GW690ii, you are focusing manually using a focus patch in the viewfinder. This means you need your subject relatively still while you confirm focus, but between those moments, keep the conversation going. Ask questions that require real answers, not yes or no. “Tell me what you did this morning” produces a different face than “okay, now smile.” One of those faces is the one you actually want on film.
Subject being directed, relaxed posture near window
The biggest separator between film portraits that feel alive and ones that feel stiff is direction. Tucker works with his subjects conversationally, keeping them talking and moving slightly rather than freezing them into a pose. With a rangefinder camera like the GW690ii, you are focusing manually using a focus patch in the viewfinder. This means you need your subject relatively still while you confirm focus, but between those moments, keep the conversation going. Ask questions that require real answers, not yes or no. “Tell me what you did this morning” produces a different face than “okay, now smile.” One of those faces is the one you actually want on film.
Step 5: Alternate Between Cameras to Shift the Session’s Energy
 Switching to smaller 35mm camera during session
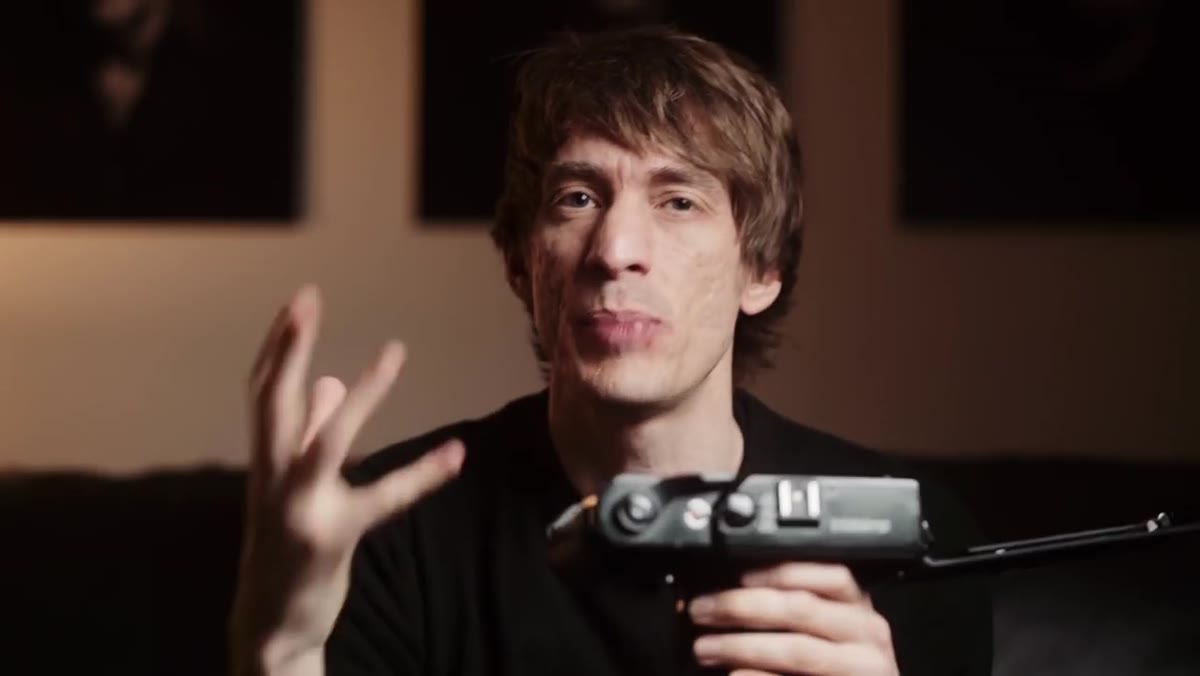
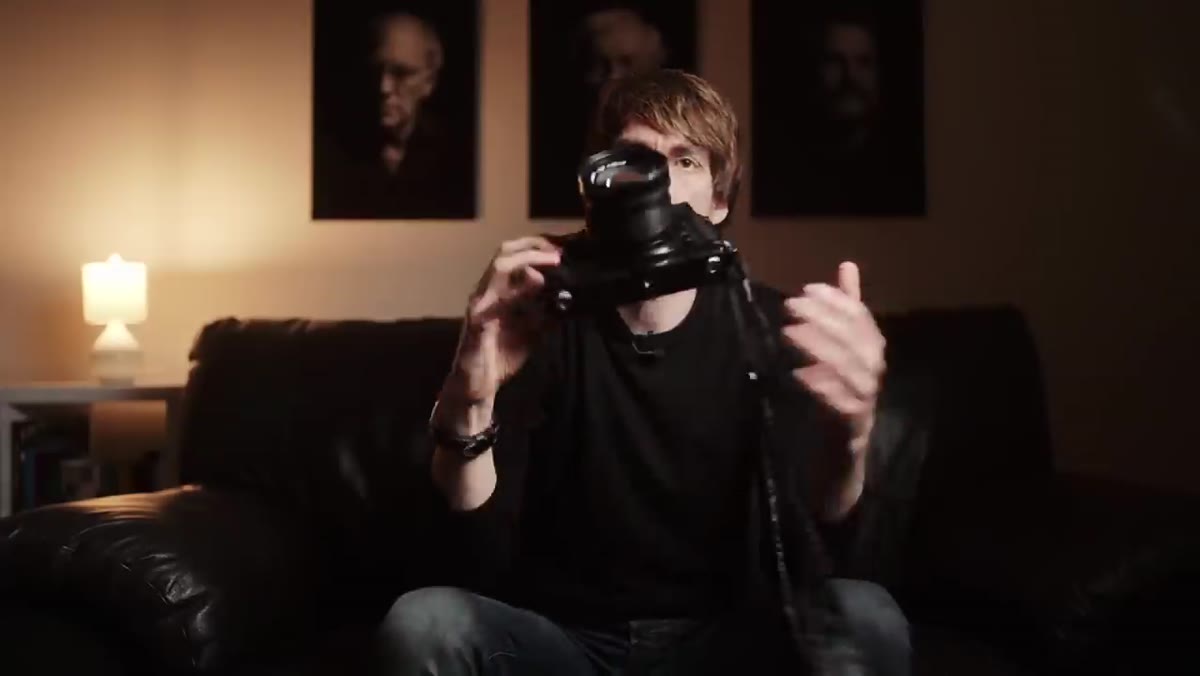
Bringing two cameras to a home session is not about redundancy. It is a deliberate pacing tool. Tucker uses the Fuji for the more considered, formal moments and then picks up the Yashica when he wants something looser and more candid. The smaller camera signals to a subject that the “serious” part is over, even if you are still shooting intentionally. It relaxes people. I have done something similar with my own sessions, pulling out my phone mid-shoot just to take a frame, and the subject always visibly exhales. Use that psychology. It is part of the craft.
Switching to smaller 35mm camera during session
Bringing two cameras to a home session is not about redundancy. It is a deliberate pacing tool. Tucker uses the Fuji for the more considered, formal moments and then picks up the Yashica when he wants something looser and more candid. The smaller camera signals to a subject that the “serious” part is over, even if you are still shooting intentionally. It relaxes people. I have done something similar with my own sessions, pulling out my phone mid-shoot just to take a frame, and the subject always visibly exhales. Use that psychology. It is part of the craft.
Step 6: Embrace the Constraints of Film as a Creative Tool
 Photographer reviewing notes or camera between shots
The limited frame count, the fixed ISO, the manual focus, all of these things that might seem like disadvantages are actually doing you a favor. They force you to slow down and commit. Tucker’s session has a deliberate rhythm to it precisely because he cannot spray and pray. Each frame has a small cost, and that cost produces presence. If you are new to film and tempted to rush through a roll just to see what comes out, resist that. Spend time between frames. Look at your subject. Think about what the next frame is actually for.
Photographer reviewing notes or camera between shots
The limited frame count, the fixed ISO, the manual focus, all of these things that might seem like disadvantages are actually doing you a favor. They force you to slow down and commit. Tucker’s session has a deliberate rhythm to it precisely because he cannot spray and pray. Each frame has a small cost, and that cost produces presence. If you are new to film and tempted to rush through a roll just to see what comes out, resist that. Spend time between frames. Look at your subject. Think about what the next frame is actually for.
What I’d Add From My Own Experience
The one thing I would layer on top of Tucker’s approach is this: shoot a test roll with your subject before you shoot “the” roll. When I started doing film portraits more seriously, I kept treating every roll like it was precious, which made me tense, which made my subjects tense. Now I load a cheap roll of Kodak ColorPlus or Fuji 200 and just spend twenty minutes getting comfortable with each other and with the light. By the time I load the good film, everyone in the room knows what we are doing. The portraits from that second roll are almost always the ones I keep.
Film portrait work at home is not a compromise. It is a choice. The limitations are the point, the slow pace is the point, and the single room is enough if you work it thoughtfully.
The single most important takeaway from Tucker’s tutorial is this: preparation and intention before the first frame beats quantity of frames every time. Whether you are shooting medium format or 35mm, the session lives or dies by the decisions you make before you ever lift the camera.
Watch the full tutorial on YouTube to see Sean Tucker’s complete session and hear his own commentary on the choices he makes in the moment.
Comments
Leave a Comment