
Every Sunday morning I take a photo walk around Seattle. For the longest time, those walks were strictly stills. Then I started bringing a camera that shoots video, and suddenly I had a whole new problem: the footage looked fine on its own but fell apart the moment I tried to cut it together. Clips just slammed into each other. No flow, no feeling, nothing that matched the energy of actually being out there at 7am with a coffee and good light.
That’s what led me down the rabbit hole of video transitions - and specifically to this Peter McKinnon tutorial on masking and frame-blocking techniques in Premiere Pro. Watch the full tutorial on YouTube before or after reading this breakdown. McKinnon’s core argument stopped me in my tracks, because it reframed transitions as something you think about before you ever open an editing app. Here’s how to put his approach into practice.
Step 1: Understand What Transitions Are Actually For
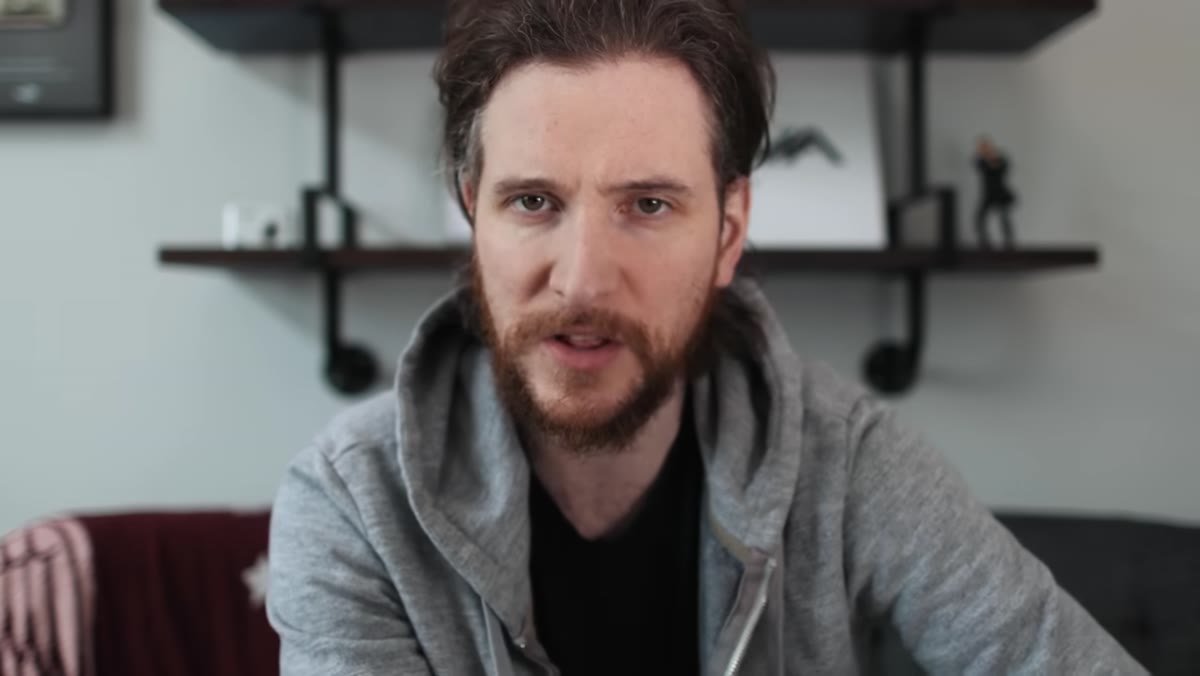 Peter McKinnon explaining masking and frame-blocking concepts
Transitions aren’t decoration. That’s the first thing McKinnon establishes, and it’s worth sitting with before touching any software. A well-executed transition makes an edit feel seamless - like one moment flows naturally into the next rather than two separate clips being stapled together. The specific techniques he focuses on here, masking and frame-blocking, are about using something in the frame (a wall, a person walking past, a door closing) to visually cover the cut so the new clip reveals itself underneath it. When it works, viewers feel it even if they can’t name what just happened.
Peter McKinnon explaining masking and frame-blocking concepts
Transitions aren’t decoration. That’s the first thing McKinnon establishes, and it’s worth sitting with before touching any software. A well-executed transition makes an edit feel seamless - like one moment flows naturally into the next rather than two separate clips being stapled together. The specific techniques he focuses on here, masking and frame-blocking, are about using something in the frame (a wall, a person walking past, a door closing) to visually cover the cut so the new clip reveals itself underneath it. When it works, viewers feel it even if they can’t name what just happened.
The practical takeaway: every transition you plan should serve the story or the feeling of the piece. If you’re adding one just because it looks cool, it will feel like exactly that.
Step 2: Plan Your Transitions Before You Shoot
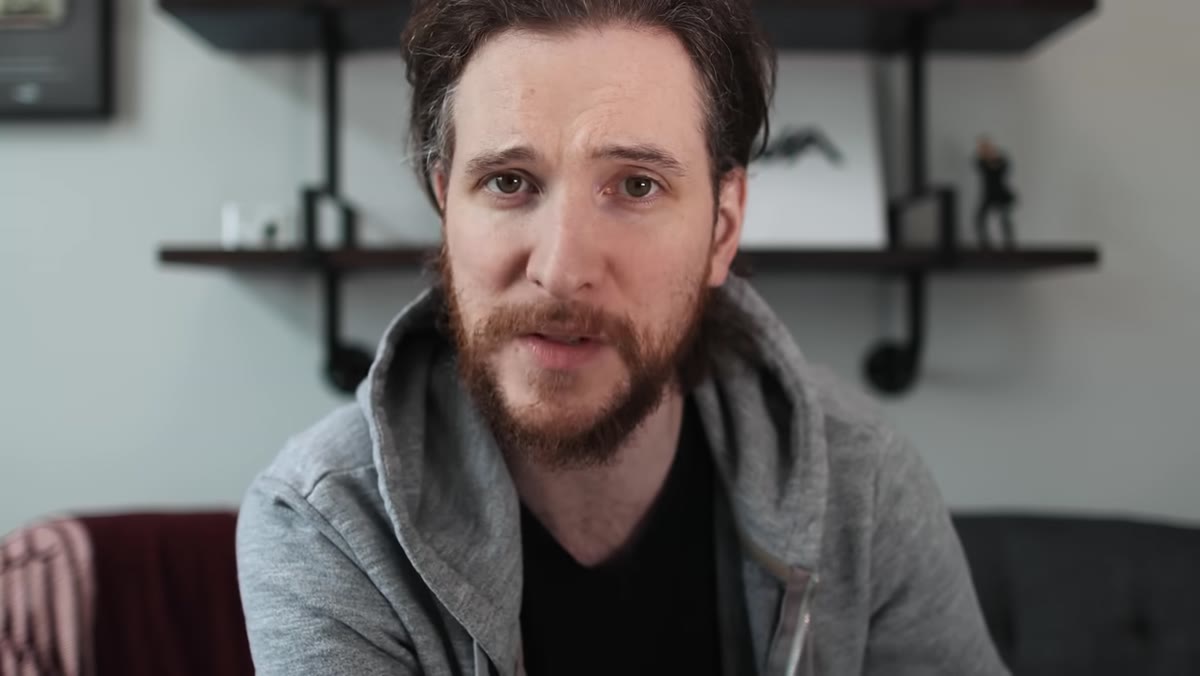 McKinnon describing shooting clips intentionally for transitions
This is the step most people skip, and it’s the one that separates polished edits from footage that almost works. McKinnon calls it “shooting to edit” - identifying your transitions ahead of time and capturing the specific clips that make them possible. If you want a frame-blocking transition where a person walks in front of the camera and covers the lens, you need to actually plan for that moment while you’re on location. You can’t manufacture it in post.
McKinnon describing shooting clips intentionally for transitions
This is the step most people skip, and it’s the one that separates polished edits from footage that almost works. McKinnon calls it “shooting to edit” - identifying your transitions ahead of time and capturing the specific clips that make them possible. If you want a frame-blocking transition where a person walks in front of the camera and covers the lens, you need to actually plan for that moment while you’re on location. You can’t manufacture it in post.
Before your next shoot, make a short list of two or three transitions you want to attempt. Think about what objects or movements naturally exist in your scene that could serve as that visual wipe. A door swinging shut, a jacket sleeve filling the frame, a car passing close to the lens - these are all usable. Shoot them deliberately, with the transition in mind, and you’ll have material to work with when you sit down to edit.
Step 3: Match Screen Direction Across Clips
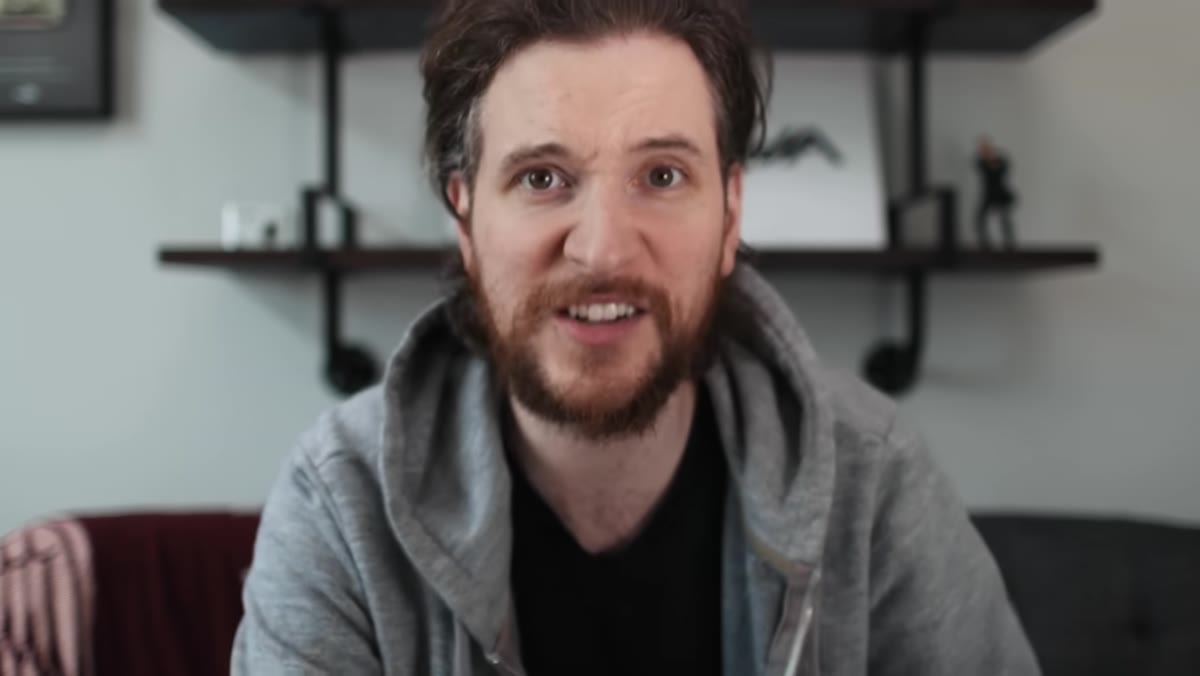 McKinnon demonstrating directional movement matching between clips
Before getting into any actual masking work inside Premiere, McKinnon makes a point about a simpler form of transition that gets overlooked constantly: matching the direction of movement between clips. If something moves right in one clip, the next clip should continue that directional momentum - another subject moving right, or at minimum neutral movement before changing direction. This creates a sense of continuity that viewers feel subconsciously.
McKinnon demonstrating directional movement matching between clips
Before getting into any actual masking work inside Premiere, McKinnon makes a point about a simpler form of transition that gets overlooked constantly: matching the direction of movement between clips. If something moves right in one clip, the next clip should continue that directional momentum - another subject moving right, or at minimum neutral movement before changing direction. This creates a sense of continuity that viewers feel subconsciously.
In practice, watch your clips back before editing and note which direction subjects or camera movement travels. Group clips by direction, then sequence them so the momentum carries through. This alone will make your edits feel more intentional, even before you add a single masking effect. Think of it as the invisible transition that holds everything else together.
Step 4: Set Up Your Masking Transition in Premiere Pro
 Premiere Pro timeline showing two clips set up for masking
This is where the hands-on editing work begins. In Premiere Pro, stack your two clips on the timeline - the outgoing clip on one track and the incoming clip on the track directly below it. The frame-blocking element (whatever is covering the lens in your footage) should be part of the outgoing clip. Your goal is to mask out the portion of the outgoing clip that the blocking object covers, revealing the new clip underneath at precisely the right moment.
Premiere Pro timeline showing two clips set up for masking
This is where the hands-on editing work begins. In Premiere Pro, stack your two clips on the timeline - the outgoing clip on one track and the incoming clip on the track directly below it. The frame-blocking element (whatever is covering the lens in your footage) should be part of the outgoing clip. Your goal is to mask out the portion of the outgoing clip that the blocking object covers, revealing the new clip underneath at precisely the right moment.
To do this, go to the Effect Controls panel for your outgoing clip and use the Opacity mask tools to draw a mask around the frame-blocking element. The mask will need to follow that element as it moves across the frame, which means you’ll be setting keyframes to animate it. Start with the mask at a position where the blocking object first enters the frame, set a keyframe, then move forward in the timeline to where the object has fully covered the frame and adjust the mask accordingly.
Step 5: Keyframe the Mask to Follow the Movement
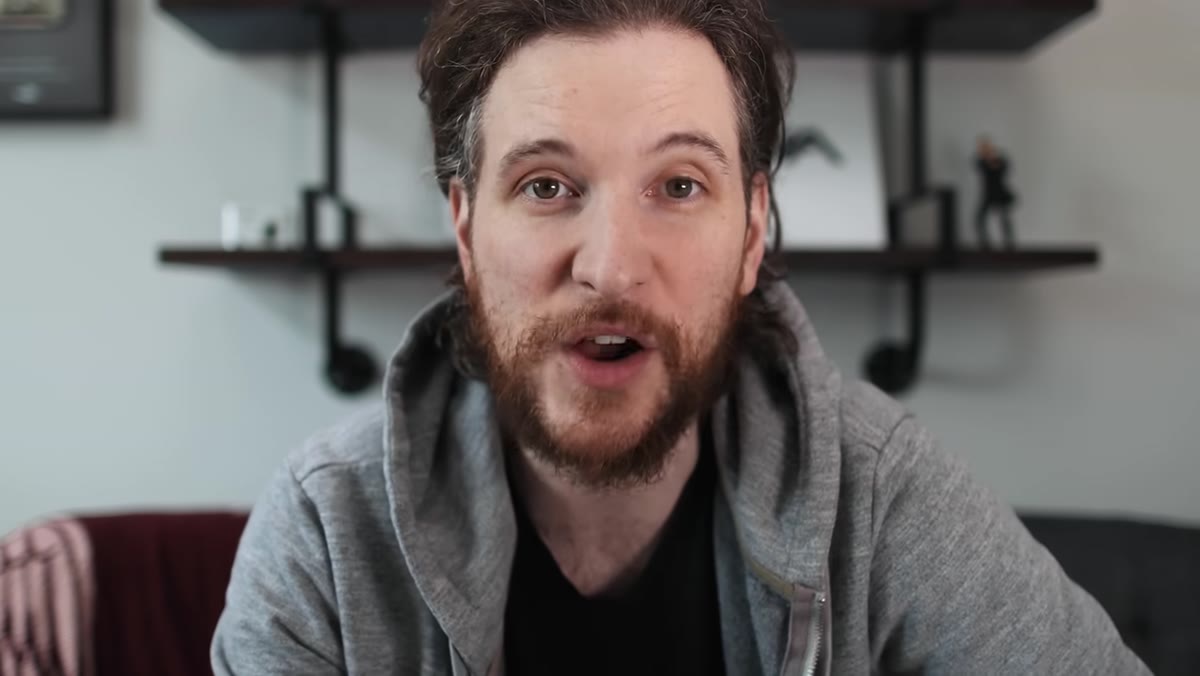 Effect Controls panel open with mask keyframes being set
Keyframing the mask is the most time-consuming part of this process, but it’s also where the magic lives. In the Effect Controls panel, with your mask selected, enable keyframing by clicking the stopwatch icon next to the mask path. Move your playhead to the point where the blocking object begins to cross the frame, and place your first keyframe. Then move forward frame by frame (use the arrow keys) and adjust the mask path to continue following the object.
Effect Controls panel open with mask keyframes being set
Keyframing the mask is the most time-consuming part of this process, but it’s also where the magic lives. In the Effect Controls panel, with your mask selected, enable keyframing by clicking the stopwatch icon next to the mask path. Move your playhead to the point where the blocking object begins to cross the frame, and place your first keyframe. Then move forward frame by frame (use the arrow keys) and adjust the mask path to continue following the object.
Keep your mask tight to the edge of the blocking element. If the mask is too loose, you’ll see the underlying clip peeking through too early and the illusion breaks. Zoom into your timeline and preview the transition repeatedly as you work - small adjustments at each keyframe add up to smooth, believable movement. Expect to spend 15 to 20 minutes on a single transition when you’re learning. It gets faster.
Step 6: Fine-Tune and Preview the Full Sequence
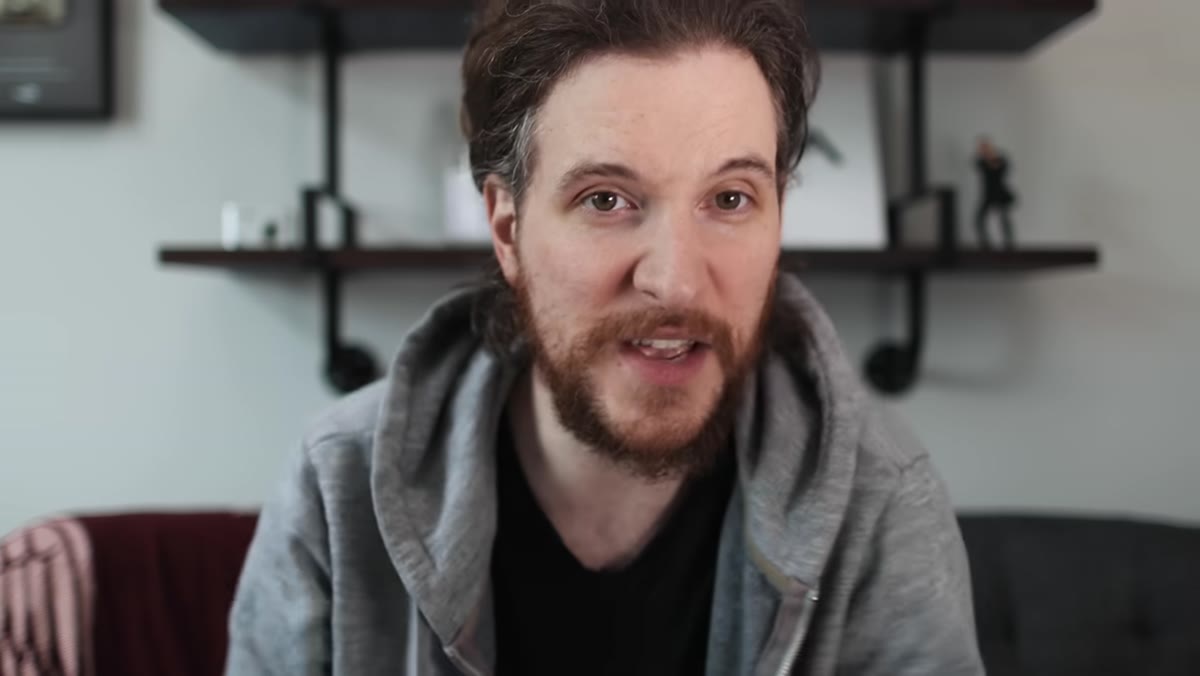 Full playback of completed masking transition in Premiere Pro
Once your mask keyframes are set, play back the full transition at full speed without pausing. This is the only way to judge whether it actually reads as seamless. Common issues at this stage include the mask lagging behind the blocking object (add more keyframes in that section), or the cut point between clips feeling too abrupt even with the mask (try trimming a few frames from the start of the incoming clip). Render a preview if your system is stuttering so you can see true playback.
Full playback of completed masking transition in Premiere Pro
Once your mask keyframes are set, play back the full transition at full speed without pausing. This is the only way to judge whether it actually reads as seamless. Common issues at this stage include the mask lagging behind the blocking object (add more keyframes in that section), or the cut point between clips feeling too abrupt even with the mask (try trimming a few frames from the start of the incoming clip). Render a preview if your system is stuttering so you can see true playback.
Color grade both clips before you finalize the transition. A masking effect that looks great on raw footage can fall apart if the two clips have different color temperatures, because the seam becomes visible the moment they meet. Getting them to match first saves you from reworking the mask later.
A Note From My Own Experience
I’ll be honest - the first time I tried a frame-blocking transition, I shot the footage without really planning the mask, and I spent two hours trying to make it work in Premiere before giving up. The second time, I stood on location and literally practiced the walk-past with my subject three times before rolling, so I had clean, consistent movement to work with. That edit took 25 minutes.
Planning is not the exciting part of filmmaking. But it is the part that makes the exciting part possible. I now keep a small notebook in my camera bag specifically for transition ideas - just rough sketches of what element could block the frame and where the cut will land. It has saved me more editing hours than any plugin I’ve ever bought.
The single most important thing McKinnon teaches in this tutorial is also the simplest: transitions are decisions you make on location, not rescues you attempt in post. When you shoot with the edit in mind, the software just becomes a tool for executing what you already planned. That shift in thinking changes everything.
Watch the full tutorial on YouTube to see McKinnon walk through the masking steps in real time - seeing the Effect Controls panel in motion makes the keyframing process click in a way that’s hard to capture in text alone.
Comments
Leave a Comment