Every Sunday morning I grab my camera and walk. No agenda, no client, no pressure. Just whatever light shows up and whatever catches my eye. It sounds romantic until you find yourself crouched on a wet sidewalk trying to wedge your tripod legs between two uneven cobblestones, watching your camera slowly tilt into oblivion. Stability on a photo walk is a real problem, and traditional tripods are often the wrong tool for solving it.
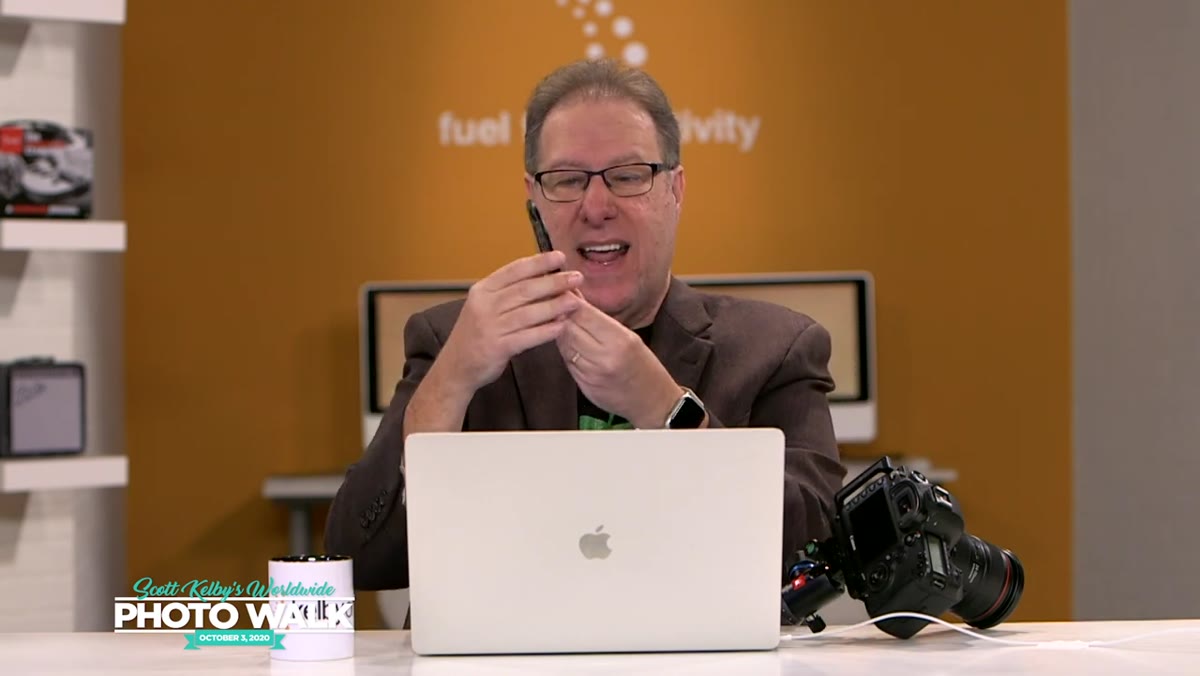
That frustration is exactly why I was so glad I came across this KelbyOne tutorial with Scott Kelby on getting the most out of the Platypod. Watch the full tutorial on YouTube. Kelby walks through how this small, flat camera platform handles the situations where a standard tripod either can’t fit, can’t stay level, or is simply too much gear to carry. The concept sounds simple, but once you see it in practice, it reframes how you think about stabilization entirely.
What I appreciate most about the way Kelby teaches is that he grounds everything in real shooting scenarios. He is not describing gear in a vacuum. He is showing you how a tool solves a specific, annoying problem. If you have ever talked yourself out of a low-angle shot because your tripod setup just would not cooperate, this tutorial is going to feel like it was made for you.
Step 1: Understand What Makes the Platypod Different
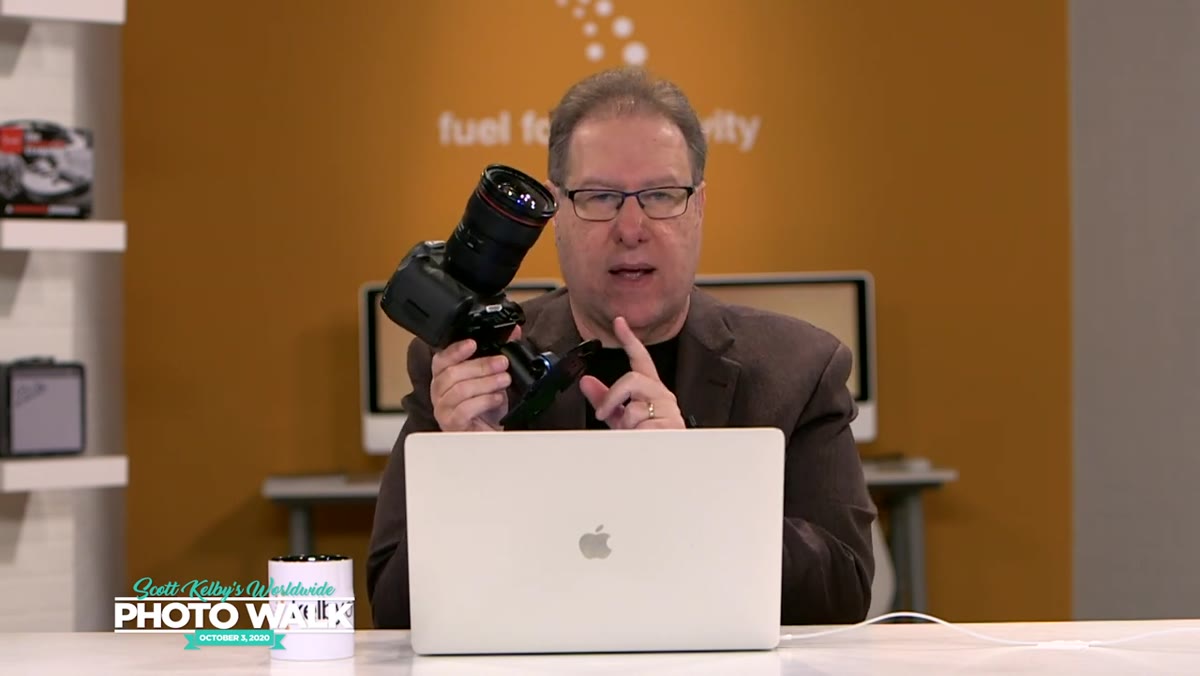
 Scott Kelby holding the small flat Platypod device
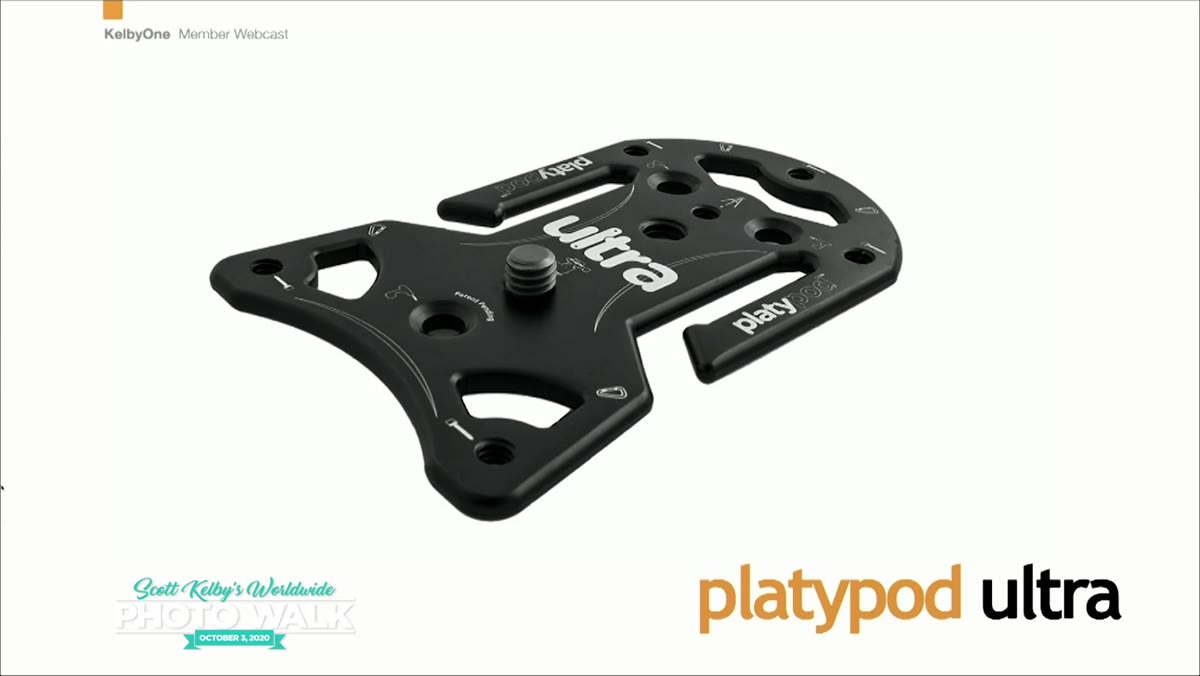
The Platypod is not a tripod. That is the first mindset shift Kelby establishes. Instead of three extending legs, you get a flat, rigid platform - something closer to a metal plate with threaded mounting points - that sits flush against any surface. This makes it useful in places where tripod legs would slip, spread unevenly, or simply not fit. Think stair edges, fence rails, rocky ground, or the ledge of a bridge wall. The device is lightweight and small enough to drop into a jacket pocket, which matters enormously when you are moving on foot all day.
Scott Kelby holding the small flat Platypod device
The Platypod is not a tripod. That is the first mindset shift Kelby establishes. Instead of three extending legs, you get a flat, rigid platform - something closer to a metal plate with threaded mounting points - that sits flush against any surface. This makes it useful in places where tripod legs would slip, spread unevenly, or simply not fit. Think stair edges, fence rails, rocky ground, or the ledge of a bridge wall. The device is lightweight and small enough to drop into a jacket pocket, which matters enormously when you are moving on foot all day.
Step 2: Choose Your Surface and Position the Platform
 Platypod being placed flat against a solid surface outdoors
The key to getting a usable shot with the Platypod is surface selection. Because it sits flat rather than balancing on points, it needs something reasonably flat and solid underneath it. Kelby emphasizes looking for surfaces you might normally walk right past: the top of a low stone wall, a concrete step, a railing. The platform can also be pressed against vertical surfaces in some configurations. Once you have your surface, positioning is straightforward - you place it flat, make sure it is not rocking, and move on to mounting your camera.
Platypod being placed flat against a solid surface outdoors
The key to getting a usable shot with the Platypod is surface selection. Because it sits flat rather than balancing on points, it needs something reasonably flat and solid underneath it. Kelby emphasizes looking for surfaces you might normally walk right past: the top of a low stone wall, a concrete step, a railing. The platform can also be pressed against vertical surfaces in some configurations. Once you have your surface, positioning is straightforward - you place it flat, make sure it is not rocking, and move on to mounting your camera.
Step 3: Mount Your Camera Using the Standard Tripod Thread
 Camera being attached to the Platypod mounting point
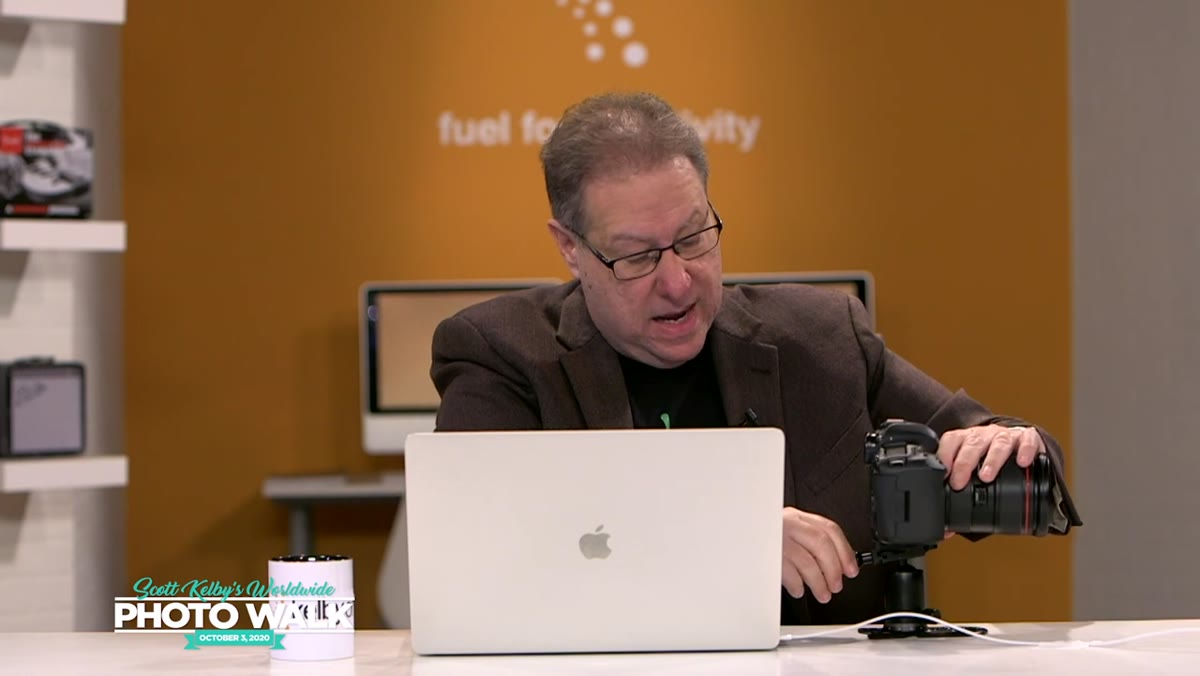
The Platypod accepts a standard ball head or any accessory that mounts via the universal tripod thread, which is the same thread every camera body and most heads use. Kelby uses a small ball head on top of the platform to give himself the ability to tilt and pan once the platform itself is stationary. This is important because the platform alone does not articulate. It holds position. The ball head is what gives you compositional flexibility once the foundation is locked down. If you already own a compact ball head for travel, it will almost certainly work here.
Camera being attached to the Platypod mounting point
The Platypod accepts a standard ball head or any accessory that mounts via the universal tripod thread, which is the same thread every camera body and most heads use. Kelby uses a small ball head on top of the platform to give himself the ability to tilt and pan once the platform itself is stationary. This is important because the platform alone does not articulate. It holds position. The ball head is what gives you compositional flexibility once the foundation is locked down. If you already own a compact ball head for travel, it will almost certainly work here.
Step 4: Use Adjustable Feet to Handle Uneven Ground
 Close-up of the Platypod’s adjustable feet being turned
One of the features Kelby points to is the set of small screw-in feet on the underside of the platform. These are threaded so you can extend or retract each one independently. On a surface that is not perfectly flat, and most interesting surfaces are not, you can dial in each foot to compensate for the angle. This is genuinely useful. It is the feature that separates the Platypod from just setting your camera on a book or a bag, which I have done more times than I want to admit. With the adjustable feet, you can get a level horizon on a textured stone surface in about thirty seconds.
Close-up of the Platypod’s adjustable feet being turned
One of the features Kelby points to is the set of small screw-in feet on the underside of the platform. These are threaded so you can extend or retract each one independently. On a surface that is not perfectly flat, and most interesting surfaces are not, you can dial in each foot to compensate for the angle. This is genuinely useful. It is the feature that separates the Platypod from just setting your camera on a book or a bag, which I have done more times than I want to admit. With the adjustable feet, you can get a level horizon on a textured stone surface in about thirty seconds.
Step 5: Trigger the Shutter Without Touching the Camera
 Remote shutter or self-timer being used with camera on Platypod
Once the camera is mounted and composed, you still need to trip the shutter without introducing shake. Kelby covers this the same way you would approach it with any tripod setup: use either a remote shutter release or your camera’s built-in self-timer. A two-second or ten-second delay gives any vibration from your hand time to dissipate before the shutter fires. If you are shooting with a mirrorless body, enabling electronic shutter eliminates the mechanical vibration entirely. This is standard practice for tripod work, but it is worth stating clearly because it is the step people most often skip right up until their shots come out soft.
Remote shutter or self-timer being used with camera on Platypod
Once the camera is mounted and composed, you still need to trip the shutter without introducing shake. Kelby covers this the same way you would approach it with any tripod setup: use either a remote shutter release or your camera’s built-in self-timer. A two-second or ten-second delay gives any vibration from your hand time to dissipate before the shutter fires. If you are shooting with a mirrorless body, enabling electronic shutter eliminates the mechanical vibration entirely. This is standard practice for tripod work, but it is worth stating clearly because it is the step people most often skip right up until their shots come out soft.
Step 6: Think Creatively About Camera Angles the Platform Enables
 Camera mounted very low to ground showing low-angle perspective
The real creative payoff of the Platypod is the angles it makes practical. Kelby makes this point explicitly: because the platform is so low-profile, you can get your camera almost at ground level on a hard surface without any of the awkward leg-spreading gymnastics a tripod requires. Low-angle shots in street and travel photography have a way of making ordinary scenes feel more immersive. A puddle reflection becomes a composition. A flower bed becomes something a viewer wants to walk into. The platform makes these shots reproducible rather than lucky.
Camera mounted very low to ground showing low-angle perspective
The real creative payoff of the Platypod is the angles it makes practical. Kelby makes this point explicitly: because the platform is so low-profile, you can get your camera almost at ground level on a hard surface without any of the awkward leg-spreading gymnastics a tripod requires. Low-angle shots in street and travel photography have a way of making ordinary scenes feel more immersive. A puddle reflection becomes a composition. A flower bed becomes something a viewer wants to walk into. The platform makes these shots reproducible rather than lucky.
What I Do Differently When I Use Mine
I started keeping a small Platypod-style platform in my bag after watching tutorials like this one, and the habit that has helped me most is scouting surfaces before I even take my camera out. When I arrive somewhere new, I spend two or three minutes just walking and looking for edges, ledges, and flat-topped structures at unusual heights. Low garden walls. Concrete planter lips. Even a thick fence post can work. Once you are in the habit of seeing surfaces as potential shooting platforms, you stop feeling limited by where you can set a tripod. I also pair mine with a small Arca-Swiss compatible head, which lets me swap cameras quickly without re-leveling from scratch.
The deepest takeaway from Kelby’s tutorial is that stability does not require bulk. The reason most photographers skip low-angle or off-tripod creative shots on a photo walk is friction: too much setup time, too much gear. A flat, pocketable platform removes that friction. When the barrier to a technically clean, creatively interesting shot is smaller, you take more of them, and your keeper rate goes up.
Watch the full tutorial on YouTube to see Scott Kelby demonstrate the Platypod in action and walk through the specific setups that make it worth carrying on every shoot.
Comments (1)
I keep coming back to this article. It's that useful.
Leave a Comment