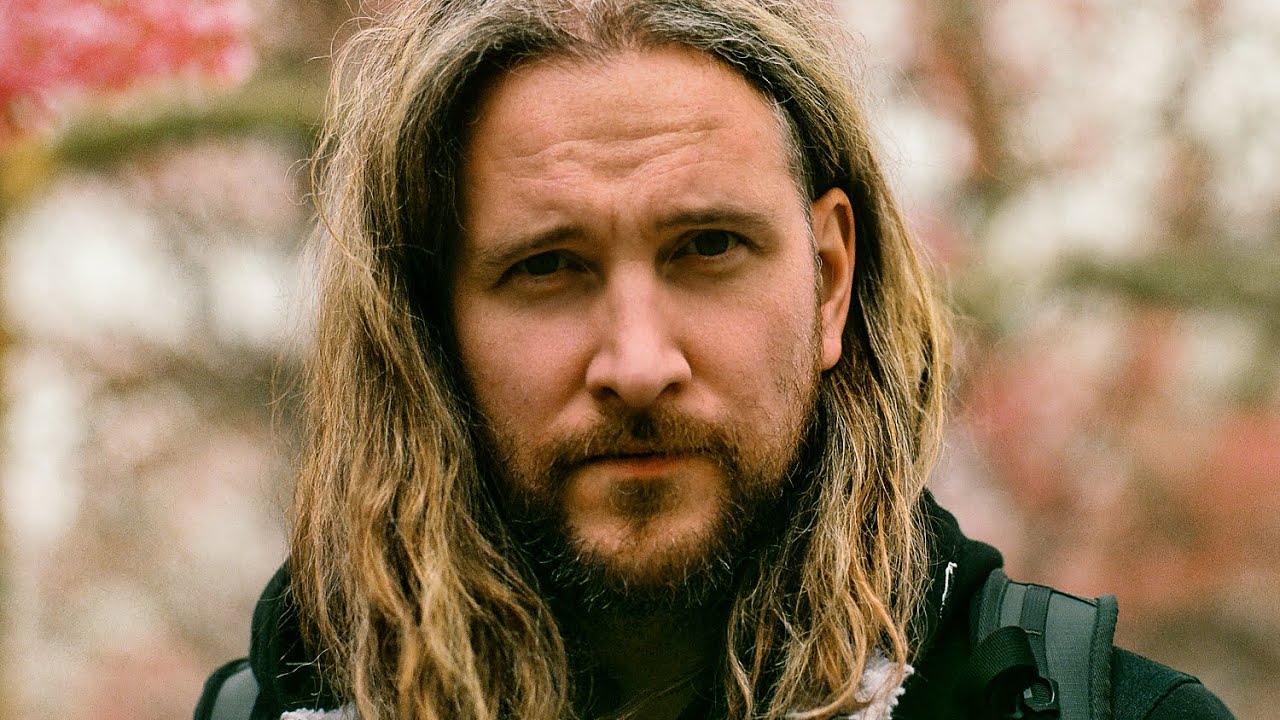
There’s a version of me from a few years ago who would have bristled at the idea that editing could make a lazy photographer look good. I spent so much time obsessing over getting things “right in camera” that I’d come home from a shoot exhausted, annoyed, and with maybe three usable shots. What I eventually had to learn, the hard way, was that the divide between shooting and editing isn’t a moral one. They’re part of the same process. Knowing how post-production can support your work actually makes you a more confident, more decisive photographer in the field.
Watch the full tutorial on YouTube
In this Peter McKinnon tutorial, McKinnon and his collaborator work through a real street photography session, and what comes out of it isn’t really about editing tricks or Lightroom sliders. It’s about how the choices you make before you press the shutter either give you options later or take them away. That framing changed how I approached my Sunday morning photo walks. Here’s what I took away, broken into the steps that actually moved the needle for me.
Step 1: Go in with a shot list, not just a camera
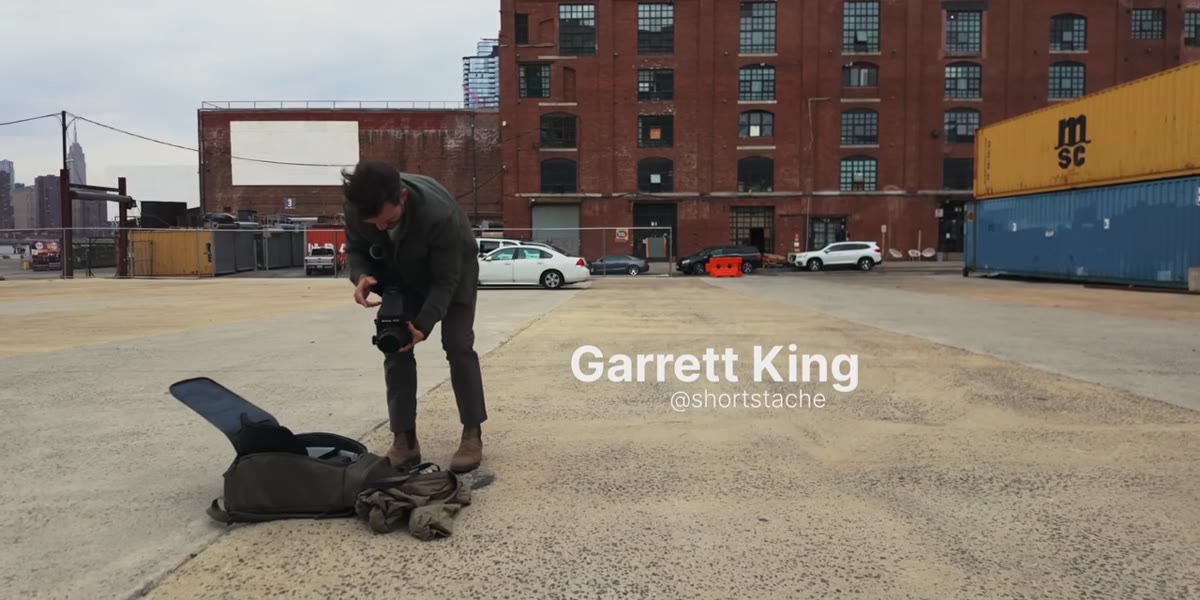 Photographer describing a mental checklist while shooting
Before you raise the camera, know what three types of images you want to walk away with. This isn’t about being rigid. It’s about being intentional. The framework McKinnon describes is simple: an establishing shot, a mid-range or detail shot, and one tight close-up. That’s your minimum viable set for any location or subject. When you have that mental checklist running in the background, you stop wandering and start seeing.
For me, this was a game-changer when I shoot in unfamiliar places. I used to spray and pray, come home with 400 photos, and feel weirdly empty when only six of them were good. Now I ask myself at every new spot: do I have my wide, my medium, and my close? If I do, I can move on. If I don’t, I stay.
Step 2: Use your focal length to shape how the scene feels
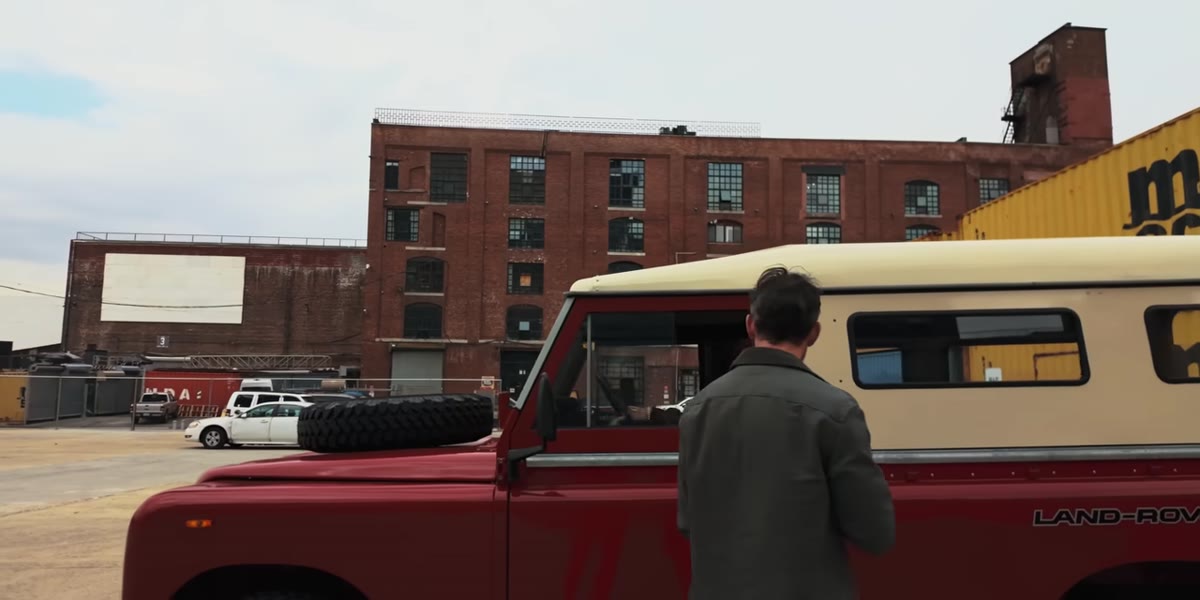 Photographer shooting with a 50mm lens from a distance
An establishing shot doesn’t have to be wide-angle. McKinnon’s approach is to shoot his establishing frame on a 50mm from farther back, which compresses the scene and pulls the viewer into it rather than showing them everything at once. That compression creates a sense of presence, like the viewer is standing there rather than looking at a postcard.
This is worth experimenting with on your next walk. Try shooting what you’d normally consider a “wide” scene at 50mm instead of 24mm. Step back until everything fits, and notice how the relationship between foreground and background shifts. You’ll often find the image feels more immersive, and it gives you more to work with in post if you want to adjust depth emphasis later.
Step 3: Treat composition as a question, not a rule
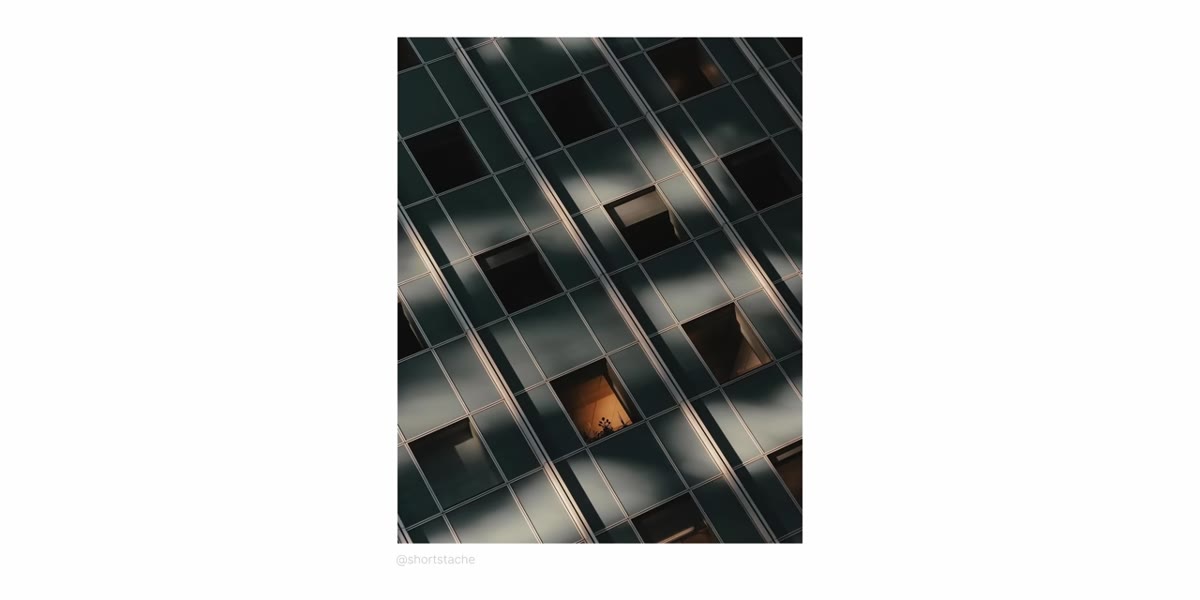 Photographer discussing unconventional framing choices
One of the most freeing things McKinnon mentions is his willingness to post a photo upside down if it makes the image more interesting. That’s not gimmickry. It’s a reminder that composition exists to create engagement, and sometimes the unexpected orientation is exactly what stops someone mid-scroll and makes them look twice. The same logic applies to shooting past objects in the foreground, letting out-of-focus elements frame your actual subject.
The practical takeaway here is to shoot variations deliberately. If you have a composition you like, ask yourself: what happens if I shoot this from lower? From the other side? With something in the foreground I’m not currently using? Those variations cost you maybe 60 seconds and can completely change what you have to work with when you sit down to edit.
Step 4: Bracket your exposure rather than guess and move on
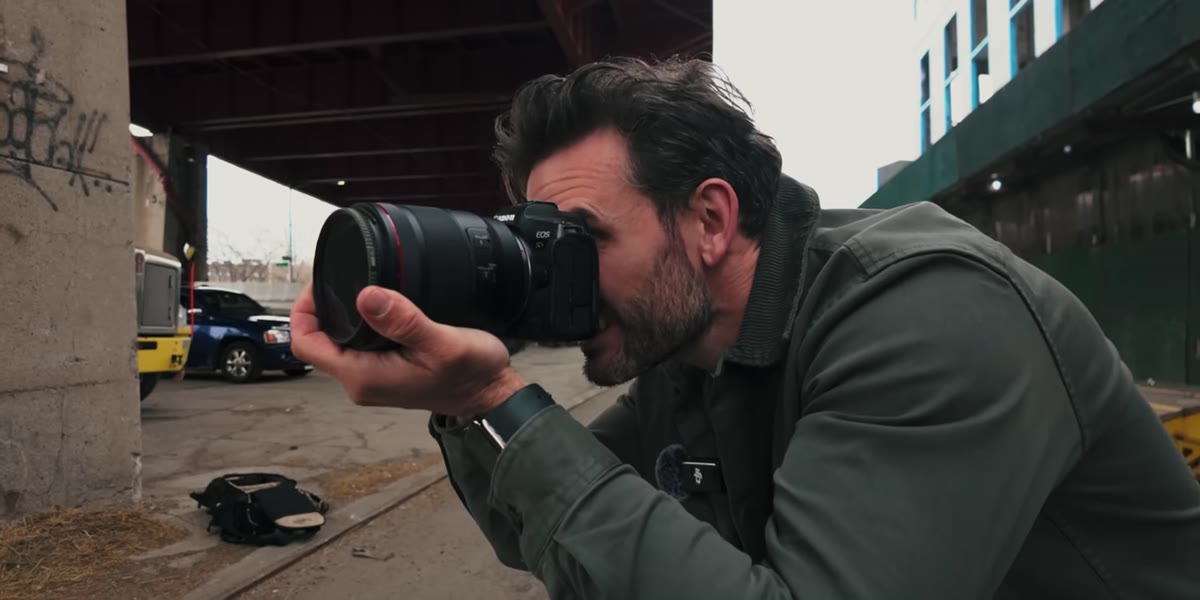 Shooting near a bridge with mismatched exposure zones
Mixed lighting situations, like a bright city skyline behind a shadowed underpass, are where a lot of photographers give up and just pick one exposure and hope for the best. What McKinnon recommends instead is straightforward: take multiple frames at different exposures of the same scene. You’re not hedging. You’re gathering information.
Shoot one at what your meter suggests, one a stop or two over, one a stop or two under. In practice this takes about ten seconds. When you get to editing, you’ll often find that the frame you expected to throw away has exactly the shadow detail you needed, or that the overexposed version has a dreamy quality that fits the mood better than the “correct” one. Options are not weakness.
Step 5: Shoot fewer frames of the same thing, more frames of different things
 Discussion about yield quality when shooting with intention
There’s a mental shift that happens when you stop trying to nail a single perfect frame through repetition and start trying to build a diverse set of images instead. Instead of taking 80 near-identical shots of a subject and hoping one is sharp, take 10 that each show something different. A different angle. A different focal length. A different moment in the action.
The editing benefit is real: when every frame in your selection folder is genuinely different, your choices feel clearer and your final picks feel more confident. You’re not choosing between version 47 and version 52 of the same thing. You’re curating a small, varied collection where each image earns its place.
Step 6: Know which tool fits the moment, and don’t fight it
 Comparing digital and medium format shooting experiences
McKinnon talks about the feeling of switching between a bulky digital camera and a medium format film body, and how the two workflows pull against each other creatively. His solution isn’t gear-based. It’s about committing to the tool that fits the session. Film slows everything down and makes you more deliberate. A mirrorless digital setup gives you flexibility and speed. Neither is better. They’re different creative modes.
For those of us not shooting medium format (most of us, most of the time), this applies to the choice between your DSLR and your phone. I genuinely still grab my phone on Sunday mornings sometimes, not because it’s better, but because it makes me think differently. The constraints change the work. Know what energy you’re bringing to a shoot and pick the tool that serves it.
What I’d add from my own experience
If there’s one thing the tutorial doesn’t spell out but that I’ve found true in practice, it’s that the editing “save” only works if you shot something worth saving. Post-processing can fix exposure, adjust color, and change your crop. It cannot fix a moment that wasn’t there, a subject that wasn’t engaged, or a composition that never had a reason to exist. Editing your way to success is real, but it starts before you open Lightroom. It starts with knowing what you’re trying to say and giving yourself enough material to say it well.
The single most important thing I took from this tutorial is the shot list framework: establishing, detail, close-up. It sounds almost too simple, but having that structure in my head has consistently made my editing sessions faster, my selection process clearer, and my final work more cohesive. It costs nothing and it works every time.
Watch the full tutorial on YouTube and pay attention to how McKinnon thinks out loud while he’s shooting. The techniques matter, but the mindset behind them is the real lesson.
Comments
Leave a Comment