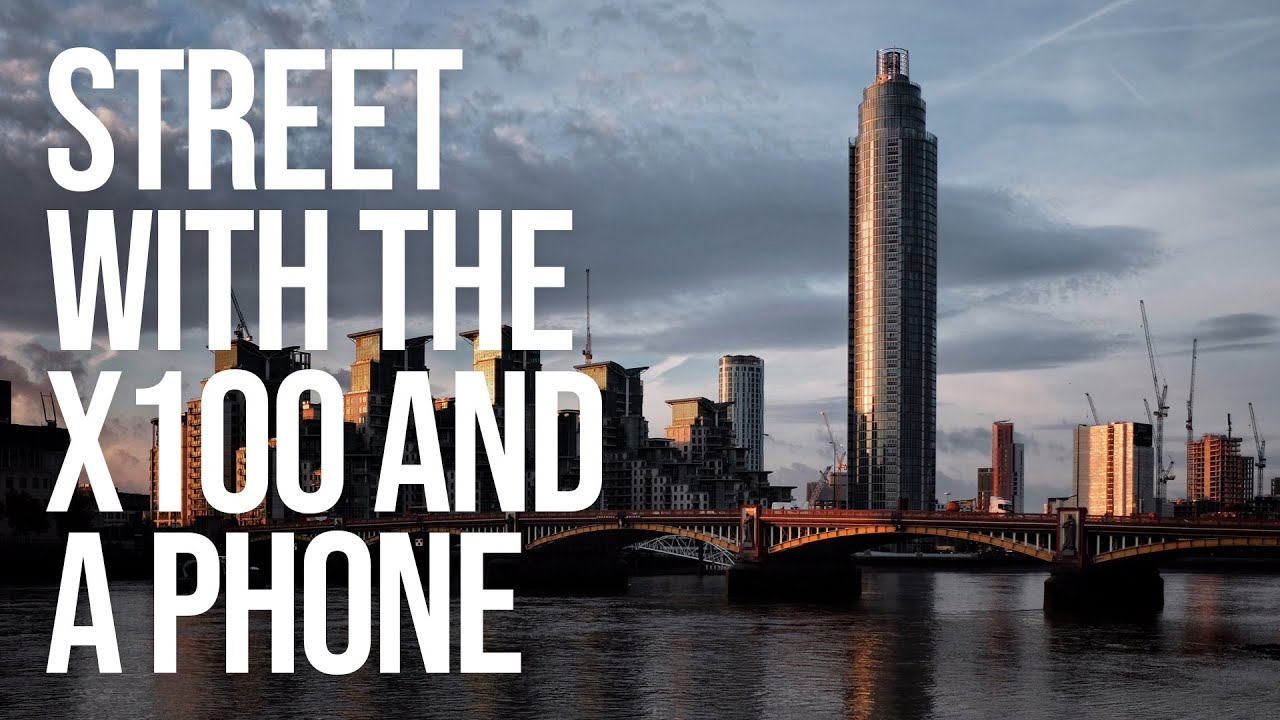
Every Sunday morning I take a photo walk around Seattle. No agenda, no shot list. Just me, a camera, and whatever the city decides to show up as that week. It sounds idyllic, and mostly it is, but for a long time I kept making the same mistake: I’d haul my full kit, second-guess every shot because the stakes felt too high, and come home with technically fine images that felt completely lifeless. The problem wasn’t the light or the city. It was the weight, literally and mentally, of carrying too much.
That’s why this tutorial hit so close to home for me. In this Sean Tucker tutorial, Watch the full tutorial on YouTube, he breaks down his approach to street photography while traveling: a stripped-down bag, a first-generation Fuji X100, and editing done entirely on his phone. It sounds almost defiantly simple, and that’s exactly the point. What Tucker demonstrates isn’t a workaround for not having better gear. It’s a deliberate philosophy about how gear choices shape the kind of images you actually come home with.
If you’ve ever frozen up on a street corner because your camera made you feel too conspicuous, or skipped a shot because pulling out your DSLR felt like too much production, this workflow was designed for exactly that problem.
Step 1: Pack the Smallest Bag That Still Has Everything You Need
 Tucker holding a small compact shoulder bag
Tucker’s travel bag for downtime shooting fits in the bottom of a suitcase. That constraint is intentional. When you’re visiting a new city and have a few free hours, a heavy backpack changes how you move. You walk slower, you stop less, and you become more precious about where you point your camera. A small bag, one that holds just your camera, your wallet, and maybe a reader or tablet, lets you move the way street photography actually requires: fast, light, and reactive. Before your next trip, physically limit yourself. Pull out everything you think you need, then cut it in half.
Tucker holding a small compact shoulder bag
Tucker’s travel bag for downtime shooting fits in the bottom of a suitcase. That constraint is intentional. When you’re visiting a new city and have a few free hours, a heavy backpack changes how you move. You walk slower, you stop less, and you become more precious about where you point your camera. A small bag, one that holds just your camera, your wallet, and maybe a reader or tablet, lets you move the way street photography actually requires: fast, light, and reactive. Before your next trip, physically limit yourself. Pull out everything you think you need, then cut it in half.
Step 2: Choose a Camera That Disappears in Public
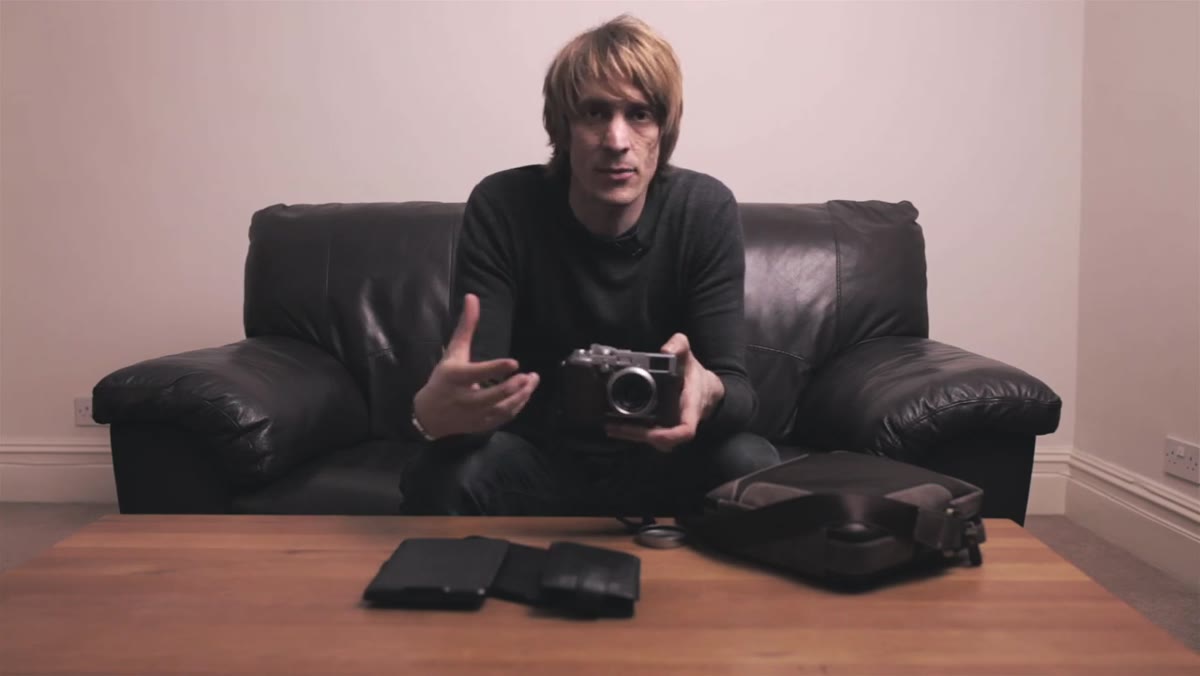 Tucker holding the Fuji X100 up toward the camera
Tucker shoots with a first-generation Fuji X100, which he picked up secondhand for around $300. He’s clear-eyed about its limitations: the autofocus is slow, and the electronic viewfinder resolution makes manual focus genuinely difficult. But those tradeoffs matter less than one specific advantage. The X100’s retro, film-camera styling makes it read differently to strangers on the street than a DSLR does. People associate large cameras with press photographers or commercial shoots, and that association makes them guarded. A small, old-looking rangerstyle camera barely registers. Tucker’s point isn’t that you need this specific camera. It’s that camera choice affects subject behavior, and subject behavior affects your images. If your current camera is making people tense up or chase you off, that’s a gear problem worth solving, even if the solution is a $300 secondhand body.
Tucker holding the Fuji X100 up toward the camera
Tucker shoots with a first-generation Fuji X100, which he picked up secondhand for around $300. He’s clear-eyed about its limitations: the autofocus is slow, and the electronic viewfinder resolution makes manual focus genuinely difficult. But those tradeoffs matter less than one specific advantage. The X100’s retro, film-camera styling makes it read differently to strangers on the street than a DSLR does. People associate large cameras with press photographers or commercial shoots, and that association makes them guarded. A small, old-looking rangerstyle camera barely registers. Tucker’s point isn’t that you need this specific camera. It’s that camera choice affects subject behavior, and subject behavior affects your images. If your current camera is making people tense up or chase you off, that’s a gear problem worth solving, even if the solution is a $300 secondhand body.
Step 3: Resist the Urge to Research Your Locations in Advance
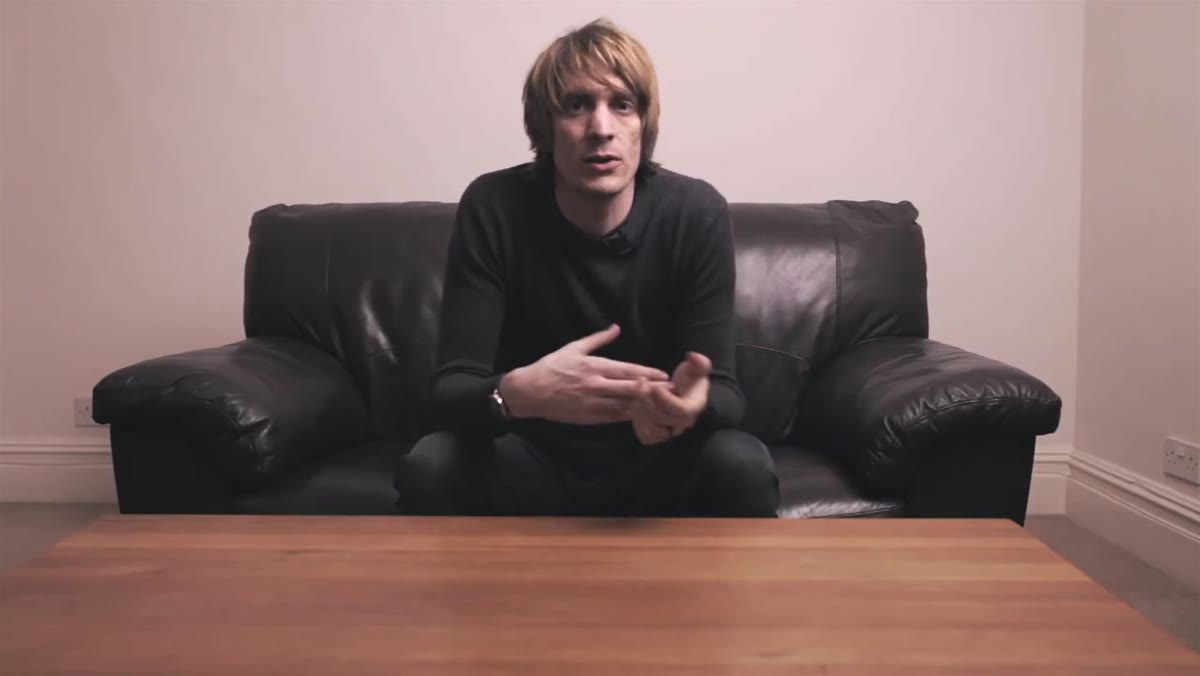
 Tucker describing his experience visiting Warsaw and Lisbon
Tucker deliberately avoids doing location research before visiting a new city. No Pinterest boards, no “best photo spots in Lisbon” Google searches. His reason is practical: pre-researched spots lead to pre-visualized shots, which leads to tourist photographs that look exactly like everyone else’s tourist photographs. Instead, he wanders without a destination and photographs what actually catches his eye. The freshness of a first visit is a photographic asset. If you over-plan, you spend it on images you’ve already seen. Try this even in your home city: pick a neighborhood you rarely visit and go without a plan. You’ll see things a resident never notices.
Tucker describing his experience visiting Warsaw and Lisbon
Tucker deliberately avoids doing location research before visiting a new city. No Pinterest boards, no “best photo spots in Lisbon” Google searches. His reason is practical: pre-researched spots lead to pre-visualized shots, which leads to tourist photographs that look exactly like everyone else’s tourist photographs. Instead, he wanders without a destination and photographs what actually catches his eye. The freshness of a first visit is a photographic asset. If you over-plan, you spend it on images you’ve already seen. Try this even in your home city: pick a neighborhood you rarely visit and go without a plan. You’ll see things a resident never notices.
Step 4: Move Fast and Stay Reactive
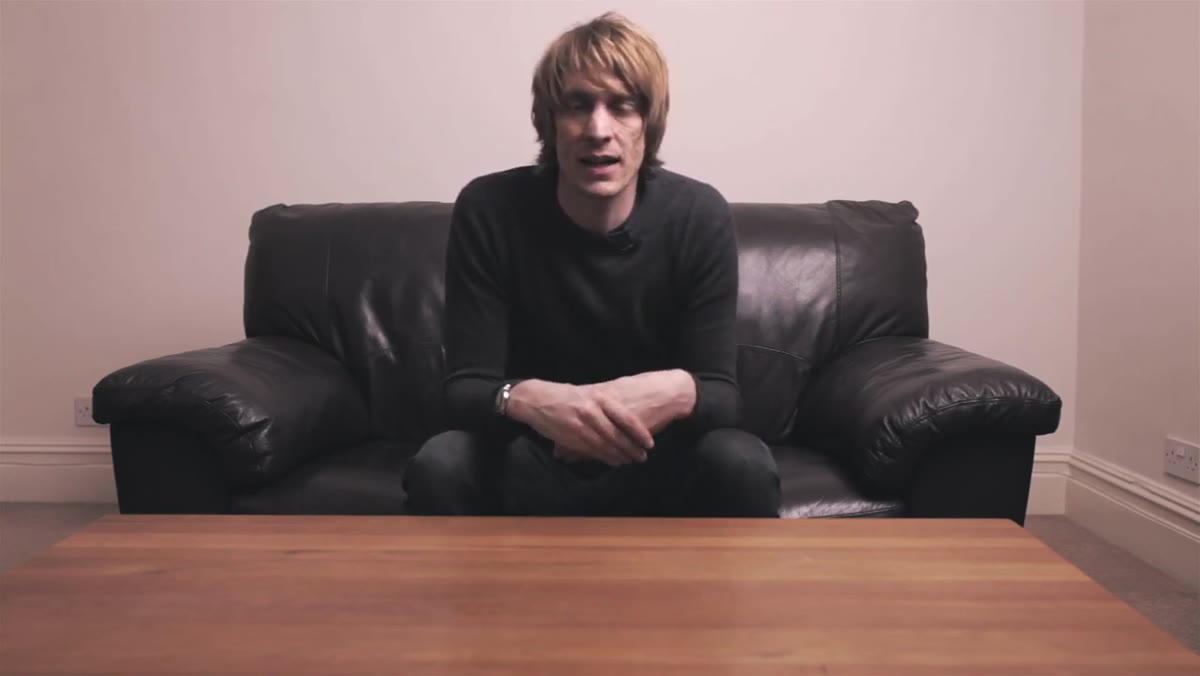 Tucker walking through city streets with camera in hand
Tucker describes his street shooting style as “walking fast and seeing what I see.” That pace is a technique, not just a personality trait. Moving briskly through a scene means you’re encountering moments as they happen rather than camping and waiting for something to occur in front of you. It also makes you less noticeable. A photographer standing still with a camera raised is a photographer everyone sees. A photographer walking with purpose blends into the foot traffic. Practice keeping your camera accessible but low, at your hip or loosely in your hand, so raising it to shoot takes less than a second.
Tucker walking through city streets with camera in hand
Tucker describes his street shooting style as “walking fast and seeing what I see.” That pace is a technique, not just a personality trait. Moving briskly through a scene means you’re encountering moments as they happen rather than camping and waiting for something to occur in front of you. It also makes you less noticeable. A photographer standing still with a camera raised is a photographer everyone sees. A photographer walking with purpose blends into the foot traffic. Practice keeping your camera accessible but low, at your hip or loosely in your hand, so raising it to shoot takes less than a second.
Step 5: Edit on Your Phone While the Feeling Is Still Fresh
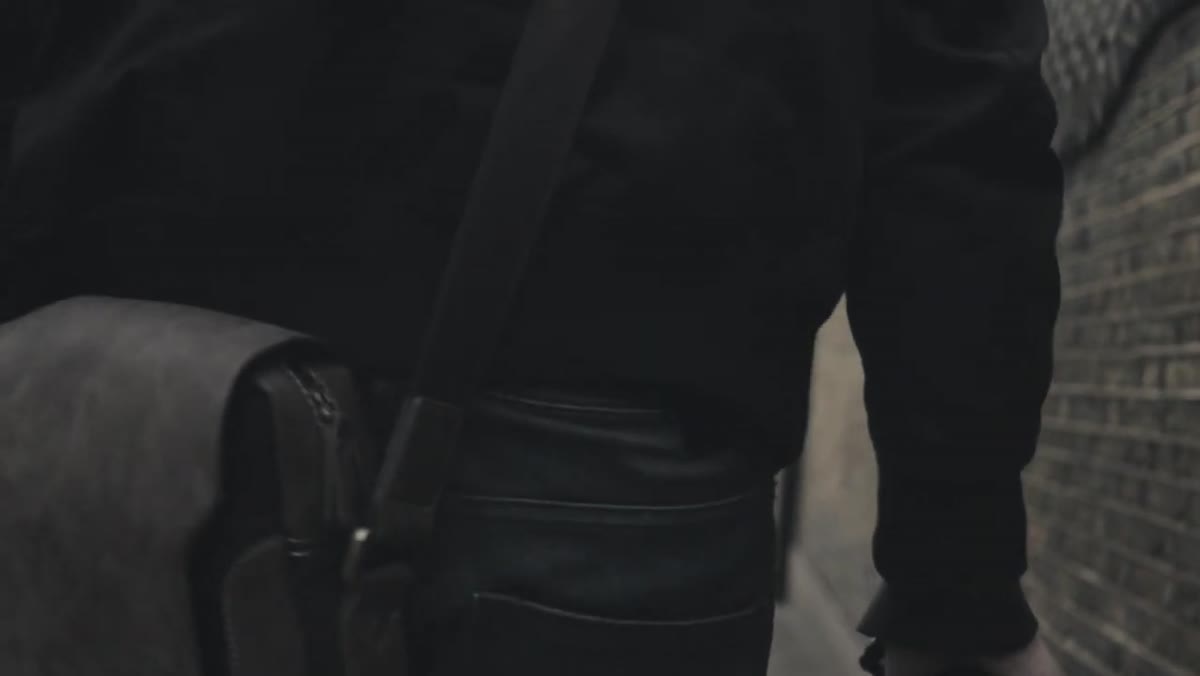 Tucker showing mobile editing workflow on iPhone
One of the underrated parts of Tucker’s workflow is where he edits: on his iPhone, often the same day. This isn’t a compromise made out of laziness. Editing on a phone while you’re still in the city, while the light and the mood are still in your body, produces different decisions than editing three weeks later at a desktop. You remember why you took the shot. You feel what the street felt like. That emotional context shapes your edits. Tucker uses apps available on iOS to process his RAW or JPEG files, adjusting for contrast, shadows, and tone. The exact app matters less than the habit: edit while the experience is close.
Tucker showing mobile editing workflow on iPhone
One of the underrated parts of Tucker’s workflow is where he edits: on his iPhone, often the same day. This isn’t a compromise made out of laziness. Editing on a phone while you’re still in the city, while the light and the mood are still in your body, produces different decisions than editing three weeks later at a desktop. You remember why you took the shot. You feel what the street felt like. That emotional context shapes your edits. Tucker uses apps available on iOS to process his RAW or JPEG files, adjusting for contrast, shadows, and tone. The exact app matters less than the habit: edit while the experience is close.
Step 6: Post What You Saw, Not What You Think People Want to See
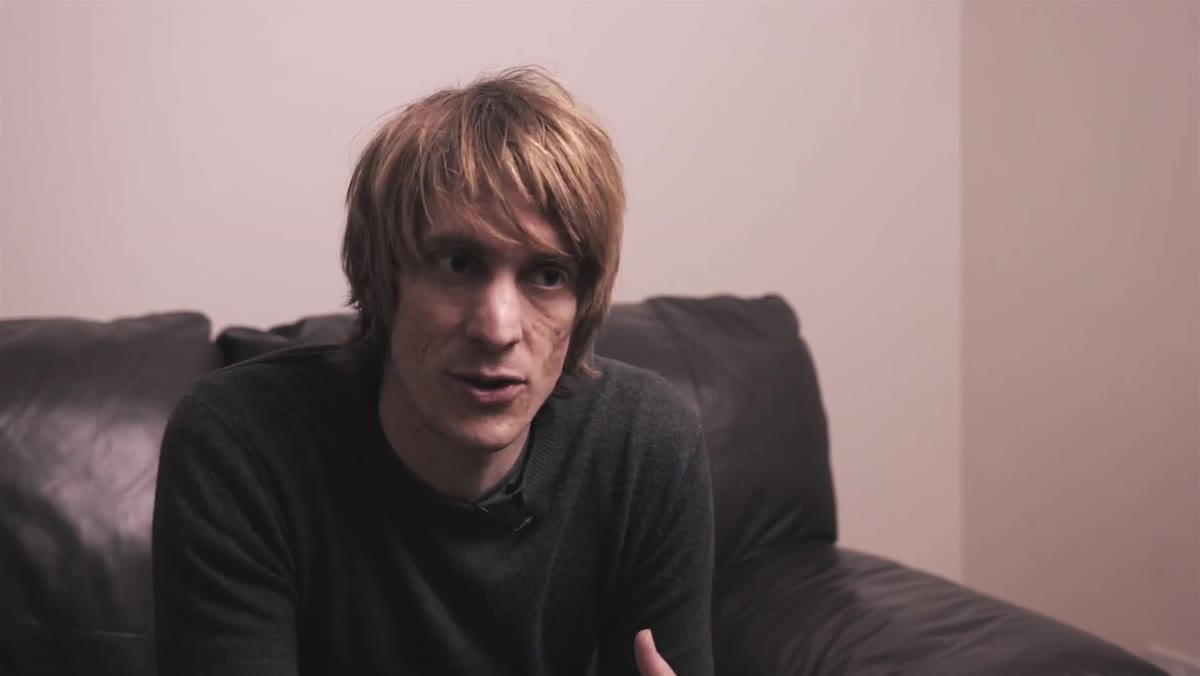 Tucker discussing Instagram responses from locals and visitors
Tucker mentions something that stuck with me. He says locals will often respond to his travel photos with something like, “It’s great to see my city through your eyes.” That only happens when you photograph what genuinely surprised you, not what you thought should surprise you. The tourist landmark exists in ten million photos. The detail you noticed because you were walking fast and looking sideways at the right moment, that’s yours. Post from that place. Specificity is what builds a recognizable eye, and a recognizable eye is what builds an audience that actually cares about your work.
Tucker discussing Instagram responses from locals and visitors
Tucker mentions something that stuck with me. He says locals will often respond to his travel photos with something like, “It’s great to see my city through your eyes.” That only happens when you photograph what genuinely surprised you, not what you thought should surprise you. The tourist landmark exists in ten million photos. The detail you noticed because you were walking fast and looking sideways at the right moment, that’s yours. Post from that place. Specificity is what builds a recognizable eye, and a recognizable eye is what builds an audience that actually cares about your work.
What I’d Add: Use Your Phone as a Decoy (or a Backup)
Tucker’s point about camera friendliness is one I’ve tested myself. Some of my most-liked images were taken on a $200 phone, which is part of what pushed me to write a whole series on mobile photography. But even when I’m carrying a real camera, I’ll sometimes pull out my phone first in a sensitive location, take a frame or two, and let people get comfortable with me before switching. It sounds calculated, but it’s really just social awareness. You’re asking people to share their space with you. Easing into that respectfully tends to produce more relaxed, more honest images.
The single most important thing Tucker demonstrates in this tutorial is that constraint produces clarity. A smaller bag means you move better. A friendlier camera means your subjects act naturally. Editing on your phone means you stay connected to the moment. None of these choices are about making do with less. They’re about removing the friction that sits between you and a good photograph.
Watch the full tutorial on YouTube to see Tucker’s actual edits and how he processes his street shots directly on the iPhone.
Comments (3)
Tried this technique this morning. Game changer for real.
Love this. I referenced a similar technique in one of my recent posts. Always good to see other perspectives.
This should be required reading for anyone starting out.
Leave a Comment