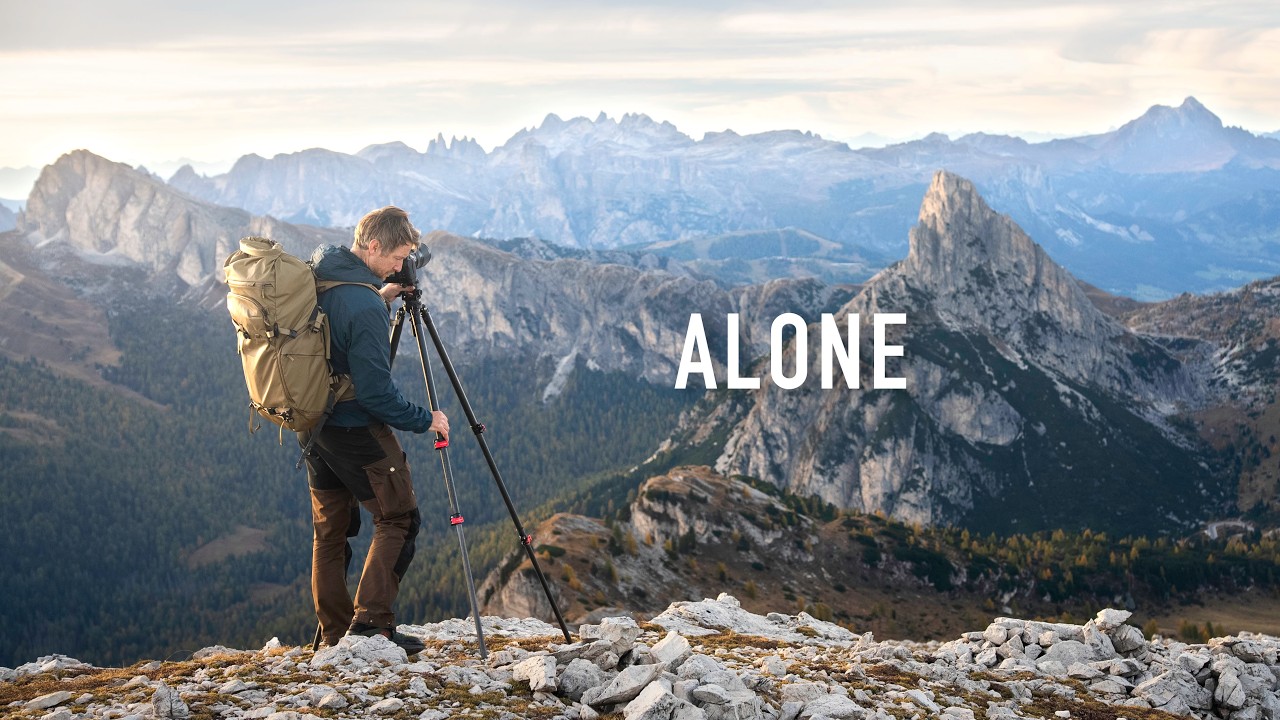
There’s a specific kind of creative paralysis that hits me at crowded viewpoints. Everyone’s elbow-deep in the same frame, the same light, the same angle, and somewhere between the third drone overhead and the fourteenth person asking me to move, I stop making decisions and start just… reacting. I press the shutter, sure. But I’m not really seeing anything. Getting away from that feeling is something I’ve had to work at deliberately, and it’s exactly why I keep coming back to solo landscape work as a reset.
In this Thomas Heaton tutorial filmed during his autumn road trip through the Dolomites, he documents a solo hike to Punta Gallina near the Falzarego Pass in Italy. Watch the full tutorial on YouTube – it’s worth your time. What makes it useful beyond the gorgeous scenery is how he narrates his actual decision-making: when to stop, what gear to bring, how to work efficiently under time pressure, and why solitude changes the quality of your attention. These aren’t abstract principles. They’re field decisions you can apply on your next shoot.
Step 1: Stop for the Opportunistic Shot
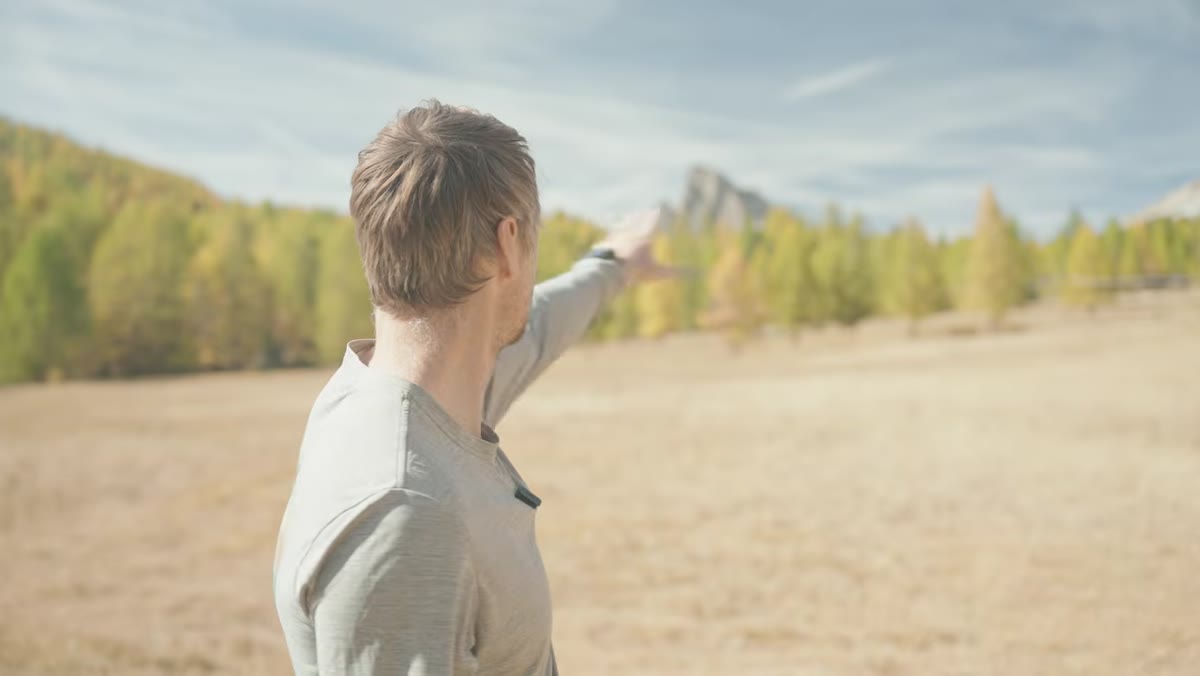 Heaton photographing a sunlit meadow near his van
The first lesson happens before the main hike even starts. Heaton is driving to the trailhead when he spots a meadow near Falzarego Pass – bright fall color, trees framing a mountain peak, strong midday light – and he pulls over. He calls it a “quick shot before lunch,” but the instinct behind it is worth unpacking.
Midday sun gets a bad reputation in landscape photography, and often rightly so. But high-key shooting, where you deliberately embrace bright, blown-out highlights, can work beautifully with saturated autumn foliage. The key is to look for natural frames, the trees here do that work, and let the brightness become part of the mood rather than fight it. When you spot a scene like this, give yourself five minutes. You don’t need a full setup. A single strong composition grabbed in passing is still a photograph.
Step 2: Pack for the Hike, Not for Every Scenario
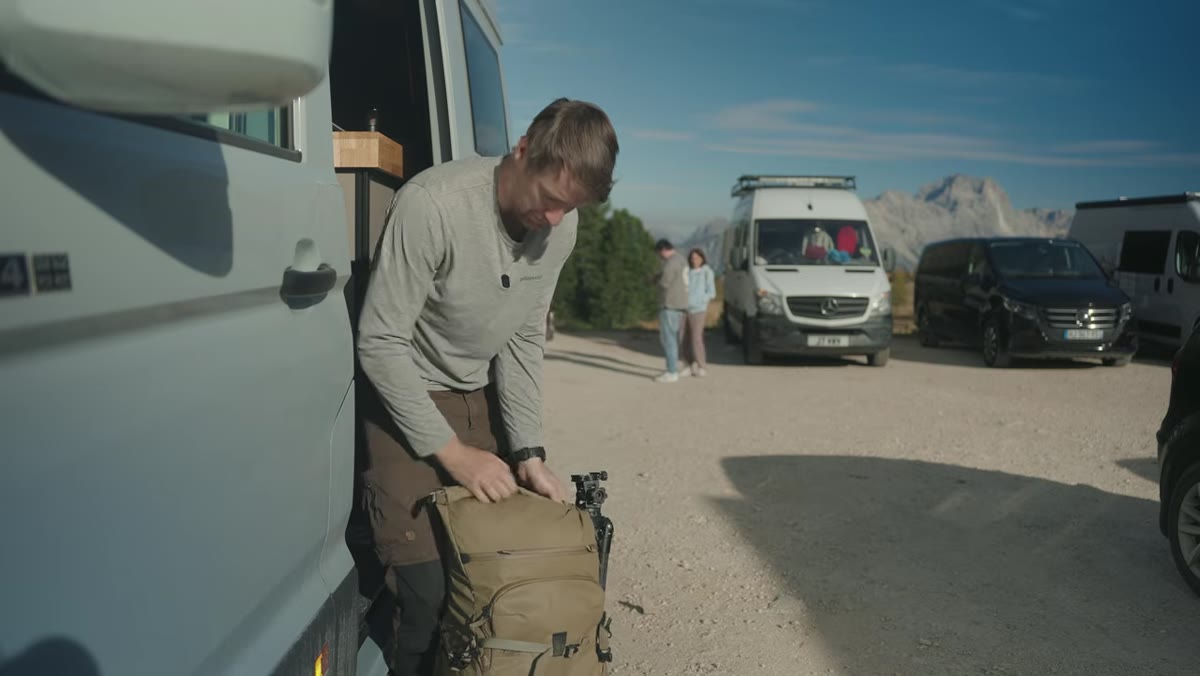 Heaton loading gear at the Falzarego Pass parking lot
Heaton heads out with a Nikon body and two lenses: a 24-70mm and a 100-400mm. He jokes about the weight but sticks with the kit because he knows the destination rewards reach. The 24-70 handles wide environmental shots and foreground-led compositions. The 100-400 is there for compressed mountain layers and distant detail, the kind of isolating telephoto work that makes Dolomites ridgelines look three-dimensional.
The practical takeaway: before a long hike with elevation gain, audit your bag against the specific location, not against hypothetical scenarios. Research the peak you’re heading to. If it’s known for wide panoramas and rocky textures up close, a wide-to-mid zoom plus a telephoto covers you. Leaving behind that third lens or the heavy tripod (he doesn’t mention bringing one here) is a real decision, not a shortcut. Tired legs make for hurried compositions.
Step 3: Get Proper Insurance Before You Shoot Above 2000m
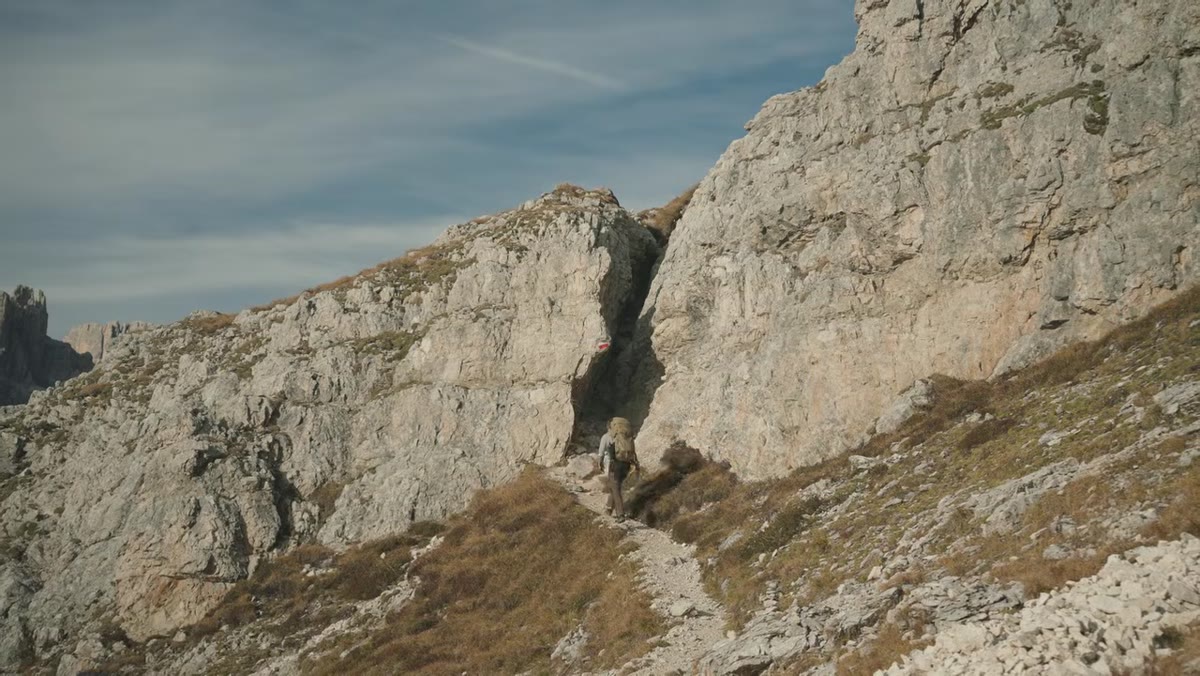 Heaton hiking the rocky trail toward Punta Gallina
This one isn’t a camera technique, but it belongs in any honest field guide. Heaton flags it plainly: most standard travel insurance policies cap their coverage at 2000 meters above sea level. Many of the Dolomites’ best photography locations sit above that threshold. If you twist an ankle on a rocky descent after sunset and need a helicopter evacuation, a standard policy may not cover it.
Before any mountain photography trip, check your policy’s altitude ceiling and confirm it includes helicopter rescue. Specialist adventure travel insurance isn’t expensive relative to the cost of a camera trip, and it’s the kind of thing you only regret not having once. Heaton also mentions wearing muted, terrain-matching clothing – which looks great in photos but makes you harder to spot in an emergency. Worth knowing.
Step 4: Arrive Early Enough to Scout Before the Light Changes
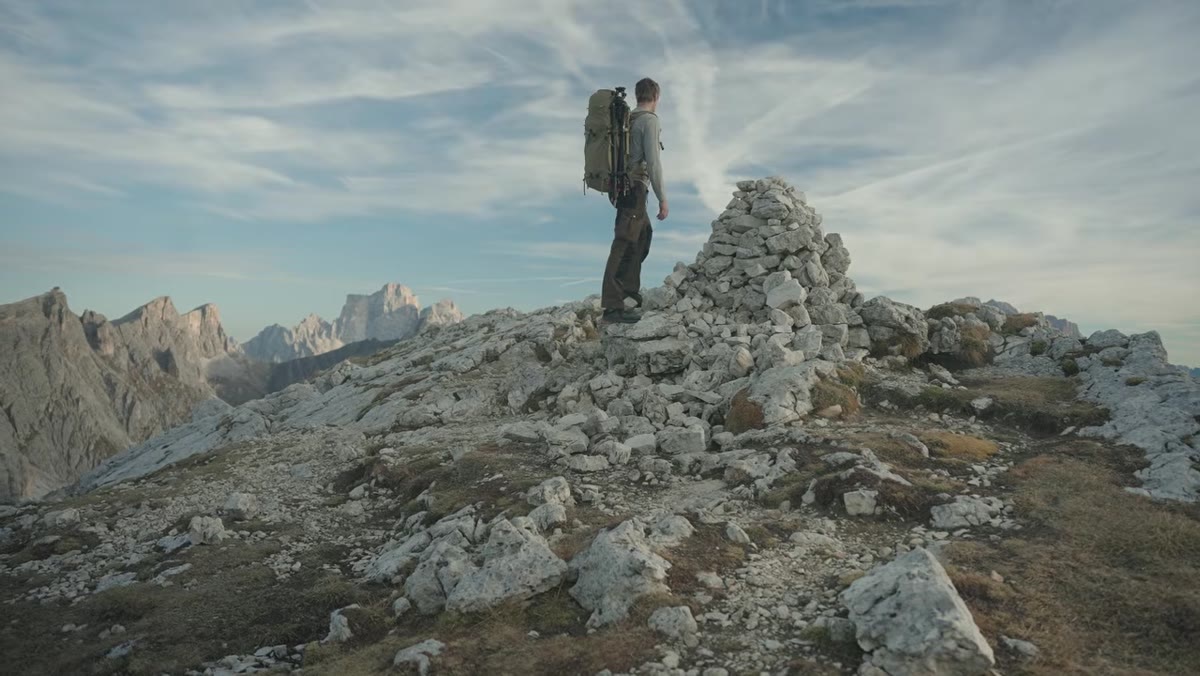 Heaton reaching the summit with 360-degree mountain views
After roughly two hours of hiking, Heaton reaches the summit and immediately starts reading the landscape for compositions rather than shooting. He notes that the 100-400 is going to earn its place here. The wide scene gives him context; the telephoto gives him selection.
When you arrive at a new location with limited time before golden hour, resist the urge to start shooting the moment you catch your breath. Walk the perimeter if the terrain allows. Look at what’s behind you, not just the obvious vista in front. At a 360-degree summit like this, the light will move across the whole scene during the hour you have. Knowing where it’ll land before it arrives means you’re set up and waiting, not scrambling.
Step 5: Work Efficiently – You Have Less Time Than You Think
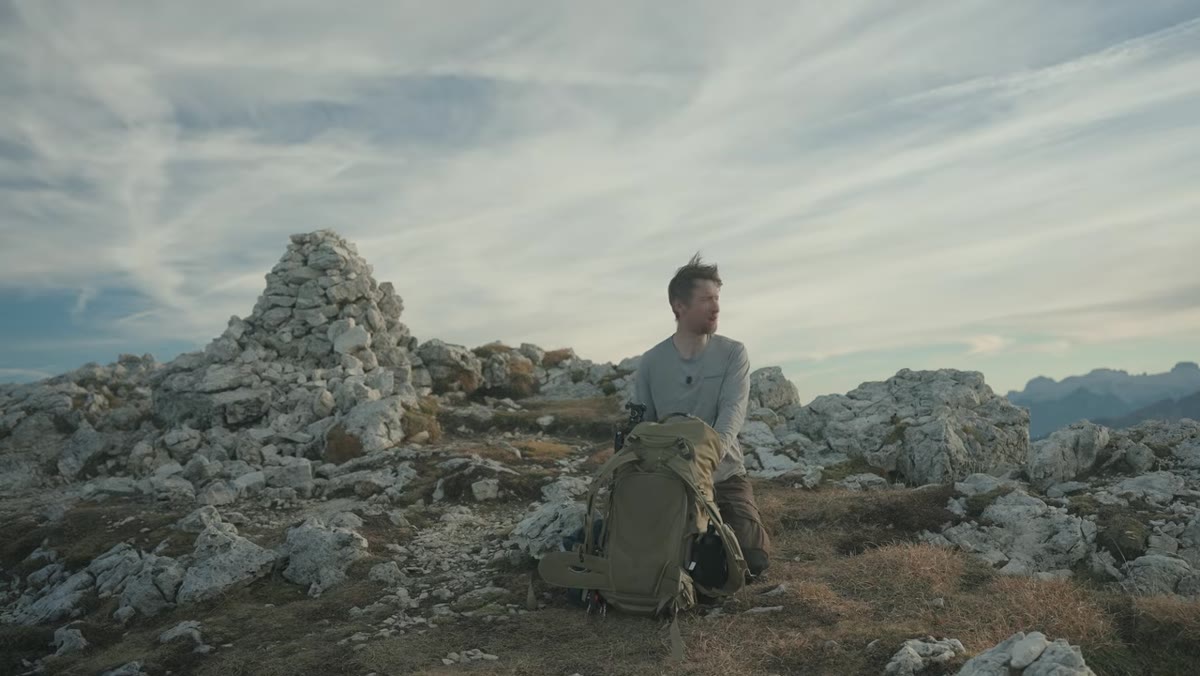 Heaton shooting as sunset light shifts across the peaks
Heaton is explicit about this: he needs to be off the mountain before dark because part of the trail descends through a rocky canyon section that becomes genuinely dangerous without daylight. That constraint shapes the whole shoot. He warms up, picks his first compositions, and starts working methodically.
This kind of self-imposed time pressure is actually useful even when safety isn’t a factor. I’ve started setting a “last shot” alarm on my phone about 20 minutes before I want to leave any location. It stops me drifting. When you know the clock is running, you commit to a composition instead of nudging the tripod for another twenty minutes. Heaton’s version of this is real urgency, yours might just be manufactured, but it produces the same result: decisive shooting.
Step 6: Seek Quiet Locations Over Famous Ones
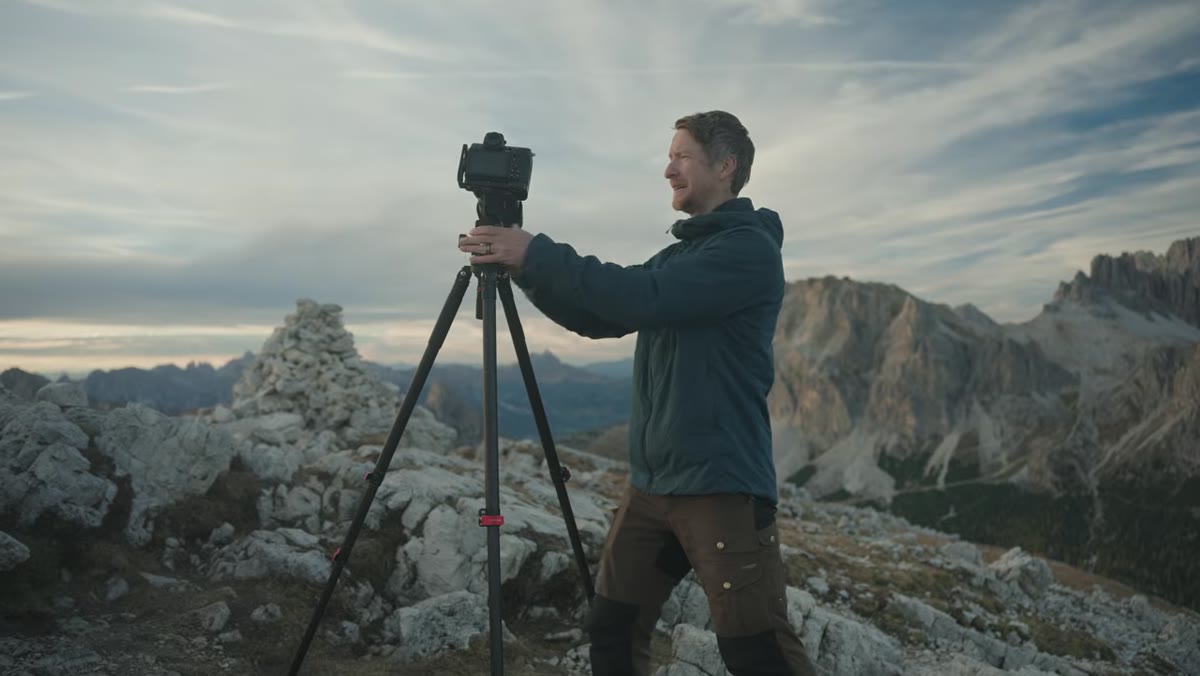 Heaton reflecting on the empty mountain landscape
Heaton contrasts this hike with his previous session at Tre Cime, one of the most photographed spots in the Dolomites, where he paid 60 euros in fees and shot alongside large crowds. He’s not dismissing famous locations, he describes Tre Cime as genuinely impressive. But he makes the case that there’s something irreplaceable about a trail where no one else shows up.
The creative difference is real. When you’re alone in a landscape, your eye stops anchoring on what other photographers are doing and starts solving the frame on its own terms. You slow down. You notice the small stuff, the texture of the grass, the way a ridge cuts the sky at an unexpected angle. Some of my own favorite images have come from completely unglamorous spots that I’d researched specifically to avoid the crowds. The Dolomites are full of trails that don’t have their own Instagram hashtag yet. Find one.
One Thing I’d Add: Use the Drive There
The video captures something Heaton does almost by accident: he’s already photographing before the main event begins. That roadside meadow stop isn’t a detour – it’s proof that the journey to a location is part of the shoot. I keep a small mirrorless in the passenger seat on road trips for exactly this reason. Some of my best frames from travel have come from a ten-minute pull-off on a mountain road, light I never would have planned for but was present enough to catch.
If you’re driving to a trailhead, leave early enough to stop. The golden-hour window at the summit matters, but so does everything you pass on the way there.
The single most important thing this tutorial reinforced for me: solitude isn’t just pleasant, it’s a compositional tool. When no one else is in the frame or setting up beside you, you stop unconsciously copying the angle everyone else is using and start finding your own. That’s the shot worth hiking two hours for.
Watch the full tutorial on YouTube to see Heaton’s compositions in motion and get a real feel for the light across the Dolomites in autumn.
Comments
Leave a Comment