There’s a specific kind of shooting panic I know well. You’re on location, you have limited time, and you need footage or photos that feel cinematic without a full crew or a trunk full of gear. I’ve been there on travel assignments where I had one bag, one camera, and a client expecting polished results. The question is never really “what’s the best gear?” It’s “what’s the right gear for this job?” That distinction took me an embarrassingly long time to learn.
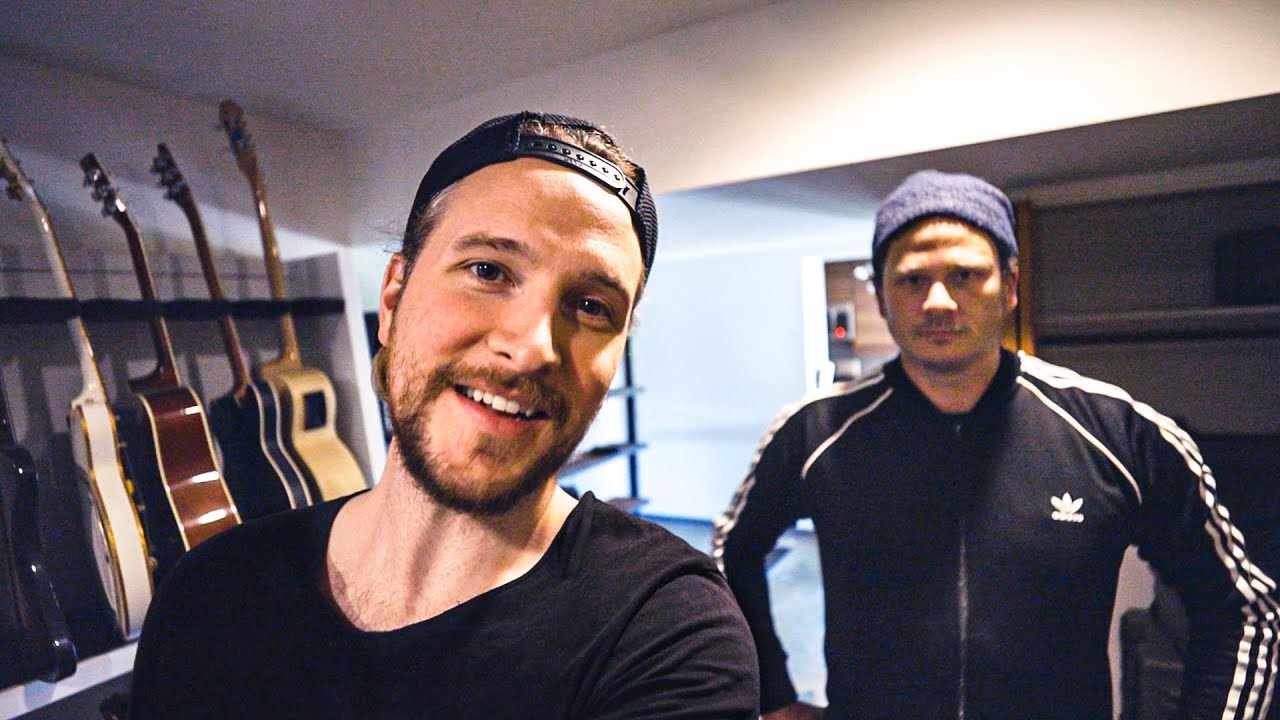
In this Peter McKinnon tutorial, he takes us behind the scenes in San Diego while filming a documentary on the band Angels and Airwaves. What starts as a gear-bag peek turns into a genuinely useful masterclass on matching your equipment to your shooting context, and grabbing strong product shots in whatever environment you land in. Watch the full tutorial on YouTube and follow along with the breakdown below.
What I appreciate most is that Peter isn’t flexing his kit. He’s explaining his logic, and that logic transfers directly to how any of us should be packing for a job.
Step 1: Match Your Camera to the Specific Deliverable
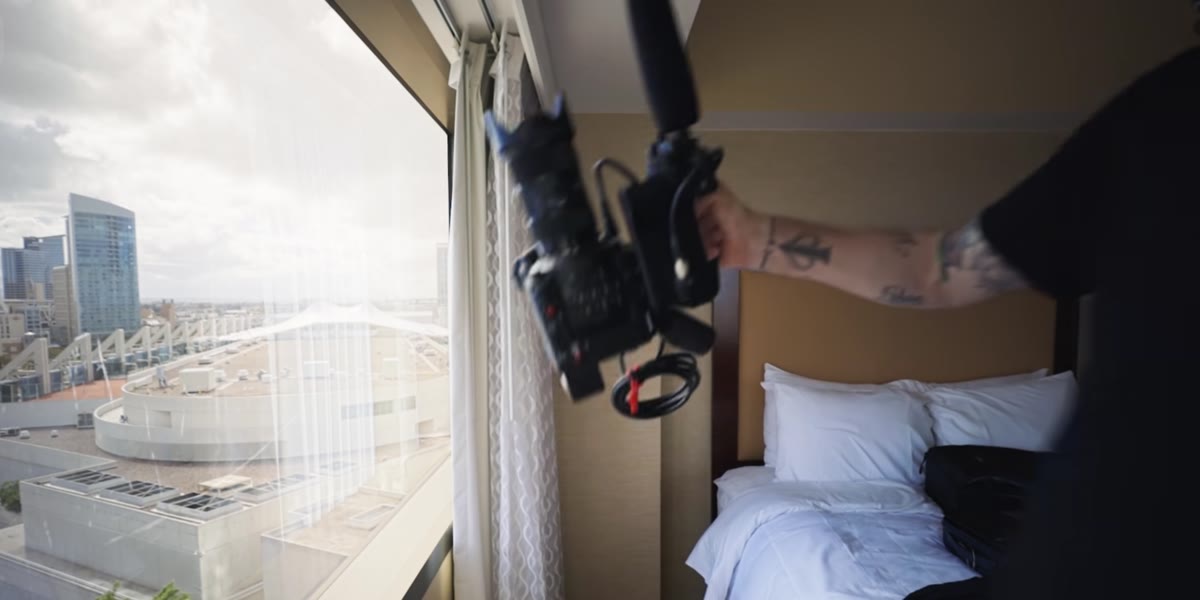 Peter explaining his camera choice for the documentary shoot
Before you pack a single lens, get clear on what the finished product actually needs to look like. Peter brought the Canon C200 to San Diego specifically because he was continuing work on a documentary and needed 4K footage with a cinematic quality. He wasn’t grabbing the flashiest body he owned. He was answering a question: what does this project require?
Peter explaining his camera choice for the documentary shoot
Before you pack a single lens, get clear on what the finished product actually needs to look like. Peter brought the Canon C200 to San Diego specifically because he was continuing work on a documentary and needed 4K footage with a cinematic quality. He wasn’t grabbing the flashiest body he owned. He was answering a question: what does this project require?
When you’re planning a shoot, write down three things before you open your camera bag. First, what resolution does the final output require? Second, will you be moving constantly or staying relatively static? Third, how much post-production time do you actually have? Those three answers will narrow your gear choices faster than any spec sheet.
Step 2: Prioritize Internal Audio Recording for Run-and-Gun Work
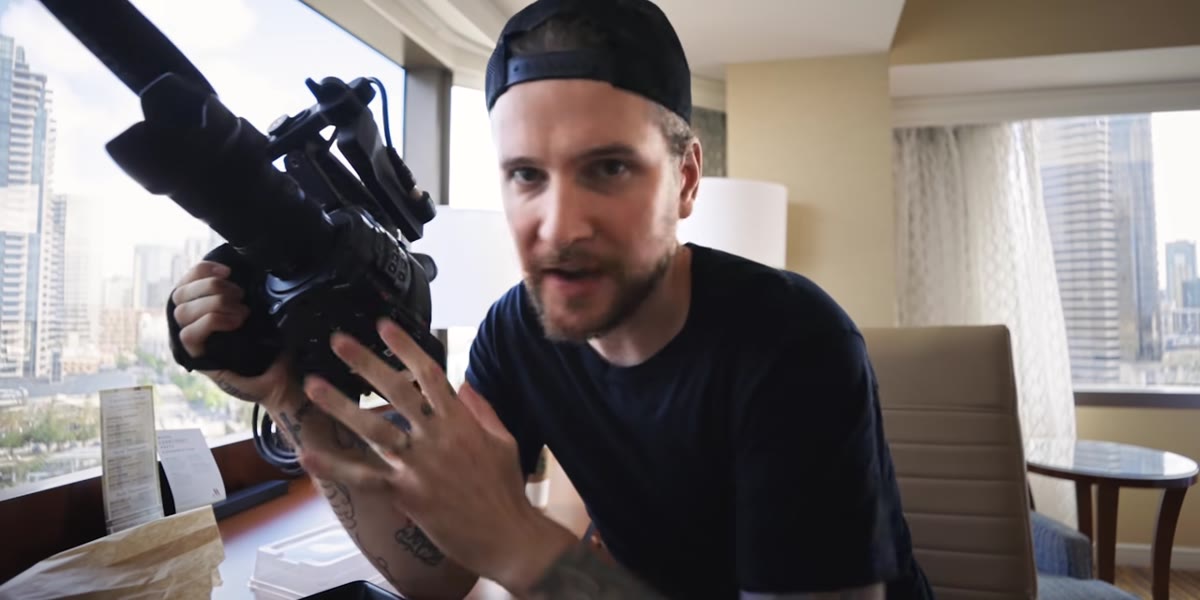 Peter discussing the C200’s audio capabilities for documentary use
One of the most practical points Peter makes is about audio workflow. On a run-and-gun documentary shoot, managing a separate audio recorder adds complexity, sync time in post, and one more thing to forget on a rushed morning. He specifically chose a camera that lets him record external audio directly into the camera file so it’s baked in from the start.
Peter discussing the C200’s audio capabilities for documentary use
One of the most practical points Peter makes is about audio workflow. On a run-and-gun documentary shoot, managing a separate audio recorder adds complexity, sync time in post, and one more thing to forget on a rushed morning. He specifically chose a camera that lets him record external audio directly into the camera file so it’s baked in from the start.
If you’re shooting any kind of documentary, interview, or event content, this should be a checklist item before you book a camera. Can it accept an external mic via XLR or 3.5mm? Does it record that audio cleanly at 48kHz? Getting this right in-camera saves you from the nightmare of beautifully shot footage with unusable audio, or worse, syncing 200 clips manually because you ran a separate recorder.
Step 3: Accept That Cinematic and Practical Are Not Opposites
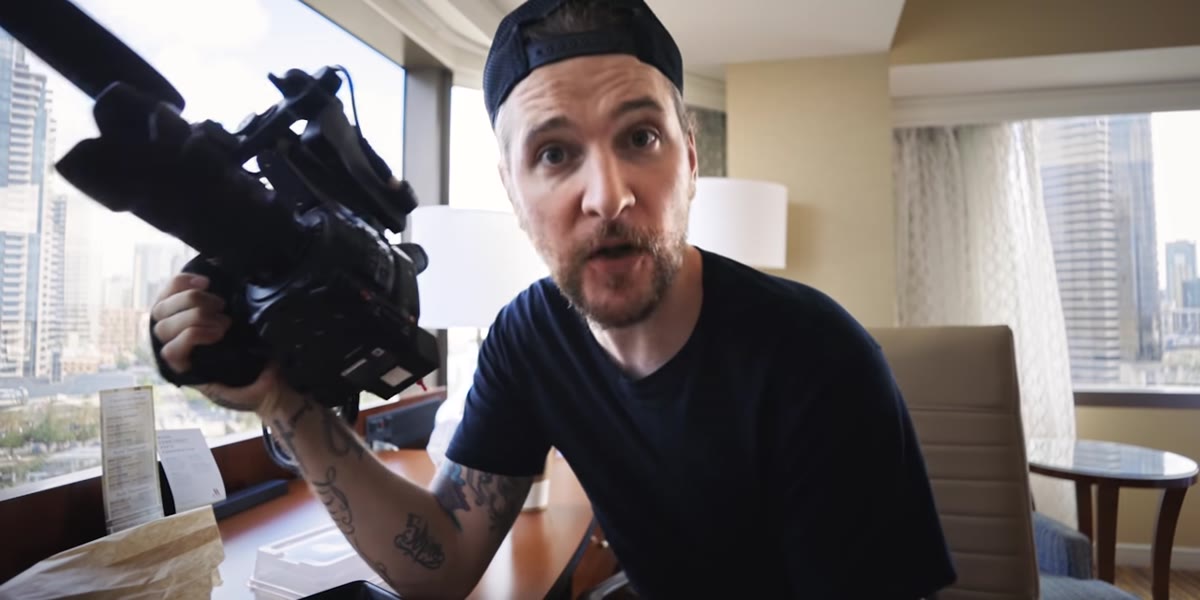 Peter on balancing cinematic quality with documentary flexibility
There’s a myth that cinematic-looking footage requires a controlled environment, a tripod, and a full lighting setup. Peter is actively dismantling that idea here. His whole framing is that the C200 gives him both the mobility of a run-and-gun documentary camera and the image quality to produce something that looks genuinely cinematic.
Peter on balancing cinematic quality with documentary flexibility
There’s a myth that cinematic-looking footage requires a controlled environment, a tripod, and a full lighting setup. Peter is actively dismantling that idea here. His whole framing is that the C200 gives him both the mobility of a run-and-gun documentary camera and the image quality to produce something that looks genuinely cinematic.
The practical takeaway is this: rigging and settings matter more than the body itself in a lot of cases. A well-exposed, color-graded shot from a mid-tier cinema camera will almost always beat a poorly exposed shot from a flagship body. Nail your exposure, shoot in a log profile if your camera supports it to preserve dynamic range, and keep your movements deliberate even when you’re moving fast.
Step 4: Shoot Product Photos Wherever You Land
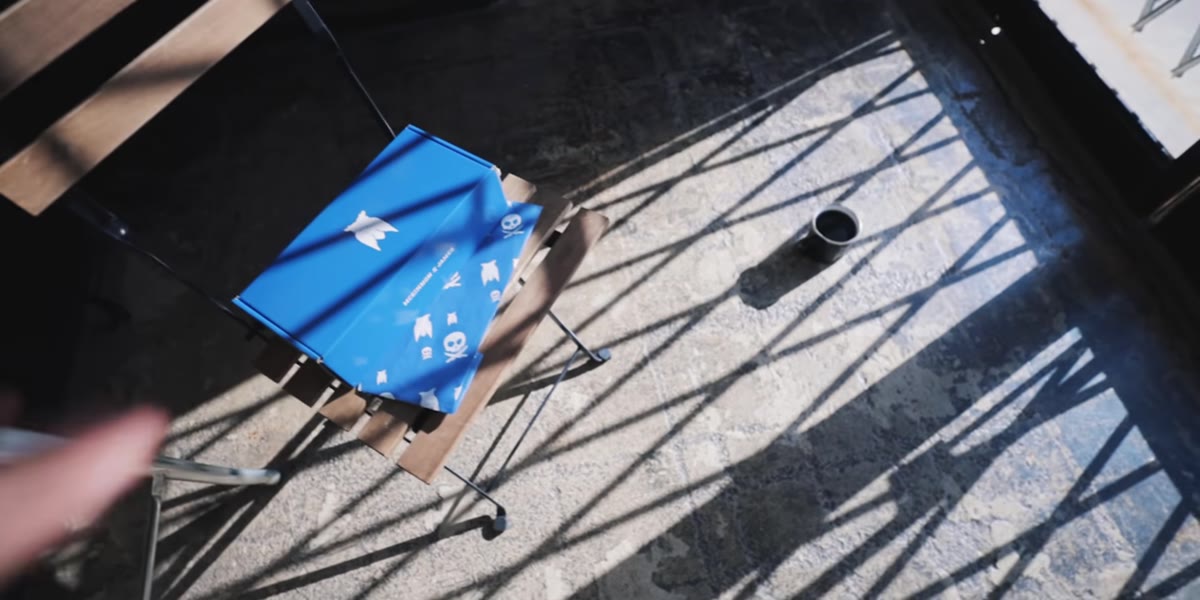 Peter scouting the James Coffee location for product photo angles
Here is where the video shifts gears in the best way. Peter is at James Coffee in San Diego and instead of waiting for a “proper” setup, he starts looking at the location itself as a shooting environment. He notices the lines on the floor, the texture of the surfaces, the natural geometry of the space, and he uses those elements to frame his product shots.
Peter scouting the James Coffee location for product photo angles
Here is where the video shifts gears in the best way. Peter is at James Coffee in San Diego and instead of waiting for a “proper” setup, he starts looking at the location itself as a shooting environment. He notices the lines on the floor, the texture of the surfaces, the natural geometry of the space, and he uses those elements to frame his product shots.
When you’re shooting products on location without a studio setup, train yourself to look for three things: lines that create direction or depth, textures that add visual interest without competing with the product, and light sources that are already doing something interesting. A slatted wooden chair, a tiled floor, a window casting clean shadows. These are all free backgrounds if you look at them right.
Step 5: Use Architectural Elements as Natural Composition Tools
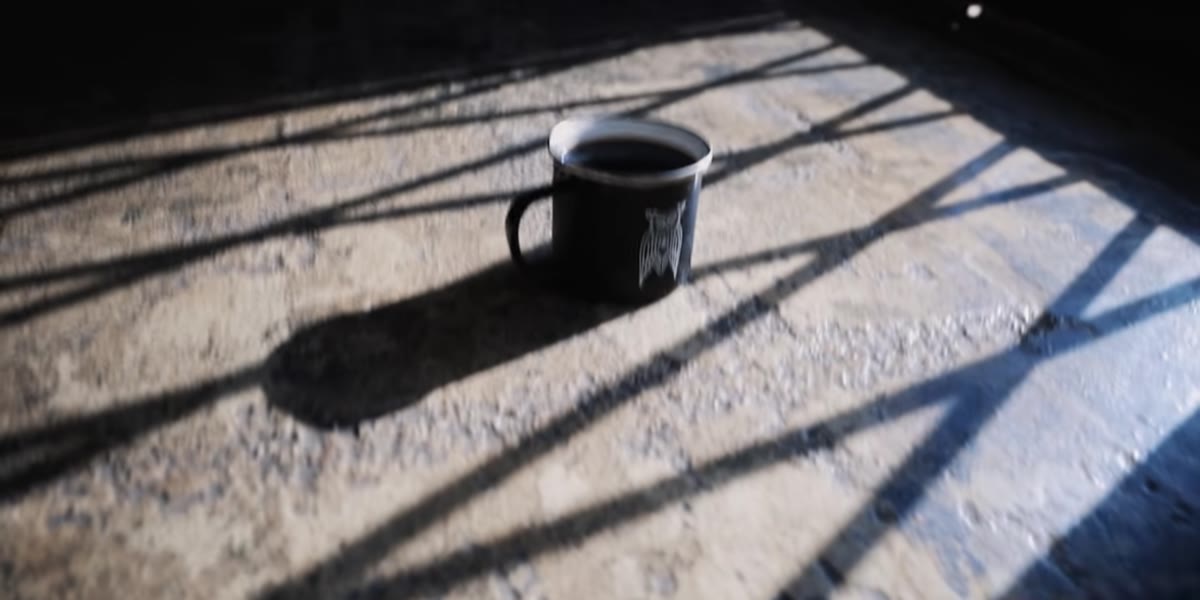 product box positioned on slatted chair with textured floor visible
Peter places a product box on a slatted wooden chair and immediately recognizes that the repeating lines work visually. This isn’t an accident. He’s doing what experienced location photographers do instinctively: finding geometric elements in the environment that create rhythm and frame the subject without overshadowing it.
product box positioned on slatted chair with textured floor visible
Peter places a product box on a slatted wooden chair and immediately recognizes that the repeating lines work visually. This isn’t an accident. He’s doing what experienced location photographers do instinctively: finding geometric elements in the environment that create rhythm and frame the subject without overshadowing it.
Try this on your next product shoot. Set your product down and then look at what’s within two feet of it in every direction. Rotate 90 degrees and look again. Most people lock in on one angle and stop exploring. The floor directly below a product is often more interesting than eye level, especially when there’s texture, pattern, or directional light hitting it.
Step 6: Print Your Work. Seriously.
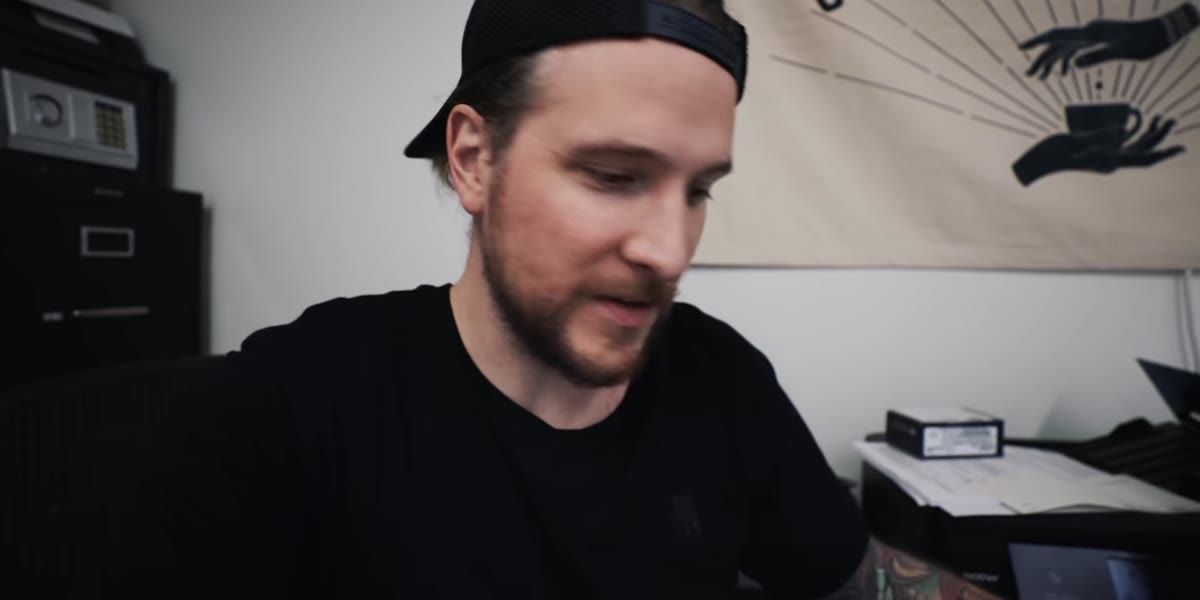 Peter signing limited edition photo prints with coffee boxes nearby
This one isn’t about camera settings, but it’s the most emotionally resonant point in the whole video. Peter is signing printed editions of his photographs, and he says something honest: he tells people to print their work all the time, and he doesn’t do it enough himself.
Peter signing limited edition photo prints with coffee boxes nearby
This one isn’t about camera settings, but it’s the most emotionally resonant point in the whole video. Peter is signing printed editions of his photographs, and he says something honest: he tells people to print their work all the time, and he doesn’t do it enough himself.
If you have a folder of images sitting on a hard drive that you’ve never printed, pick one this week. Services like Artifact Uprising or even a local print shop can produce something beautiful for under $30. Seeing your image on paper changes your relationship with it. It also shows you where your editing decisions hold up and where they fall apart. It’s one of the fastest feedback loops available to you as a photographer.
What I’d Add: Scout Before You Shoot, Even for Five Minutes
Peter’s instinct for finding good angles at James Coffee looks effortless, but that kind of eye gets built through deliberate practice. My own version of this is arriving to any location shoot ten minutes early and walking the space with no camera in my hand. I’m just looking. Where is the light coming from? What surfaces have texture? What lines exist that I could use?
It sounds simple, but most people arrive, unpack immediately, and start shooting from the first spot that looks fine. Fine is the enemy of interesting. That five-minute scout has saved me on more shoots than any piece of gear I’ve ever bought.
The single most important thing this video reinforced for me is that good shooting decisions happen before you press the shutter. Your camera choice, your audio plan, your location awareness, your product angle. Every one of those is a decision made in advance, not in the moment. The photographers who look like they have great instincts on location have usually just done the thinking earlier than everyone else.
Watch the full tutorial on YouTube to see Peter’s full San Diego workflow, including the James Coffee product shoot and the documentary filming setup in action.
Comments
Leave a Comment