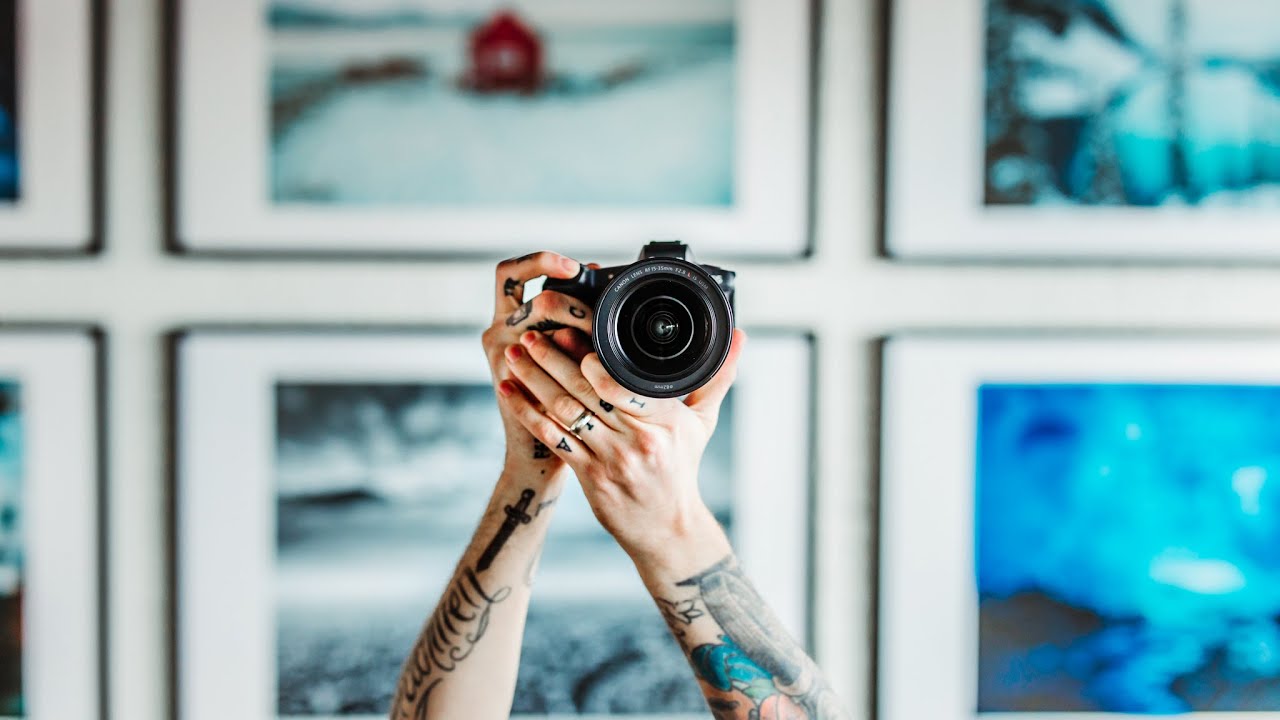
Every Sunday I do a photo walk around Seattle before the city wakes up. Over the years, the questions I get asked most often have nothing to do with composition or light. They’re always about the gear decisions that feel overwhelming before you even lift the camera: Should I shoot RAW or JPEG? Does my crop sensor camera put me at a disadvantage? Should I switch to mirrorless? These questions stall people before they even start shooting, and honestly, I spent way too long feeling uncertain about some of them myself.
In this Peter McKinnon tutorial, Watch the full tutorial on YouTube, he wraps up his three-part Camera Basics series by tackling all three of those decisions in a single, no-fluff video. Peter has a talent for making technical concepts feel like a conversation rather than a lecture, which is exactly why I keep coming back to his work when I need a gut-check on how I’m explaining something to my own students. Here’s the full walkthrough with everything you need to actually act on what he covers.
Step 1: Understand What You’re Actually Losing When You Shoot JPEG
 Peter explaining JPEG compression and data loss
JPEG stands for Joint Photographic Experts Group, which means almost nothing practical, but what does matter is how the format handles your image data. When your camera saves a JPEG, it runs a compression algorithm that permanently discards information it decides you don’t need. You get a smaller file that loads fast on any device, but you lose detail you can never get back.
Peter explaining JPEG compression and data loss
JPEG stands for Joint Photographic Experts Group, which means almost nothing practical, but what does matter is how the format handles your image data. When your camera saves a JPEG, it runs a compression algorithm that permanently discards information it decides you don’t need. You get a smaller file that loads fast on any device, but you lose detail you can never get back.
Think of it like photocopying a photocopy. The first generation looks fine. By the third or fourth save-open-edit-save cycle, the image has visibly degraded. If you shoot JPEG and plan to edit your photos repeatedly, that degradation compounds every single time. For casual snapshots headed straight to social media, that trade-off might be acceptable. For anything you want to print, license, or actually process with intention, it becomes a real problem.
Step 2: Recognize Where JPEG Still Makes Sense
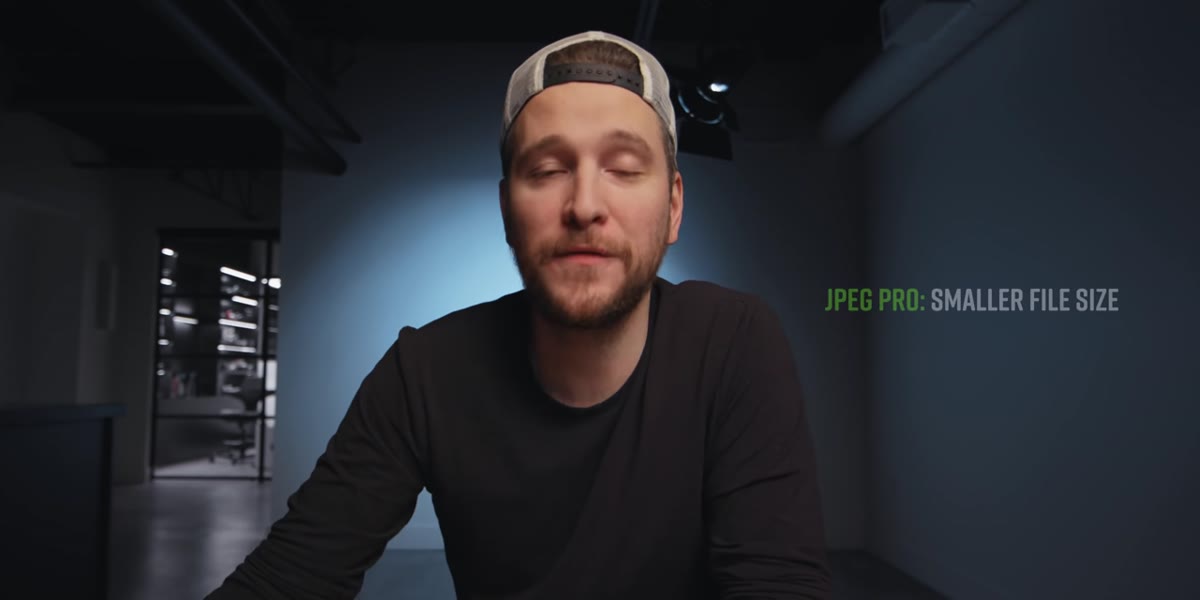 Discussion of JPEG card storage and shooting speed benefits
There are two genuine advantages to JPEG that are worth keeping in mind before you dismiss it entirely. First, you can fit significantly more images on a single memory card because the file sizes are so much smaller. Second, your camera can shoot faster and longer in burst mode because it’s writing less data to the card with each frame.
Discussion of JPEG card storage and shooting speed benefits
There are two genuine advantages to JPEG that are worth keeping in mind before you dismiss it entirely. First, you can fit significantly more images on a single memory card because the file sizes are so much smaller. Second, your camera can shoot faster and longer in burst mode because it’s writing less data to the card with each frame.
If you’re shooting in a situation where speed and volume matter more than editing flexibility, say, a fast-moving event where you just need clean, shareable files quickly, JPEG is a defensible choice. The key is making the decision consciously rather than just leaving your camera on whatever setting it shipped with.
Step 3: Switch to RAW and Learn Why It Feels Like a Safety Net
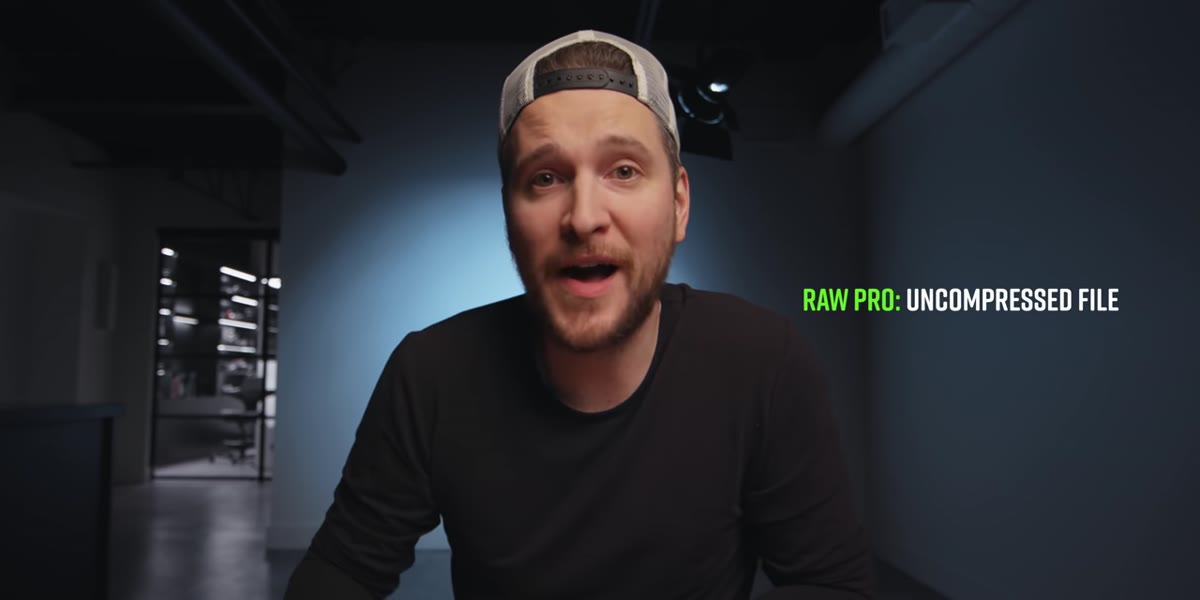 RAW files loaded into Lightroom with editing sliders visible
A RAW file is uncompressed, meaning your camera captures and stores every piece of data the sensor recorded. Nothing gets thrown away. When you bring that file into a program like Adobe Lightroom, you’re working with the full picture, and the adjustments you make don’t permanently alter the original file. It’s non-destructive editing, which means you can dial back blown-out highlights, recover shadow detail, or fix a white balance mistake without any image degradation.
RAW files loaded into Lightroom with editing sliders visible
A RAW file is uncompressed, meaning your camera captures and stores every piece of data the sensor recorded. Nothing gets thrown away. When you bring that file into a program like Adobe Lightroom, you’re working with the full picture, and the adjustments you make don’t permanently alter the original file. It’s non-destructive editing, which means you can dial back blown-out highlights, recover shadow detail, or fix a white balance mistake without any image degradation.
Peter describes it as being able to go back in time on your exposure decisions, and that’s genuinely what it feels like. I’ve pulled usable images from RAW files that looked completely wrecked straight out of camera. The dynamic range you have to work with is dramatically wider than JPEG. The standard workflow is: import RAW files into Lightroom, make your adjustments, then export as a JPEG or TIFF depending on where the image is going.
Step 4: Understand the Crop Sensor vs. Full-Frame Difference Without the Snobbery
 Topic introduction slide showing crop sensor vs full-frame
Full-frame sensors are the same size as a 35mm film frame. Crop sensors, also called APS-C sensors, are physically smaller, which means they capture a narrower slice of what your lens sees. This creates what’s called a crop factor, typically around 1.5x or 1.6x depending on the manufacturer. A 50mm lens on a crop sensor camera behaves more like a 75-80mm lens in terms of field of view.
Topic introduction slide showing crop sensor vs full-frame
Full-frame sensors are the same size as a 35mm film frame. Crop sensors, also called APS-C sensors, are physically smaller, which means they capture a narrower slice of what your lens sees. This creates what’s called a crop factor, typically around 1.5x or 1.6x depending on the manufacturer. A 50mm lens on a crop sensor camera behaves more like a 75-80mm lens in terms of field of view.
This is not automatically a disadvantage. Wildlife and sports photographers often prefer crop sensors precisely because that extra reach comes for free. Portrait and landscape shooters tend to favor full-frame for the wider field of view and generally better low-light performance, since larger sensors capture more light. Neither is wrong. They’re different tools with different strengths, and knowing which trade-offs apply to your shooting style is what actually matters.
Step 5: Decide Between Mirrorless and DSLR Based on How You Actually Work
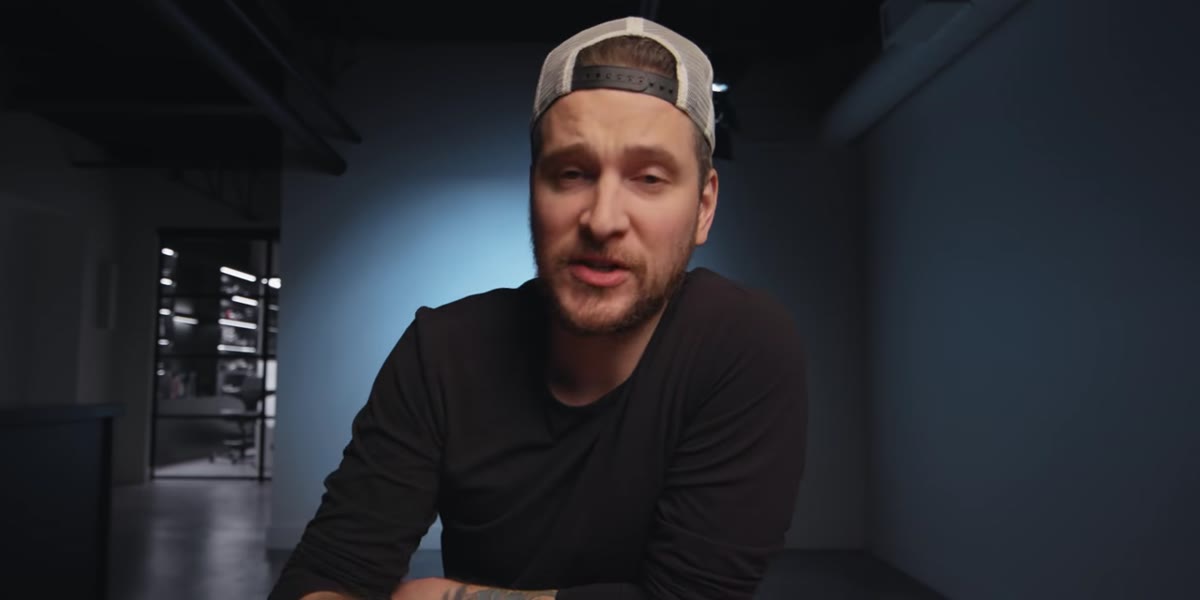 Topic introduction for mirrorless vs DSLR section
DSLRs use a mirror mechanism that reflects light up into an optical viewfinder. When you press the shutter, the mirror flips up, light hits the sensor, and the image is captured. Mirrorless cameras remove that mirror entirely. Light goes straight to the sensor at all times, and you compose through an electronic viewfinder or the rear screen.
Topic introduction for mirrorless vs DSLR section
DSLRs use a mirror mechanism that reflects light up into an optical viewfinder. When you press the shutter, the mirror flips up, light hits the sensor, and the image is captured. Mirrorless cameras remove that mirror entirely. Light goes straight to the sensor at all times, and you compose through an electronic viewfinder or the rear screen.
The practical differences come down to size, battery life, and autofocus behavior. Mirrorless bodies tend to be more compact. DSLRs typically have better battery life because they’re not powering a live sensor feed constantly. Modern mirrorless autofocus systems, especially for subject tracking, have pulled significantly ahead of most DSLRs. If you’re buying new today and longevity matters, mirrorless is where camera manufacturers are investing their development resources. If you already own DSLR glass and your system works for you, switching is not urgent.
What I’d Add From My Own Experience
The RAW versus JPEG question was the one that changed my shooting the most, and not for the reason I expected. It wasn’t that I started recovering more bad exposures. It was that shooting RAW made me more willing to take creative risks in camera because I knew I had latitude to correct course later. That psychological shift changed how I approached difficult lighting situations, backlit subjects, golden hour scenes where the range between shadows and sky is brutal.
One practical note: RAW files require more storage and a longer editing pipeline. If you’re going to commit to shooting RAW, invest in fast memory cards and build a proper backup habit. A 32GB card fills up faster than you think when every frame is 25-30MB.
The single most important thing Peter covers in this tutorial is also the one most beginners skip: your file format decision shapes everything that happens after you shoot. Get comfortable with RAW, understand what your sensor size actually does to your focal lengths, and choose your camera style based on your workflow rather than what you see other people carrying.
Watch the full tutorial on YouTube to hear Peter walk through all three topics in his own words. It’s a genuinely useful 20-ish minutes, especially if you’re in the process of building out your kit or rethinking your post-processing habits.
Comments
Leave a Comment