Every Sunday morning I take a photo walk around Seattle. No agenda, no client, no shot list. I bring whatever camera feels right that week, sometimes my mirrorless kit, sometimes just my phone. What I’ve noticed over the years is that the weeks I’ve been shooting a lot of food or product work, my street portraits get sharper. Not technically sharper, sharper in the sense that I’m reading light faster, thinking about gesture more deliberately, framing with more intention. I always thought this was some happy accident. Turns out it has a name.
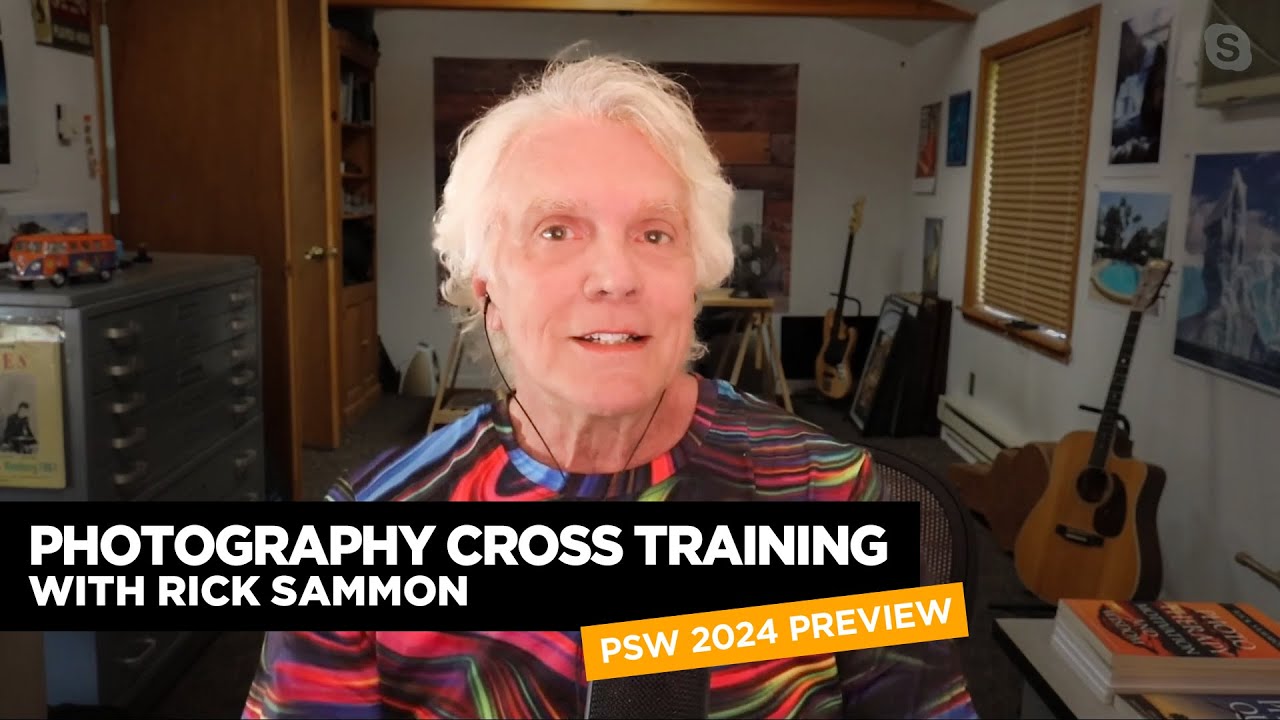
In this KelbyOne tutorial from Photoshop World 2024, Watch the full tutorial on YouTube, photographer and educator Rick Sammon introduces what he calls “photography cross training.” The concept borrows directly from athletic training: just as a runner who also cycles builds leg strength that feeds back into their running, a photographer who studies one genre closely develops instincts that transfer into every other genre they touch. Sammon is one of those teachers who can take a fuzzy intuition you’ve had for years and hand it back to you as a clear, usable framework.
The tutorial is structured as a preview and breakdown of his Photoshop World session, which means it’s dense with practical insight even in a short format. Here’s how to work through the core ideas he covers.
Step 1: Understand the Core Premise of Cross Training
 Rick Sammon explaining the concept of photography cross training
Cross training in photography means consciously recognizing that skills are not genre-specific. They belong to you. When Sammon explains this, he’s not talking about a vague “everything connects” philosophy. He’s talking about specific, transferable technical and compositional instincts that you build in one setting and carry into another.
Rick Sammon explaining the concept of photography cross training
Cross training in photography means consciously recognizing that skills are not genre-specific. They belong to you. When Sammon explains this, he’s not talking about a vague “everything connects” philosophy. He’s talking about specific, transferable technical and compositional instincts that you build in one setting and carry into another.
The practical starting point is to identify which genre you feel most confident shooting right now. That confidence zone is your training base. Before you pick up a new subject or style, spend a few minutes listing what you already know about light, focus, timing, and framing from your strongest genre. That list is longer than you think, and most of it applies somewhere else.
Step 2: Map Animal Portrait Skills Onto People Photography
 Sammon describing animal and people portrait parallels
Sammon uses animal and people portraiture as his clearest example, and it’s a good one. When you photograph animals, you learn fast that the eyes have to be sharp, that background separation through a wider aperture makes the subject pop, and that you are always waiting for the right moment, a tilt of the head, a paw lifted mid-step, a gaze that lands directly at the lens. Wildlife photographers get obsessive about gesture because they have no other choice.
Sammon describing animal and people portrait parallels
Sammon uses animal and people portraiture as his clearest example, and it’s a good one. When you photograph animals, you learn fast that the eyes have to be sharp, that background separation through a wider aperture makes the subject pop, and that you are always waiting for the right moment, a tilt of the head, a paw lifted mid-step, a gaze that lands directly at the lens. Wildlife photographers get obsessive about gesture because they have no other choice.
Bring that obsession into portrait sessions. Instead of waiting for your human subject to stop fidgeting, start reading that movement the way you’d read a bird about to take flight. Let them move, and catch the fraction of a second where the gesture says something. The technical settings you use for a fast-moving animal, a slightly faster shutter, continuous autofocus, burst mode, are often exactly what you need for a candid human portrait that feels alive rather than posed.
Step 3: Connect Close-Up Food Photography to Macro Flower Work
 Sammon discussing close-up food and flower photography overlap
Here’s one I’ve felt personally and never fully articulated until watching this. Food photography at close range is a study in texture, controlled depth of field, and directional light. You spend time thinking about how light rakes across a surface to reveal detail, how the background either competes with or supports the subject, and how tight framing creates intimacy.
Sammon discussing close-up food and flower photography overlap
Here’s one I’ve felt personally and never fully articulated until watching this. Food photography at close range is a study in texture, controlled depth of field, and directional light. You spend time thinking about how light rakes across a surface to reveal detail, how the background either competes with or supports the subject, and how tight framing creates intimacy.
Now walk outside and point that same lens at a flower. Every single one of those instincts applies. The light direction that makes a bowl of pasta look gorgeous is the same quality of light that turns a flower petal into something luminous. If you’ve been doing food work and you haven’t tried macro flower photography, you already know more than you think. Same f-stop logic, same soft box versus hard light decisions, same background control. Just different subjects.
Step 4: Use Gesture as Your Universal Timing Cue
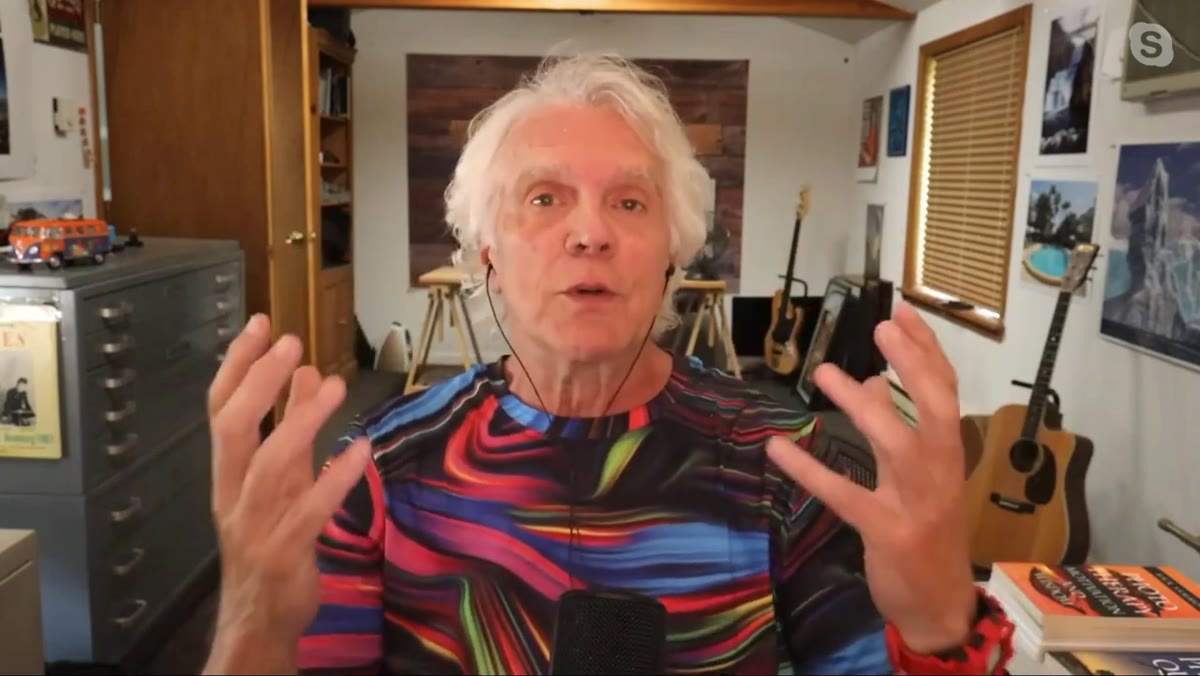 Sammon emphasizing gesture in both wildlife and people photography
Sammon keeps coming back to gesture as the thread that ties genres together, and he’s right that it’s one of the most underrated skills in photography. Gesture is the decisive element in a wildlife shot. It’s equally decisive in street photography, portraiture, dance, sports, and even in still-life work where the “gesture” is really about how objects are arranged to suggest movement or relationship.
Sammon emphasizing gesture in both wildlife and people photography
Sammon keeps coming back to gesture as the thread that ties genres together, and he’s right that it’s one of the most underrated skills in photography. Gesture is the decisive element in a wildlife shot. It’s equally decisive in street photography, portraiture, dance, sports, and even in still-life work where the “gesture” is really about how objects are arranged to suggest movement or relationship.
Train yourself to wait for it regardless of what you’re shooting. If you’re at a farmer’s market photographing vendors, you’re watching for the moment a hand extends to pass change or a smile breaks naturally. That’s the same muscle you use watching a hawk on a fence post. You develop a stillness and a readiness that comes directly from having shot in situations where the window is measured in fractions of a second. Start tracking gesture in every genre you practice, and your keeper rate goes up across all of them.
Step 5: Adopt the “Shoot and Scoot” Mindset From Your Strongest Genre
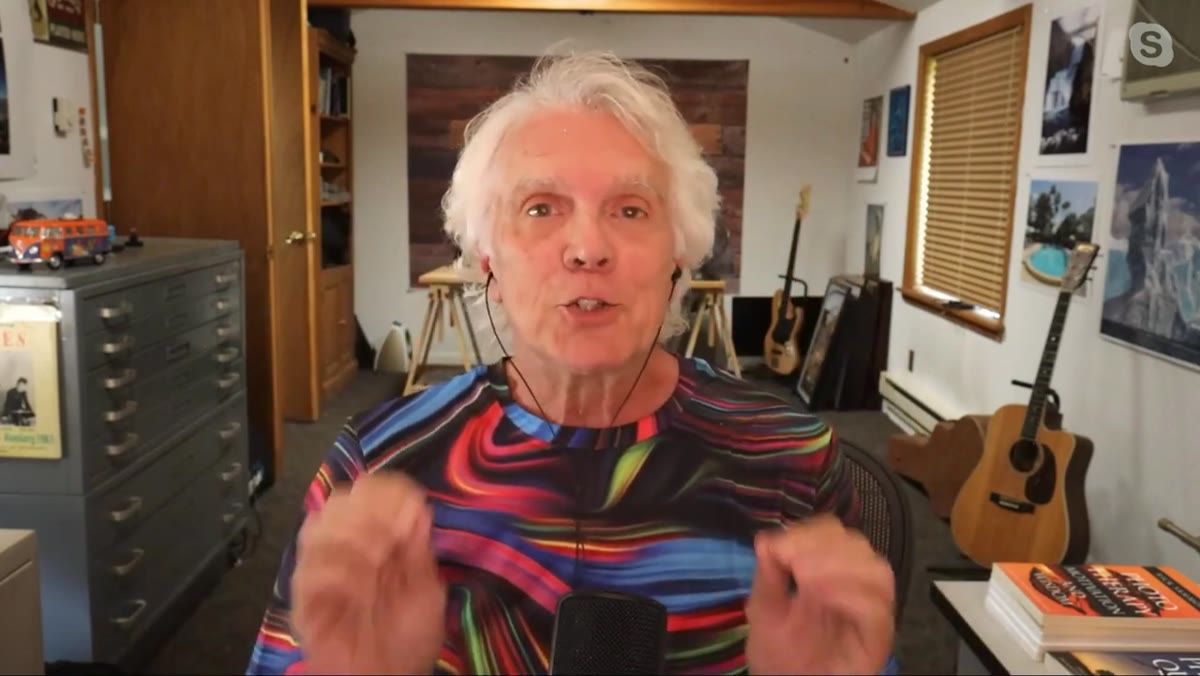 Sammon describing the shoot and scoot approach to photography
Sammon describes himself as a “shoot and scoot” photographer, meaning he moves efficiently through a scene because cross training has given him fast instincts. He’s not standing around second-guessing settings because he’s already internalized the decision-making from practicing across multiple contexts.
Sammon describing the shoot and scoot approach to photography
Sammon describes himself as a “shoot and scoot” photographer, meaning he moves efficiently through a scene because cross training has given him fast instincts. He’s not standing around second-guessing settings because he’s already internalized the decision-making from practicing across multiple contexts.
The way to build this: pick a secondary genre you shoot rarely and spend one dedicated session per week in it, intentionally applying what you know from your primary genre. Shoot it fast. Don’t over-think. The goal isn’t perfect results yet. The goal is to start compressing the gap between seeing a shot and taking it. After a few months, revisit your primary genre and notice how your speed and confidence have shifted. This is the actual mechanism of cross training, and it works.
What I’d Add From My Own Experience
The one thing I’d layer onto Sammon’s framework is to keep a short written log after each cross-genre session. Not a journal, nothing elaborate. Just three lines: what you shot, what skill from another genre you applied, and what surprised you. I started doing this after a workshop pushed me toward it, and it accelerated the transfer in a way that shooting alone didn’t. When you name the connection, it becomes something you can reach for intentionally rather than something that happens by accident.
It also helps when you’re stuck. On the Sundays when nothing is clicking during my photo walk, I’ll flip to a completely different mental frame. If I’ve been shooting architecture, I’ll start treating the next person I see on the street as wildlife. What are they about to do? Where are they going? That switch costs nothing and almost always shakes something loose.
The single most important takeaway from Sammon’s approach is this: your skills don’t belong to the genre you learned them in. They belong to you. Every hour you spend getting good at one type of photography is secretly making you better at all of it, as long as you’re willing to consciously carry the lessons across.
Watch the full tutorial on YouTube and see how Sammon lays it out in his own words. His delivery makes even familiar ideas feel freshly useful.
Comments
Leave a Comment