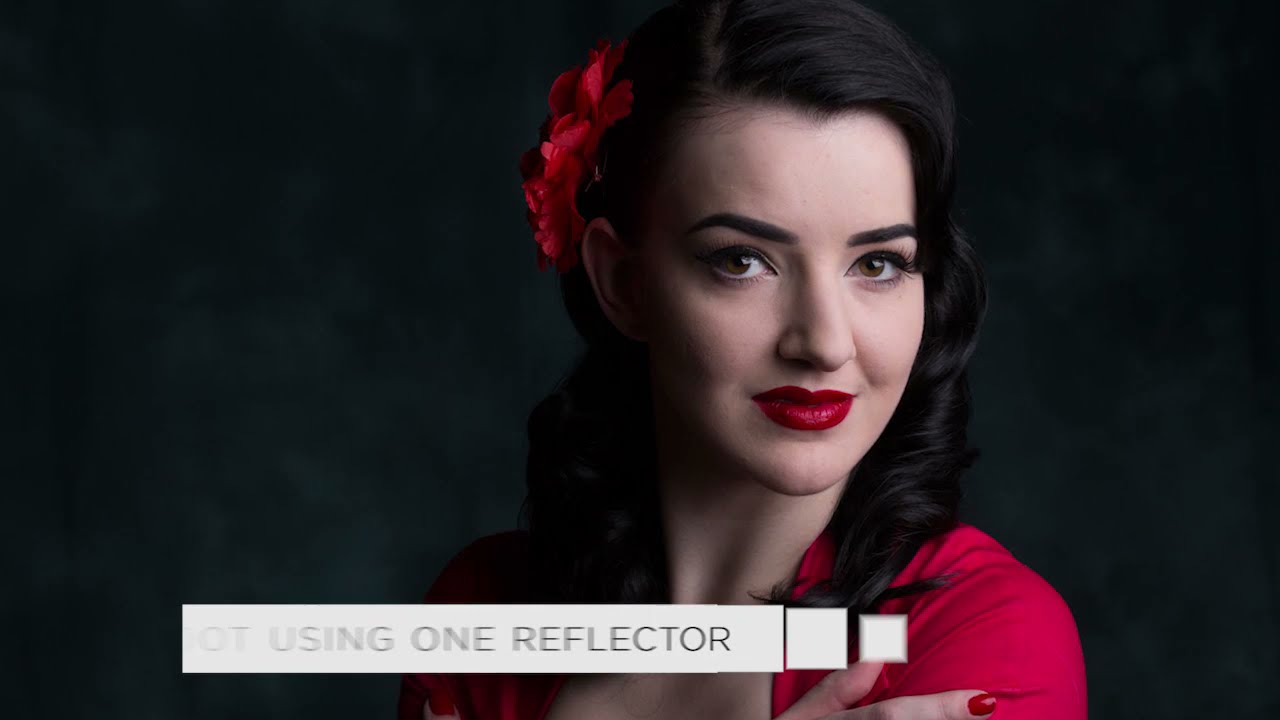
There’s a particular kind of anxiety that hits when a client shows up and you’ve got minimal gear. No elaborate multi-light setup, no assistant with a toolkit the size of a carry-on. Just you, your camera, and maybe a reflector leaning against the wall. I’ve been in that position more times than I’d like to admit, and for a long time I’d either over-gear to compensate or quietly panic and hope the natural light held. What I’ve come to understand, though, is that one reflector used well can outperform a sloppy four-light setup every time.
In this CreativeLive tutorial, Watch the full tutorial on YouTube, a photographer walks through a live portrait session using a single reflector as the primary fill source. It’s a candid, behind-the-scenes shoot with a male subject named Jason, and what makes it valuable isn’t just the lighting setup. It’s hearing the photographer’s real-time reasoning: why he meters the way he does, how he adjusts the reflector incrementally, and how he communicates with his team without breaking the session’s momentum. These are the details you don’t get from a gear review.
I took notes the whole way through, and what follows is my breakdown of the core techniques, written so you can apply them even if you’ve never touched a light meter in your life.
Step 1: Position Your Subject and Rough-Angle the Reflector First
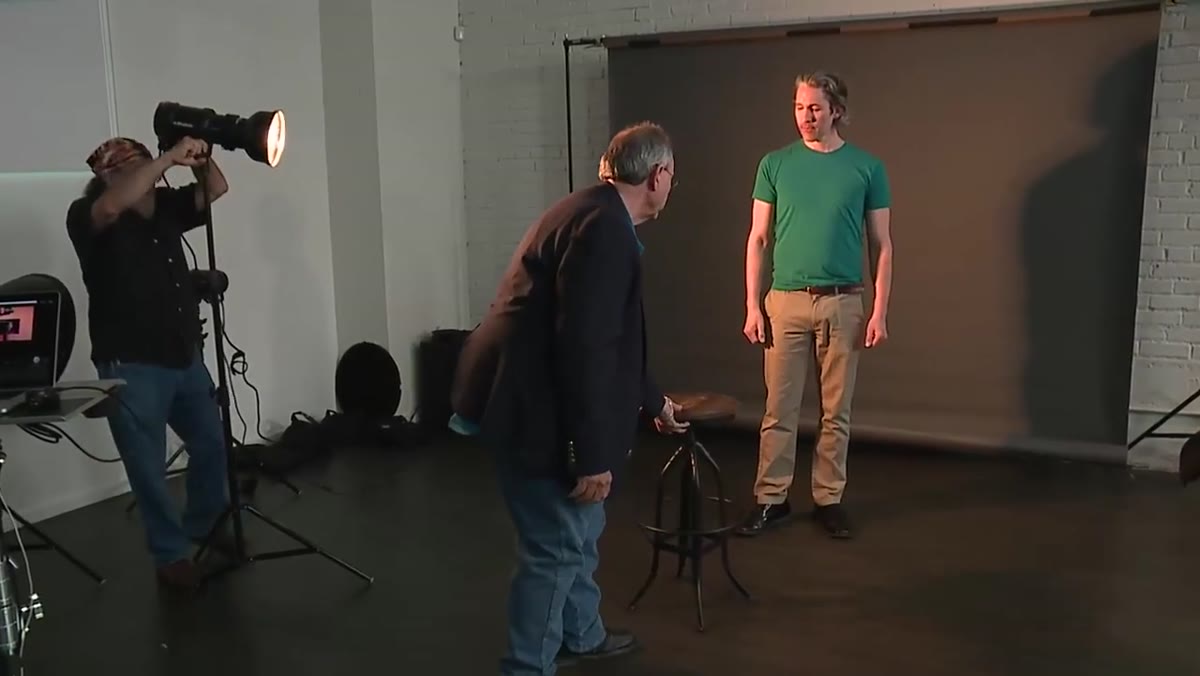 Photographer adjusting reflector angle near seated subject
Before you fire a single frame, get your subject seated and your reflector in a usable position. In the tutorial, the photographer asks his subject to sit with one foot up on the chair, then incrementally moves the reflector until it’s roughly where he wants it. This isn’t a final position yet. Think of it as a working hypothesis. You’re eliminating the obviously wrong angles before you start refining.
For a single-reflector setup, you’re almost always bouncing light back into the shadow side of the face. Start with the reflector at roughly a 45-degree angle to the subject’s face and adjust from there. A small shift of a few inches can mean the difference between a natural fill and an overblown flat look.
Step 2: Set Your Subject’s Posture Before You Lock in Lighting
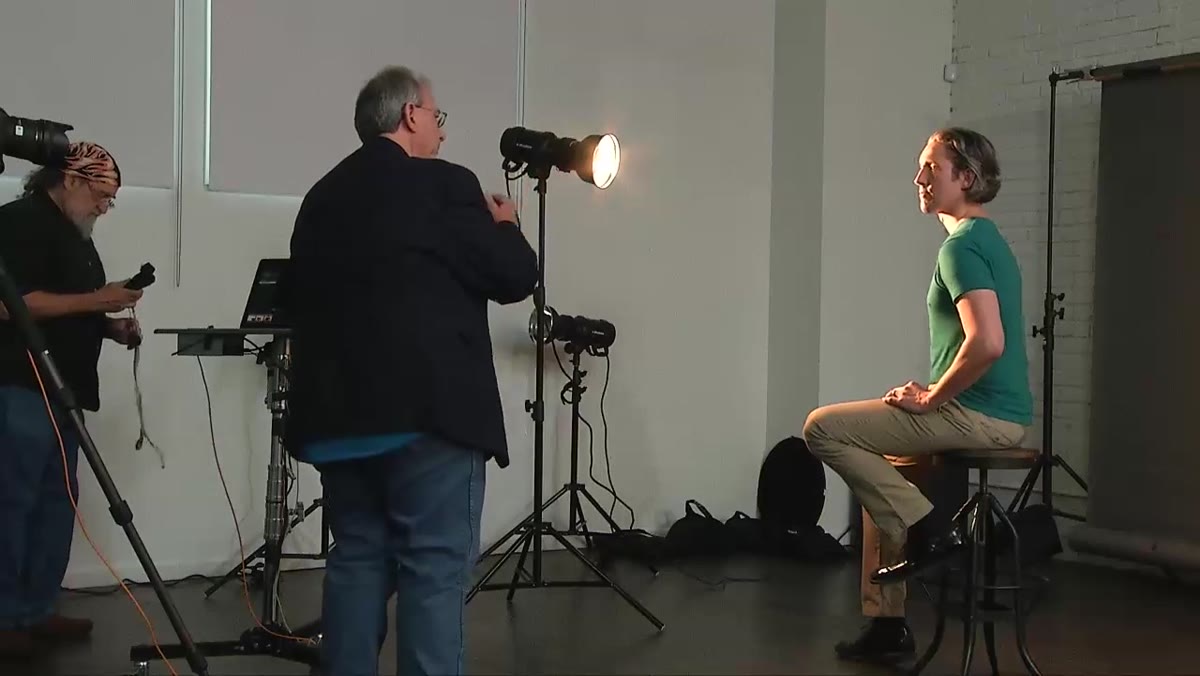 Subject tilting at the waist toward camera on cue
The photographer cues Jason to tilt slightly from the waist toward the camera, then asks him to bring his head slightly forward and tilt the top of it gently to one side. These are small adjustments, but they do two things at once: they create a more dynamic shape in the frame and they position the face correctly relative to the light source you’re about to meter.
Here’s why this order matters. If you meter first and then reposition the subject, you’ve invalidated your reading. Lock the pose, then meter. The photographer mentions that posing rules differ for men and women, and he’s right. For male subjects specifically, poses that feel casual and angular tend to read as confident and natural. The forward lean with a slight head tilt is a reliable starting point.
Step 3: Take Your Incident Meter Reading With the Dome Facing the Light Source
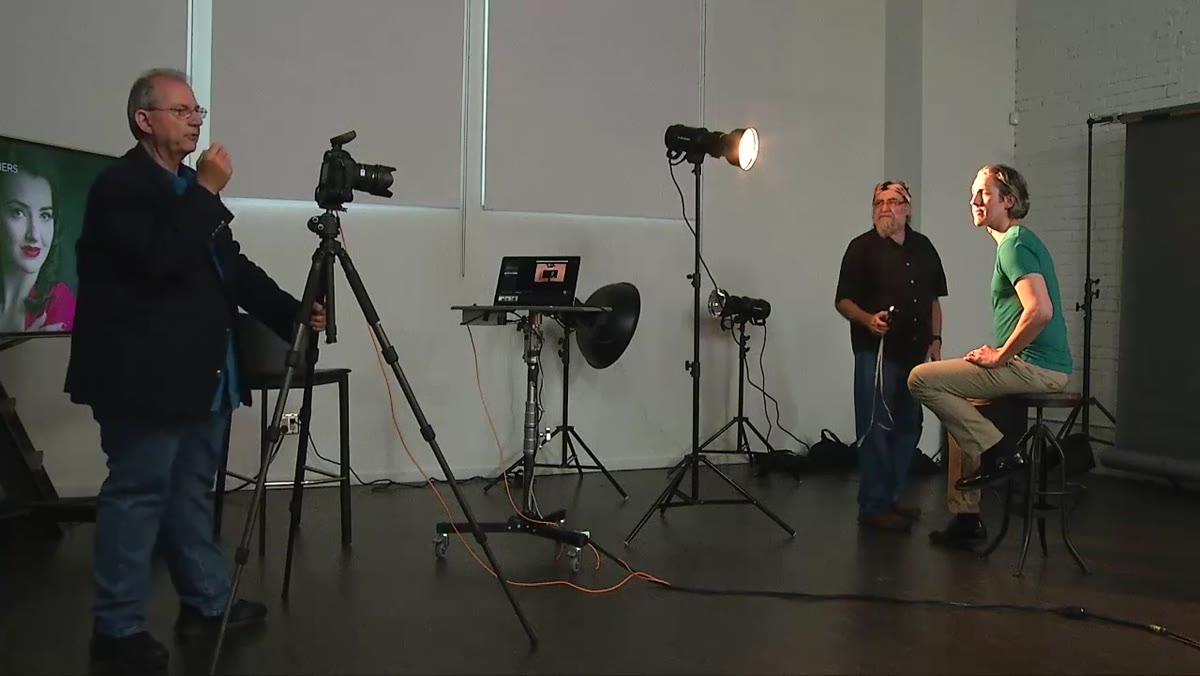 Photographer pointing exposure meter dome toward light source
This is the step where most beginners go wrong, and the tutorial addresses it directly. When using an incident light meter (the kind with the white dome), you need to point that dome toward the light source, not toward the camera. The dome is designed to simulate the way light falls on a three-dimensional surface, which is exactly what a face is.
The one exception: if your light source is within about 45 degrees of the camera position, you can point the dome toward the camera and get a reliable reading. But the moment your light is off to the side or further away, aim the dome at the source itself. The photographer also warns about dome shadows. If your hand or body blocks light from hitting the dome, you’ll get an artificially low reading and end up overexposing the shot. Keep the path between the dome and the source clean.
Step 4: Use F/16 as Your Anchor and Set Shutter to Your Sync Speed
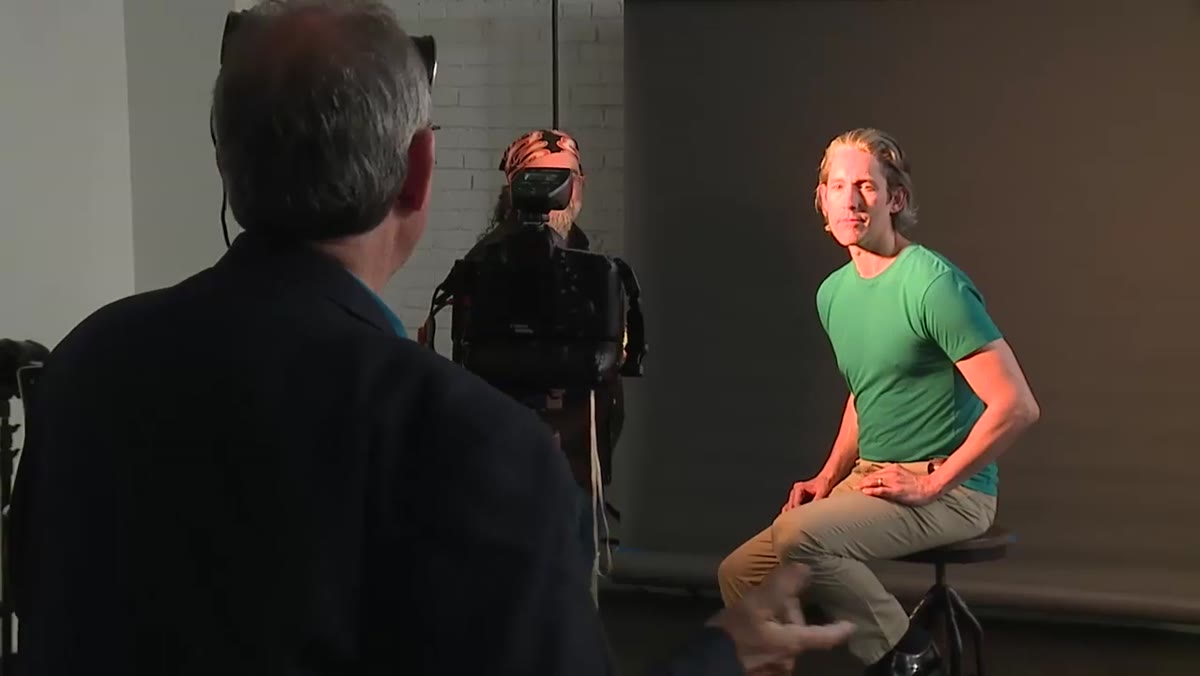 Photographer confirming F/16 reading on meter display
After metering Jason’s face, the photographer lands on F/16 and sets his shutter speed to 1/125. Neither of these numbers is arbitrary. F/16 gives him sharp detail across the face and renders the background in a controlled way relative to the lights. The 1/125 shutter is a standard sync speed for strobes, which means the shutter is fully open when the flash fires and you don’t get that half-dark band across your frame.
If you’re newer to this, here’s the practical takeaway: in a controlled studio or indoor reflector setup, let your aperture be dictated by the meter and your shutter speed be dictated by your flash sync limit. For most cameras that’s somewhere between 1/125 and 1/250. Use 1/125 as your safe default.
Step 5: When Using Multiple Lights, Meter Each One Separately
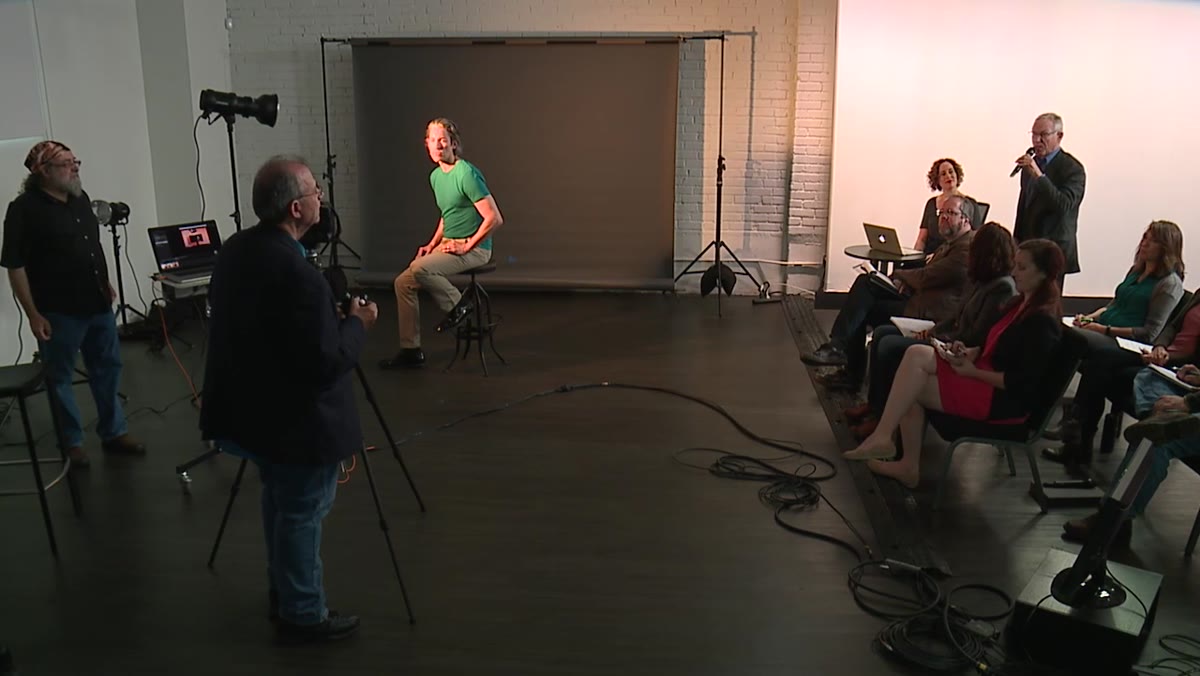 Photographer discussing individual light separation with assistant
Even in a session that’s built around simplicity, the photographer takes a moment to explain how differential metering works when you have more than one light on set. The rule is non-negotiable: measure each light source independently by blocking or turning off the others, then compare the readings.
In this case, Jason’s key exposure is F/16. If a secondary light or even a reflector is adding more than a stop of light from another angle, the shadows won’t look like shadows anymore. They’ll look like a second key, which is usually unflattering. Knowing your ratios by measuring separately means you stay in control of the depth and dimension in the portrait.
What I’d Add From My Own Experience
The tutorial doesn’t spend much time on reflector material, and I think that’s worth a quick note. Silver reflectors bounce harder, cooler light. White reflectors give you a softer, more neutral fill. Gold reflectors add warmth, which can be lovely in golden hour outdoor portraits but can look muddy in a neutral indoor setup. I keep a 5-in-1 collapsible reflector in my bag and reach for the white side most often for indoor portrait work because it’s the most forgiving.
One more thing: the tutorial is shot in a controlled environment with an assistant. If you’re working solo, tape the reflector to a light stand with a clamp. It’s not glamorous, but it works. I’ve rigged reflectors with binder clips and painter’s tape in hotel rooms. Use what you have.
The single biggest lesson from this tutorial is that exposure metering is a skill worth taking seriously, not something to guess at and correct in Lightroom later. Getting the dome orientation right and metering each light source independently will improve your portraits faster than buying another light ever will.
Watch the full tutorial on YouTube to see the live session in action, including how the photographer communicates in real time with both his subject and his assistant. That part alone is worth the watch.
Comments
Leave a Comment