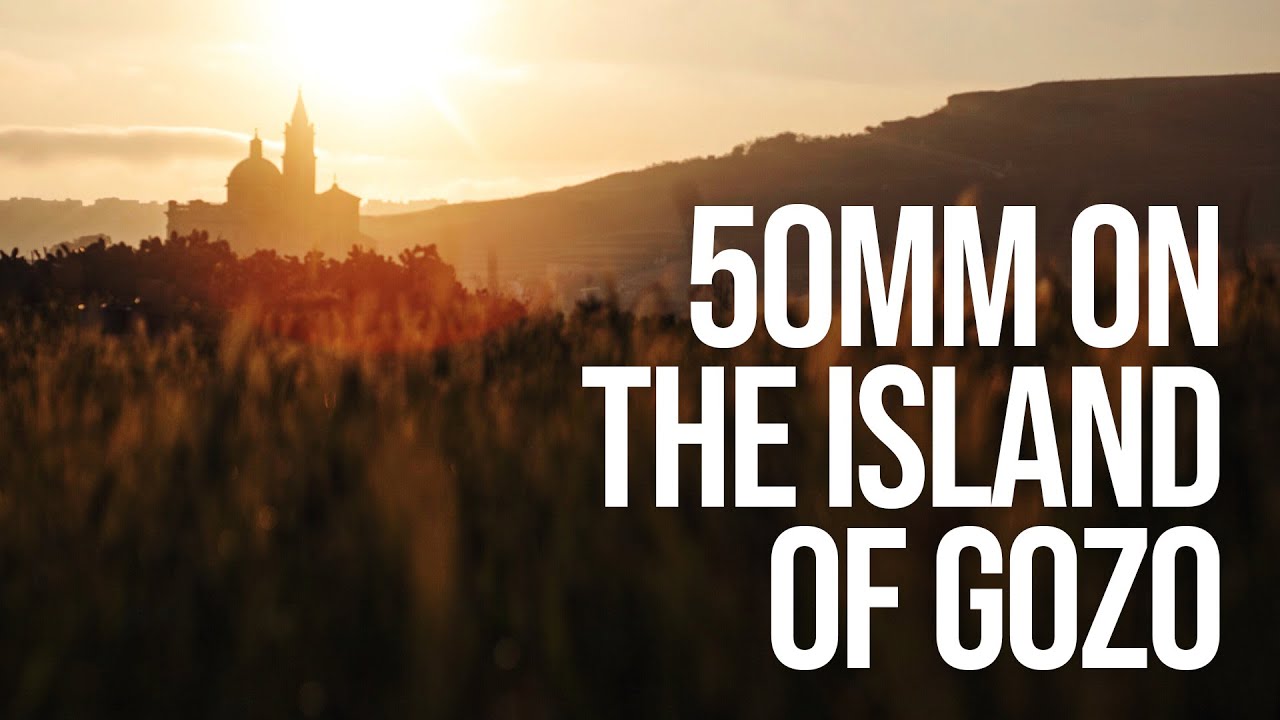
Every few months I catch myself doing the same thing before a trip: laying out lenses on the bed, running the mental math on which zoom covers which scenario, and stuffing my bag until the zippers protest. I justify it as being prepared. But what I’m usually doing is using gear as a security blanket instead of trusting my own eye. It took watching someone else deliberately strip everything away for me to recognize the habit for what it was.
In this Sean Tucker tutorial, filmed during a trip to the Mediterranean island of Gozo, Tucker shows up with one camera body and a single 50mm prime lens. No backup glass, no lighting kit. Just available light and the discipline to make it work. Watch the full tutorial on YouTube — it’s short, conversational, and genuinely worth your time. What follows is my breakdown of the core techniques and the thinking behind them, written so you can put them into practice before your next shoot.
The constraint isn’t the limitation Tucker tolerates. It’s the whole point. And the more I’ve sat with that idea, the more I’ve started applying it to my own Sunday morning photo walks around Seattle.
Step 1: Make the Decision Before You Pack
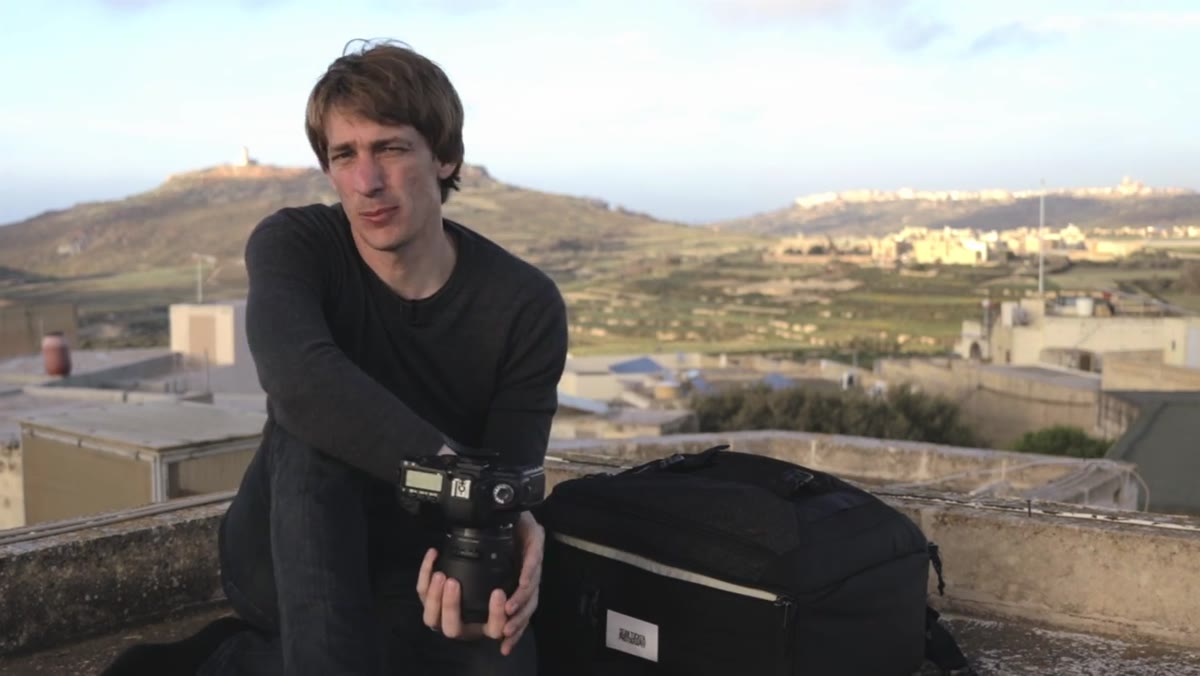
 Tucker holding a single camera bag on a rooftop
The technique starts at home, not in the field. Tucker made a deliberate choice before he ever boarded a plane: one body, one lens, done. This isn’t about being precious or performative. It’s a pre-commitment strategy. If the other lenses aren’t in the bag, you can’t reach for them when things get hard.
Tucker holding a single camera bag on a rooftop
The technique starts at home, not in the field. Tucker made a deliberate choice before he ever boarded a plane: one body, one lens, done. This isn’t about being precious or performative. It’s a pre-commitment strategy. If the other lenses aren’t in the bag, you can’t reach for them when things get hard.
Before your next trip or dedicated shoot day, pick one focal length and leave everything else behind. Physically. Don’t pack the zoom “just in case.” The moment the bag gets heavy, the temptation to problem-solve with gear kicks in, and you stop problem-solving with composition.
Step 2: Choose a Focal Length That Matches How You See
 Tucker mentioning the 50mm prime and Canon 5D
Tucker shoots with a 50mm prime, and he’s honest that it’s his favorite focal length, not a neutral choice. That transparency matters. The 50mm lens approximates natural human field of view, which means what you see through the viewfinder is close to what your eye sees standing in the same spot. That reduces the translation work between what you notice and what you capture.
Tucker mentioning the 50mm prime and Canon 5D
Tucker shoots with a 50mm prime, and he’s honest that it’s his favorite focal length, not a neutral choice. That transparency matters. The 50mm lens approximates natural human field of view, which means what you see through the viewfinder is close to what your eye sees standing in the same spot. That reduces the translation work between what you notice and what you capture.
If you’re just starting out with a single-lens challenge, a 50mm equivalent (that’s around 35mm on a crop-sensor body) is a strong starting point. If portraits are your focus, try an 85mm. If you shoot in tight urban spaces, a 35mm might feel more natural. The specific focal length matters less than the commitment to one. Pick the one that already feels closest to how you see, and work from there.
Step 3: Change Your Position Instead of Changing Your Lens
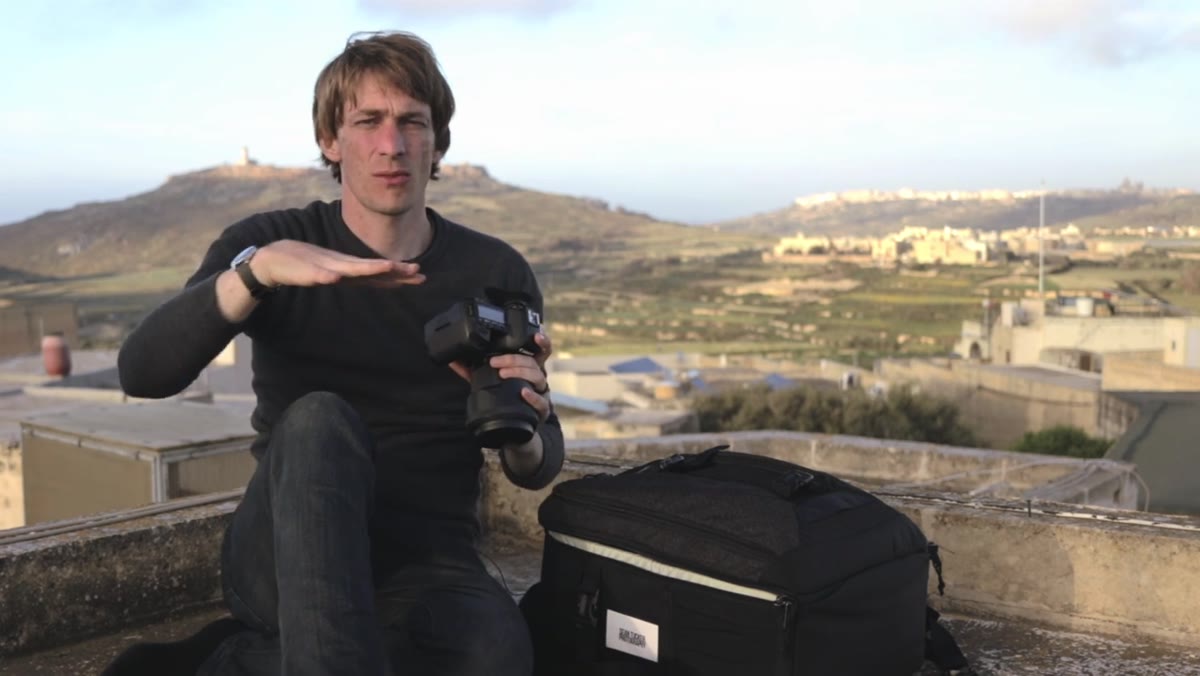 Tucker describing moving around to recompose shots
This is the core discipline of the whole approach, and it’s the one that actually builds photographic skill. When you can’t zoom, you move. You walk closer. You crouch. You step left until a cluttered background clears. You find an angle that creates separation between your subject and the elements around it.
Tucker describing moving around to recompose shots
This is the core discipline of the whole approach, and it’s the one that actually builds photographic skill. When you can’t zoom, you move. You walk closer. You crouch. You step left until a cluttered background clears. You find an angle that creates separation between your subject and the elements around it.
Tucker describes the process as composing entirely through physical movement, and what happens as a result is that you start to see locations in three dimensions rather than as flat scenes to frame up. Every step you take changes the relationships between foreground, subject, and background. That spatial awareness is a muscle, and a single-lens constraint is one of the fastest ways to build it.
Step 4: Use Panoramic Stitching When You Need More Width
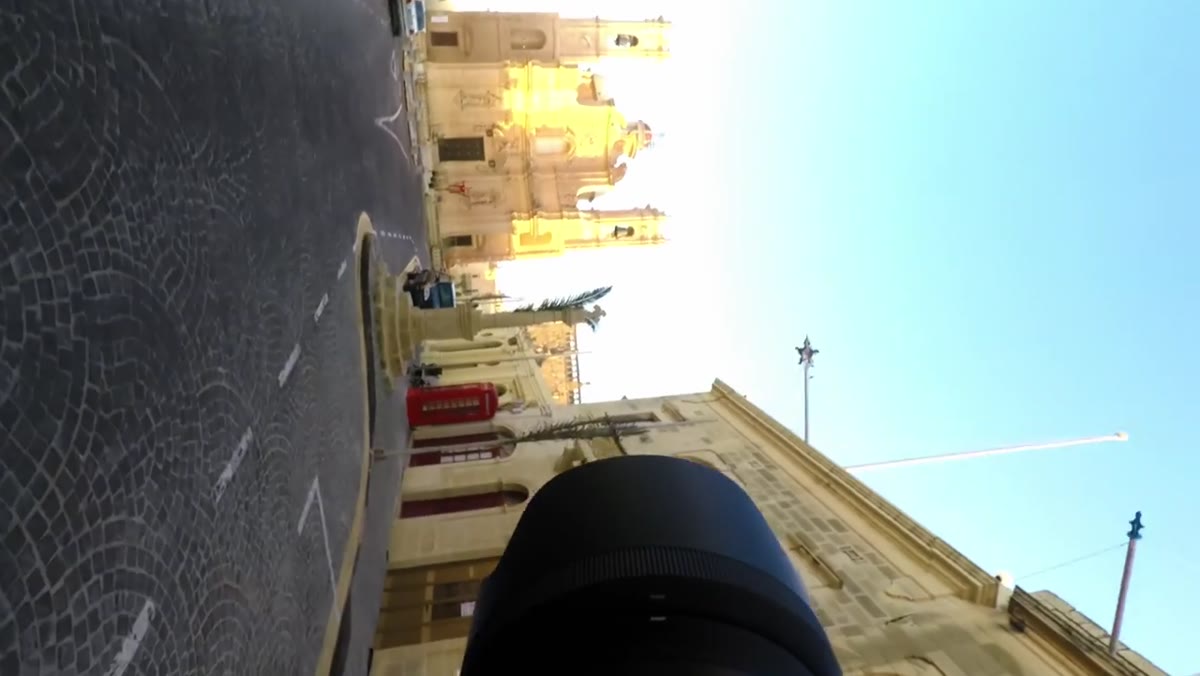 Tucker explaining rotating camera to shoot vertical panels for stitching
One of the more practical workarounds Tucker shares: when a scene is wider than the 50mm can capture in a single frame, he rotates the camera to portrait orientation and shoots two to four overlapping vertical panels. Those frames stitch together in post to produce a wide landscape image with more resolution than a single wide-angle shot would give you anyway.
Tucker explaining rotating camera to shoot vertical panels for stitching
One of the more practical workarounds Tucker shares: when a scene is wider than the 50mm can capture in a single frame, he rotates the camera to portrait orientation and shoots two to four overlapping vertical panels. Those frames stitch together in post to produce a wide landscape image with more resolution than a single wide-angle shot would give you anyway.
To do this cleanly, keep your camera level, overlap each frame by about 30 percent, and try to shoot in manual exposure so the brightness stays consistent across panels. Most photo editing software, including Lightroom and Photoshop, handles the stitch automatically once you select the frames. It’s not a workaround you’d use constantly, but knowing it’s there removes the last excuse for reaching for a wide-angle lens.
Step 5: Stop Upgrading Your Body and Start Investing in Glass
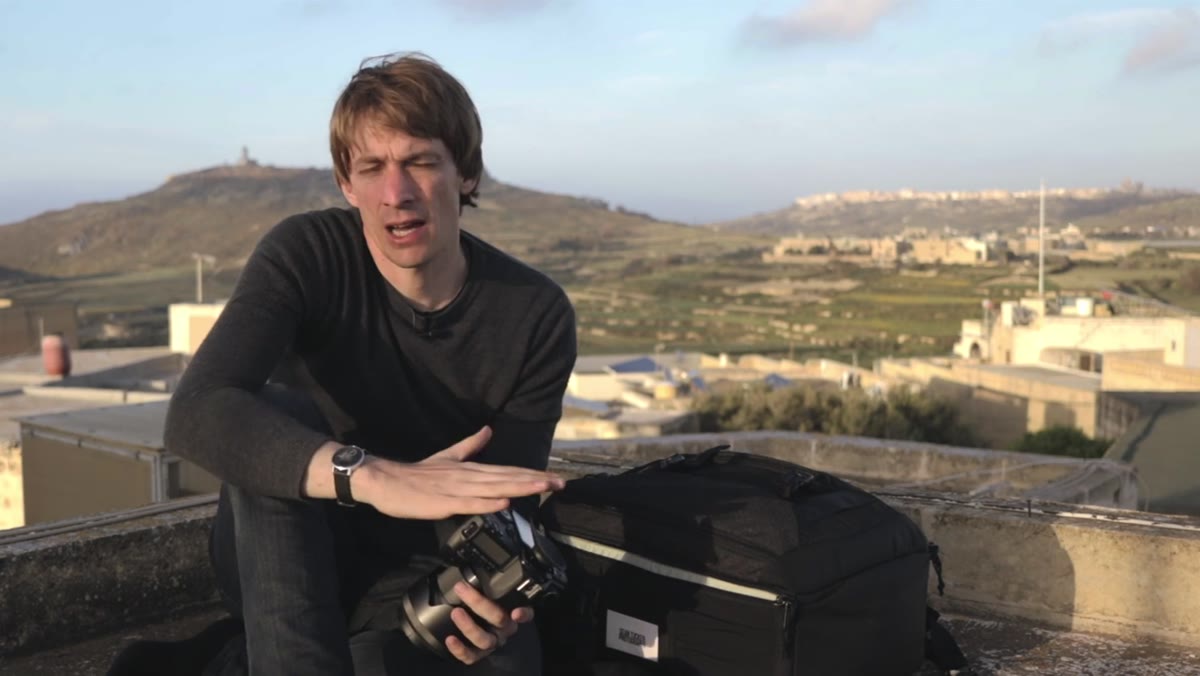 Tucker discussing using a secondhand Canon 5D Mark I
Tucker shoots on a Canon 5D Mark I, a body that was already nearly a decade old when he filmed this. He buys them secondhand and is direct about his reasoning: a newer body wouldn’t meaningfully change the images he makes. The sensor in a well-maintained older full-frame camera captures light beautifully. What changes the image far more dramatically is the quality of the glass in front of that sensor.
Tucker discussing using a secondhand Canon 5D Mark I
Tucker shoots on a Canon 5D Mark I, a body that was already nearly a decade old when he filmed this. He buys them secondhand and is direct about his reasoning: a newer body wouldn’t meaningfully change the images he makes. The sensor in a well-maintained older full-frame camera captures light beautifully. What changes the image far more dramatically is the quality of the glass in front of that sensor.
If you’re early in building a kit, buy the camera body secondhand and put the savings into a better prime lens. A sharp, fast prime on an older body will almost always outperform a mediocre kit lens on a newer one. Tucker shoots Sigma Art series primes at the time of filming, and the image quality reflects it. The practical rule: spend more on what the light passes through, less on the body it lands on.
Step 6: Let the Constraint Do the Creative Work
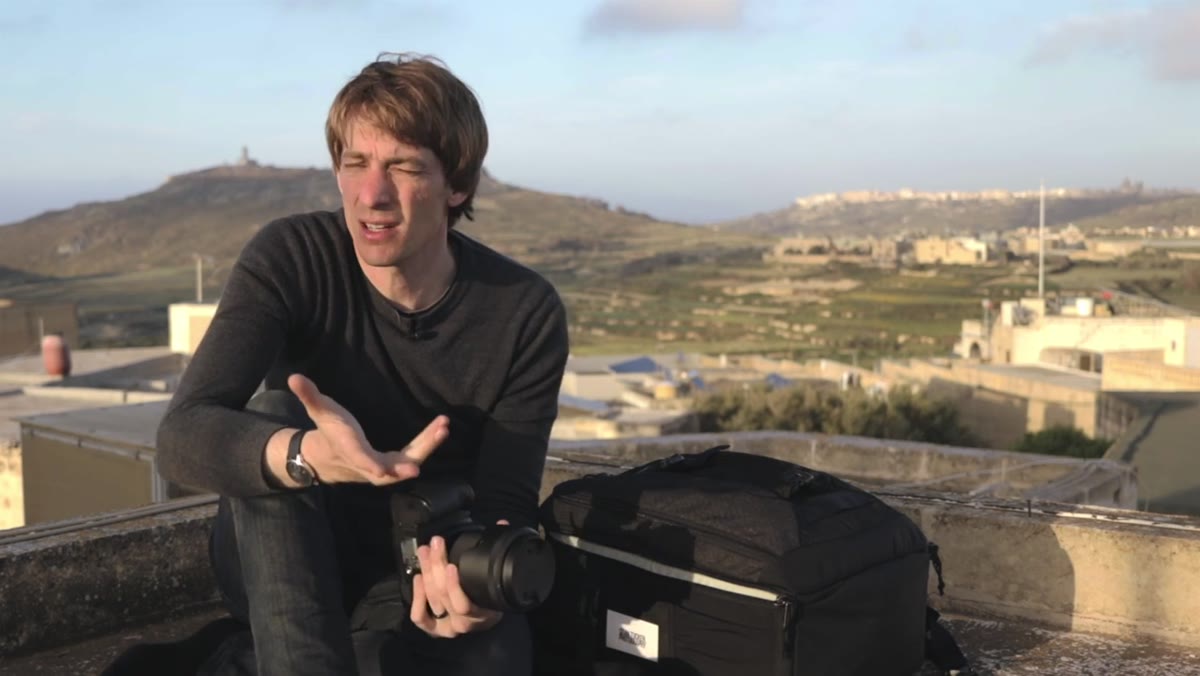 Tucker saying limitations spark creativity and compensate automatically
Tucker makes an observation that I keep coming back to: the creativity runs alongside the constraint and compensates for it. You don’t feel deprived for long. What you feel instead is more invested in each frame because there’s no easy fallback option. That investment changes how you look at a scene before you ever raise the camera.
Tucker saying limitations spark creativity and compensate automatically
Tucker makes an observation that I keep coming back to: the creativity runs alongside the constraint and compensates for it. You don’t feel deprived for long. What you feel instead is more invested in each frame because there’s no easy fallback option. That investment changes how you look at a scene before you ever raise the camera.
Give yourself a full shoot day with the single-lens rule and notice when the creativity kicks in. It usually happens around the point when you’d normally swap glass. You’re stuck, so you look harder, move further, wait longer. That’s the moment the exercise is actually working.
My Own Extension: Try It With Your Phone First
I’ve been known to pull out my phone on a shoot just to make a point to myself. My most-liked Instagram photo came from a 200-dollar device, and that reality check periodically reminds me where the real work happens. If the single-lens constraint sounds intimidating on a dedicated camera, try the logic first on your phone. You have one focal length. You cannot zoom optically. You have to move your feet. Same principle, lower stakes, same lesson.
After a few phone-only walks, picking up one prime lens and leaving the bag at home feels less like deprivation and more like clarity.
The single most important takeaway from Tucker’s approach is this: gear decisions made before you leave the house shape how creatively you shoot once you’re there. Strip the bag down on purpose, commit to one focal length, and let the problem-solving happen through your feet and your eye, not through your lens collection.
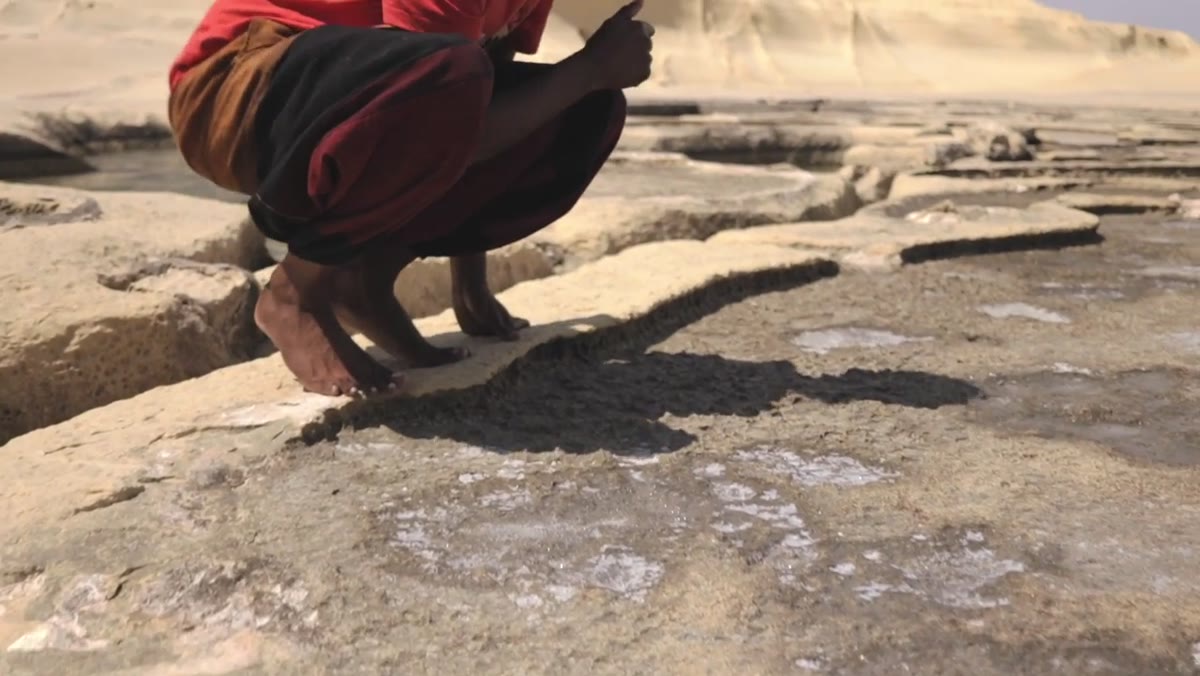
Watch the full tutorial on YouTube to see the Gozo images Tucker made under these constraints. The results speak for themselves.
Comments
Leave a Comment