I have a confession: I spent an embarrassing amount of time on a trip to Iceland trying to capture a waterfall in slow motion, only to realize mid-trip that my backup camera didn’t shoot above 30fps. The footage I needed was already in the can. It was a real “figure it out in post” moment, and it sent me down a rabbit hole of software-based slow motion that I’ve been refining ever since.
That’s exactly why I want to break down this Peter McKinnon tutorial on faking slow motion with any camera. Watch the full tutorial on YouTube if you want to see the original demonstration, but I’ve pulled out every actionable step below so you can follow along without pausing and rewinding.
The technique hinges on a tool inside Adobe Premiere Pro called Optical Flow, and once you understand the logic behind it, it changes how you think about frame rates entirely. Whether you’re shooting on a DSLR, a mirrorless, or even your phone, this is worth knowing.
Step 1: Understand Why Frame Rate Creates Slow Motion
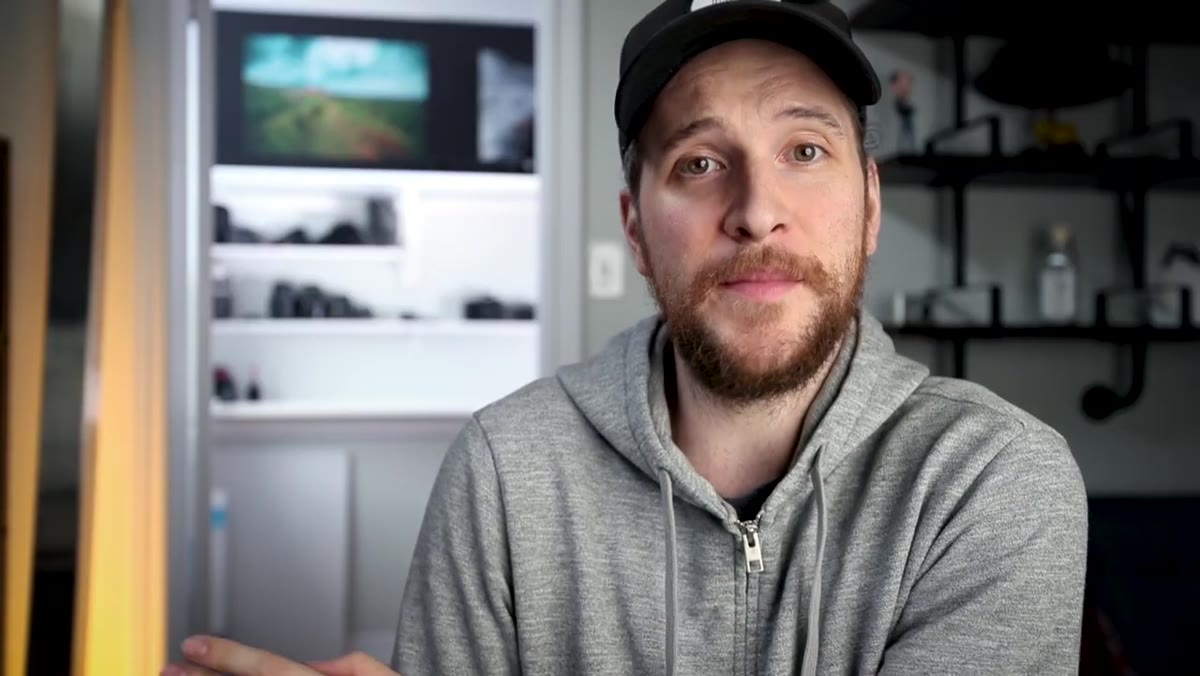 Peter explaining frame capture and playback rate concept
Before touching any software, you need to understand the relationship between recording frame rate and playback frame rate, because the whole trick depends on it. When a camera records at 120 frames per second and you play that footage back at 24fps, your timeline is showing only a fraction of the captured frames per second. Time appears to stretch. That’s real slow motion.
Peter explaining frame capture and playback rate concept
Before touching any software, you need to understand the relationship between recording frame rate and playback frame rate, because the whole trick depends on it. When a camera records at 120 frames per second and you play that footage back at 24fps, your timeline is showing only a fraction of the captured frames per second. Time appears to stretch. That’s real slow motion.
The problem is that not every camera can shoot at 120fps, and even fewer can do it cleanly at high resolution. When you record at 24fps and just slow the clip down in an editor, you’re not adding any frames. You’re just spreading the existing ones further apart, and the result looks choppy because there’s nothing to fill the gaps.
Step 2: Drop Your Clip Into a Premiere Pro Timeline
 24fps clip placed on Premiere Pro timeline
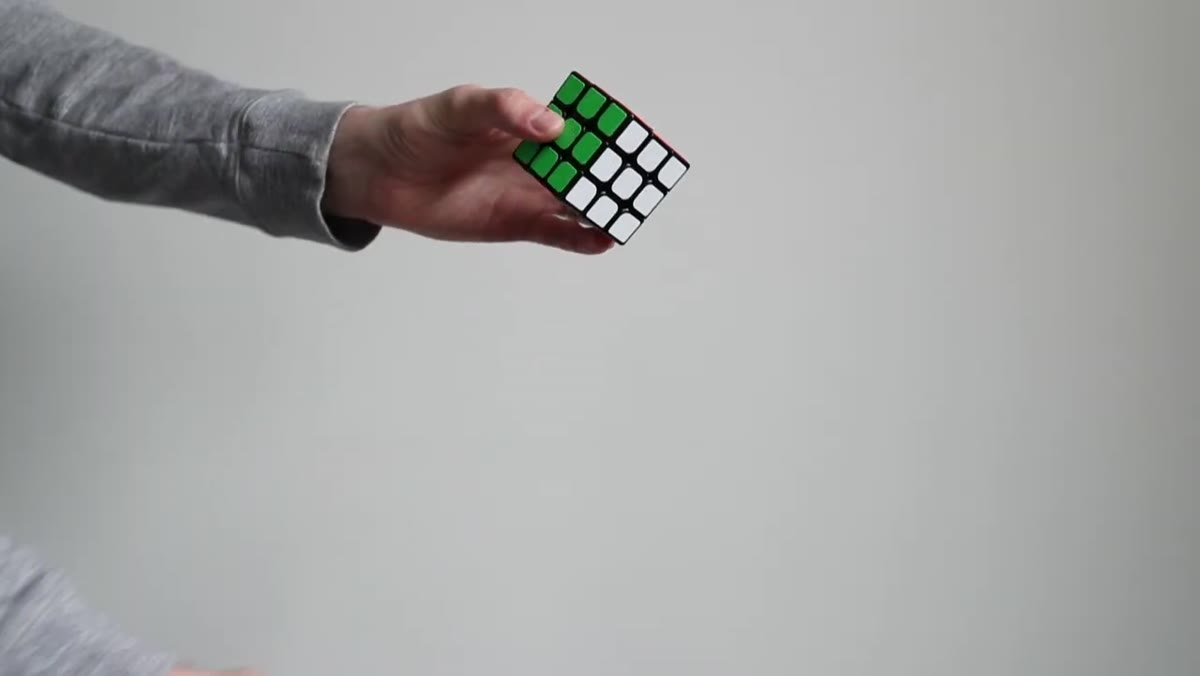
Open Premiere Pro and drag your clip onto the timeline. For this technique to show its value, use footage of something that moves. Peter demonstrates with simple, fast hand movements, like tossing an object between hands or flicking cards. That kind of motion makes the difference between choppy and smooth very obvious when you compare results.
24fps clip placed on Premiere Pro timeline
Open Premiere Pro and drag your clip onto the timeline. For this technique to show its value, use footage of something that moves. Peter demonstrates with simple, fast hand movements, like tossing an object between hands or flicking cards. That kind of motion makes the difference between choppy and smooth very obvious when you compare results.
Make sure you know what frame rate your clip was recorded at before you go any further. You can check this by right-clicking the clip in your project panel and selecting Properties. This matters because the degree of slowdown you apply will determine how much work Optical Flow has to do.
Step 3: Slow the Clip Down to 50% Using Time Remapping or Speed Controls
 Time settings panel showing clip slowed to 50 percent
Right-click your clip on the timeline and choose Speed/Duration. Set the speed to 50%. Premiere will automatically extend the clip’s duration to fill the extra time. At this point, if you hit play, the footage will be slower but it will also look noticeably rough, especially on any fast motion. The frames are just too spread out and there’s nothing smooth connecting them.
Time settings panel showing clip slowed to 50 percent
Right-click your clip on the timeline and choose Speed/Duration. Set the speed to 50%. Premiere will automatically extend the clip’s duration to fill the extra time. At this point, if you hit play, the footage will be slower but it will also look noticeably rough, especially on any fast motion. The frames are just too spread out and there’s nothing smooth connecting them.
This is the “before” state you need to see clearly, because the improvement Optical Flow delivers is much easier to appreciate once you’ve seen the choppy baseline. Don’t skip this step just because it looks bad. That’s the whole point.
Step 4: Enable Optical Flow to Generate Interpolated Frames
 Time Interpolation menu showing Optical Flow option selected
Here’s where the magic happens. Right-click your slowed-down clip on the timeline and hover over Time Interpolation. You’ll see three options: Frame Sampling, Frame Blending, and Optical Flow. By default, Premiere uses Frame Sampling, which simply duplicates existing frames to fill the gaps. That’s what’s causing the choppiness.
Time Interpolation menu showing Optical Flow option selected
Here’s where the magic happens. Right-click your slowed-down clip on the timeline and hover over Time Interpolation. You’ll see three options: Frame Sampling, Frame Blending, and Optical Flow. By default, Premiere uses Frame Sampling, which simply duplicates existing frames to fill the gaps. That’s what’s causing the choppiness.
Select Optical Flow. What this does is analyze the pixel movement between each existing frame and then generate entirely new frames to sit between them. It looks at where things were, where they went, and mathematically plots what the in-between moment should look like. It takes a moment to render, but the result is a dramatically smoother playback, especially on simple, predictable motion.
Step 5: Render and Compare the Results
 Side-by-side comparison of choppy vs smooth slow motion playback
Once you’ve switched to Optical Flow, press Return (Mac) or Enter (PC) to render the section of your timeline. Premiere needs to process the interpolated frames before you can see the final result in real time. Depending on your clip length and computer speed, this can take anywhere from a few seconds to a few minutes.
Side-by-side comparison of choppy vs smooth slow motion playback
Once you’ve switched to Optical Flow, press Return (Mac) or Enter (PC) to render the section of your timeline. Premiere needs to process the interpolated frames before you can see the final result in real time. Depending on your clip length and computer speed, this can take anywhere from a few seconds to a few minutes.
When it’s done, play the clip back and compare it to what you had before. On footage with smooth, continuous movement, the difference is striking. The clip Peter uses, a hand waving in front of a lens, goes from a stuttery mess to something that reads as genuinely cinematic. It’s not perfect, but for most use cases it holds up well.
Step 6: Know When Optical Flow Struggles
 Fast-moving subject showing motion blur limitations
Optical Flow is impressive, but it has limits. It works by predicting motion between frames, so it performs best when that motion is smooth and consistent. Fast, erratic movement, things passing in front of each other, and scenes with a lot of background detail can all confuse the algorithm. You’ll sometimes see warping artifacts, especially around edges, where Premiere’s prediction didn’t quite land.
Fast-moving subject showing motion blur limitations
Optical Flow is impressive, but it has limits. It works by predicting motion between frames, so it performs best when that motion is smooth and consistent. Fast, erratic movement, things passing in front of each other, and scenes with a lot of background detail can all confuse the algorithm. You’ll sometimes see warping artifacts, especially around edges, where Premiere’s prediction didn’t quite land.
If your footage has heavy motion blur to begin with, Optical Flow can amplify it in ways that look unnatural. The cleaner and sharper your original footage, the better the interpolation will be. This is one reason that shooting with a faster shutter speed, even at 24fps, can give you better source material for this technique.
A Note From My Own Workflow
I want to add something Peter doesn’t cover directly: this technique stacks well with slight overcranking when your camera allows it. If your camera shoots at 60fps but not 120fps, record at 60fps and then apply Optical Flow on top of that slowdown instead of starting from 24fps. You’re giving the algorithm much more real data to work with, and the results are noticeably cleaner. I do this regularly when I’m shooting video on travel days with my Sony and don’t want to babysit frame rate settings at every location.
One more thing. I’ve used this on phone footage in a pinch, and it actually holds up on static or slow-moving subjects. My most-liked Instagram post was shot on a $200 phone, so I’m genuinely not precious about gear. If Optical Flow can rescue a shaky 30fps clip of rain hitting a puddle, it can probably help whatever you’re working with.
The single most important takeaway here is this: slow motion is a playback phenomenon, not just a recording one. Understanding that distinction means you’re never truly stuck, even when your gear doesn’t cooperate. Optical Flow won’t replace a camera with a native high-speed mode, but it will get you out of real trouble and, used thoughtfully, produce results that stand on their own.
Watch the full tutorial on YouTube to see Peter’s side-by-side comparisons in motion. They’re worth seeing even if you’ve already read every step above.
Comments (1)
The before and after really sells it. Incredible difference.
Leave a Comment