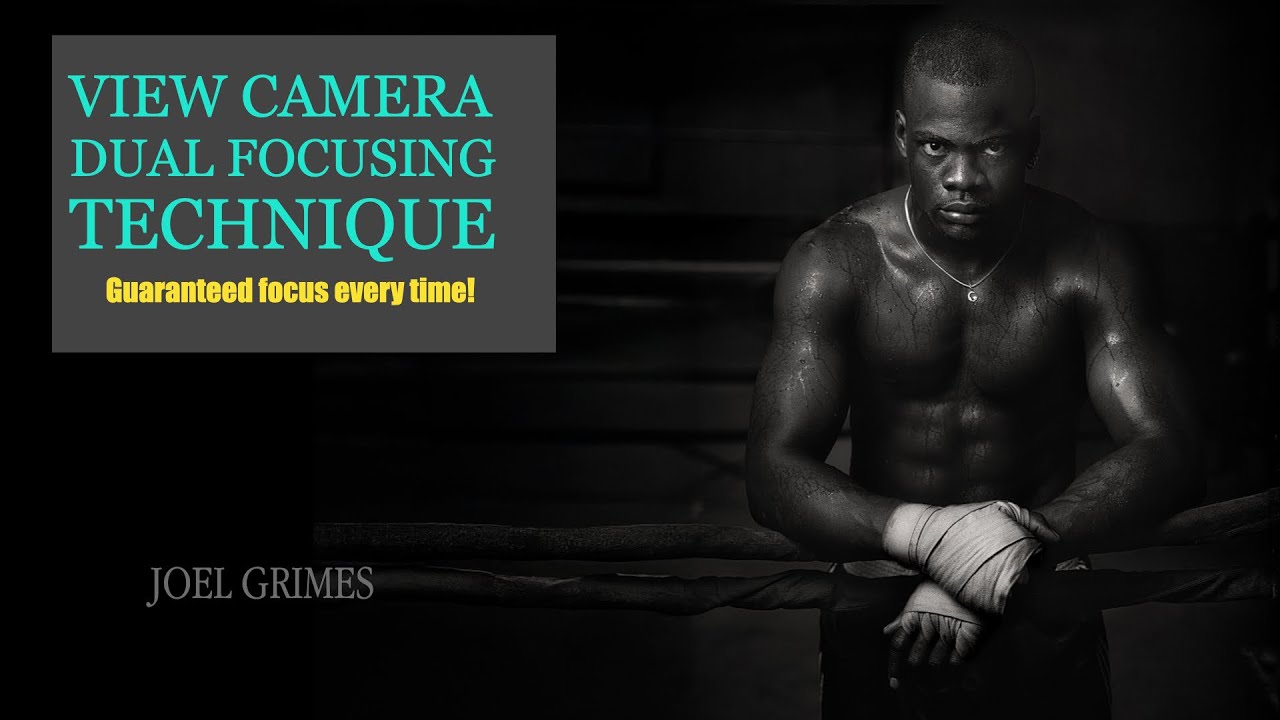
I’ve been shooting portraits long enough to know that the most expensive mistake you can make has nothing to do with lighting or composition. It’s getting everything right and coming home with soft focus. That particular heartbreak hits different when you’re shooting on film, because there’s no chimping, no second chance, and no quiet moment of “oh I’ll just fix that in post.” What’s done is done, and what’s blurry stays blurry.
Recently I started revisiting large format portrait work, partly out of curiosity and partly because a few clients have been asking for that unmistakably deliberate, medium-toned film aesthetic. And the moment I started working with a view camera again, I was reminded fast of how much can go wrong between focusing and actually taking the shot. The process of removing the dark slide and inserting the film holder introduces just enough movement, just enough vibration and shifting, that you can kiss your tack-sharp focus goodbye before the shutter even fires.
That’s what sent me down a rabbit hole and landed me on this tutorial from Joel Grimes.
The Problem That Makes Large Format Portraits So Unforgiving
With a standard view camera setup, you focus by looking at the ground glass at the back of the camera. You get your subject sharp, you close the lens, and then you slide in the film holder. That sequence sounds simple, but each step is a small opportunity for the camera to shift, the subject to move, or the plane of focus to drift just enough to ruin the image. Joel describes shooting thousands of portraits over a decade without a single out-of-focus frame, which tells you the fix he’s built is not a minor workaround. It’s a complete rethinking of how the focusing step works.
What the Dual Focusing Technique Actually Does
The core idea is this: instead of relying solely on the ground glass at the back of the camera to confirm focus, Joel introduces a second focusing reference point that stays accessible after the lens is closed and the film holder is inserted. This secondary aid is calibrated to match the camera’s precise plane of focus, so you can verify and lock focus even after you’ve completed the mechanical steps that would normally introduce error.
Here’s how he walks through it:
- Set up your subject and compose the shot as you normally would on the ground glass.
- Establish your focus point on the ground glass with the lens open, using a loupe to confirm sharpness on the critical area, typically the eyes in a portrait.
- Calibrate your secondary focusing aid to match exactly what the ground glass shows. This second reference is what you’ll use to confirm that nothing has shifted after you prepare the camera for the actual exposure.
- Close the lens and insert the film holder carefully, minimizing any contact with the camera body.
- Before pulling the dark slide and firing the shutter, check your secondary reference point. If it still matches your calibrated position, your focus is intact. If something has shifted, you know to correct before you expose the film.
The elegance here is that you’re not guessing or hoping. You’re running a quick verification check every single time, and that check takes only seconds once you’ve built the habit.
How to Calibrate the Second Reference
Joel is specific about this part, and the specificity is what makes it practical. The secondary focusing aid needs to be positioned so that it reads the same plane of focus as the ground glass, not an approximation of it. He sets this reference using the same open-lens focus session, so both tools are calibrated against the same light and the same subject position. If your subject shifts even slightly between calibration and exposure, neither reference point will save you, which is why this technique pairs best with a subject who is coached to hold a consistent position and with a camera on a locked-down tripod.
This is also why it’s particularly well-suited to portrait work rather than, say, street photography. The controlled environment is part of what makes the system reliable.
Where I’d Adjust This for My Own Work
Here’s my honest addition to what Joel teaches: if you’re working outdoors or in any space where ambient light is shifting, your calibration window is shorter than you think. I’ve done enough location portrait work to know that even a cloud passing overhead changes the way you read the ground glass, and recalibrating mid-session is not always realistic. My workaround is to do a second calibration check any time there’s a meaningful light change, not just between shots but whenever the environment shifts. It adds maybe thirty seconds per setup change, but it’s saved me from trusting a reference that had drifted out of sync with reality.
Also worth noting: this technique is specifically designed for view cameras with removable film holders. If you’re shooting with a digital back or a Polaroid back for testing, the mechanical steps are different enough that you’ll need to adapt the process rather than follow it directly.
The One Thing to Take Away From This
The dual focusing technique works because it replaces hope with a verifiable step. Instead of assuming your focus survived the film-loading process, you confirm it, every time, before a single frame is wasted.
Watch Joel Grimes’ full tutorial to see the physical setup and the calibration process in action. Reading a technique is one thing. Watching someone who has used it for ten thousand portraits walk through it in real time is another.
Comments
Leave a Comment