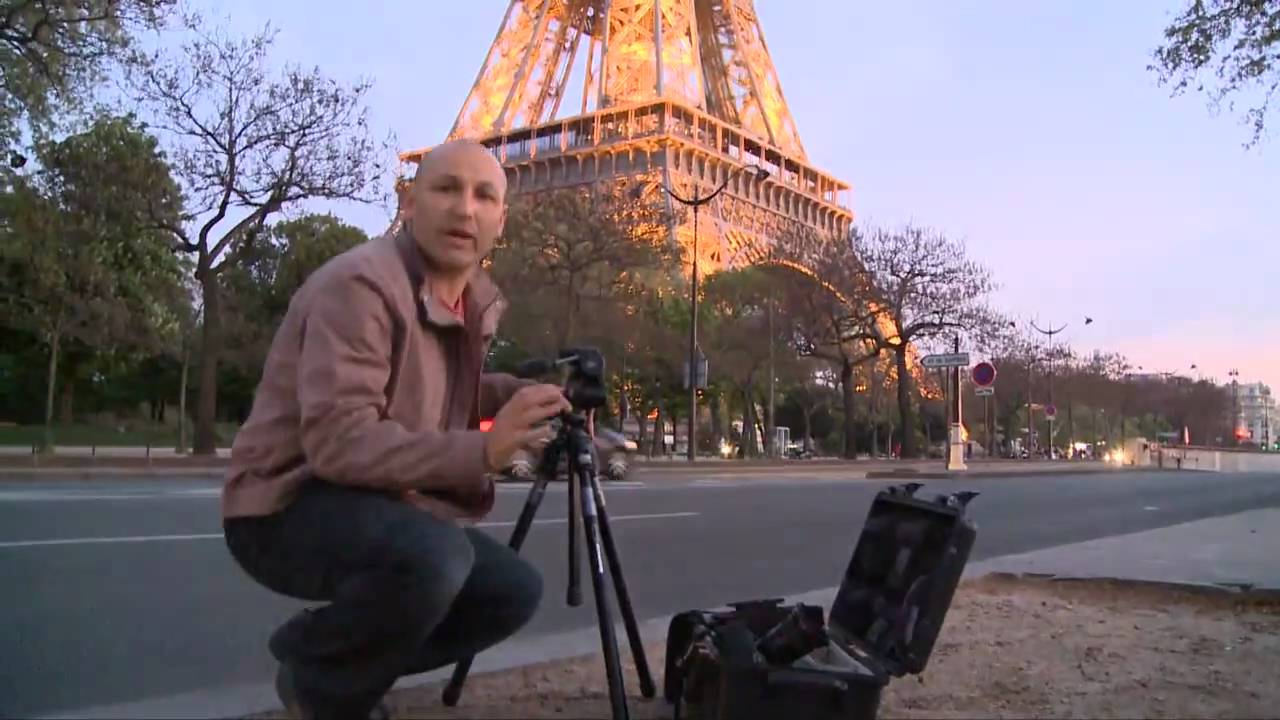
There’s a particular kind of frustration that comes from standing in a beautiful location at night with a camera, knowing the shot is there, and not quite having the tools or the plan to get it. I’ve been there more times than I’d like to admit. I spent three nights on a trip to Iceland watching other photographers nail dramatic long exposures while I kept blowing my highlights or losing all detail in the foreground. What I was missing wasn’t better gear. It was a workflow. That’s exactly what caught my attention about this Visual Education tutorial, which packs a surprising number of practical field techniques into a short runtime. Watch the full tutorial on YouTube before or after reading this, but what I’ve done here is slow it down, add context, and give you the kind of notes I wish I’d had.
The tutorial moves fast and covers a lot of ground: night shooting with light painting, macro work with insects and water droplets, remote shutter triggering, and removing light trails from long exposure cityscapes. Each of these could be its own article, but the value in watching them together is seeing how the same core principles, patience, deliberate light control, and keeping your kit simple, run through every single scenario. Here’s how to actually apply what’s being shown.
Step 1: Set a Long Exposure Baseline and Slightly Underexpose Your Background
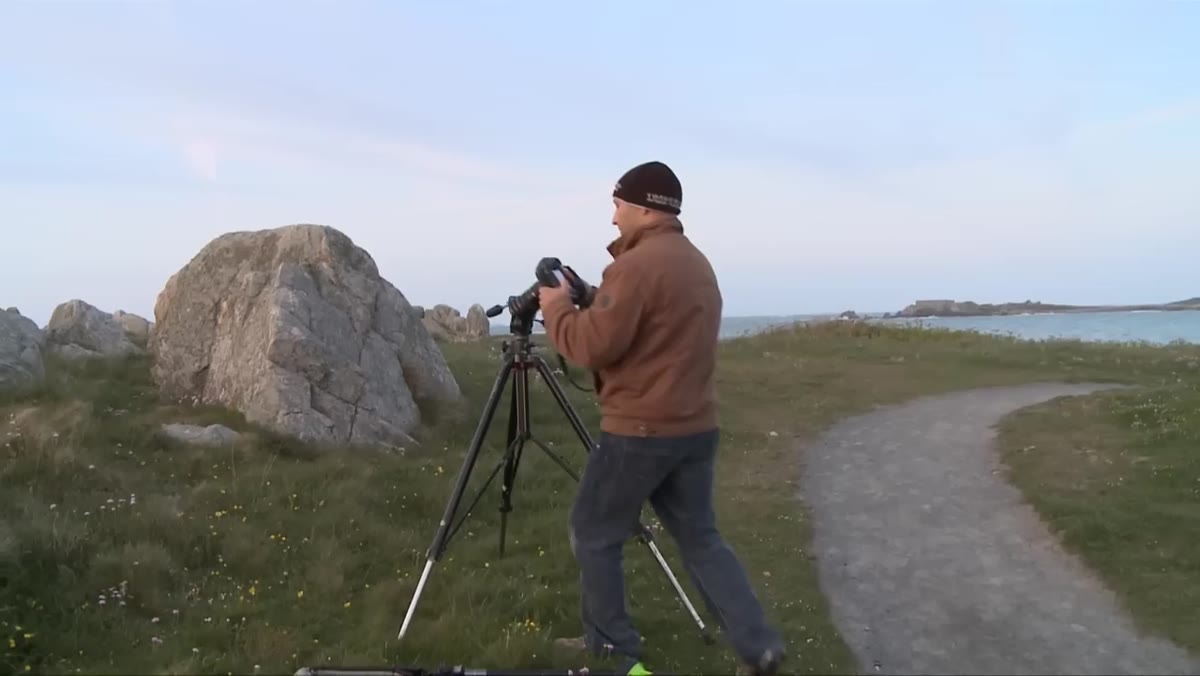 Photographer framing an outdoor stone scene at night
When shooting dramatic night or low-light scenes, the tutorial opens with exposures around 20 minutes long. That number surprises a lot of beginners, but the logic is straightforward: you want the ambient light in the scene to register correctly on the sensor, and in very dark environments that takes time. The important nuance here is to intentionally underexpose the background slightly. If your background is perfectly exposed before you add any supplemental light, you’ll end up with a muddy, overcooked final image once you bring in foreground lighting. Dial the background down half a stop to a full stop, check your histogram, and make sure the highlights aren’t clipping anywhere before you move on.
Photographer framing an outdoor stone scene at night
When shooting dramatic night or low-light scenes, the tutorial opens with exposures around 20 minutes long. That number surprises a lot of beginners, but the logic is straightforward: you want the ambient light in the scene to register correctly on the sensor, and in very dark environments that takes time. The important nuance here is to intentionally underexpose the background slightly. If your background is perfectly exposed before you add any supplemental light, you’ll end up with a muddy, overcooked final image once you bring in foreground lighting. Dial the background down half a stop to a full stop, check your histogram, and make sure the highlights aren’t clipping anywhere before you move on.
Step 2: Use a Portable Flash for Light Painting
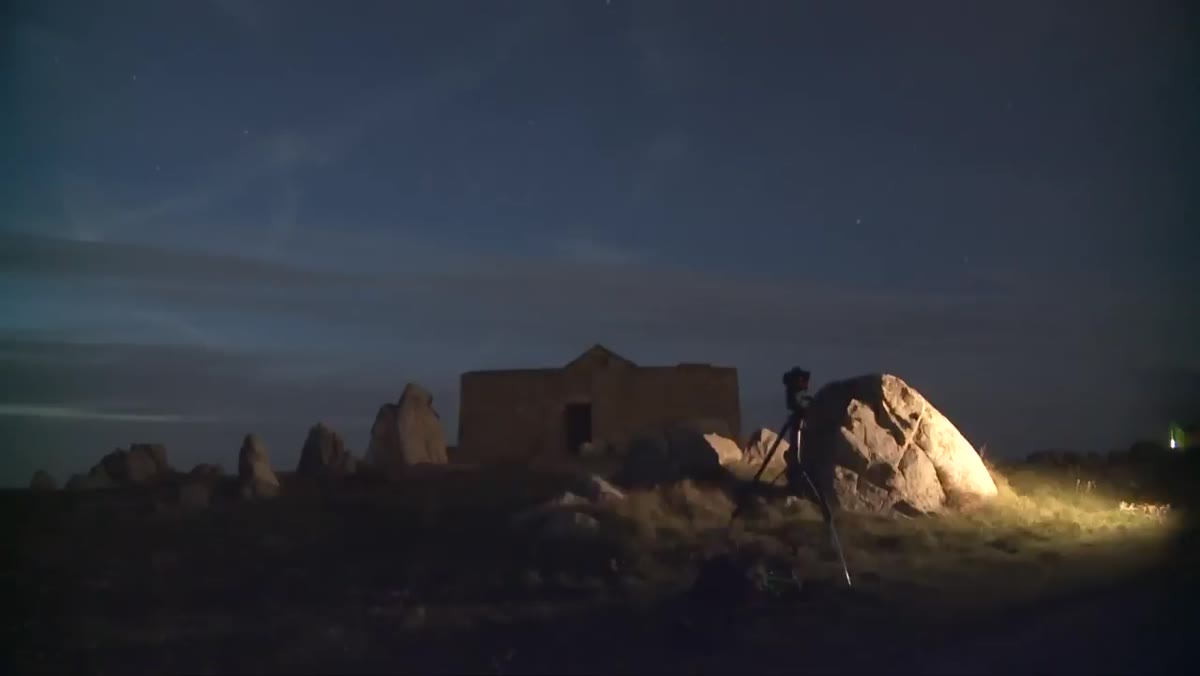 Photographer moving a portable studio flash across stone subjects
Light painting during a long exposure means walking through the frame with a light source while the shutter stays open, directing light exactly where you want it. The tutorial demonstrates this with a portable studio flash rather than a simple flashlight or LED panel. The advantage is power and quality: a studio-style strobe gives you a broader, more controlled spread of light and lets you “pop” sections of the scene with a clean burst rather than dragging a continuous source and risking uneven coverage. Aim the flash at your subject in short bursts as you move, keep your own body moving so you don’t burn your silhouette into the frame, and wear dark clothing if you need to pass through the scene. Two or three targeted pops on a foreground subject is usually enough.
Photographer moving a portable studio flash across stone subjects
Light painting during a long exposure means walking through the frame with a light source while the shutter stays open, directing light exactly where you want it. The tutorial demonstrates this with a portable studio flash rather than a simple flashlight or LED panel. The advantage is power and quality: a studio-style strobe gives you a broader, more controlled spread of light and lets you “pop” sections of the scene with a clean burst rather than dragging a continuous source and risking uneven coverage. Aim the flash at your subject in short bursts as you move, keep your own body moving so you don’t burn your silhouette into the frame, and wear dark clothing if you need to pass through the scene. Two or three targeted pops on a foreground subject is usually enough.
Step 3: Keep Your Filter Kit Minimal
 Close-up of photographer’s small set of camera filters
The tutorial makes a point I genuinely believe in: you only need a few filters. The full kit shown comes down to three. For most field scenarios, a circular polarizer, a neutral density filter, and a graduated ND will cover almost every situation you’ll encounter. The polarizer deepens sky tones and cuts reflections. The ND gives you creative control over shutter speed in bright conditions. The graduated ND helps you balance a bright sky against a darker foreground without blowing out your exposure. Resist the urge to collect filters you’ll never rotate into regular use. Knowing three filters deeply beats owning ten filters you haven’t figured out yet.
Close-up of photographer’s small set of camera filters
The tutorial makes a point I genuinely believe in: you only need a few filters. The full kit shown comes down to three. For most field scenarios, a circular polarizer, a neutral density filter, and a graduated ND will cover almost every situation you’ll encounter. The polarizer deepens sky tones and cuts reflections. The ND gives you creative control over shutter speed in bright conditions. The graduated ND helps you balance a bright sky against a darker foreground without blowing out your exposure. Resist the urge to collect filters you’ll never rotate into regular use. Knowing three filters deeply beats owning ten filters you haven’t figured out yet.
Step 4: Shoot Macro with Patience, Not Pursuit
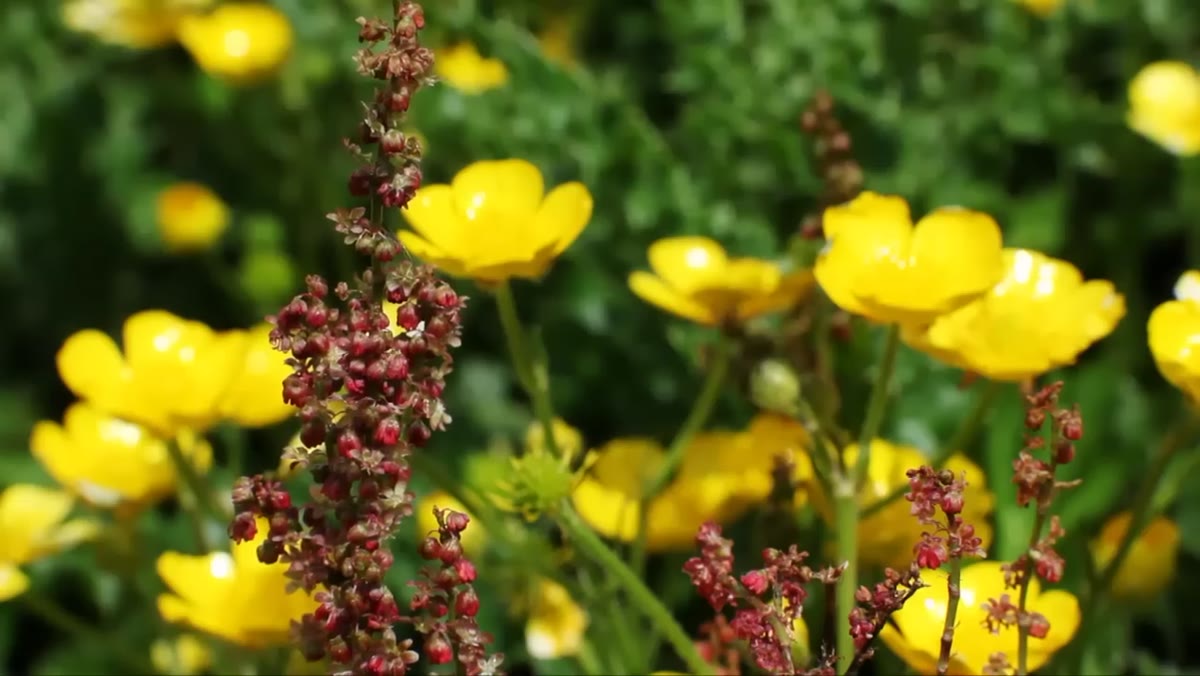
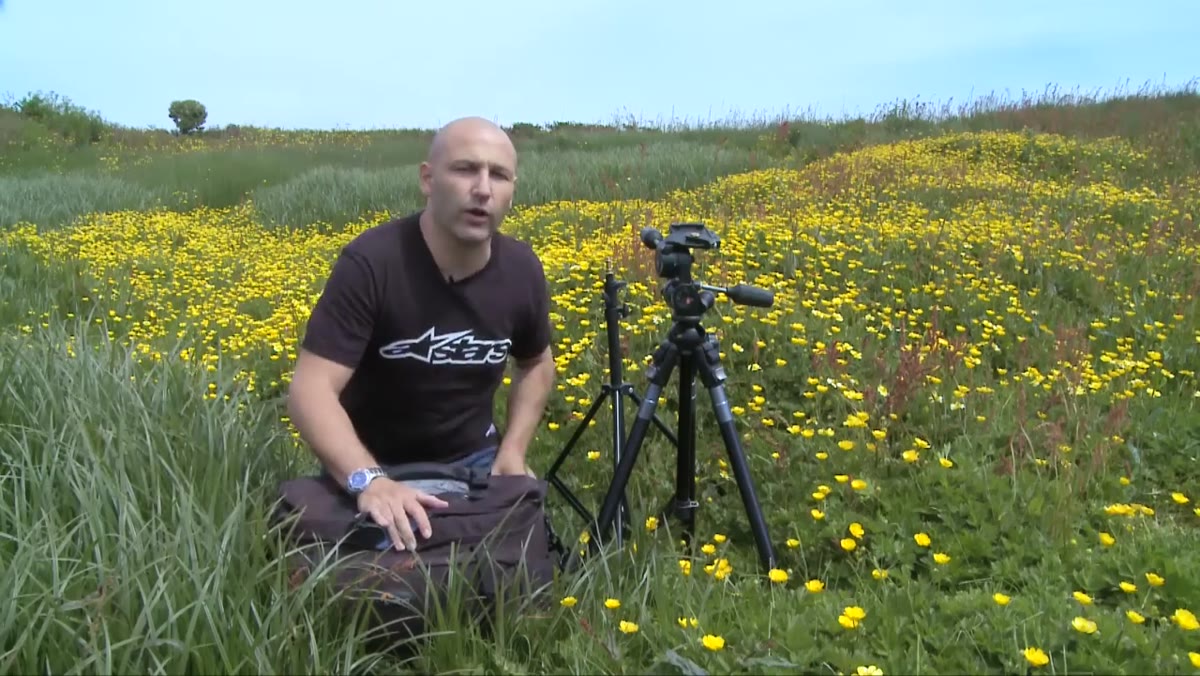 Camera positioned low near flowers waiting for insects
Macro photography of insects is one of those disciplines where the more you chase, the less you get. The tutorial’s advice here is simple and effective: find a spot with insect activity, set up your composition in advance, and wait for the subject to enter your frame on its own terms. This works because insects have patterns. They return to the same flowers, the same light patches, the same resting spots. Once you identify the right area, lock your focus point, set a narrow enough depth of field to isolate your subject (somewhere around f/8 to f/11 gives you enough sharpness without losing too much to diffraction), and keep your shutter speed fast enough to freeze wing movement, at least 1/500s as a starting point.
Camera positioned low near flowers waiting for insects
Macro photography of insects is one of those disciplines where the more you chase, the less you get. The tutorial’s advice here is simple and effective: find a spot with insect activity, set up your composition in advance, and wait for the subject to enter your frame on its own terms. This works because insects have patterns. They return to the same flowers, the same light patches, the same resting spots. Once you identify the right area, lock your focus point, set a narrow enough depth of field to isolate your subject (somewhere around f/8 to f/11 gives you enough sharpness without losing too much to diffraction), and keep your shutter speed fast enough to freeze wing movement, at least 1/500s as a starting point.
Step 5: Add a Water Sprayer for Instant Texture
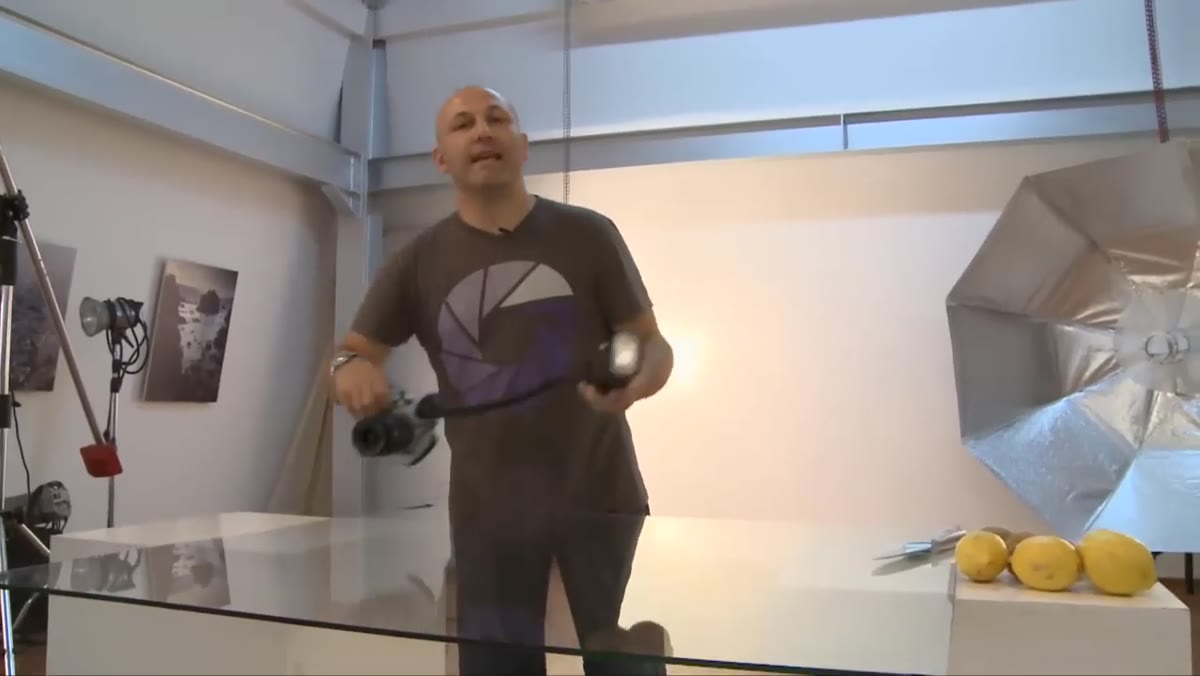 Water sprayer being used to mist a fruit subject for macro photography
One of the most practical small-kit tricks in the tutorial is using a cheap water sprayer to add water droplets to macro subjects. Droplets create catch lights, add visual texture, and give the image a sense of freshness that’s hard to fake in post. This works especially well on fruit, flowers, and leaves. Mist lightly, shoot immediately before the drops run or evaporate, and experiment with your angle of light. A backlit water droplet does something completely different than a front-lit one. Entry-level cameras with their kit macro capabilities handle this kind of close-up work well, so don’t let gear anxiety hold you back from trying it.
Water sprayer being used to mist a fruit subject for macro photography
One of the most practical small-kit tricks in the tutorial is using a cheap water sprayer to add water droplets to macro subjects. Droplets create catch lights, add visual texture, and give the image a sense of freshness that’s hard to fake in post. This works especially well on fruit, flowers, and leaves. Mist lightly, shoot immediately before the drops run or evaporate, and experiment with your angle of light. A backlit water droplet does something completely different than a front-lit one. Entry-level cameras with their kit macro capabilities handle this kind of close-up work well, so don’t let gear anxiety hold you back from trying it.
Step 6: Use Remote Shooting for Tricky Angles and Timing
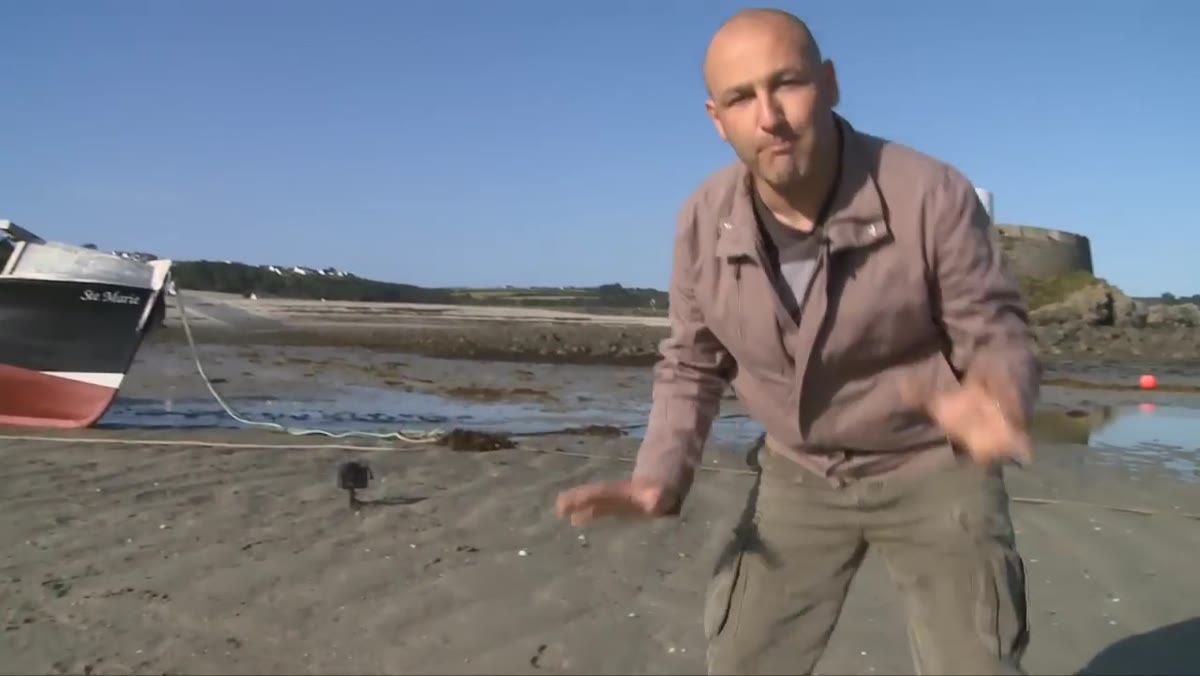 Extension cords laid out to function as a remote shutter system
Remote triggering is usually associated with wildlife photography, but the tutorial shows it being used for precise timing control during active scenes. The setup here uses extension cords as a simple, reliable remote system, which is a great low-budget alternative to wireless triggers when you’re working in a known space. The principle is the same regardless of your specific gear: get the camera in position, step away, and fire without introducing camera shake or having to sprint back to the viewfinder. For long exposures especially, even a gentle press of the shutter button can introduce enough vibration to soften fine details. A two-second self-timer or a wired remote fixes that immediately.
Extension cords laid out to function as a remote shutter system
Remote triggering is usually associated with wildlife photography, but the tutorial shows it being used for precise timing control during active scenes. The setup here uses extension cords as a simple, reliable remote system, which is a great low-budget alternative to wireless triggers when you’re working in a known space. The principle is the same regardless of your specific gear: get the camera in position, step away, and fire without introducing camera shake or having to sprint back to the viewfinder. For long exposures especially, even a gentle press of the shutter button can introduce enough vibration to soften fine details. A two-second self-timer or a wired remote fixes that immediately.
Step 7: Pull Light Trails with a Polarizer and a Long Shutter
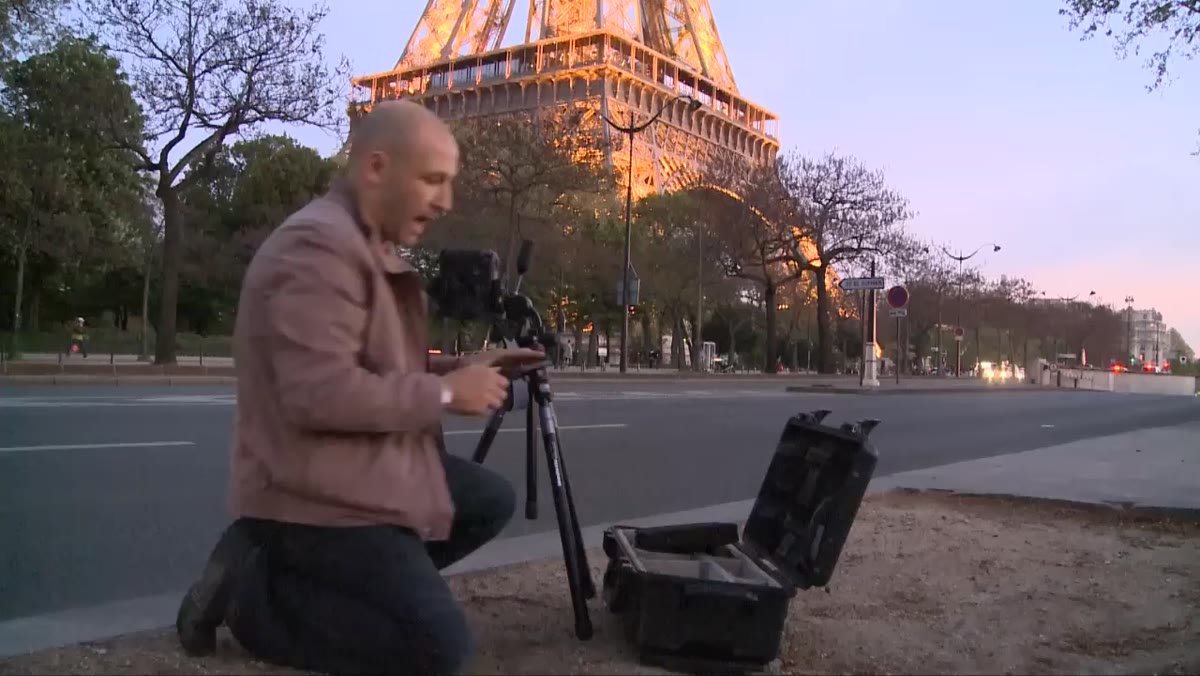 City scene with slow shutter speed capturing car light trails
To capture car light trails in an urban scene, the tutorial combines a polarizing filter with a shutter speed of 30 seconds or longer. The polarizer’s job here isn’t just to deepen the sky. It reduces glare and unwanted reflections from wet pavement or glass, keeping the light trails themselves clean and defined rather than blooming into a mess. You need actual traffic moving through the frame, which means scouting the timing. Shoot during the blue hour right after sunset for the best balance between ambient city glow and sky color. If you want to remove light trails entirely from a scene, stack multiple shorter exposures in post and use a median blend to replace each car with whatever was behind it.
City scene with slow shutter speed capturing car light trails
To capture car light trails in an urban scene, the tutorial combines a polarizing filter with a shutter speed of 30 seconds or longer. The polarizer’s job here isn’t just to deepen the sky. It reduces glare and unwanted reflections from wet pavement or glass, keeping the light trails themselves clean and defined rather than blooming into a mess. You need actual traffic moving through the frame, which means scouting the timing. Shoot during the blue hour right after sunset for the best balance between ambient city glow and sky color. If you want to remove light trails entirely from a scene, stack multiple shorter exposures in post and use a median blend to replace each car with whatever was behind it.
What I’d Add From My Own Experience
The through-line I keep coming back to after watching this is how small the actual gear list is. A flash, a few filters, a remote, a water sprayer. Most of this fits in a small side pocket. I used to haul a rolling bag to night shoots because I was convinced I needed options. What I actually needed was a plan. These days I do a ten-minute location scout before sunset, decide on my two or three priority compositions, and only pull out what those specific shots require. The water sprayer trick, specifically, is now a permanent member of my Sunday morning walk kit. It costs almost nothing and reliably turns an ordinary close-up into something that stops people mid-scroll.
The biggest thing this tutorial reinforced for me is that technique almost always outweighs equipment. Knowing how to underexpose your background before adding a light source, knowing where insects will land, knowing that a polarizer plus 30 seconds of traffic equals a compelling cityscape: those are skills, not purchases. Go apply one of these techniques on your next shoot, even if the conditions aren’t perfect. Especially if the conditions aren’t perfect.
Watch the full tutorial on YouTube to see all of these techniques demonstrated in the field.
Comments (1)
This is going in my reference folder. Incredibly useful.
Leave a Comment