Every few months I drag a different camera on my Sunday morning photo walk just to shake up my thinking. Last week I watched Pierre T. Lambert do essentially the same thing on video, except his walk involved a very photogenic dog and a downtown cityscape, and the camera in question was the brand-new Sony RX1R III. The video is bluntly titled “This ’everyday’ camera may be a mistake!” and it delivers exactly the kind of honest, in-the-field assessment I wish more gear coverage would give us. Watch the full tutorial on YouTube
The question of what makes a camera genuinely usable every single day is something I think about a lot. A camera that lives in a drawer is useless no matter how good its specs are. Pierre’s hands-on walk surfaces some real tension between the RX1R III’s impressive image quality and a handful of practical friction points that matter when you’re actually out shooting, not reading a spec sheet. Here is a breakdown of what he discovered, step by step.
Step 1: Evaluate the Physical Feel Before You Shoot
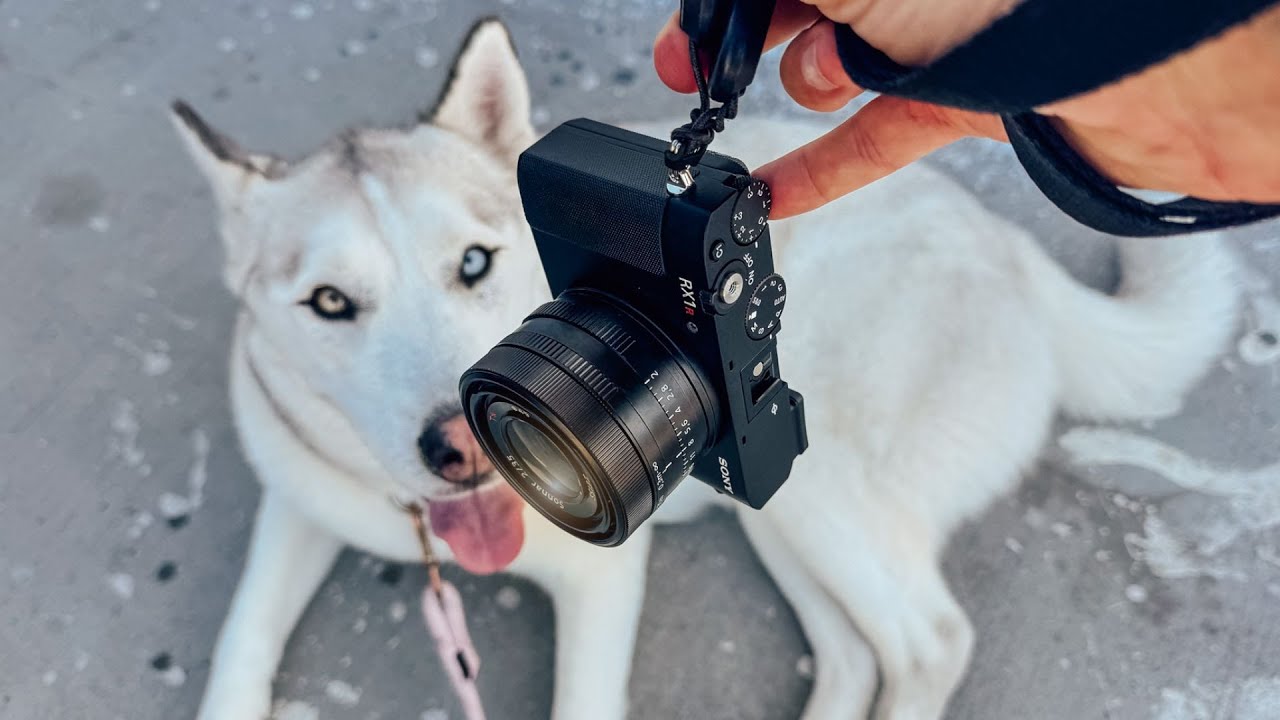
 Pierre holding the RX1R III, examining grip in hand
Before a single frame is taken, Pierre spends time just holding the camera and noting what has changed from the previous generation. The RX1R III has a redesigned grip that feels more substantial in hand, which matters when you’re shooting one-handed or managing a leash (or a coffee, or a bag). He notes that while the grip is an improvement, the overall aesthetic is a sleek, nearly all-black design that trades some of the previous model’s character for discretion.
Pierre holding the RX1R III, examining grip in hand
Before a single frame is taken, Pierre spends time just holding the camera and noting what has changed from the previous generation. The RX1R III has a redesigned grip that feels more substantial in hand, which matters when you’re shooting one-handed or managing a leash (or a coffee, or a bag). He notes that while the grip is an improvement, the overall aesthetic is a sleek, nearly all-black design that trades some of the previous model’s character for discretion.
This is worth taking seriously as a buying consideration. A camera you find visually underwhelming is one you’ll be less excited to pick up. Ergonomics and aesthetics are not vanity factors. They directly affect how often you actually shoot.
Step 2: Add Small Physical Accessories to Solve Real Problems
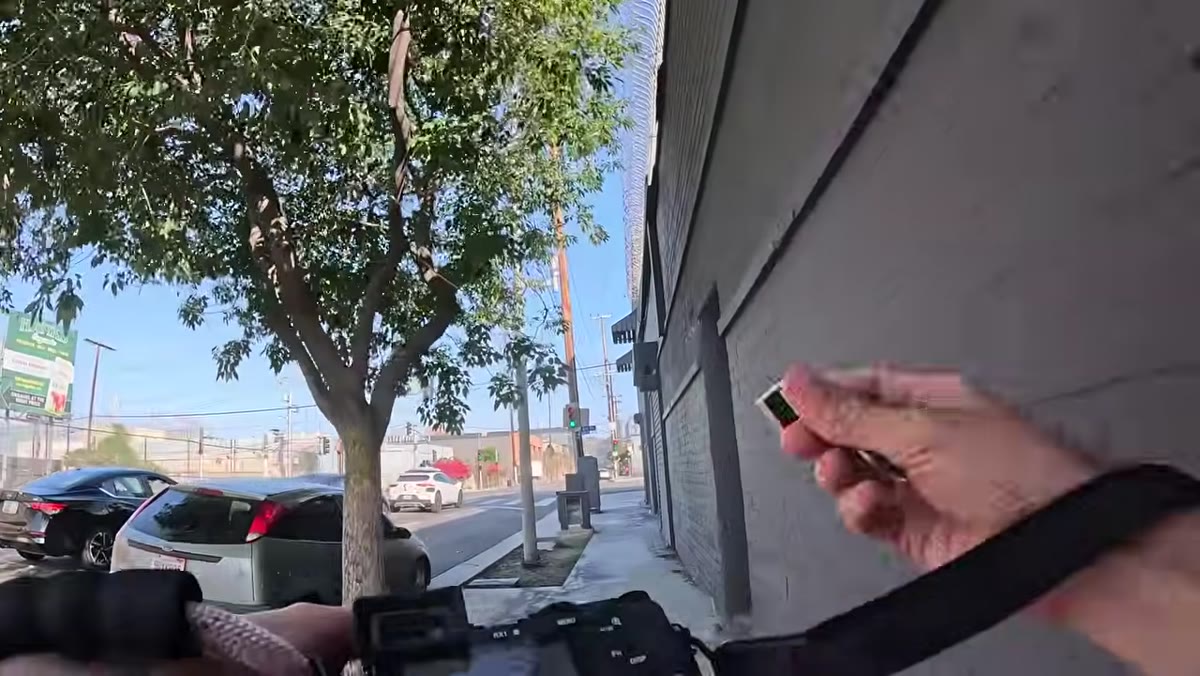 Thumb grip attachment visible on top of camera body
Pierre has added a small thumb grip to the top of the camera body to give his thumb a resting point during shooting. It’s a minor mod, but it changes how stable the camera feels during one-handed operation. He also mentions that a case from the RX1R II does not fit the new body, which is a heads-up worth remembering: do not assume accessories from the previous generation will carry over.
Thumb grip attachment visible on top of camera body
Pierre has added a small thumb grip to the top of the camera body to give his thumb a resting point during shooting. It’s a minor mod, but it changes how stable the camera feels during one-handed operation. He also mentions that a case from the RX1R II does not fit the new body, which is a heads-up worth remembering: do not assume accessories from the previous generation will carry over.
If you’re picking up any compact camera as a daily shooter, spend ten minutes thinking about what small additions will make it feel more intentional in your hands. A thumb rest, a wrist strap, a quality half-case. These things cost almost nothing and meaningfully reduce fatigue and fumbling on long shoots.
Step 3: Set Up a Custom Mode for Cropped Shooting
 C1 custom mode selected, cropped frame visible in viewfinder
The RX1R III has a fixed 35mm lens, but Pierre has programmed his C1 custom mode to shoot in a cropped format. This effectively gives him a tighter field of view, closer to 50mm or 70mm, without changing any glass. He uses this actively during the walk to compose around obstructions. In one sequence he steps behind a stop sign and uses the cropped frame to get a clean lower composition without the sign intruding.
C1 custom mode selected, cropped frame visible in viewfinder
The RX1R III has a fixed 35mm lens, but Pierre has programmed his C1 custom mode to shoot in a cropped format. This effectively gives him a tighter field of view, closer to 50mm or 70mm, without changing any glass. He uses this actively during the walk to compose around obstructions. In one sequence he steps behind a stop sign and uses the cropped frame to get a clean lower composition without the sign intruding.
Custom modes on Sony cameras are genuinely underused by most shooters. If you shoot in different contexts regularly, whether street, portrait, or landscape, consider programming each scenario into a custom slot with its preferred aperture range, autofocus mode, and aspect ratio already dialed in. You’ll spend less time in menus and more time shooting.
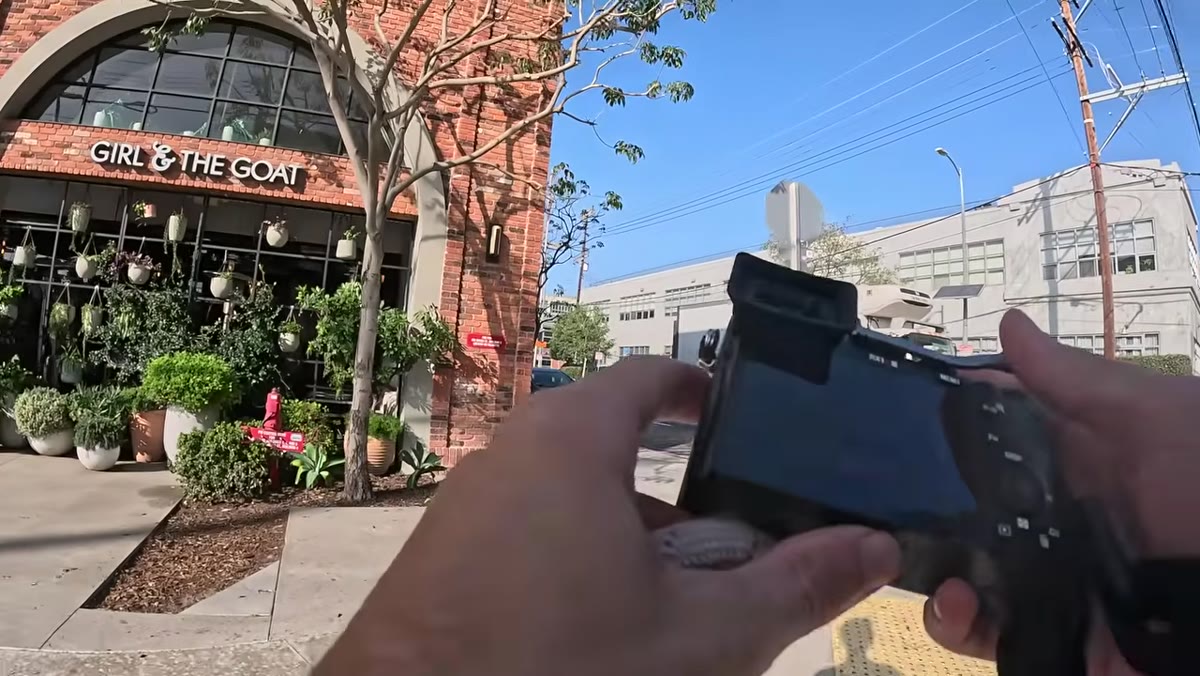
Step 4: Adjust Aperture for Subject Recognizability, Not Just Bokeh
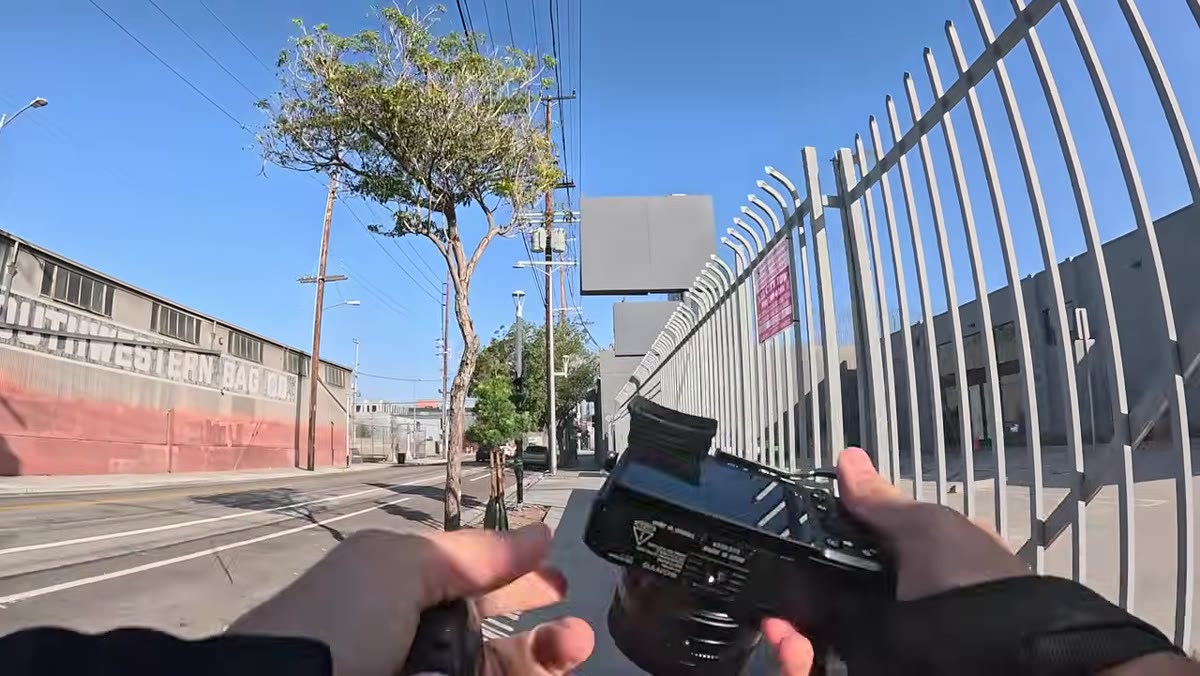
 Pierre shooting at f/7, urban scene with barriers in background
At one point during the walk, Pierre is shooting a scene with a barrier and a graphic urban background. He intentionally pulls his aperture to f/7 rather than shooting wide open. His reasoning is direct: if the depth of field is too shallow, the subject becomes unrecognizable and the photo loses its context. The goal is a frame that reads clearly, not one that impresses with blur.
Pierre shooting at f/7, urban scene with barriers in background
At one point during the walk, Pierre is shooting a scene with a barrier and a graphic urban background. He intentionally pulls his aperture to f/7 rather than shooting wide open. His reasoning is direct: if the depth of field is too shallow, the subject becomes unrecognizable and the photo loses its context. The goal is a frame that reads clearly, not one that impresses with blur.
This is a correction I find myself making in my own work constantly. Wide-open shooting is seductive, especially on a full-frame compact, but the most compelling street photos usually have enough depth to tell you where you are. Shoot wide open when separation is the point. Stop down when the environment is part of the story.
Step 5: Check Your Memory Card Before You Leave the House
 “No space on memory card” warning on camera screen
This one hurts because we have all done it. Midway through a genuinely good shooting sequence, Pierre gets a full card warning. He has New York trip files still sitting on the card. The shoot pauses while he sorts it out.
“No space on memory card” warning on camera screen
This one hurts because we have all done it. Midway through a genuinely good shooting sequence, Pierre gets a full card warning. He has New York trip files still sitting on the card. The shoot pauses while he sorts it out.
No technique tip here. Just a ritual: before any shoot, format your card. Not delete selected files. Format. It takes four seconds and it has saved me from this exact embarrassment more times than I can count. If you shoot with multiple cards, label them by status so you always know which is clean and ready.
Step 6: Engage Spontaneously and Shoot What You Find
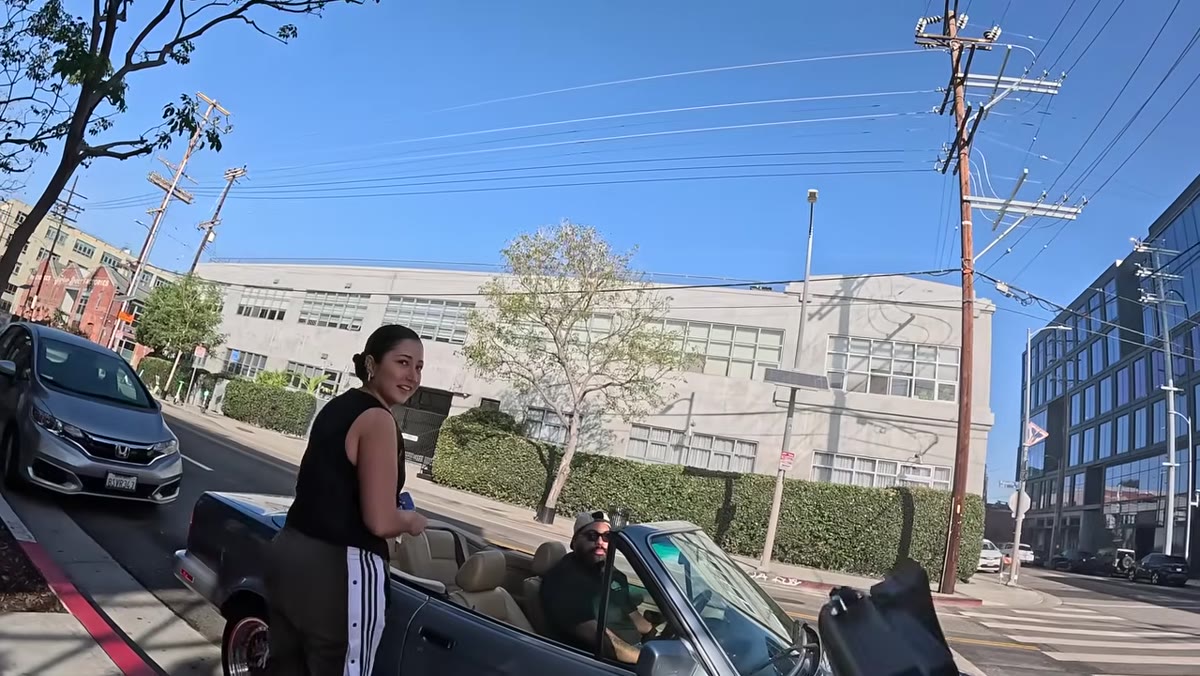 Pierre approaching people with a classic car, asking to photograph them
One of the most instructive moments in the video is when Pierre spots a cool car and the people with it, walks over, compliments them, and asks for a quick portrait. He gets the shot. The camera becomes part of the conversation when one of them asks what it is, and Pierre explains the fixed 35mm lens and the crop function naturally.
Pierre approaching people with a classic car, asking to photograph them
One of the most instructive moments in the video is when Pierre spots a cool car and the people with it, walks over, compliments them, and asks for a quick portrait. He gets the shot. The camera becomes part of the conversation when one of them asks what it is, and Pierre explains the fixed 35mm lens and the crop function naturally.
A compact, discreet camera like the RX1R III genuinely helps here. It does not read as intimidating. People respond differently to a small black camera than they do to a large DSLR with a long lens pointed at them. If street portraiture is part of your practice, the form factor of your camera is doing social work whether you realize it or not.
What I’d Add from My Own Experience
The RX1R III is not the camera I reach for, but the workflow Pierre demonstrates applies directly to any fixed-lens compact, including cameras at a fraction of the price. The discipline of working with one focal length, using crop modes creatively, adjusting depth of field for legibility rather than aesthetics, and setting up custom modes for specific shooting situations are habits that sharpen your eye regardless of what body you’re holding.
I have shot entire Sunday walks with just my phone to make the same point to myself. The camera that makes you think carefully about each frame is almost always more useful than the one with the most options. The RX1R III is a remarkable piece of engineering and a real commitment financially. Whether it earns that commitment depends entirely on whether a fixed 35mm full-frame compact fits how you actually move through the world.
The single thing to take from this video is not about the camera at all. It’s that the best way to evaluate any piece of gear is to take it somewhere real and pay attention to every moment it helps you and every moment it gets in your way. Pierre does exactly that here, without hype and without apology.
Watch the full tutorial on YouTube to follow the shoot from start to finish and see the actual frames he pulls from this walk.
Comments
Leave a Comment