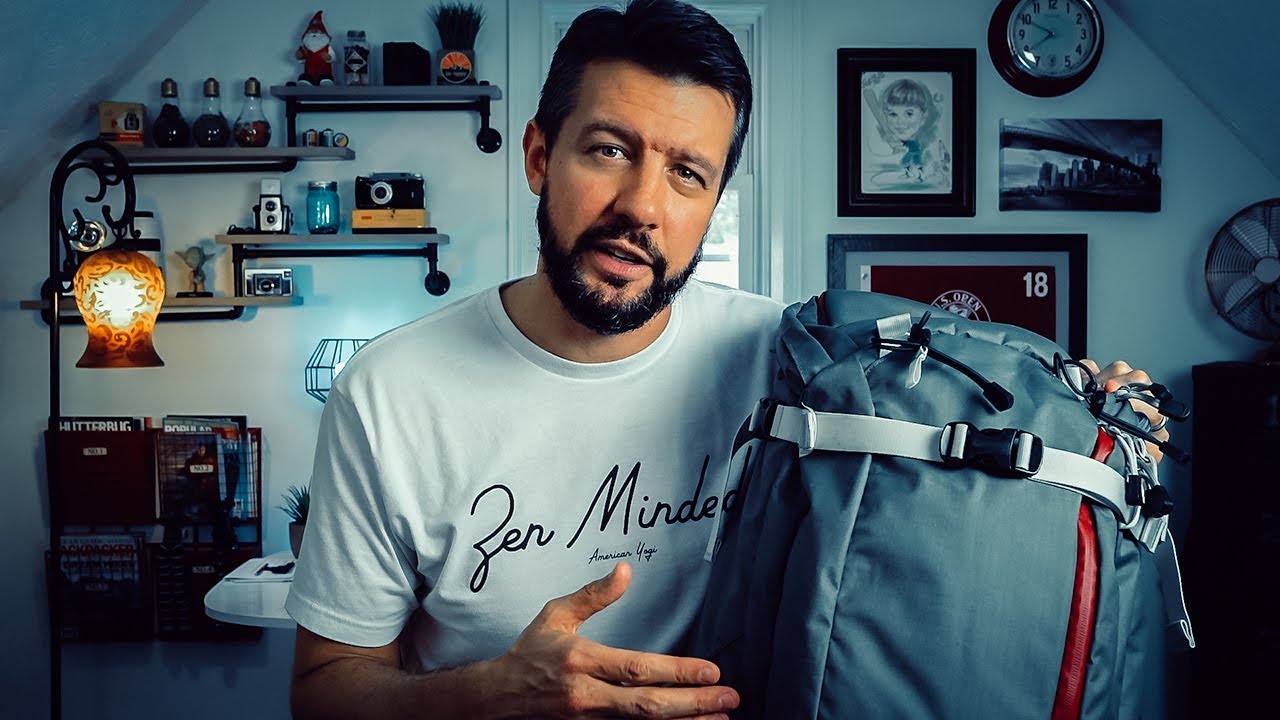
I have a complicated relationship with camera bags. I’ve owned probably a dozen of them over the years, and every single one was “the one” until it wasn’t. Too small for a full day out, too heavy for a quick street session, zippers that catch on everything, straps that dig in after two miles. When you’re hiking to a location before sunrise with your whole kit on your back, a bad bag isn’t just annoying - it actively gets in the way of making good images. So when I came across Mark Denney’s deep-dive review of the F-Stop Ajna bag, I paid attention. Mark shoots landscape photography seriously, and he’d carried this pack as his primary bag for eight months before hitting record. That’s the kind of use that reveals things a spec sheet never will.
Watch the full tutorial on YouTube
What follows is a full breakdown of everything Mark covers, step by step, so you can figure out whether the Ajna deserves a spot in your kit before you spend the money. He’s refreshingly honest about the bag’s quirks, and that honesty is exactly what makes this review worth your time.
Step 1: Get Your Bearings - Overall Design and Size
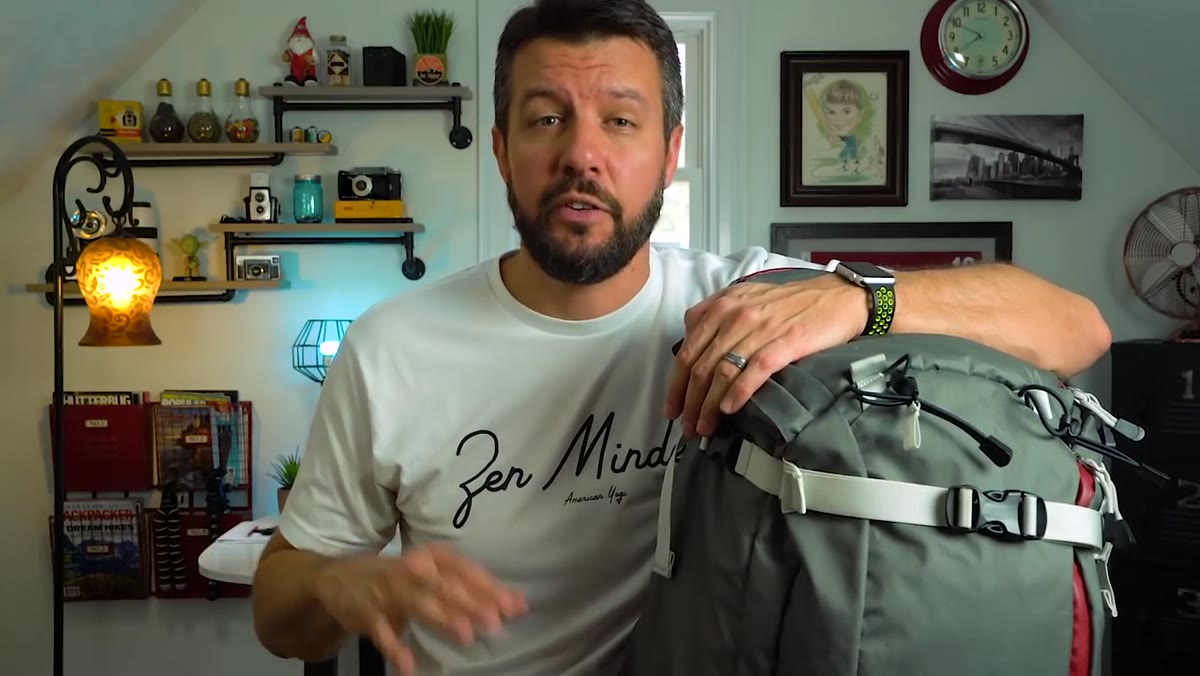 Mark holding the Ajna bag, giving an overview of its exterior design
The Ajna is a 40-liter pack, which puts it in a useful middle ground for landscape photographers. It’s big enough for a full day in the field with multiple lenses, a tripod, layers, and snacks, but it doesn’t cross into the oversized territory that becomes a liability on technical terrain. At 3.75 pounds empty, it’s not going to win any ultralight awards, but it sits right in the average range for a bag this size and built to this standard.
Mark holding the Ajna bag, giving an overview of its exterior design
The Ajna is a 40-liter pack, which puts it in a useful middle ground for landscape photographers. It’s big enough for a full day in the field with multiple lenses, a tripod, layers, and snacks, but it doesn’t cross into the oversized territory that becomes a liability on technical terrain. At 3.75 pounds empty, it’s not going to win any ultralight awards, but it sits right in the average range for a bag this size and built to this standard.
The design language across F-Stop’s whole lineup skews toward rugged and utilitarian, and the Ajna fits that mold. Mark chose the Red Bull Photography limited edition colorway, which pairs dark gray with lighter gray and deep maroon accents. The standard options are black, sandstone, and neon orange. If neon orange sounds bold, that’s because it is - Mark compares it to a traffic cone with some affection.
Step 2: Evaluate the Front Attachment System
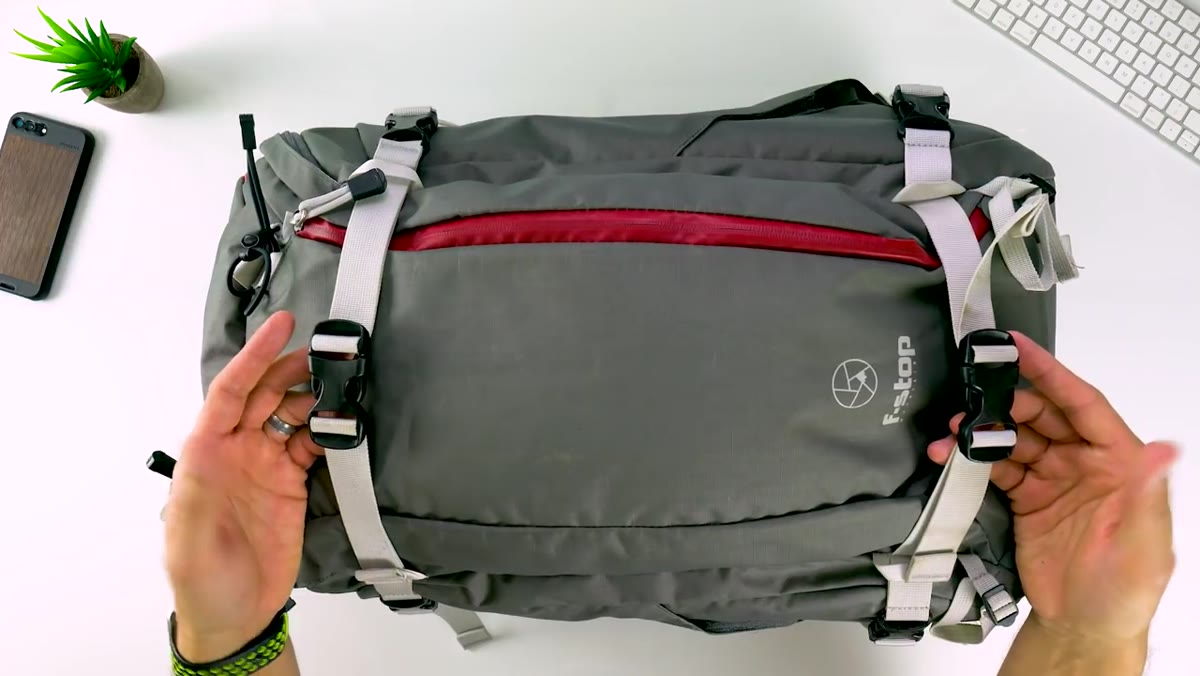 Close-up of the front strap buckles and side loops on the Ajna
The front of the bag has two buckle straps at the top, sized practically rather than oversized or undersized. These give you a reliable anchor point for attaching gear to the exterior - most commonly a tripod, but also trekking poles, an ice axe, or anything else you want accessible without opening the main compartment.
Close-up of the front strap buckles and side loops on the Ajna
The front of the bag has two buckle straps at the top, sized practically rather than oversized or undersized. These give you a reliable anchor point for attaching gear to the exterior - most commonly a tripod, but also trekking poles, an ice axe, or anything else you want accessible without opening the main compartment.
Along each side of the bag, there are dedicated loops built specifically for trekking poles or ice axes. The system is simple: thread one end through the top loop, cinch it, then secure the lower end through the side loop. It’s a two-second process that works well in practice. Mark notes it’s not a must-have feature, but when you’re covering serious vertical terrain, having your poles stashed cleanly without fumbling matters more than you’d think.
Step 3: Assess Weather Resistance and Zipper Quality
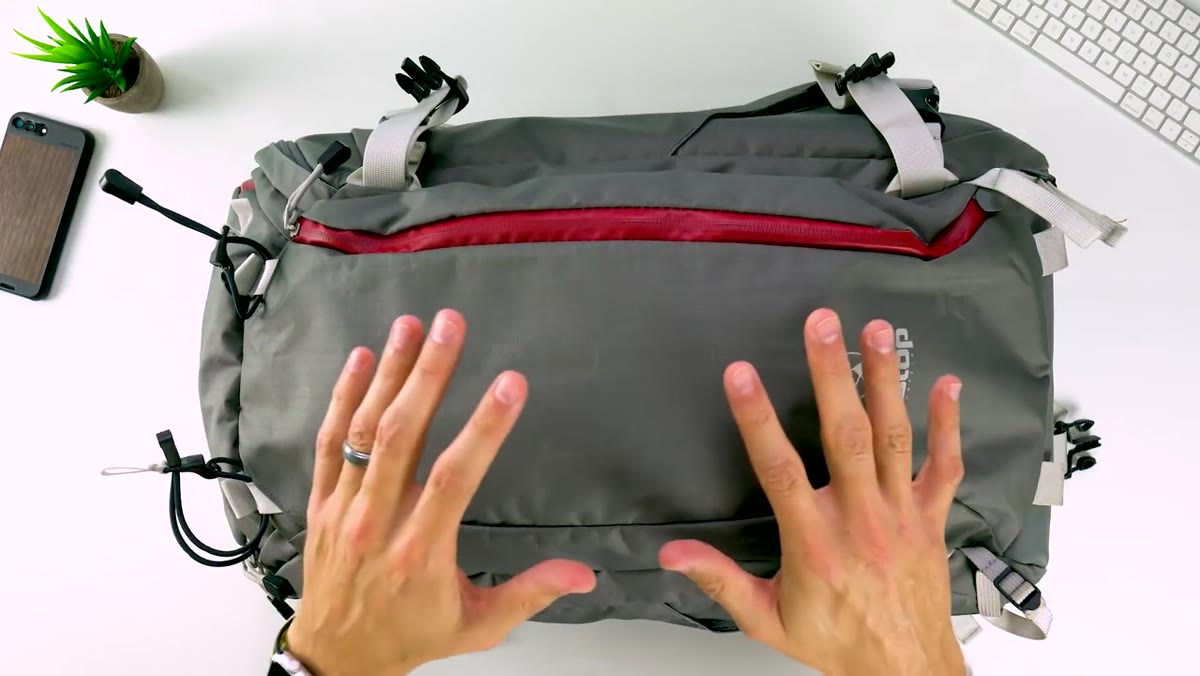 Mark demonstrating the weather-sealed zipper closure on the bag
The Ajna’s material is weather resistant rather than fully waterproof, which is an important distinction. Mark puts this to a real-world test - he’s carried the bag through multiple heavy rainstorms and reports zero moisture making it inside. The fabric itself handles the bulk of that protection, but the zippers do serious work here too.
Mark demonstrating the weather-sealed zipper closure on the bag
The Ajna’s material is weather resistant rather than fully waterproof, which is an important distinction. Mark puts this to a real-world test - he’s carried the bag through multiple heavy rainstorms and reports zero moisture making it inside. The fabric itself handles the bulk of that protection, but the zippers do serious work here too.
What stands out is how tightly the zipper seals when closed. Most quality outdoor bags have weather-sealing on their zippers, but the Ajna’s fit is noticeably snug - the kind of closure that gives you genuine confidence in a downpour rather than a vague hope. The pull tabs are sized to be grabbed easily with or without gloves on, which matters enormously when you’re shooting in cold, wet conditions and don’t want to strip your layers just to access your gear.
Step 4: Check the Front Pocket Storage
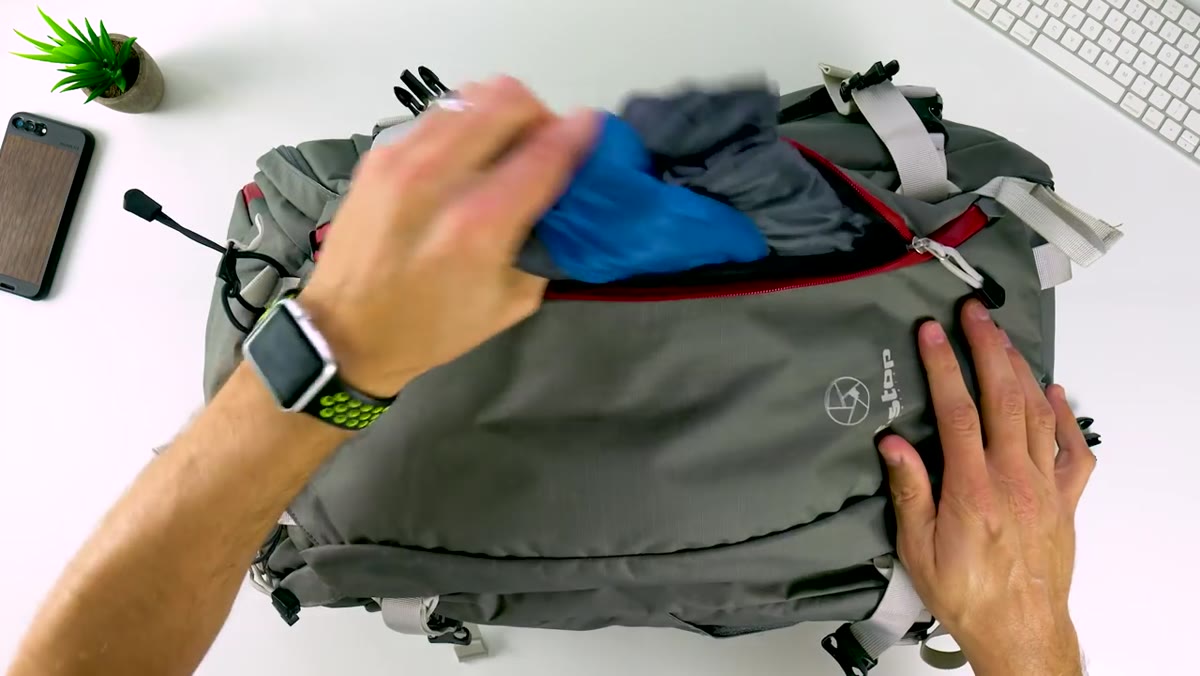 Interior view of the Ajna’s open front pocket showing available space
The front pocket is large and open - no internal organizer pockets or dividers. Mark keeps a jacket in his as his default configuration, and that tells you what you need to know about the volume. It’s designed for bulkier items you want accessible quickly: a rain shell, a puffy layer, a packable down jacket for that window between golden hour and sunset when the temperature drops fast.
Interior view of the Ajna’s open front pocket showing available space
The front pocket is large and open - no internal organizer pockets or dividers. Mark keeps a jacket in his as his default configuration, and that tells you what you need to know about the volume. It’s designed for bulkier items you want accessible quickly: a rain shell, a puffy layer, a packable down jacket for that window between golden hour and sunset when the temperature drops fast.
If you’re the type who likes to organize every small item in its own dedicated sleeve, this pocket will frustrate you. If you think of it as a fast-grab overflow zone for soft goods and larger items, it works exactly as intended. Knowing which kind of photographer you are before you buy saves you a return shipment.
Step 5: Understand the Tripod Carry Configurations
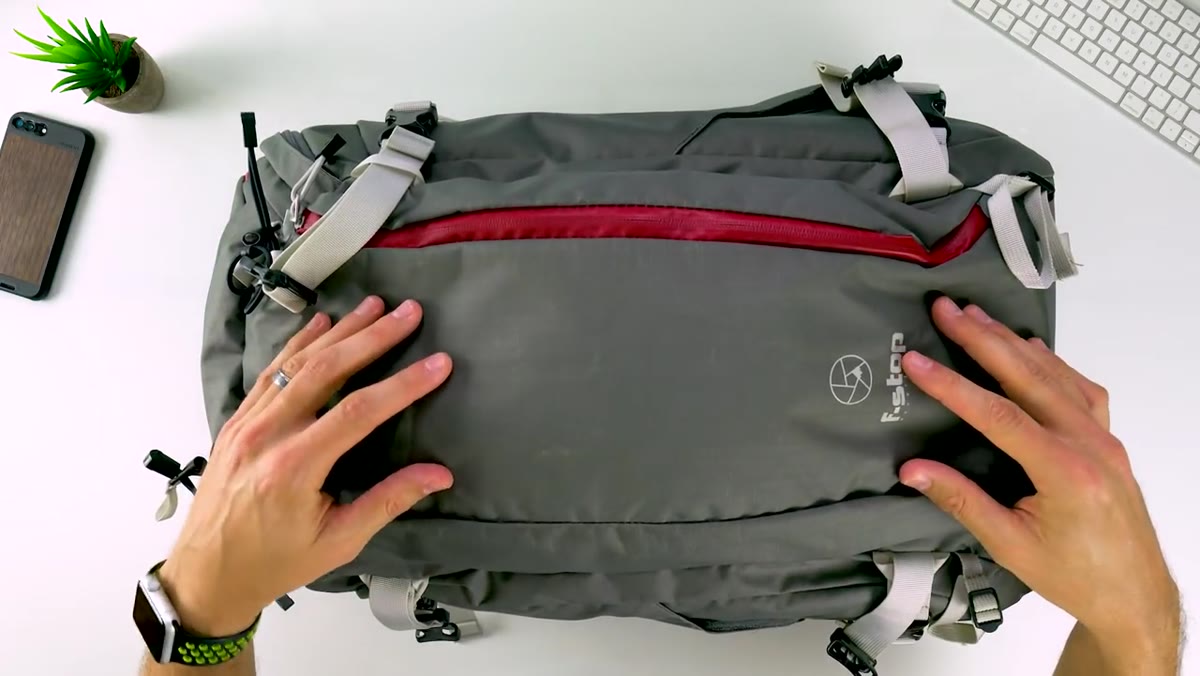 Mark showing how a tripod attaches to the front of the Ajna
One of the more practical features of the Ajna is that it supports multiple ways to carry a tripod, not just the standard side-strap method. The front buckles and side loops work together to secure a tripod vertically against the front panel, keeping the weight central and close to your body rather than swinging off to one side.
Mark showing how a tripod attaches to the front of the Ajna
One of the more practical features of the Ajna is that it supports multiple ways to carry a tripod, not just the standard side-strap method. The front buckles and side loops work together to secure a tripod vertically against the front panel, keeping the weight central and close to your body rather than swinging off to one side.
This matters on uneven ground. A tripod hanging off the side of a pack acts like a pendulum on a narrow trail, and it throws off your balance in a way that gets old quickly. Having the option to front-mount keeps the load stable and your center of gravity more predictable, which is a meaningful quality-of-life improvement on longer approaches.
A Note from the Field: What the Review Doesn’t Tell You
Mark’s review is thorough and honest, and I appreciate that he’s clear this bag isn’t perfect while still recommending it overall. What I’d add, from my own experience testing bags in similar conditions around the Pacific Northwest, is to think hard about access style before committing.
A top-loading design like the Ajna rewards methodical packers. If you tend to layer your kit in the order you’ll need it, top-loading works beautifully. If you’re more of a “dig through everything to find the one filter you need” photographer - I include my past self in this category - a clamshell-style back panel might serve you better. The Ajna does have back-panel access to the camera compartment, which helps, but understanding your own workflow before you buy is worth more than any spec comparison.
The eight-month real-world test is the most valuable thing Mark brings to this review. Gear looks good in unboxing videos. It reveals itself on mile six of a wet trail with a full load.
The single most important takeaway here is this: a camera bag is not a passive piece of gear. It shapes how you move, how quickly you can react to light, and how much energy you arrive at your location with. Getting that choice right is worth doing carefully. Mark’s breakdown of the Ajna gives you the honest picture you need to make that call.
Watch the full tutorial on YouTube to see Mark walk through every compartment and configuration in detail - it’s a genuinely useful review from someone who actually used the bag hard before giving his verdict.
Comments (4)
Would love to see a follow-up going deeper into this topic.
Wow, I had no idea you could do this. Mind blown.
Clear and practical. No fluff. Appreciate that.
Well explained. I think my audience would really benefit from this — mind if I link to it?
Leave a Comment