
Couple portraits are one of those genres I kept putting off early in my career. Not because I didn’t love the work, but because I was convinced I needed a full lighting kit to make them look good. What I actually needed was a better understanding of how to read and shape the light that was already there. That realization came slowly, through a lot of overexposed beach shots and muddy shadows I couldn’t fix in post.
In this Visual Education tutorial on natural light for couples portraits, the photographer walks through a real coastal shoot from location scouting all the way to the final frames. It’s the kind of behind-the-scenes breakdown I wish I’d had when I was starting out. Watch the full tutorial on YouTube alongside this guide, and you’ll come away with a repeatable system you can use anywhere the light is beautiful and complicated at the same time.
What makes this tutorial so useful isn’t just the tips in isolation. It’s watching how a working photographer actually solves problems on the fly, from wind throwing off reflector positioning to shifting shadows as the sun drops. That problem-solving instinct is the real lesson here.
Step 1: Scout Before Your Subjects Arrive
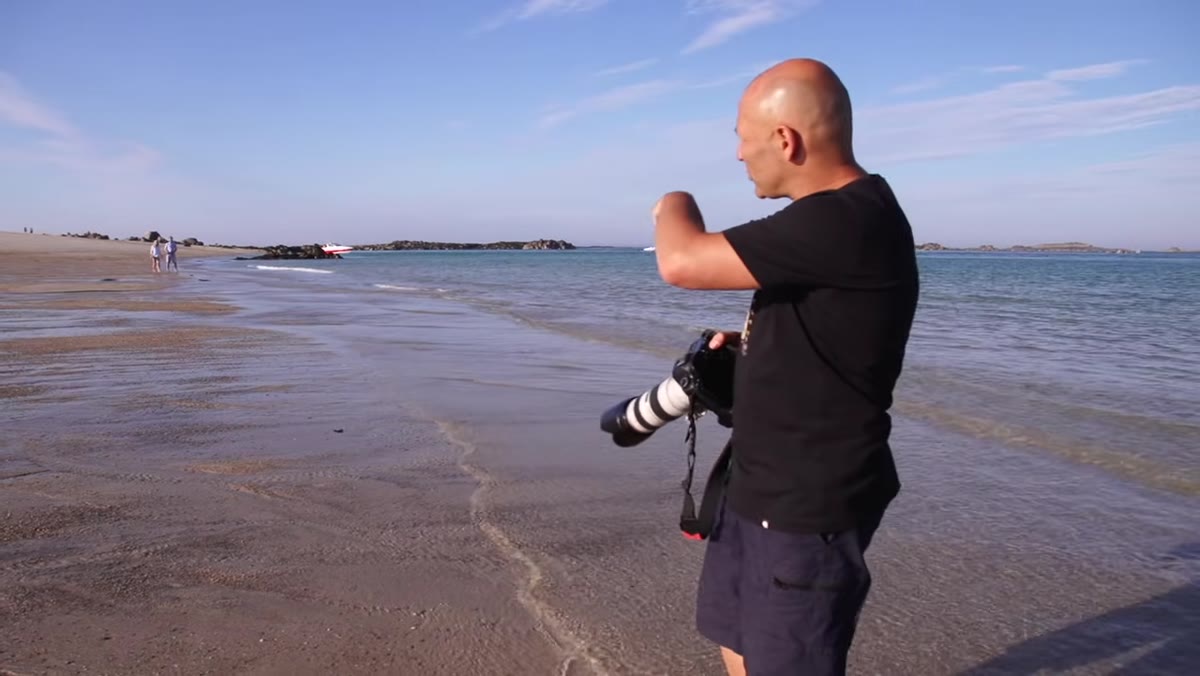
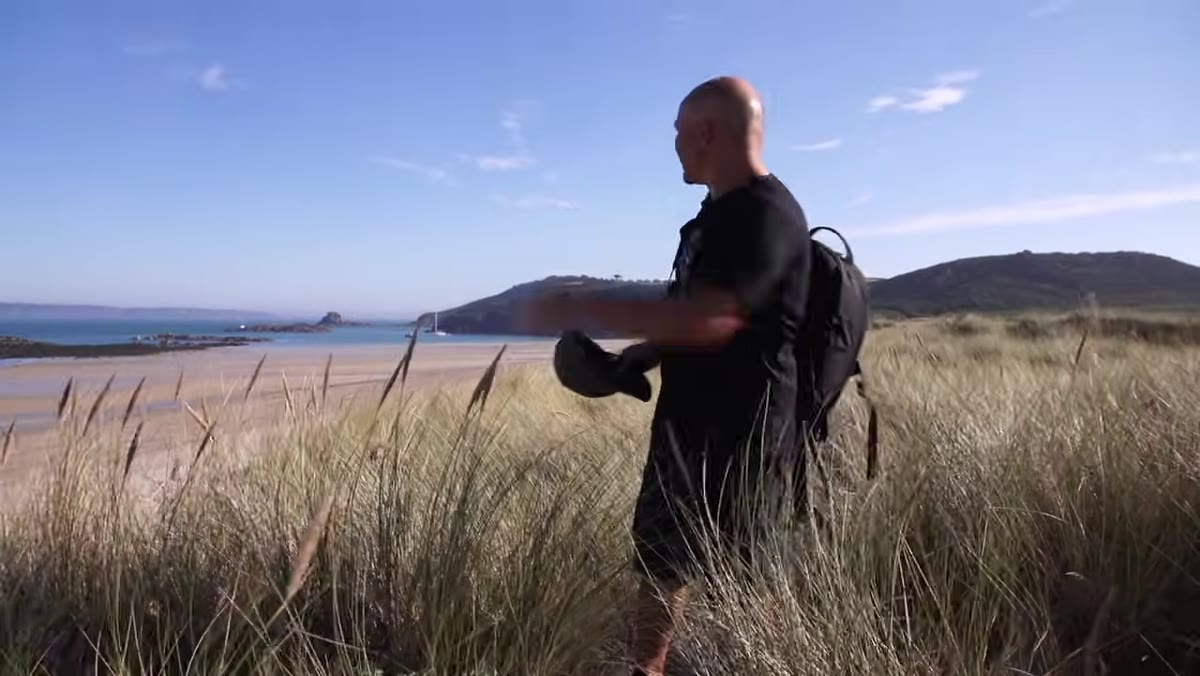 Photographer walking a coastal beach location alone
Arrive at your location at least an hour before the shoot. Walk the whole area and identify three to five distinct spots, not just one hero location. In the tutorial, the photographer notes coastal grass paths, the water’s edge, and a cluster of boulders as separate setups. Each offers a different mood and a different relationship between subject and background.
Pay attention to where shadows fall at the time of day you’ll be shooting. What looks beautiful at noon can look harsh and unflattering by 4 p.m., or the reverse. The goal is to have options ready so you’re not problem-solving while your couple is standing there waiting.
Step 2: Plan Your First Shot Around a Telephoto Lens
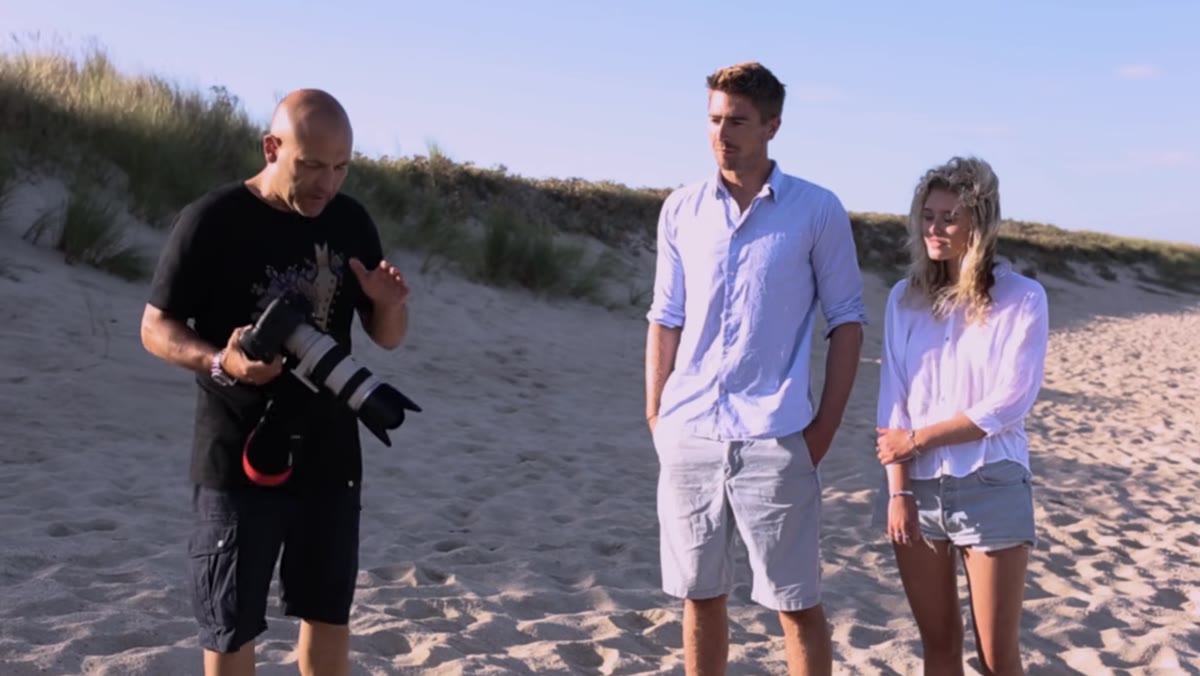 Long telephoto lens aimed down beach through foreground grass
The first setup in the tutorial uses a 200mm lens with a 1.4x teleconverter, giving an effective focal length of 280mm. At that reach, you can compress the background, make the couple feel immersed in the landscape, and shoot through foreground elements like coastal grass to add organic framing. Set your aperture wide, somewhere between f/2.8 and f/4, so the grass blurs into soft texture rather than a distraction.
Position yourself well down the beach from your subjects so you have room for them to walk toward you. That distance is what makes the telephoto compression work. You want them small enough in the frame at the start of the walk that the foreground grass reads as a natural layered element, not an accidental obstruction.
Step 3: Use a Reflector to Fill Harsh Side Light
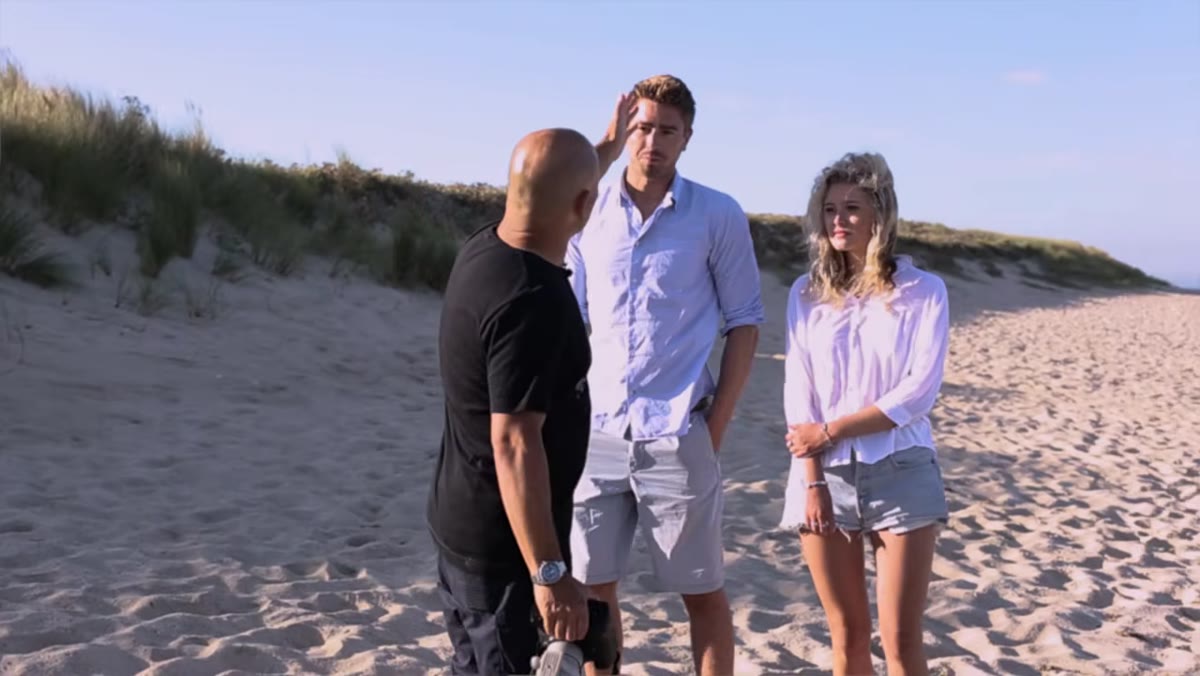 Gold reflector held up, warm light bouncing onto subjects’ faces
Late afternoon sun at an angle creates beautiful rim light but can leave the faces in deep shadow. The tutorial uses a gold Californian Sunbounce reflector to throw warm fill light back onto the shaded side of the subjects. The gold surface adds a subtle warmth that reads as natural in the golden hour context, without looking like flash.
Position your reflector holder on the shadow side of the subjects, angled to catch the sun and redirect it toward their faces. The key is finding the sweet spot where the fill is visible but not so strong that it overpowers the directional quality of the natural light. You want dimension, not a flattened, evenly lit look.
Step 4: Lock Focus and Let the Couple Walk Into It
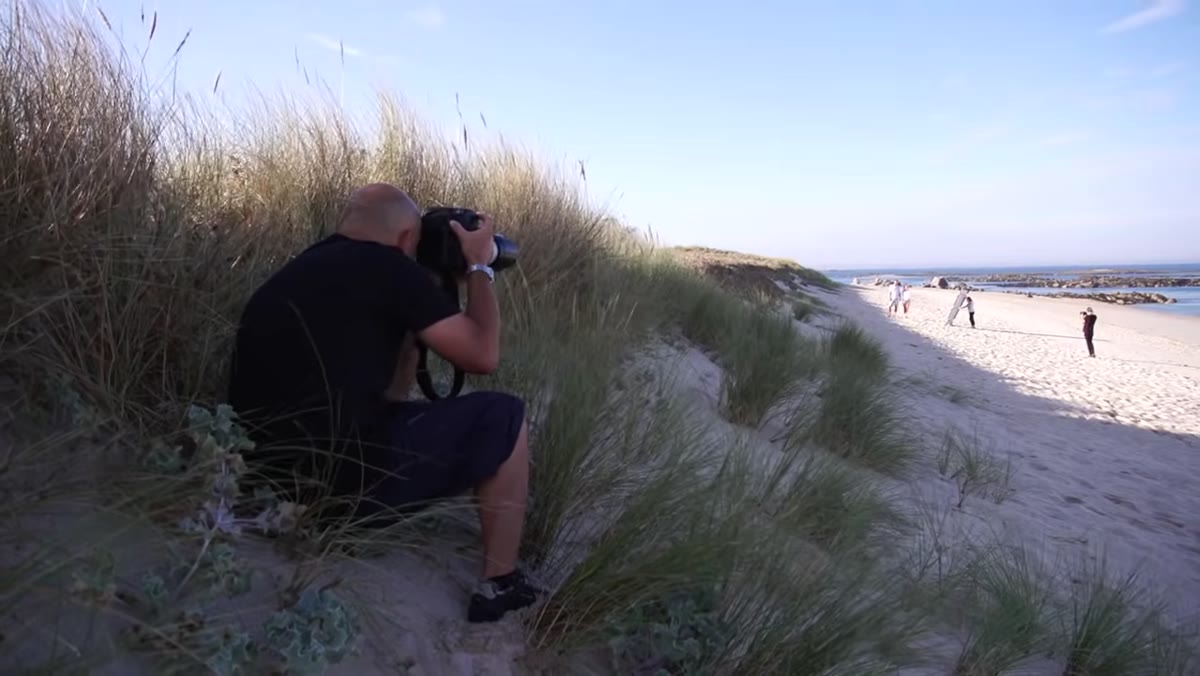 Photographer switching lens from autofocus to manual focus mode
Here’s the technique I find most photographers skip: pre-focus on the spot where you want the couple to be sharp, then switch your lens to manual focus so it locks there. Mark that spot on the ground if you need to. Then have your couple walk into it repeatedly until you get the frame you want.
This approach removes the unpredictability of continuous autofocus tracking moving subjects through a telephoto lens. It trades spontaneity for control, and in a posed portrait session, control is exactly what you need. The tutorial demonstrates this clearly, with the photographer directing the couple to repeat the walk multiple times until the timing, expression, and light all align.
Step 5: Switch to Servo Autofocus for Waterline Shots
 Couple walking along water’s edge, camera tracking movement
When the location changes to the water’s edge, the tutorial shifts strategy. Without a reflector holder positioned on the opposite side, and with the couple moving more freely along the shoreline, the photographer switches to continuous servo autofocus (called AI Servo on Canon, AF-C on Nikon and Sony). This lets the camera track the subjects as they move rather than locking to a single point.
Servo mode is less precise than the pre-focus trick above, but it’s worth using when you want a wider range of natural movement captured across a longer stretch of a walk. Shoot in bursts and expect some misses. The payoff is a more candid, editorial feel in the frames that do land.
Step 6: Use Foreground Elements as Physical Props
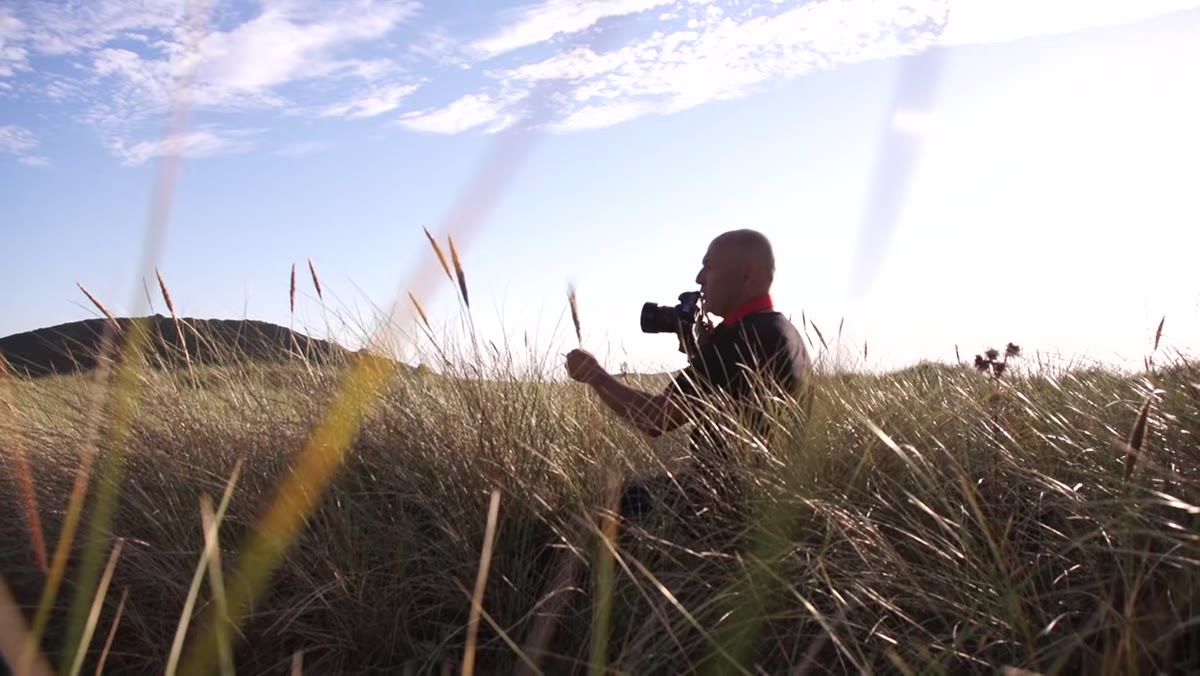 Photographer manually holding tall grass reeds to frame the shot
One of the most practical moments in the tutorial is watching the photographer physically grab handfuls of long grass and hold them in position to create a foreground frame. No clamp, no assistant, just hands. It’s a good reminder that you don’t need elaborate gear to shape a composition.
Look for grasses, branches, or other natural elements near your shooting position. Hold them or bend them into the frame, check through the viewfinder, and adjust until the framing feels right. Shoot at a wide aperture so whatever is closest to your lens blurs into soft color and shape rather than a literal, distracting object.
Step 7: Let the Lowering Sun Do the Work
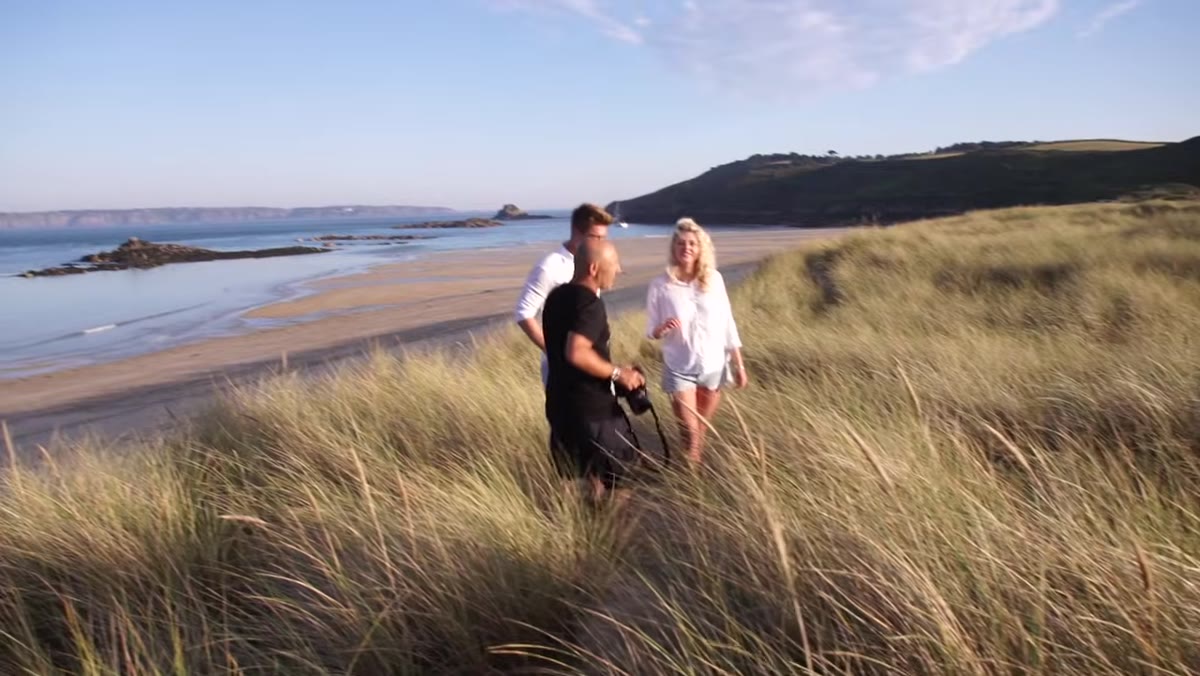 Subjects in white tops, soft diffused golden light, no reflector needed
As the sun drops lower and passes through more atmosphere, the harsh contrast between lit and shadow sides softens on its own. The tutorial makes this shift explicit: the photographer notes that by this point in the session, the reflector is no longer needed because the shadows have become gentle enough that both sides of the face hold detail.
White or light-colored clothing helps here, acting as mini reflectors that bounce soft light back up toward the face. If you’re doing a styled shoot, suggesting lighter tops to your clients for golden hour sessions is worth the conversation. It makes your job easier and the results noticeably better.
What I’d Add: Don’t Wait for Perfect Conditions
I’ve made the mistake of watching a tutorial like this and then waiting for a beach, a golden hour, and a couple willing to walk into the surf before I tried any of it. That’s the wrong takeaway. These techniques work in parks, on city sidewalks, and yes, I’ve used a variation of the pre-focus walking technique in a coffee shop doorway.
The reflector trick in particular translates to almost any location. A cheap 5-in-1 reflector from Amazon does most of what the high-end Sunbounce is doing in this video. Start there. The coastal setting is gorgeous, but it’s not the technique itself.
The single most important thing this tutorial teaches is that light management on location is an active process, not a passive one. You position your subjects relative to the light, you shape it with reflectors, you pre-plan your focus points, and you repeat until the shot is there. That methodical approach is what separates a handful of lucky frames from a consistent, deliverable body of work.
Watch the full tutorial on YouTube to see every step in real time, including the behind-the-scenes moments that make the problem-solving even clearer.
Comments
Leave a Comment