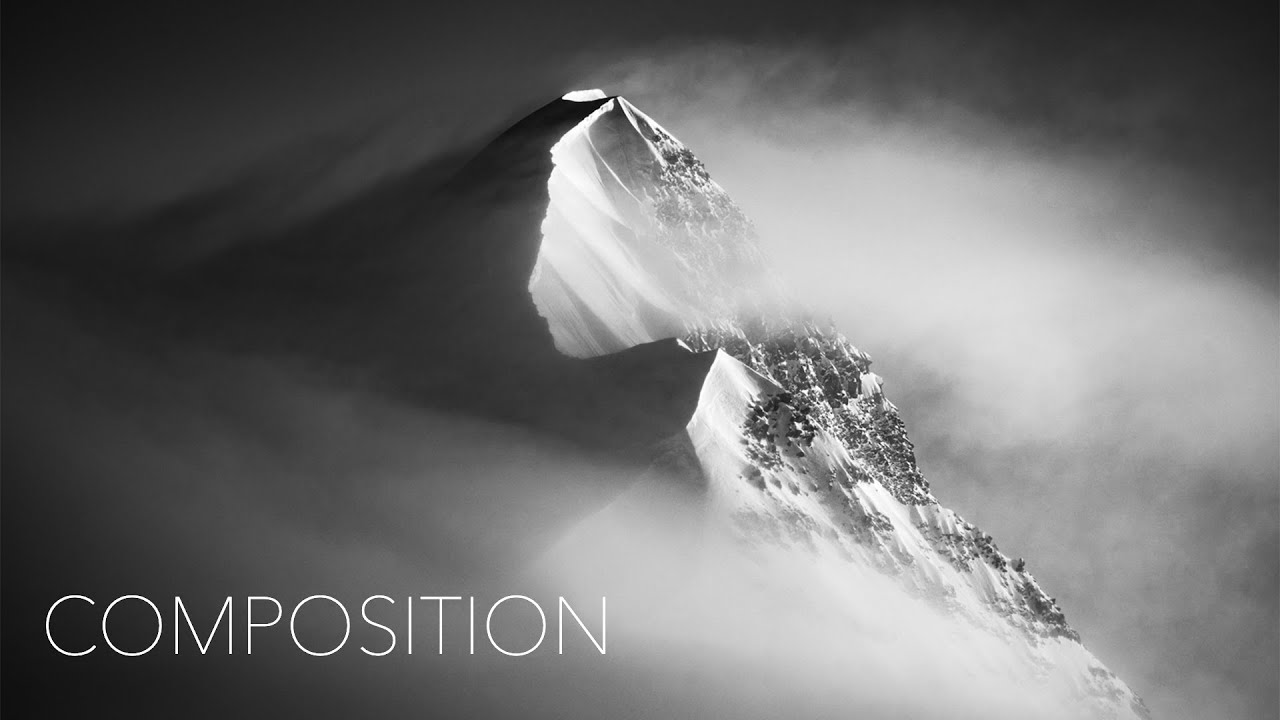
I spent an entire vacation chasing a single waterfall shot. I kept moving closer to the falls, trying to fill the frame with water and mist, and every image came back looking flat. The problem wasn’t the location. It was that I kept removing myself from the scene, getting closer and closer until there was no sense of scale, no journey for the eye to take. That instinct to walk right up to your subject and shoot is one of the hardest habits to unlearn, and it quietly ruins more landscape photos than almost any technical mistake.
That’s exactly the problem that William Patino’s tutorial tackles head-on. Watch the full tutorial on YouTube — he’s shooting a wild camping trip at Mount Cook (Aoraki) in New Zealand, working with a glacial lake, cascading river, alpine grasses, and early morning fog. The conditions are spectacular, but what makes this tutorial genuinely useful is that his core lesson applies equally well to a foggy morning at your local reservoir. It’s about building layers into your wide-angle compositions so the viewer’s eye has somewhere to travel.
Here’s how he does it, step by step.
Step 1: Scout Your Location Before the Light Arrives
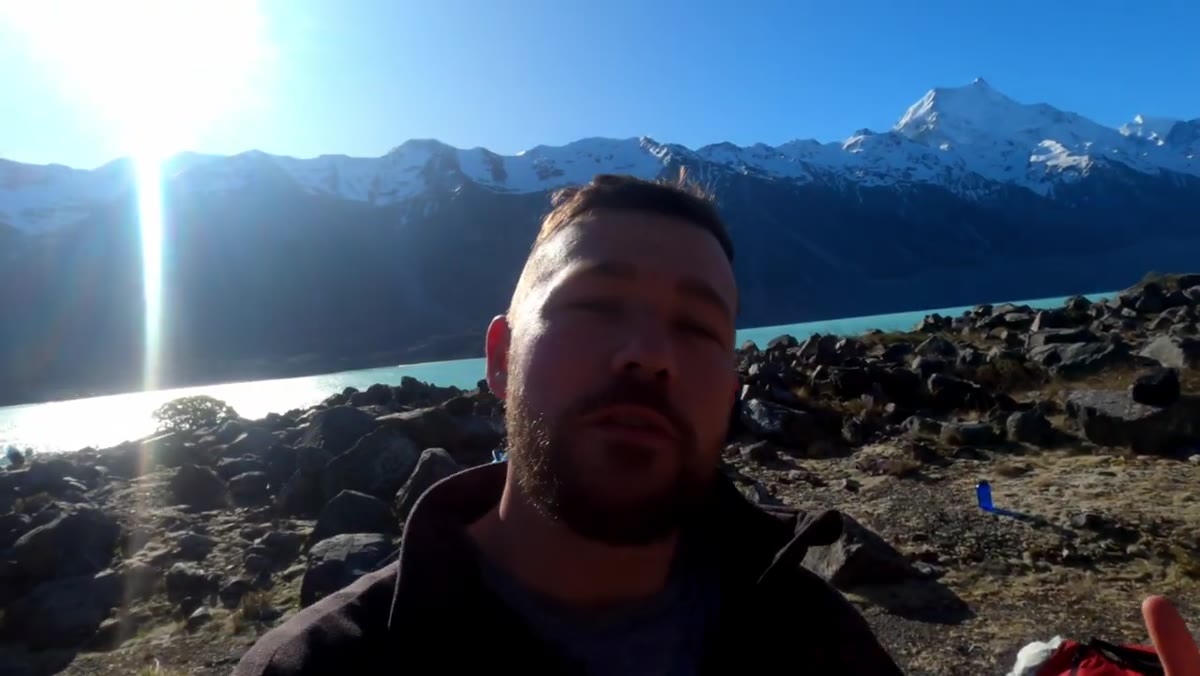 Photographer setting up camp with mountain peaks visible behind
Patino arrives at his campsite around 5:30 in the afternoon, well before sunset, and immediately starts reading the landscape. He identifies which face of the mountain will catch the best light (east-facing for sunrise, in this case), notes where the river and cascades run, and mentally maps out where he’ll position himself in the morning. This isn’t downtime. It’s the most productive part of the shoot.
Photographer setting up camp with mountain peaks visible behind
Patino arrives at his campsite around 5:30 in the afternoon, well before sunset, and immediately starts reading the landscape. He identifies which face of the mountain will catch the best light (east-facing for sunrise, in this case), notes where the river and cascades run, and mentally maps out where he’ll position himself in the morning. This isn’t downtime. It’s the most productive part of the shoot.
When you arrive at a new location, resist the urge to start shooting right away. Walk the area first. Ask yourself where the light will land, where natural lines exist (rivers, ridgelines, paths), and what’s available in the foreground. Great landscape photos are planned in daylight and executed in the good light.
Step 2: Step Back to Add Foreground Layers
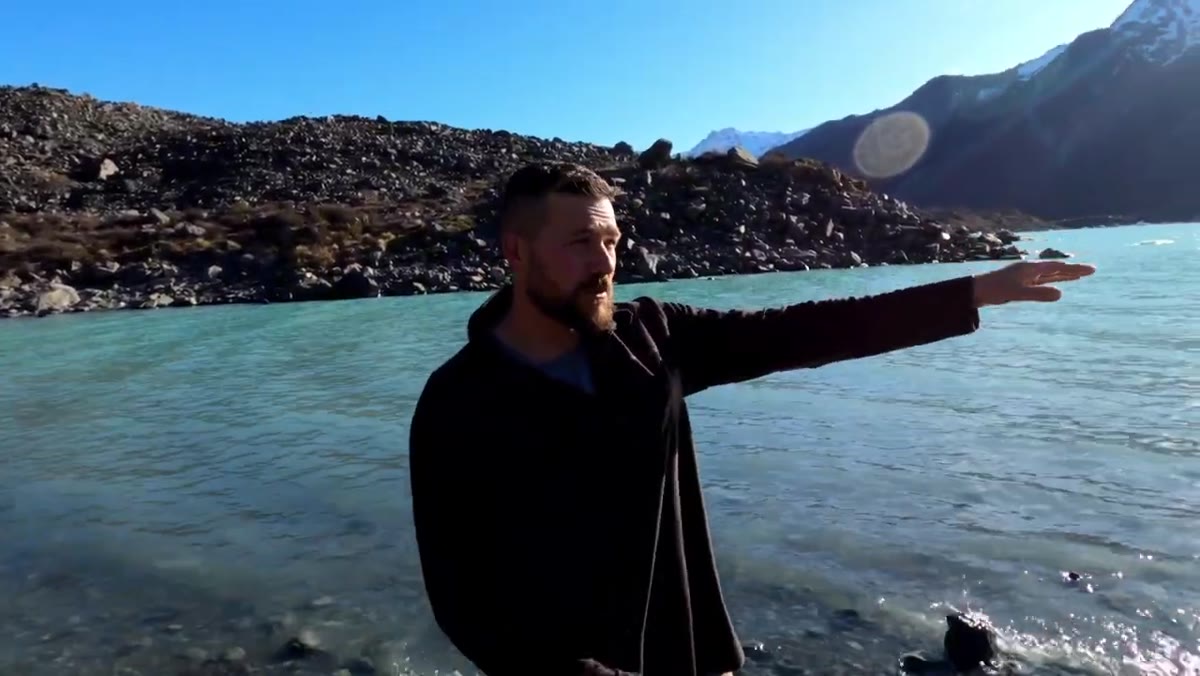 Photographer crouching near icebergs scouting wide angle compositions
This is the core technique of the whole video, and Patino treats it like the one thing he wishes someone had taught him earlier. Instead of walking right down to the water’s edge to photograph the lake and the mountain beyond, he physically moves back. By stepping away from his main subject, he creates room for foreground elements, in this case alpine grasses, to enter the frame.
Photographer crouching near icebergs scouting wide angle compositions
This is the core technique of the whole video, and Patino treats it like the one thing he wishes someone had taught him earlier. Instead of walking right down to the water’s edge to photograph the lake and the mountain beyond, he physically moves back. By stepping away from his main subject, he creates room for foreground elements, in this case alpine grasses, to enter the frame.
The layering principle works like this: near (grasses), mid (lake edge and ice), far (mountain). Each layer gives the viewer’s eye a new place to rest and then move deeper into the image. A wide-angle lens amplifies this effect dramatically because it exaggerates the sense of distance between those layers. Think of it as giving the viewer a guided path rather than a single destination.
Step 3: Use Moving Water as a Leading Line
 Wide angle shot of cascading river leading toward mountain summit
In the morning session, Patino positions himself at the river cascades with the mountain directly in the background. He’s using the flowing water as a literal line that pulls the eye from the foreground toward Aoraki’s summit. To make the water feel silky and dynamic rather than frozen mid-splash, he uses a slow shutter speed.
Wide angle shot of cascading river leading toward mountain summit
In the morning session, Patino positions himself at the river cascades with the mountain directly in the background. He’s using the flowing water as a literal line that pulls the eye from the foreground toward Aoraki’s summit. To make the water feel silky and dynamic rather than frozen mid-splash, he uses a slow shutter speed.
For this effect, you’ll generally want to be in the range of 0.5 to 2 seconds depending on how fast the water is moving. Use a tripod, set your aperture to around f/11 to f/16 for depth of field, and drop your ISO as low as it’ll go (typically 64-100). If it’s too bright for a slow shutter even at f/16, add a neutral density filter. The goal is water that feels like it’s moving through the frame, not frozen in place.
Step 4: Protect Your Highlights When Shooting High-Contrast Scenes
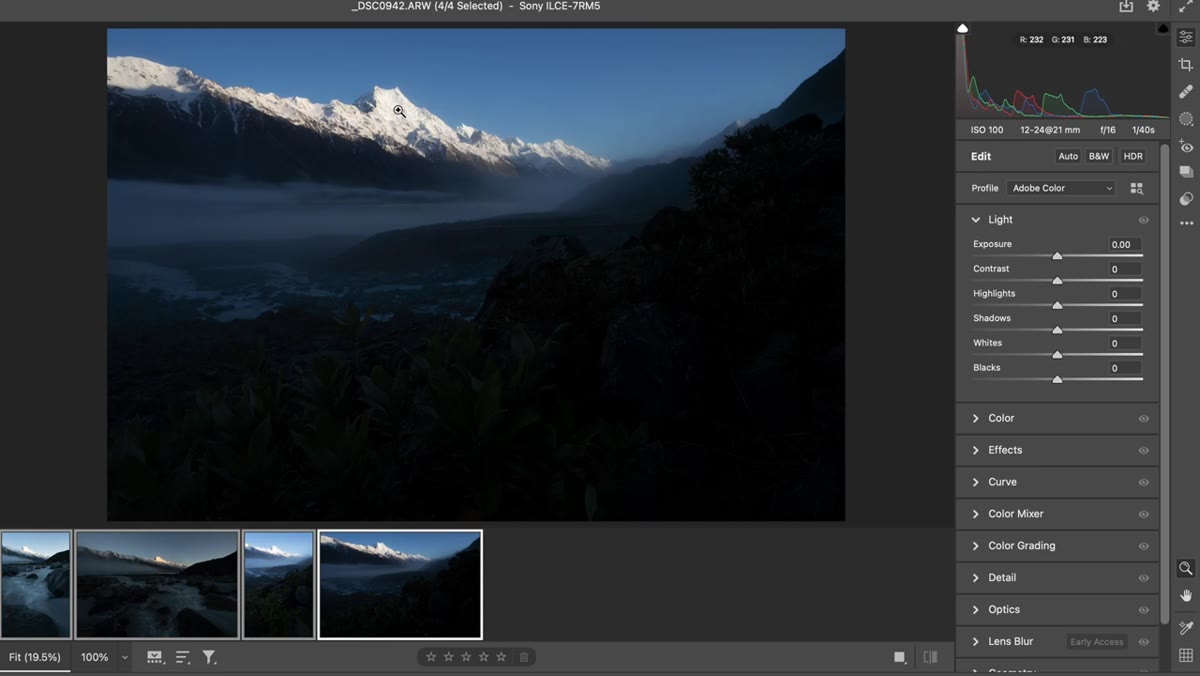 Lightroom RAW file showing bright snow highlights and dark foreground shadow detail
Patino briefly shows his raw files during the post-processing portion of the video, and one thing he calls out immediately is that he exposed specifically to protect the snow highlights on the summit. Mountain scenes with snow are brutal for dynamic range. The bright white peak and the dark shadowed valley can be 5 or 6 stops apart, and if you expose for the foreground, you blow out the snow completely.
Lightroom RAW file showing bright snow highlights and dark foreground shadow detail
Patino briefly shows his raw files during the post-processing portion of the video, and one thing he calls out immediately is that he exposed specifically to protect the snow highlights on the summit. Mountain scenes with snow are brutal for dynamic range. The bright white peak and the dark shadowed valley can be 5 or 6 stops apart, and if you expose for the foreground, you blow out the snow completely.
His approach: expose to the right enough to get shadow detail, but not so far that the highlights on the snow clip. Check your histogram on location, not just the screen preview. Back in Lightroom or your editor of choice, pull the highlights down aggressively and lift the shadows. You’ll recover a lot more from a slightly dark raw file than from blown-out white snow.
Step 5: Adapt to Unexpected Conditions by Changing Position
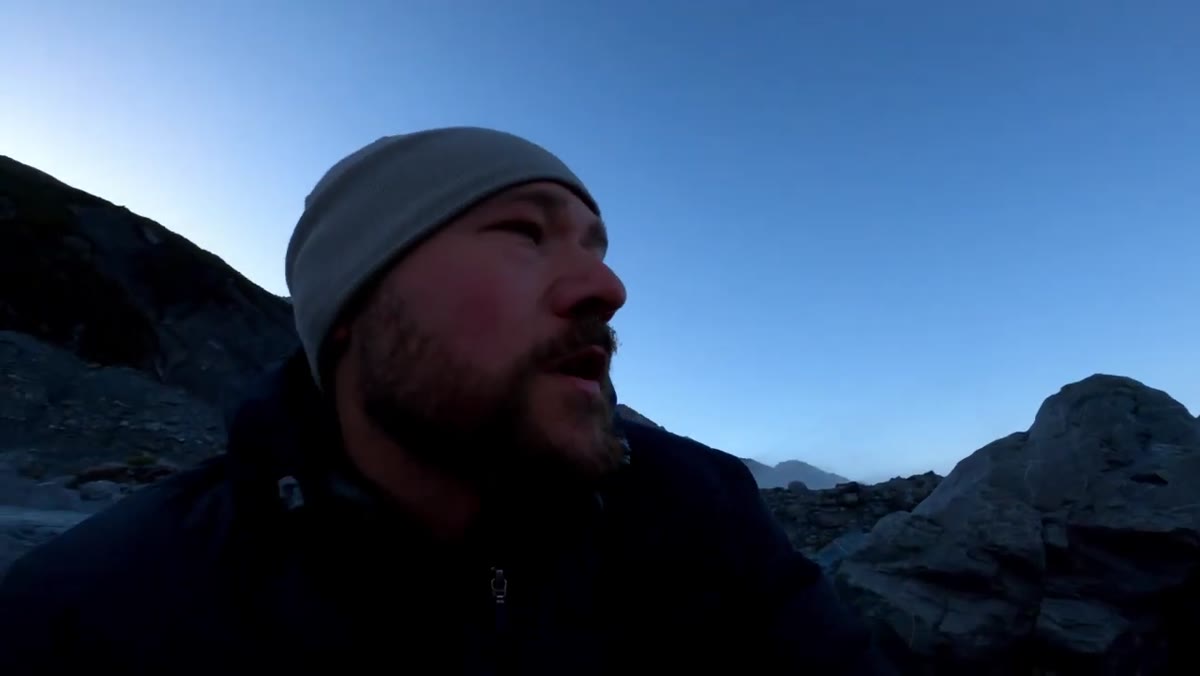 Fog rolling through the valley creating atmosphere around the mountain
When fog rolls in unexpectedly during the morning shoot, Patino doesn’t fight it. He climbs higher, leaves the cascades behind, and looks for a completely different composition that uses the fog as an atmospheric element rather than treating it as a problem. The images he gets from the elevated position are entirely different in mood from the river shots.
Fog rolling through the valley creating atmosphere around the mountain
When fog rolls in unexpectedly during the morning shoot, Patino doesn’t fight it. He climbs higher, leaves the cascades behind, and looks for a completely different composition that uses the fog as an atmospheric element rather than treating it as a problem. The images he gets from the elevated position are entirely different in mood from the river shots.
This is a mindset shift more than a technique. Conditions change, light doesn’t always cooperate, clouds show up or disappear. The photographers who come home with the best images are the ones who stay flexible and ask “what does this new situation allow?” instead of “why isn’t this what I planned?”
Step 6: Focus Stack for True Edge-to-Edge Sharpness at Wide Angles
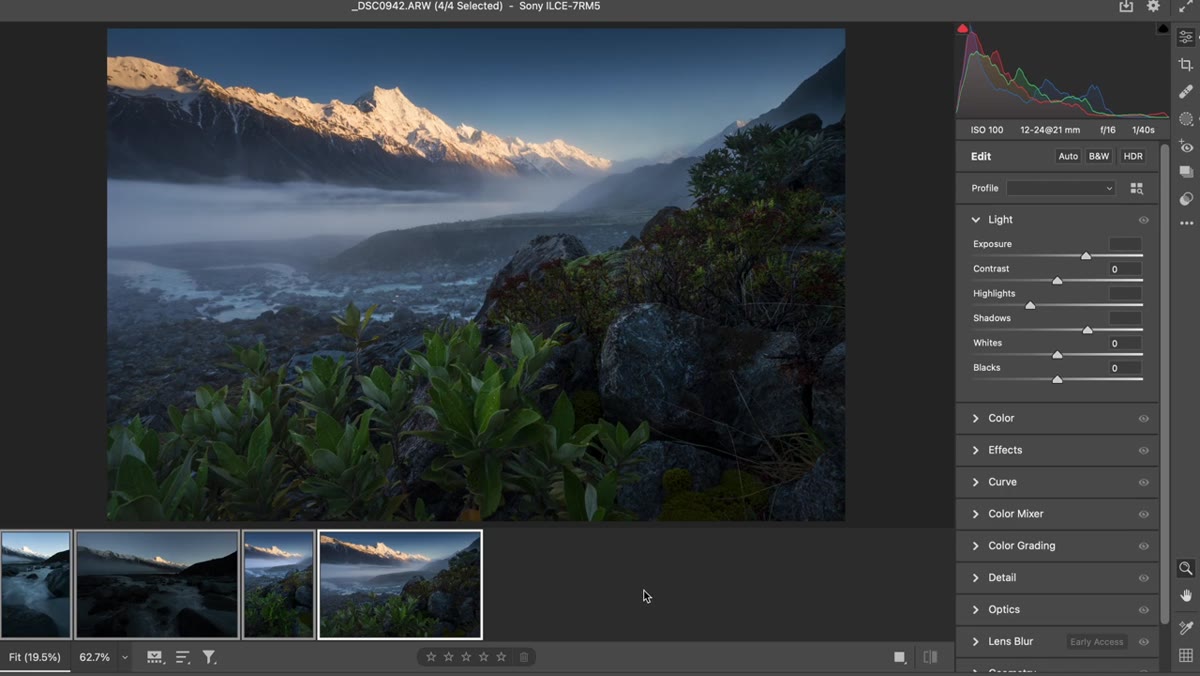 Lightroom showing single RAW with soft background despite F16 aperture setting
During the editing walkthrough, Patino mentions that his final keeper image is actually a focus stack, even though he was shooting at f/16. At close focusing distances with a wide-angle lens, you can still end up with a soft background even at very narrow apertures, particularly when the foreground subject is very close to the lens.
Lightroom showing single RAW with soft background despite F16 aperture setting
During the editing walkthrough, Patino mentions that his final keeper image is actually a focus stack, even though he was shooting at f/16. At close focusing distances with a wide-angle lens, you can still end up with a soft background even at very narrow apertures, particularly when the foreground subject is very close to the lens.
A focus stack means you take two or more exposures: one focused on the near foreground element and one focused on the distant background. In Photoshop, you load them as layers, select both, and go to Edit > Auto-Blend Layers > Stack Images. The software combines the sharpest parts of each frame. It’s a few extra minutes in post, but it’s the difference between a photo that almost works and one that holds up at large print sizes.
What I’d Add from My Own Experience
Patino’s layering technique changed how I think about wide-angle shooting, but I’d add one practical habit that helps me find those foreground layers faster: I shoot my scouting frames on my phone. I can move around quickly, check compositions without setting up a tripod, and visualize the layers before I commit. Once I find a foreground element that creates a genuine sense of depth, then I bring out the camera and set up properly. It saves time and it keeps me from getting locked into the first angle I try.
The single most transferable lesson from this tutorial is this: your foreground is not an afterthought. It’s the first thing the viewer sees, and if it’s empty, the whole image feels flat no matter how dramatic the mountain behind it is. Step back, find your layers, and let the wide angle do what it’s built to do.
Watch the full tutorial on YouTube to see Patino work through all of this in real time at one of the most photogenic locations on earth. It’s worth every minute.
Comments
Leave a Comment