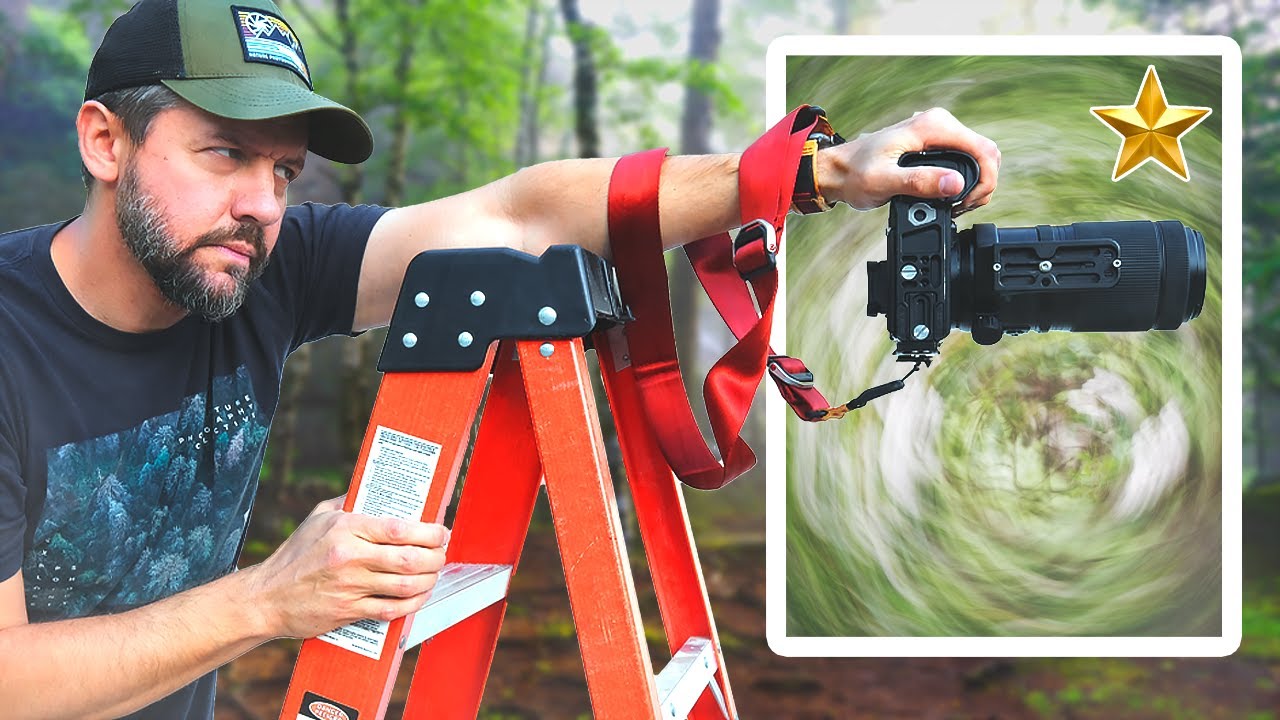
Every Sunday morning I do a photo walk. It doesn’t matter if it’s raining, gray, or flat-light-boring in every direction. I go anyway. And for a long time, when the light wasn’t doing anything interesting, I’d come home with a memory card full of technically fine but creatively lifeless images. Sharp, well-exposed, forgettable. I needed a technique that could turn uninspiring conditions into something worth actually looking at.
Intentional camera movement, or ICM, was something I’d dismissed for years. It felt like cheating, honestly. Like an excuse to call a mistake “art.” Then I watched a tutorial by landscape photographer Mark Denney, where he takes the concept seriously and breaks it down into four distinct techniques during a spring woodland shoot. Watch the full tutorial on YouTube before or after reading, but this walkthrough will give you everything you need to start practicing on your own.
What changed my mind wasn’t the results alone. It was watching someone treat ICM as a deliberate, repeatable craft. There are real choices happening here around shutter speed, direction of movement, timing, and subject selection. Once I understood that, I stopped seeing it as blurry nonsense and started seeing it as another tool on the shelf.
Step 1: Choose the Right Conditions and Subject Matter
 Vibrant green spring woodland scene, overcast sky
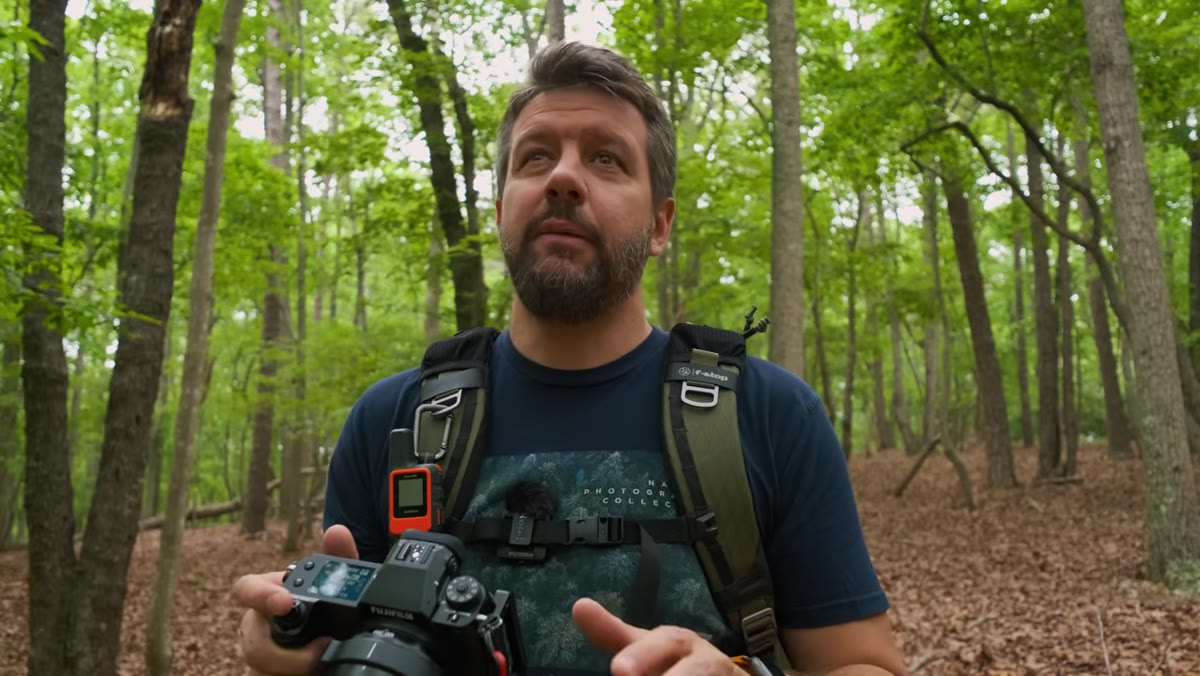
Overcast, diffused light is your best friend for ICM. Direct sun creates harsh highlights that bleed into ugly white streaks across your frame. Denney shoots in a dense spring woodland specifically because the two dominant colors, deep greens and dark tree trunks, give the final image structure even when everything is in motion. The subject doesn’t need to be complex. It needs contrast: light versus dark, or two distinct color fields that will blend into something painterly rather than muddy. On my Sunday walks in Seattle, the evergreen tree lines against gray sky give me exactly this kind of natural contrast to work with.
Vibrant green spring woodland scene, overcast sky
Overcast, diffused light is your best friend for ICM. Direct sun creates harsh highlights that bleed into ugly white streaks across your frame. Denney shoots in a dense spring woodland specifically because the two dominant colors, deep greens and dark tree trunks, give the final image structure even when everything is in motion. The subject doesn’t need to be complex. It needs contrast: light versus dark, or two distinct color fields that will blend into something painterly rather than muddy. On my Sunday walks in Seattle, the evergreen tree lines against gray sky give me exactly this kind of natural contrast to work with.
Leave your tripod at home, or at least leave it in the bag. ICM is a handheld practice. The organic, slightly unpredictable quality of a hand-moved camera is part of what makes the results feel alive rather than mechanical.
Step 2: Set a Slow Shutter Speed
 Camera LCD showing half-second shutter speed setting
This is where most beginners either undershoot or overcook it. Denney starts at around half a second and notes that it might actually be slightly too long for what he’s after. A good working range for ICM is roughly 1/15 of a second on the faster end to about one full second on the slower end. The longer the exposure, the more the motion blurs and the more the colors blend together.
Camera LCD showing half-second shutter speed setting
This is where most beginners either undershoot or overcook it. Denney starts at around half a second and notes that it might actually be slightly too long for what he’s after. A good working range for ICM is roughly 1/15 of a second on the faster end to about one full second on the slower end. The longer the exposure, the more the motion blurs and the more the colors blend together.
To get to slow shutter speeds in daylight without blowing out the exposure, shoot in aperture priority or manual mode, drop your ISO to its base value (usually 100), and close down your aperture to f/11 or f/16. If you’re still too bright, a 3-stop or 6-stop ND filter gives you the control you need. Experiment in small increments. Even a quarter-second difference changes the character of the image significantly.
Step 3: Use the 2-Second Timer to Eliminate Initial Camera Shake
 Hands setting 2-second self-timer on camera body
This is the detail that separates consistent results from chaos. Denney sets his camera’s built-in self-timer to two seconds. He frames the shot, presses the shutter button, counts silently to two, and then executes the movement. The timer absorbs the micro-vibration from pressing the button, so the only motion recorded is the intentional sweep you make with your hands. Without this, you get a messy stutter at the start of the exposure that reads as random rather than deliberate.
Hands setting 2-second self-timer on camera body
This is the detail that separates consistent results from chaos. Denney sets his camera’s built-in self-timer to two seconds. He frames the shot, presses the shutter button, counts silently to two, and then executes the movement. The timer absorbs the micro-vibration from pressing the button, so the only motion recorded is the intentional sweep you make with your hands. Without this, you get a messy stutter at the start of the exposure that reads as random rather than deliberate.
Practice the count-and-move rhythm before you start shooting. It feels awkward at first because your instinct is to move as soon as you press the button. Two seconds of stillness, then a smooth, controlled motion. Repeat until it’s muscle memory.
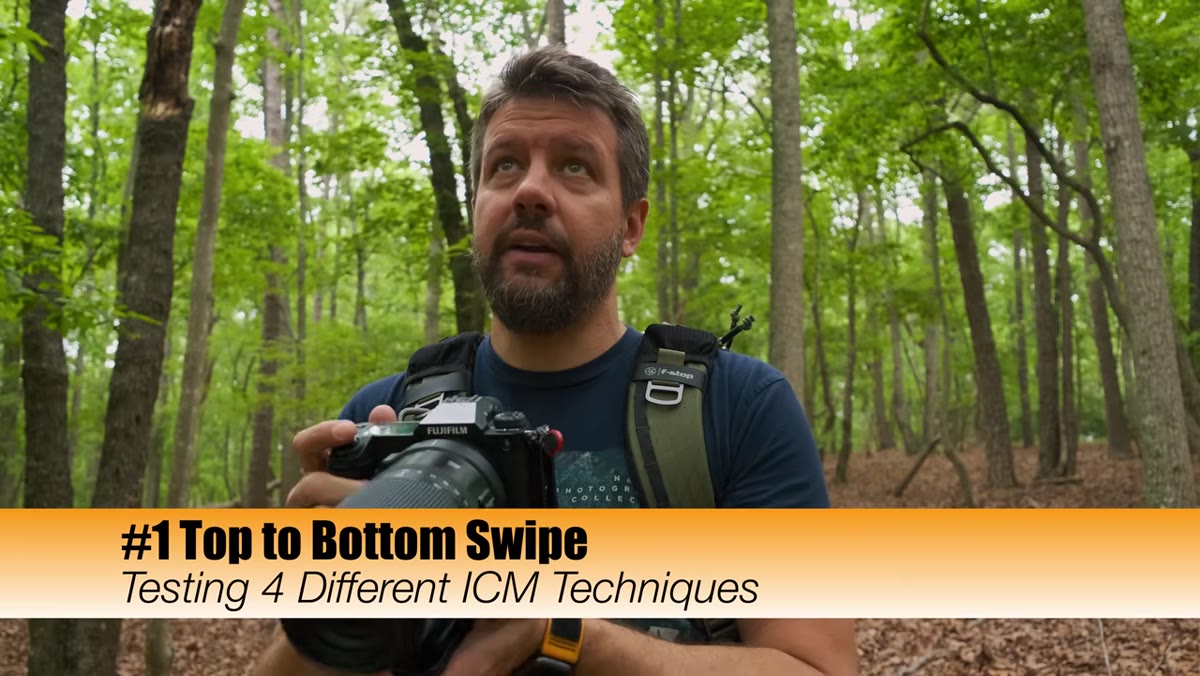
Step 4: Try the Vertical Swipe Downward
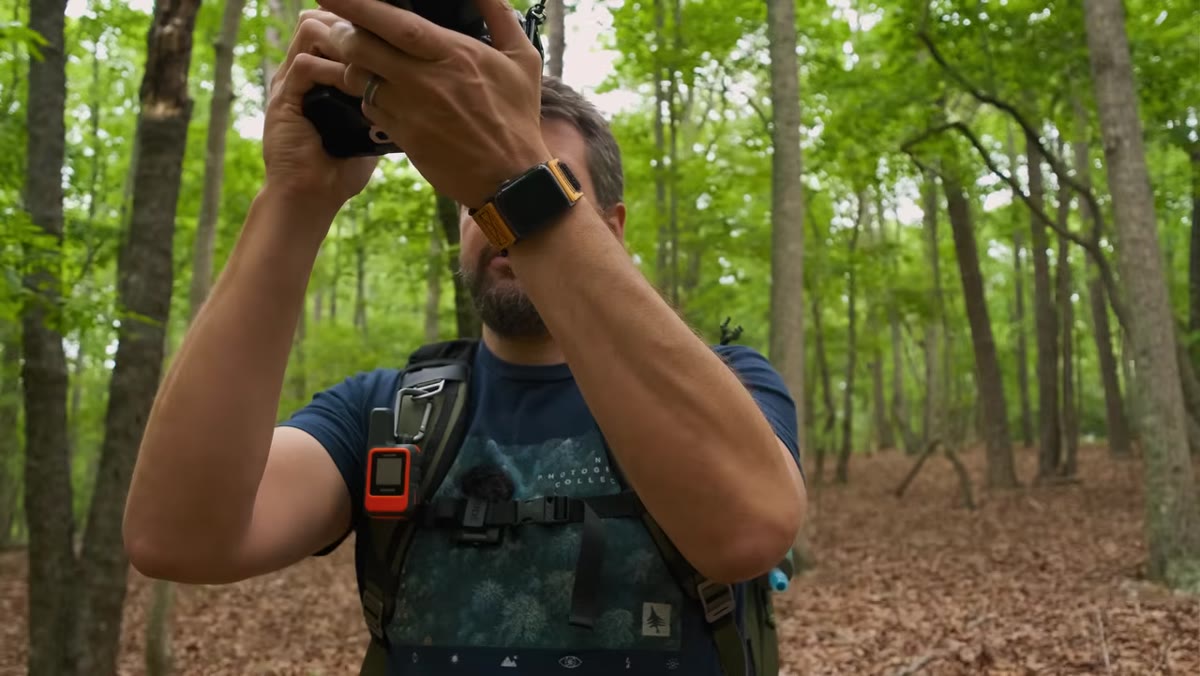 Photographer panning camera downward through tree canopy
The vertical downward swipe is the technique Denney used in Acadia National Park that first got him hooked on ICM. Frame your shot so the top of your composition is at the tree line, not the open sky. Open sky introduces blown highlights that create distracting bright streaks. Then, after your two-second timer fires, sweep the camera smoothly downward through the exposure.
Photographer panning camera downward through tree canopy
The vertical downward swipe is the technique Denney used in Acadia National Park that first got him hooked on ICM. Frame your shot so the top of your composition is at the tree line, not the open sky. Open sky introduces blown highlights that create distracting bright streaks. Then, after your two-second timer fires, sweep the camera smoothly downward through the exposure.
The result is vertical motion streaks that emphasize the height and verticality of trees. It reads as dynamic and a little dreamy at the same time. Keep the movement as smooth and consistent in speed as you can. A jerk or a pause mid-movement will show up as an uneven band in the final image.
Step 5: Vary Your Direction and Experiment with Rotation
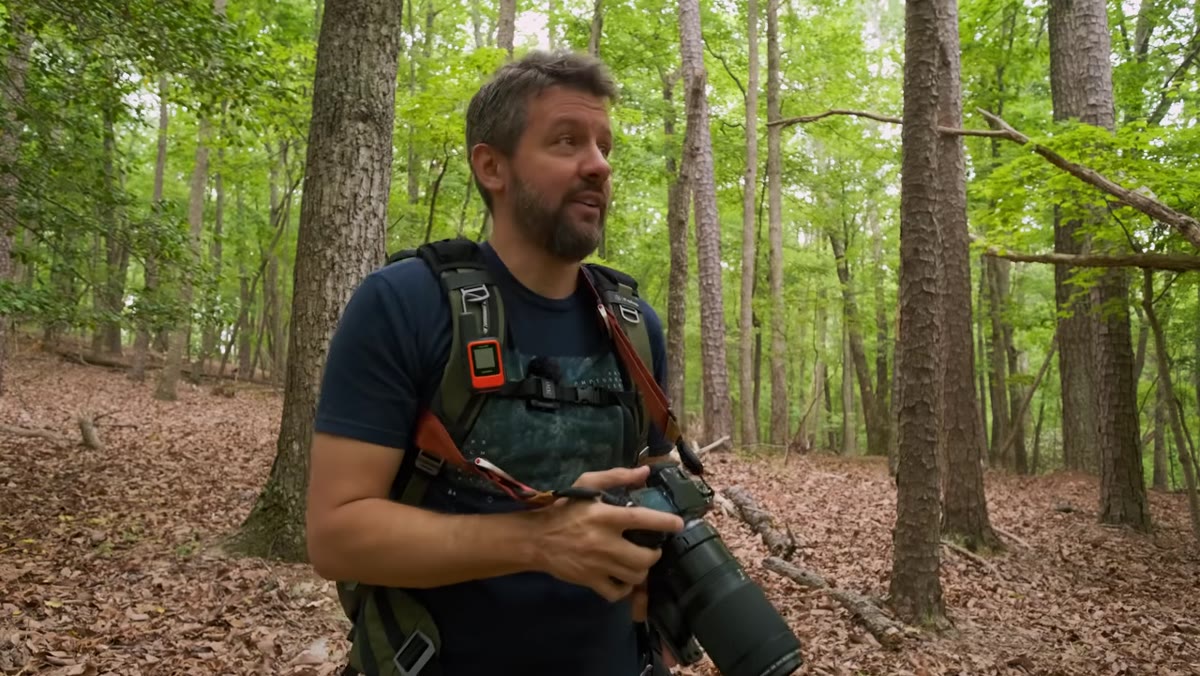 Camera being rotated slightly during a longer exposure
Once the vertical swipe feels natural, start exploring other movement directions. Horizontal pans work well with subjects that have lateral structure, like a row of trees or a shoreline. Slight rotation, where you twist the camera on its axis during the exposure, creates a spiral or swirling quality that works especially well with circular or centered compositions.
Camera being rotated slightly during a longer exposure
Once the vertical swipe feels natural, start exploring other movement directions. Horizontal pans work well with subjects that have lateral structure, like a row of trees or a shoreline. Slight rotation, where you twist the camera on its axis during the exposure, creates a spiral or swirling quality that works especially well with circular or centered compositions.
There is no single correct movement. The point is to make intentional choices rather than random ones. Ask yourself before each frame: what direction does this scene want to move in? A stand of tall birch trees suggests vertical. A creek winding through underbrush might suggest a diagonal. Let the landscape guide the gesture.
Step 6: Review and Adjust in Real Time
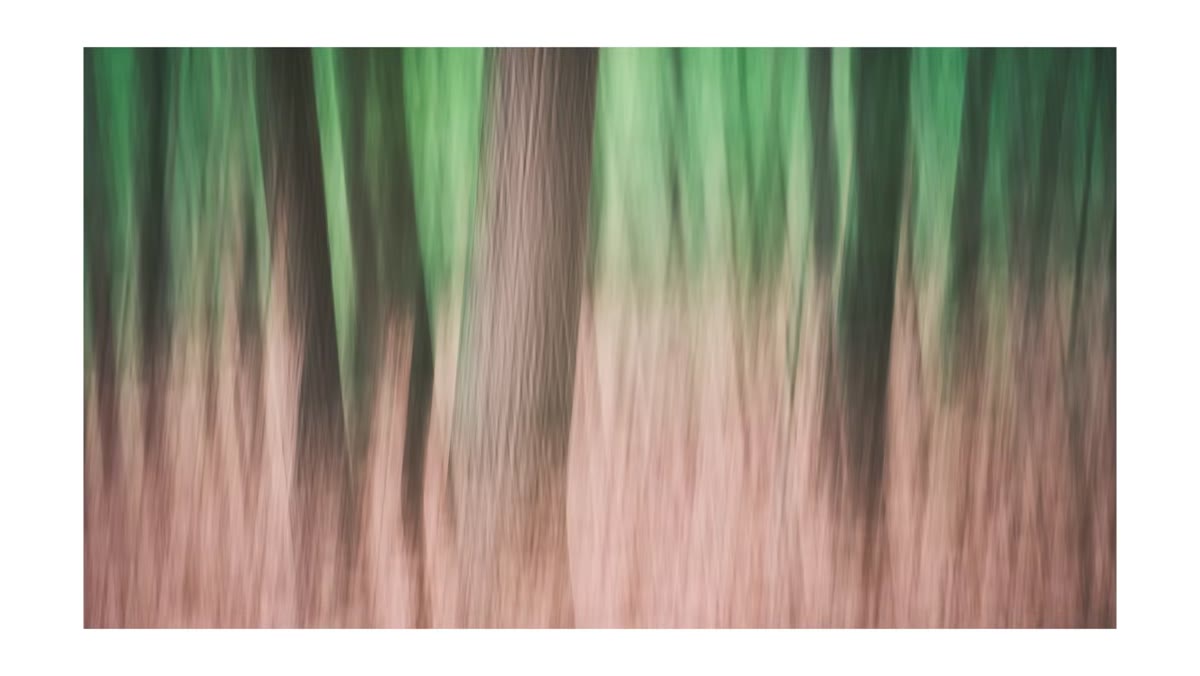 Reviewing ICM image on camera LCD screen
ICM rewards fast feedback loops. After every two or three frames, stop and look at what you’ve got at full magnification on your LCD. You’re checking three things: overall brightness (is the exposure still holding?), the quality of the motion streaks (are they smooth or choppy?), and whether the colors are blending in a way that’s interesting. If the image is too bright, either increase your shutter speed or close the aperture further. If the streaks feel choppy, practice making a more fluid movement or slow the sweep down slightly.
Reviewing ICM image on camera LCD screen
ICM rewards fast feedback loops. After every two or three frames, stop and look at what you’ve got at full magnification on your LCD. You’re checking three things: overall brightness (is the exposure still holding?), the quality of the motion streaks (are they smooth or choppy?), and whether the colors are blending in a way that’s interesting. If the image is too bright, either increase your shutter speed or close the aperture further. If the streaks feel choppy, practice making a more fluid movement or slow the sweep down slightly.
Denney notes he was getting excited about results within the first three or four frames. That quick feedback is what makes ICM so engaging to shoot.
What I’d Add From My Own Experience
The one thing the tutorial doesn’t focus on heavily is color temperature as a creative variable. I’ve found that ICM in golden hour light produces completely different results from ICM in flat midday light, even on the same subject. Warm tones blend into each other and create something that feels almost painterly, while cooler, more neutral light tends to produce results that feel more graphic and abstract. Try the same scene at different times of day and compare. You might find that the “bad light” hours produce your favorite ICM images.
Also: don’t cull too aggressively right after a session. ICM images that look weird at first sometimes reveal something genuinely interesting after you sit with them for a day.
ICM works because it asks you to stop fighting imperfect conditions and start using them. The single most transferable thing from this tutorial is Denney’s two-second timer trick, because it gives you control over the one part of the process you can actually repeat. Everything else, the speed of the movement, the direction, the shutter length, is something you dial in through repetition.
Watch the full tutorial on YouTube to see Denney work through these techniques in real time and get a sense of his process in the field. Then go find a patch of trees and give yourself an hour to make some intentionally blurry photographs.
Comments
Leave a Comment