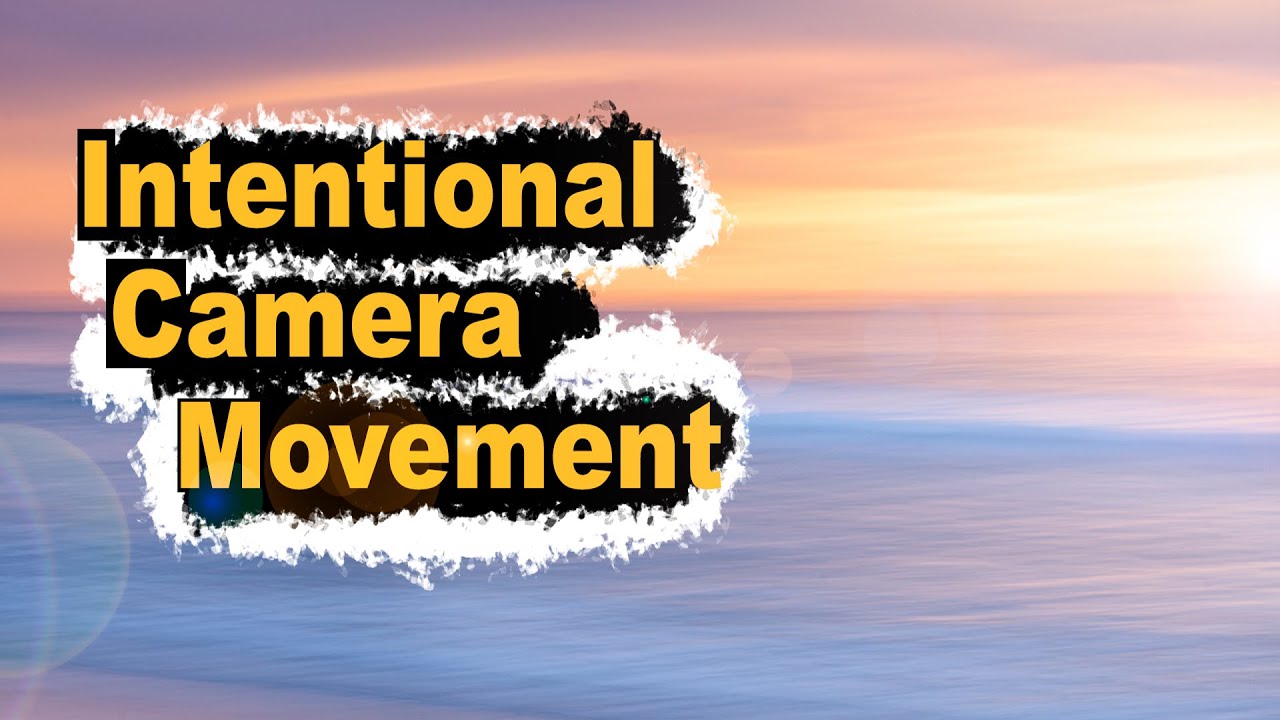
There’s a specific kind of disappointment that hits when you drag yourself out of bed before sunrise, drive to the coast, set up your gear, and then watch the sky do absolutely nothing. No clouds. No color. Just pale, flat light and the quiet sound of your creative motivation leaving the building. I’ve been there more times than I’d like to admit, and for a long time my response was to pack up and go home empty-handed. What I know now is that a cloudless, “boring” morning is actually a perfect opportunity to practice one of my favorite techniques: intentional camera movement, or ICM.
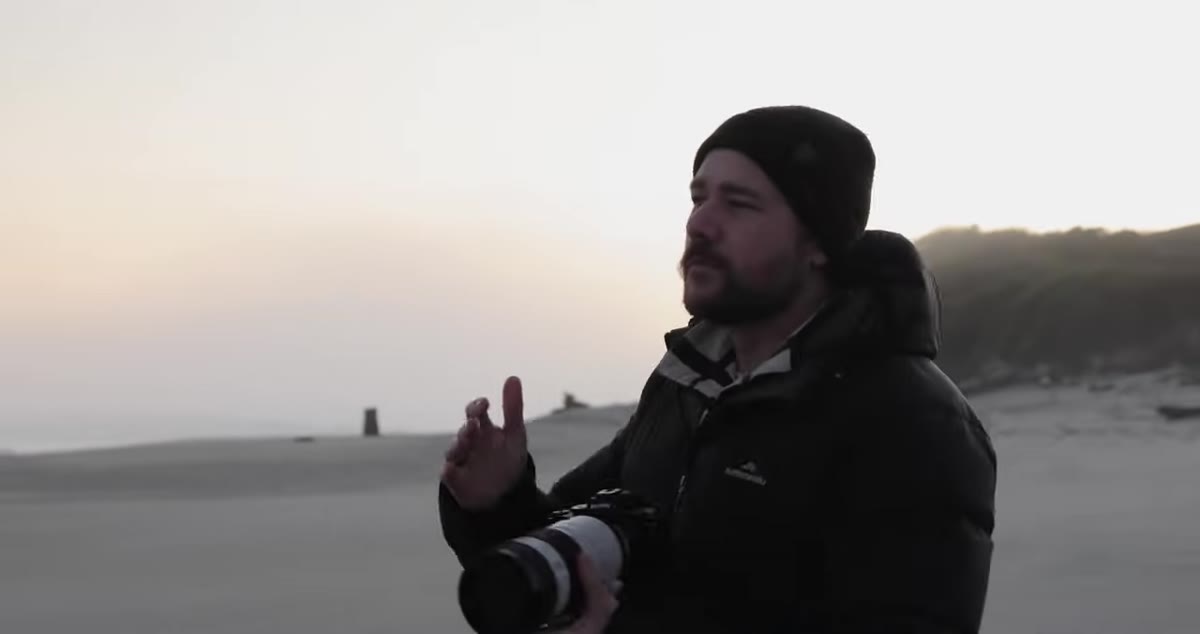
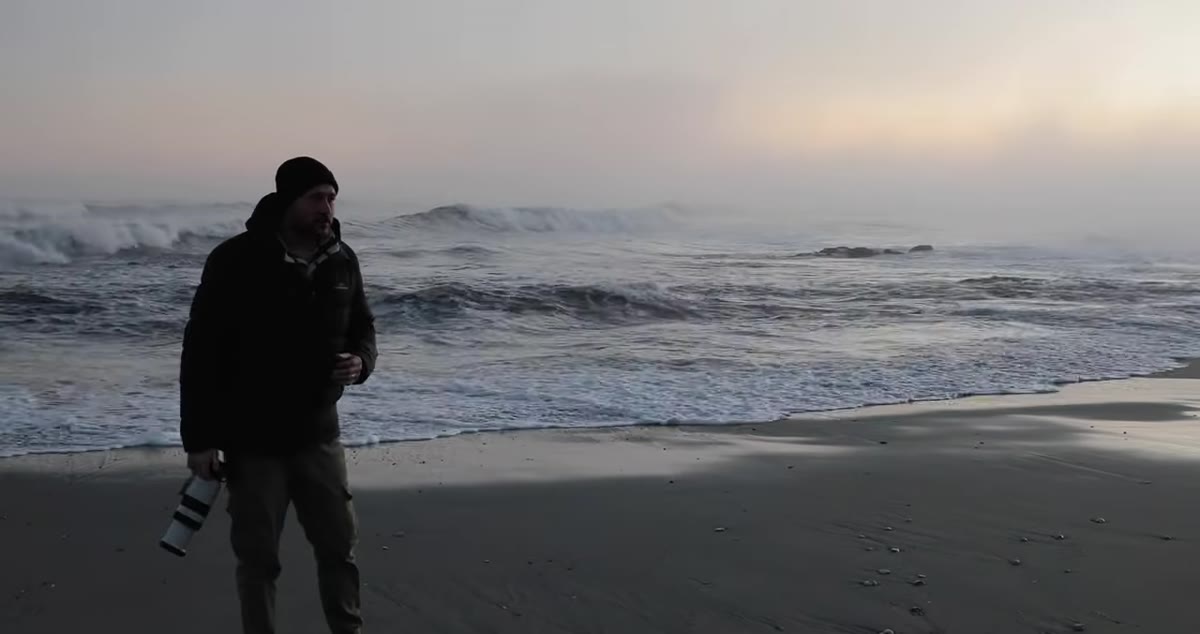
In this William Patino tutorial (Watch the full tutorial on YouTube), Will heads out to the beach on exactly that kind of underwhelming morning and walks through his ICM process from start to finish. What I appreciate about his approach is how grounded it is. He’s not selling you on some niche trick that only works in perfect conditions. He’s showing you a technique that thrives when conditions are imperfect, which is most of the time.
ICM is exactly what it sounds like: you deliberately move the camera during the exposure to create a stylized, painterly blur effect. Done well, it transforms water, light, and color into something that looks more like a brushstroke painting than a photograph. The key word is intentional. You’re not fumbling the shot, you’re controlling the chaos.
Step 1: Choose the Right Subject and Location
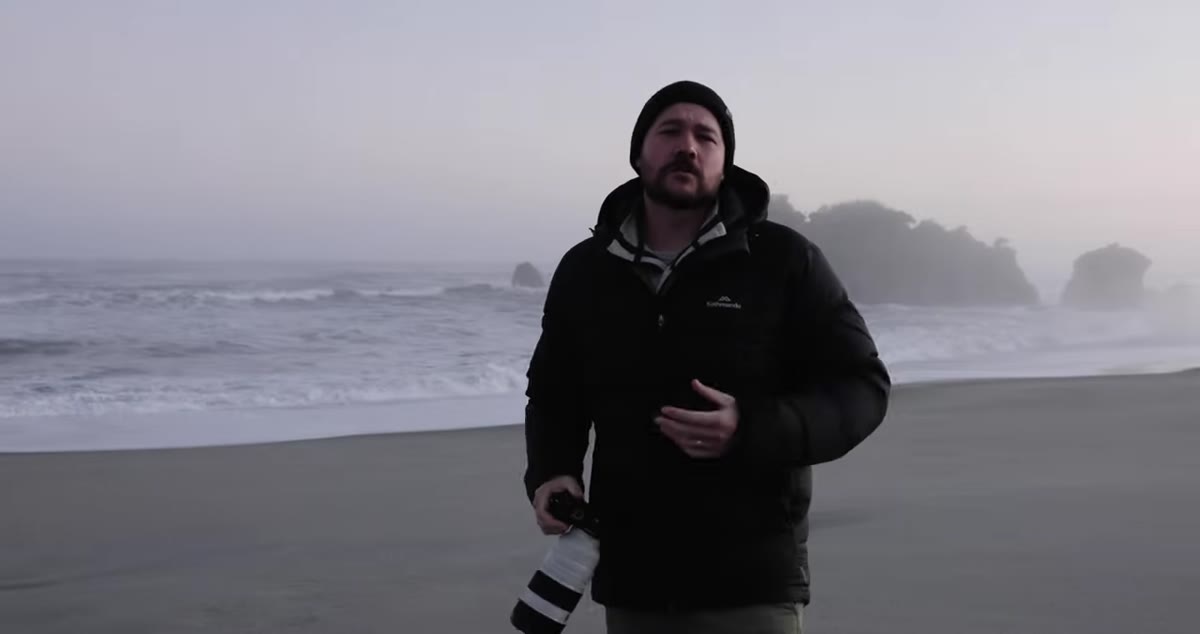 Wide shot of beach shoreline with gentle incoming waves
Will shoots this at the beach, and it’s an ideal environment for ICM because water in motion gives you built-in texture and movement to work with. You’re not limited to ocean coastlines though. He mentions lakes with small wave action and rivers with water flowing over rocks as strong alternatives. The underlying principle is that you want a subject that has some natural movement or visual flow, something that will look intentionally abstract when blurred rather than just messy. Start somewhere familiar, ideally a location you already know well, so you can focus on the technique instead of also trying to figure out composition.
Wide shot of beach shoreline with gentle incoming waves
Will shoots this at the beach, and it’s an ideal environment for ICM because water in motion gives you built-in texture and movement to work with. You’re not limited to ocean coastlines though. He mentions lakes with small wave action and rivers with water flowing over rocks as strong alternatives. The underlying principle is that you want a subject that has some natural movement or visual flow, something that will look intentionally abstract when blurred rather than just messy. Start somewhere familiar, ideally a location you already know well, so you can focus on the technique instead of also trying to figure out composition.
Step 2: Simplify Your Frame
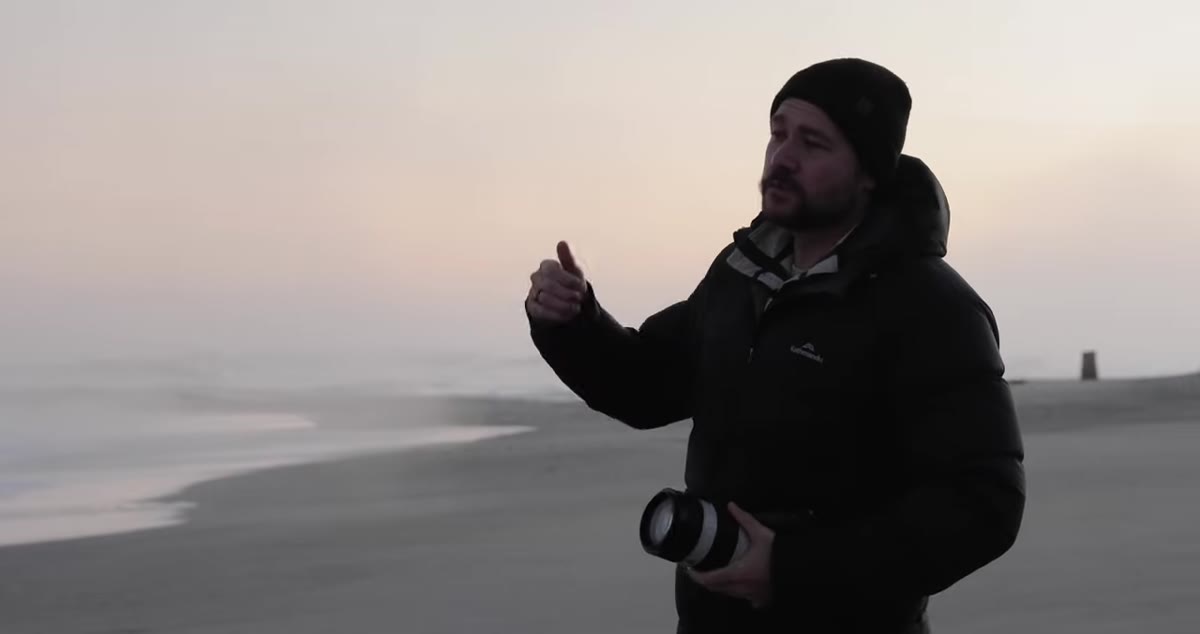 Horizon framed with sand, water, and sky in thirds
One of the common mistakes Will flags early on is including fixed objects in your frame. Things like rocks, driftwood, or any stationary element will create jarring, smeared shapes as you pan, and they rarely look good. The goal is to build your frame out of elements that can absorb blur gracefully. His preferred formula for ocean ICM is sand, water, and sky in layers, or sometimes just the water itself. Layering gives the image depth even after the motion blur strips away sharpness. A vertical orientation can help you pull in more of the foreground sand if you want that layered effect without stepping closer to the waterline.
Horizon framed with sand, water, and sky in thirds
One of the common mistakes Will flags early on is including fixed objects in your frame. Things like rocks, driftwood, or any stationary element will create jarring, smeared shapes as you pan, and they rarely look good. The goal is to build your frame out of elements that can absorb blur gracefully. His preferred formula for ocean ICM is sand, water, and sky in layers, or sometimes just the water itself. Layering gives the image depth even after the motion blur strips away sharpness. A vertical orientation can help you pull in more of the foreground sand if you want that layered effect without stepping closer to the waterline.
Step 3: Lock In Your Camera Settings
 Camera screen showing ISO 100, f/10, quarter-second shutter
This is where most tutorials get vague, so I appreciate that Will gives you actual numbers. He shoots at ISO 100 (always keep it as low as your camera allows to reduce noise), f/10, and a shutter speed of one quarter of a second. The aperture, as he puts it, is almost irrelevant here because depth of field doesn’t read the same way in a motion-blurred image. What matters is the shutter speed and how it interacts with how fast you’re moving the camera. A quarter second is a reliable starting point for ocean ICM. If your results look too chaotic, slow your panning speed before you reach for the settings. If everything looks too sharp and the effect isn’t reading, either open the shutter longer or pan faster.
Camera screen showing ISO 100, f/10, quarter-second shutter
This is where most tutorials get vague, so I appreciate that Will gives you actual numbers. He shoots at ISO 100 (always keep it as low as your camera allows to reduce noise), f/10, and a shutter speed of one quarter of a second. The aperture, as he puts it, is almost irrelevant here because depth of field doesn’t read the same way in a motion-blurred image. What matters is the shutter speed and how it interacts with how fast you’re moving the camera. A quarter second is a reliable starting point for ocean ICM. If your results look too chaotic, slow your panning speed before you reach for the settings. If everything looks too sharp and the effect isn’t reading, either open the shutter longer or pan faster.
Step 4: Start Your Pan Before You Press the Shutter
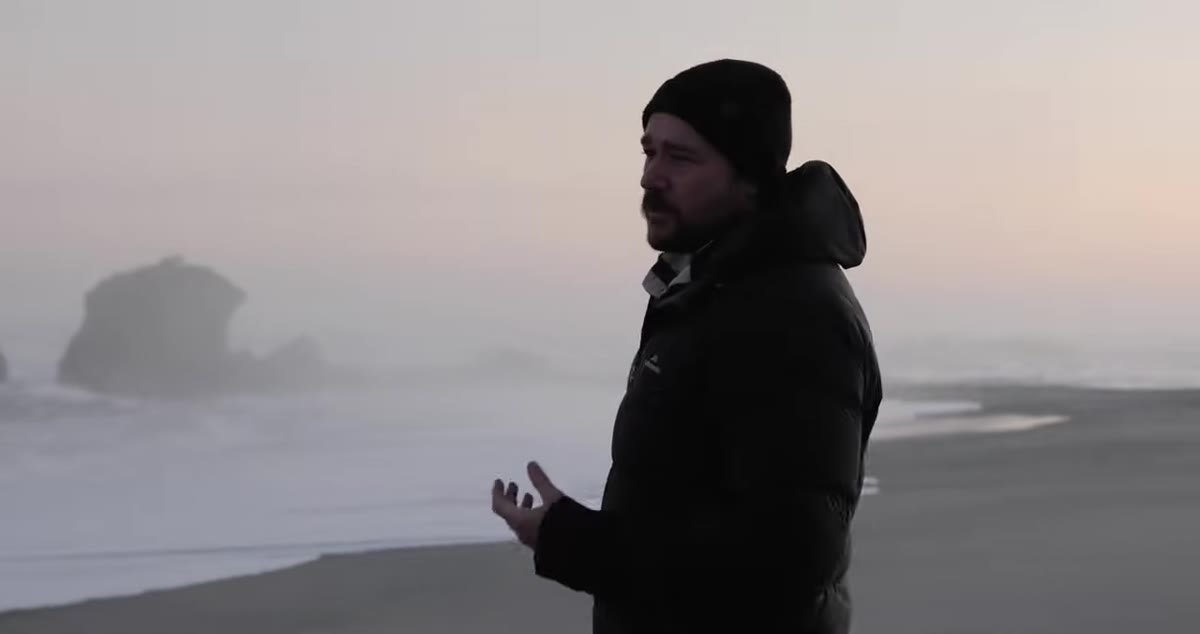
 Photographer beginning lateral hip movement before firing shutter
This is the detail that changed everything for me when I first started experimenting with ICM, and Will is explicit about it: begin your movement before you press the shutter release. If you start moving at the same moment you shoot, you get a jerk at the beginning of the exposure that throws off the smoothness of the blur. The motion needs to already be in progress when the exposure begins. Will uses a hip-driven lateral pan, rocking gently from side to side rather than using just his arms or wrists. This gives you a slower, more controlled sweep. Pre-focus on the scene, get your pan going, and fire the shutter when you’re roughly centered on your horizon line.
Photographer beginning lateral hip movement before firing shutter
This is the detail that changed everything for me when I first started experimenting with ICM, and Will is explicit about it: begin your movement before you press the shutter release. If you start moving at the same moment you shoot, you get a jerk at the beginning of the exposure that throws off the smoothness of the blur. The motion needs to already be in progress when the exposure begins. Will uses a hip-driven lateral pan, rocking gently from side to side rather than using just his arms or wrists. This gives you a slower, more controlled sweep. Pre-focus on the scene, get your pan going, and fire the shutter when you’re roughly centered on your horizon line.
Step 5: Time Your Shot Around the Water
 Whitewash rolling up the shoreline during panning motion
The ocean is unpredictable, and that’s part of what makes ICM shots at the beach so hard to replicate and so interesting to look at. Will tries to time his shutter to coincide with active whitewash rolling up the shoreline, or with a wave that has interesting shape. You won’t nail it on your first frame. You probably won’t nail it on your tenth. He shoots many frames per session and accepts that most of them won’t work. The ones that do tend to happen when the water texture, the panning speed, and the light all line up by accident as much as by intention. Keep shooting, review as you go, and adjust.
Whitewash rolling up the shoreline during panning motion
The ocean is unpredictable, and that’s part of what makes ICM shots at the beach so hard to replicate and so interesting to look at. Will tries to time his shutter to coincide with active whitewash rolling up the shoreline, or with a wave that has interesting shape. You won’t nail it on your first frame. You probably won’t nail it on your tenth. He shoots many frames per session and accepts that most of them won’t work. The ones that do tend to happen when the water texture, the panning speed, and the light all line up by accident as much as by intention. Keep shooting, review as you go, and adjust.
Step 6: Zoom In and Track the Wave Detail
 Telephoto framing isolating foam and water texture close up
Once you’ve worked the wide horizontal pan, Will moves down the beach and switches to a tighter, zoomed-in perspective. Instead of capturing the full sweep of the shoreline, he isolates specific patches of foam and water texture. The application here shifts from panning across the scene to tracking with the wave’s own direction of movement. This approach gives you abstract results that look almost like ink paintings or textured watercolor. It’s a good reminder that ICM isn’t one technique, it’s a family of approaches. The framing and focal length you choose will completely change the character of the blur.
Telephoto framing isolating foam and water texture close up
Once you’ve worked the wide horizontal pan, Will moves down the beach and switches to a tighter, zoomed-in perspective. Instead of capturing the full sweep of the shoreline, he isolates specific patches of foam and water texture. The application here shifts from panning across the scene to tracking with the wave’s own direction of movement. This approach gives you abstract results that look almost like ink paintings or textured watercolor. It’s a good reminder that ICM isn’t one technique, it’s a family of approaches. The framing and focal length you choose will completely change the character of the blur.
From My Own Experience: The Gear Doesn’t Matter as Much as You Think
I’ve shot ICM with my mirrorless camera on a gimbal and I’ve shot it handheld with my phone to test a point I was making to a student once. The phone version was looser and less controlled, but the effect was still there. What matters far more than your gear is your panning consistency and your willingness to shoot a lot of frames. If you have a camera with a silent burst mode, use it. Shoot sequences instead of single frames during your pan and pick the best result afterward. You’ll dramatically improve your keeper rate without changing a single setting.
The single most important thing Will communicates in this tutorial is that ICM turns adversity into a creative tool. A flat-light morning with no drama in the sky stops being a failed shoot and starts being an invitation to experiment. That shift in mindset, treating difficult conditions as constraints that push you toward creativity rather than obstacles that shut you down, is something worth practicing every time you go out.
Watch the full tutorial on YouTube and download Will’s raw files if you want to practice the post-processing side before you head out to shoot.
Comments (2)
Shared this with my photography group. Everyone loved it.
The before and after really sells it. Incredible difference.
Leave a Comment