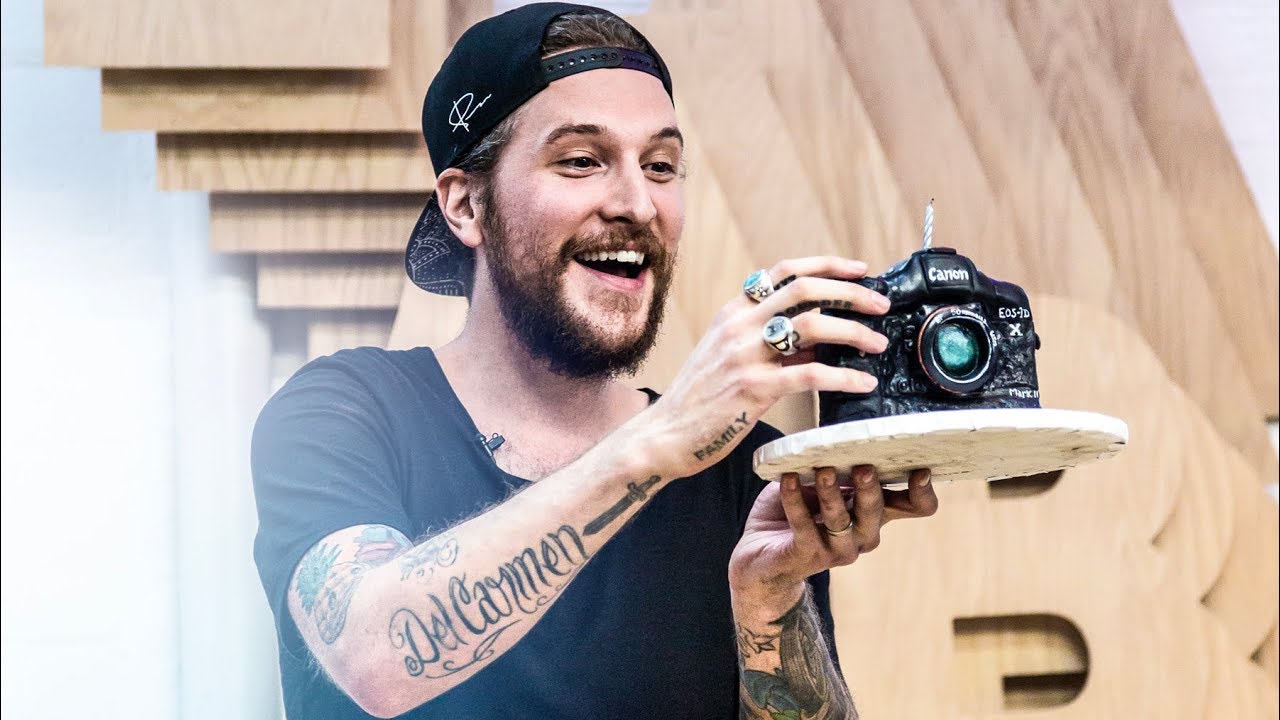
There’s a gap between taking great photos and actually sharing them in a way that feels worthy of the work. I’ve been on both sides of that gap. I’ve had hard drives full of images I was proud of that never made it further than a 1080-pixel Instagram square. So when I came across Watch the full tutorial on YouTube - Peter McKinnon’s vlog documenting his birthday gallery exhibition - I wasn’t expecting it to hit me the way it did. It’s not a traditional tutorial. There are no settings menus or preset breakdowns. But if you watch it as a working photographer, it’s dense with practical lessons about how to take your photography off a screen and put it in front of real people.
What McKinnon captures in this video is the full arc of a photography event, from seeing your prints for the first time at large scale, to signing editions, to managing a crowd that showed up in the rain. If you’ve ever thought about hosting a gallery night, a pop-up print sale, or even just a curated photo booth at a party, this video gives you a genuine blueprint. Here’s how I’d break it down into actionable steps.
Step 1: See Your Prints Before the Crowd Does
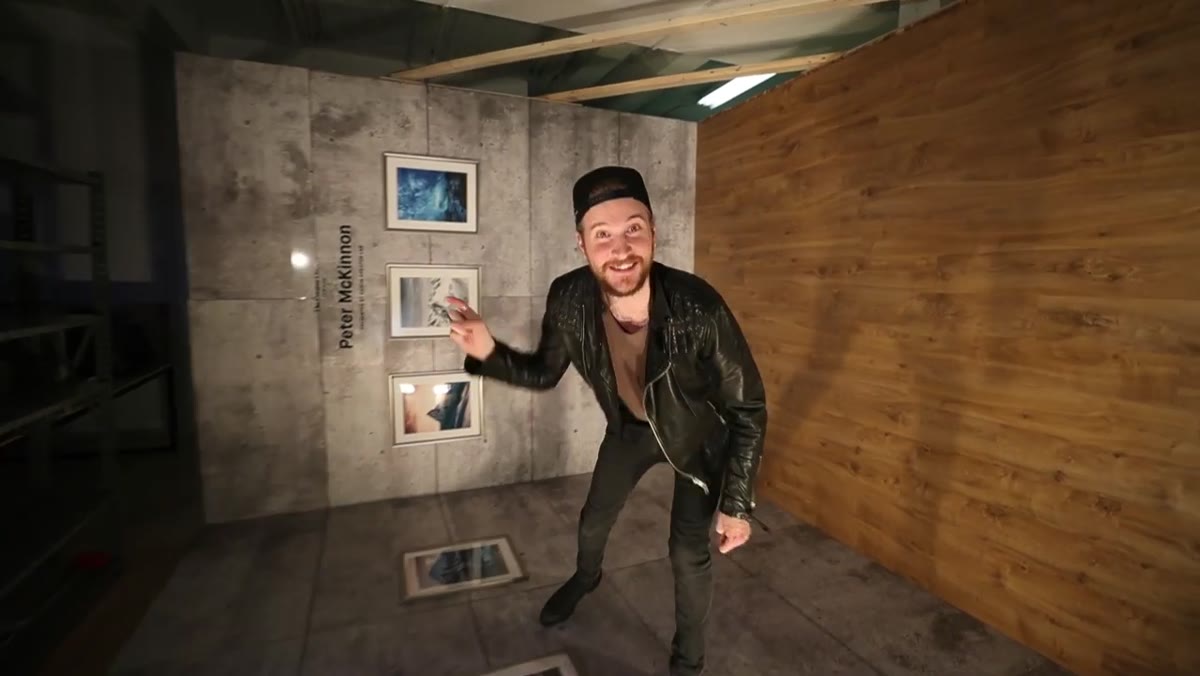
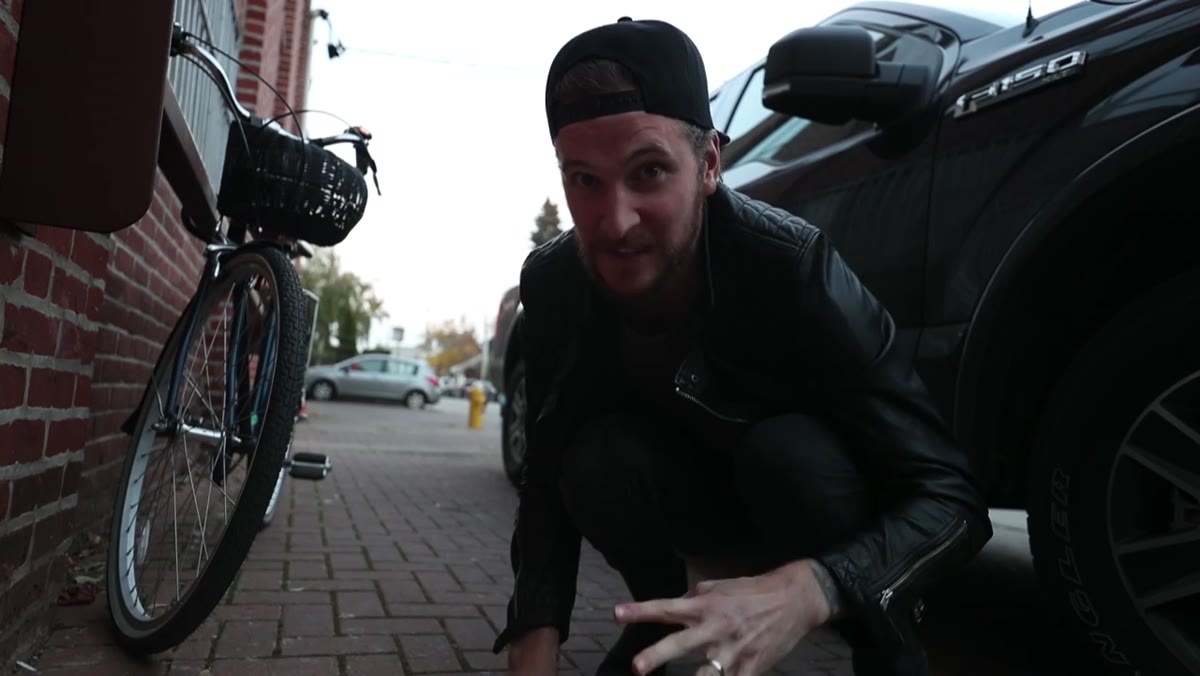 Peter seeing his large-format prints for the first time
Walk through your exhibition space before doors open, ideally an hour or more before guests arrive. This isn’t just ceremonial. Seeing your work at scale, in real light, in a real room, will tell you things you cannot learn from a screen. McKinnon’s reaction when he first enters the gallery and sees his images printed large is completely unguarded, and that reaction is data. If your gut says “something’s off,” you still have time to fix it. Check for color shifts under the venue’s lighting, look for prints that feel too dark or too flat, and note which images stop you in your tracks and which ones you walk past.
If you’re printing your own work for an event like this, I’d strongly recommend ordering at least one test print at the full intended size well before event day. A 24x36 print that looks stunning on your monitor can reveal banding, noise, or awkward crops you never noticed. Give yourself time to reprint.
Step 2: Design a Photo Booth That Becomes Part of the Work
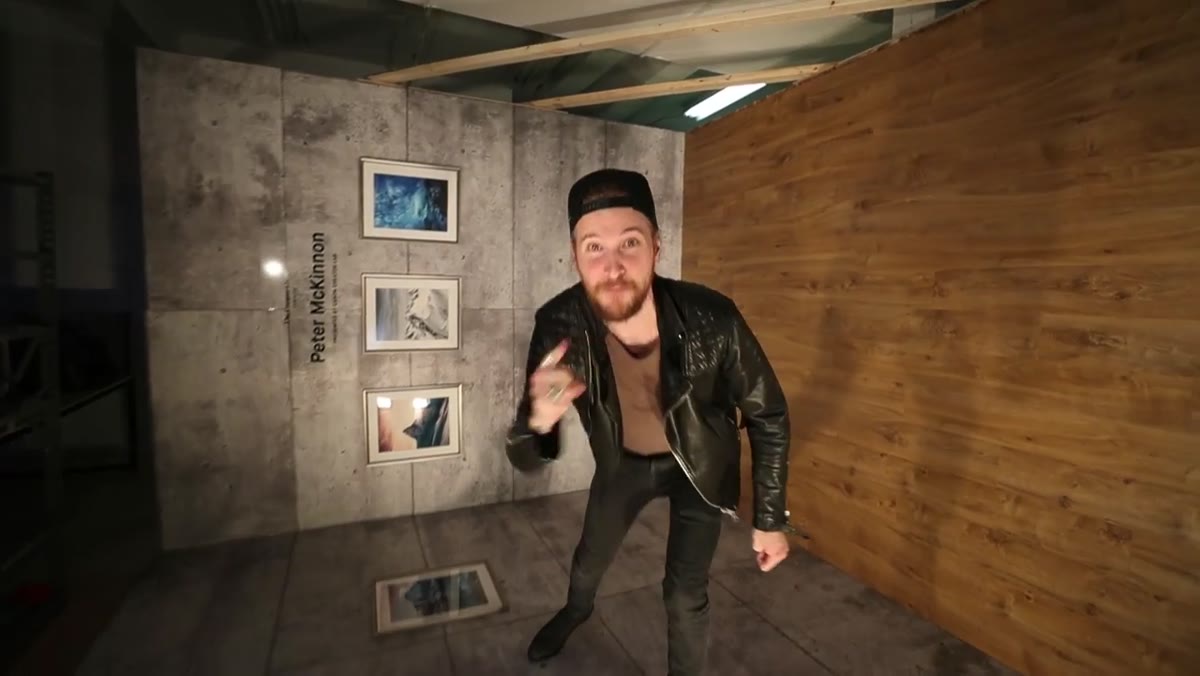 The custom photo booth setup at the gallery event
A photo booth at a photography event is not a gimmick, it’s an interactive piece. McKinnon and his team built a photo booth concept that was clearly a talking point for every guest who walked in. The key design principle here is that the booth should feel consistent with the aesthetic of the work on the walls. If your exhibition is moody and cinematic, a flat-lit carnival-style booth breaks the spell. Instead, treat it like a mini set. Control the light, use a backdrop that complements your color palette, and give guests a framing element (a printed border, a prop, a window frame) that ties the booth to the show.
From a technical standpoint, keep it simple to operate. A tethered camera with a remote shutter or a tablet trigger, a single well-placed strobe or LED panel, and a printed backdrop are all you need. The experience should feel elevated without requiring a tech tutorial for every guest.
Step 3: Pre-Sign Editions Before the Rush
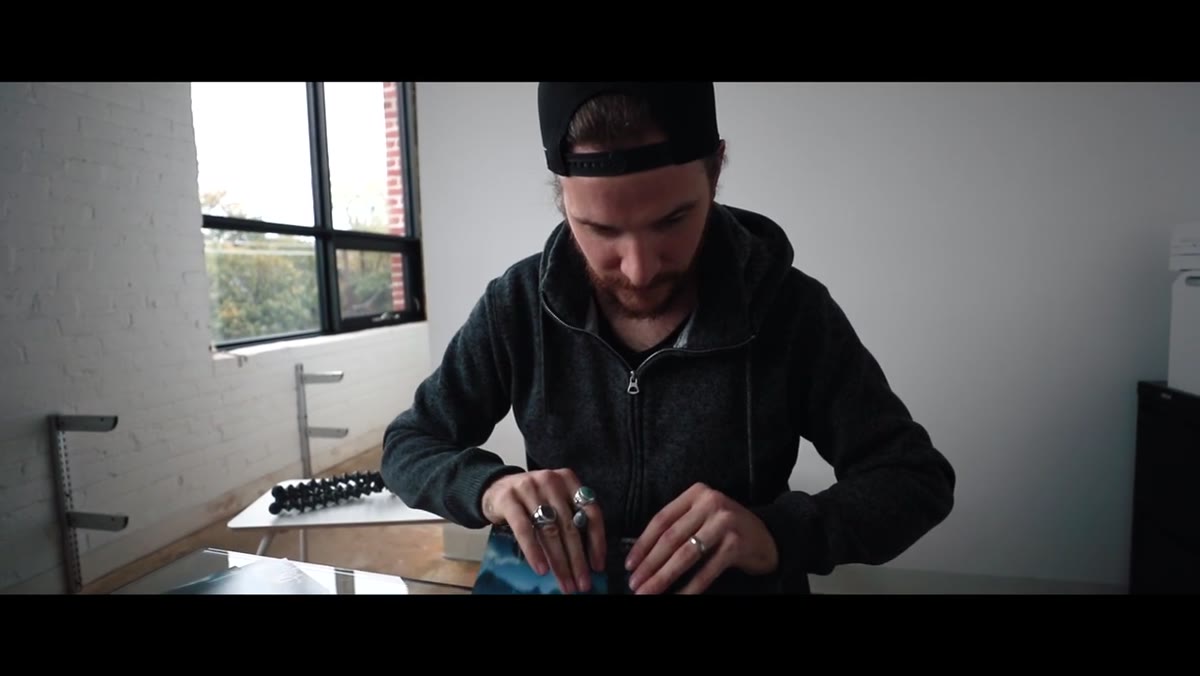
 Peter signing a large stack of prints with a marker
If you’re offering signed prints at an event, sign them before guests arrive. McKinnon shows exactly why this matters: he’s working through a significant stack of prints with a Sharpie while the room around him fills up, and it’s clearly a race against the clock. Signing during the event means distraction, rushed signatures, and taking yourself out of conversations that matter.
Number your prints at the same time. Decide your edition size ahead of the event (I usually do editions of 25 for event prints), mark each one on the back with pencil or archival pen, and keep a simple spreadsheet that tracks which number went to which buyer. This protects the value of the prints and makes the whole thing feel more considered.
Step 4: Show Up in the Space as a Host, Not Just an Artist
 Peter greeting friends and community members at the gallery
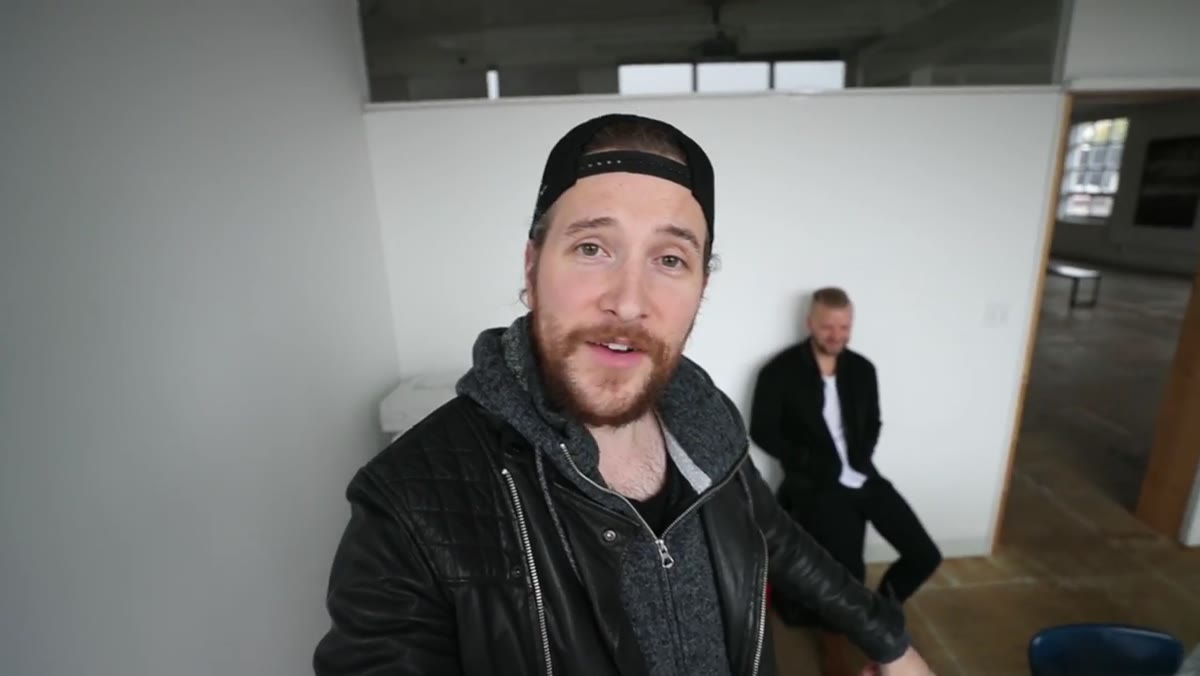
One of the most instructive things in this video is watching McKinnon move through the room. He’s not standing next to his prints waiting to be complimented. He’s greeting people by name, hugging the friend who flew in from across the country, making introductions, getting his dad in the photo booth. He’s hosting. That distinction matters enormously for how people experience the event and how they talk about it afterward.
As the photographer, you are the connective tissue between the images on the wall and the people looking at them. Plan a few things to say about your work, nothing scripted, just a sentence or two about where you were when you shot it or what you were chasing. People want permission to ask you about the work, and a little context gives them that.
Step 5: Document the Event While You’re Living It
 Wide shot of the gallery space with guests arriving
McKinnon is candid in the video that vlogging a live event while also being present in it is genuinely hard. He says so directly, and you can see it in the footage. That honesty is useful. If you’re going to document your own exhibition, you need a plan for how you’ll capture it without spending the whole night behind a camera.
My approach: shoot a series of wide establishing frames right when doors open, before it gets crowded. Then put the camera down for the first hour and just be present. Ask a trusted friend or second shooter to grab candids during the event. Come back to the camera for the last 30 minutes when people are relaxed and the light is usually better anyway. This structure gives you coverage without costing you the experience.
What I’d Add From My Own Shoots
The one thing this video doesn’t get into, probably because it’s a vlog and not a how-to, is the wall layout itself. How you sequence prints on a wall is as intentional as how you sequence a photo book. I always print small thumbnails of every image I’m planning to hang, tape them to a piece of paper scaled to the wall dimensions, and move them around until the flow feels right before a single nail goes in. Think about visual rhythm: vary the scale of prints, avoid clustering all your dark images together, and consider how a viewer’s eye will travel from one end of the room to the other.
Peter McKinnon’s birthday exhibition video is one of those pieces of content that looks casual but rewards close watching. The real takeaway is this: your photography doesn’t live until someone stands in front of it. A print on a wall, a photo booth that makes people laugh, a signed edition someone takes home and hangs up, those are the moments that make the work matter beyond the file. Watch the full tutorial on YouTube and pay attention to how McKinnon moves through the space. There’s a whole masterclass in there if you’re looking for it.
Comments (2)
This saved me so much time on my last edit. Wish I'd found this sooner.
Would love to see a follow-up going deeper into this topic.
Leave a Comment