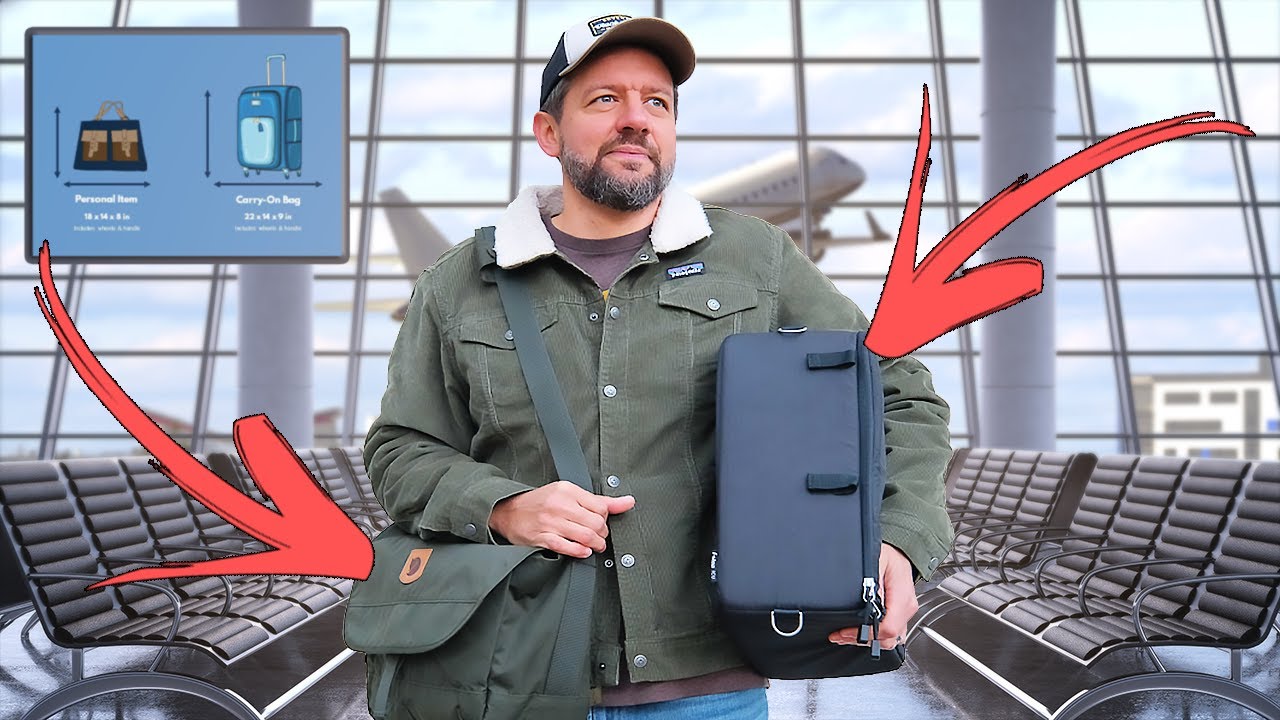
Every time I book a flight for a photography trip, I go through the same mental spiral. What if the airline forces me to gate-check my bag? What if my gear gets crushed? What if everything I need for the whole reason I’m traveling ends up sitting in a cargo hold somewhere between Seattle and wherever I actually need to be? I’ve rearranged my packing system more times than I can count, and I still feel a low-grade anxiety until the overhead bin clicks shut.
So when I came across this tutorial from landscape photographer Mark Denney, I watched the whole thing twice. Watch the full tutorial on YouTube – it’s worth your time, especially if you’re prepping for a destination photography trip. Denney shares the system he’s refined over eight years of flying with professional gear, and the core idea is smarter than it sounds at first: build your packing setup around the worst-case scenario, not the best one.
The result is a modular approach that keeps your most critical items protected no matter what the airline throws at you. Here’s how to actually implement it.
Step 1: Decide What Goes in Your Checked Bag Using a “Trip Survival” Test
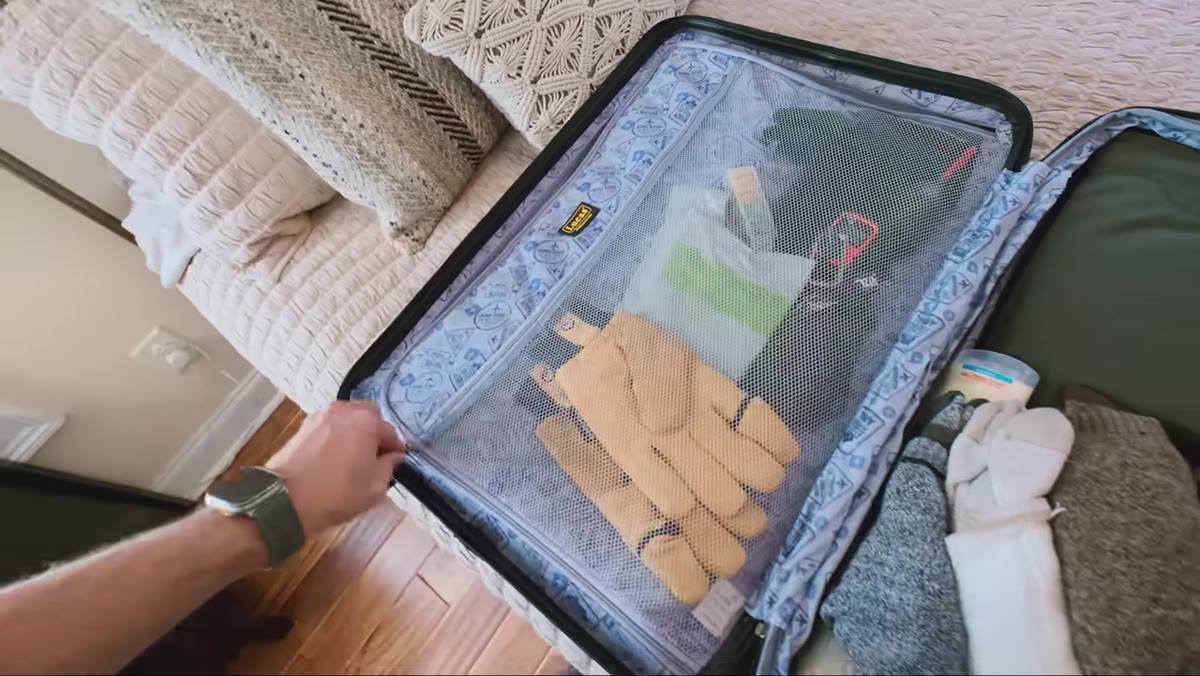 Tripod and ballhead laid out for checked bag packing
Before you even open your gear bag, run every item through a single question: if this bag gets lost, does it end my trip? Anything that passes that test – meaning you could still function as a photographer without it – belongs in checked luggage. For Denney, that means his tripod, his tripod ball head, and his filter collection (packed in a padded protective pouch and surrounded by clothing for cushioning). He also tosses in accessories like a headlamp and gloves.
This is a mindset shift more than a packing trick. You’re not just trying to distribute weight – you’re stress-testing your system before you ever leave home. I’ve started doing the same thing, and it immediately simplifies the decision-making process. If losing it would hurt but not devastate, it goes in the checked bag.
Step 2: Choose a Carry-On Backpack in the 40-50 Liter Range
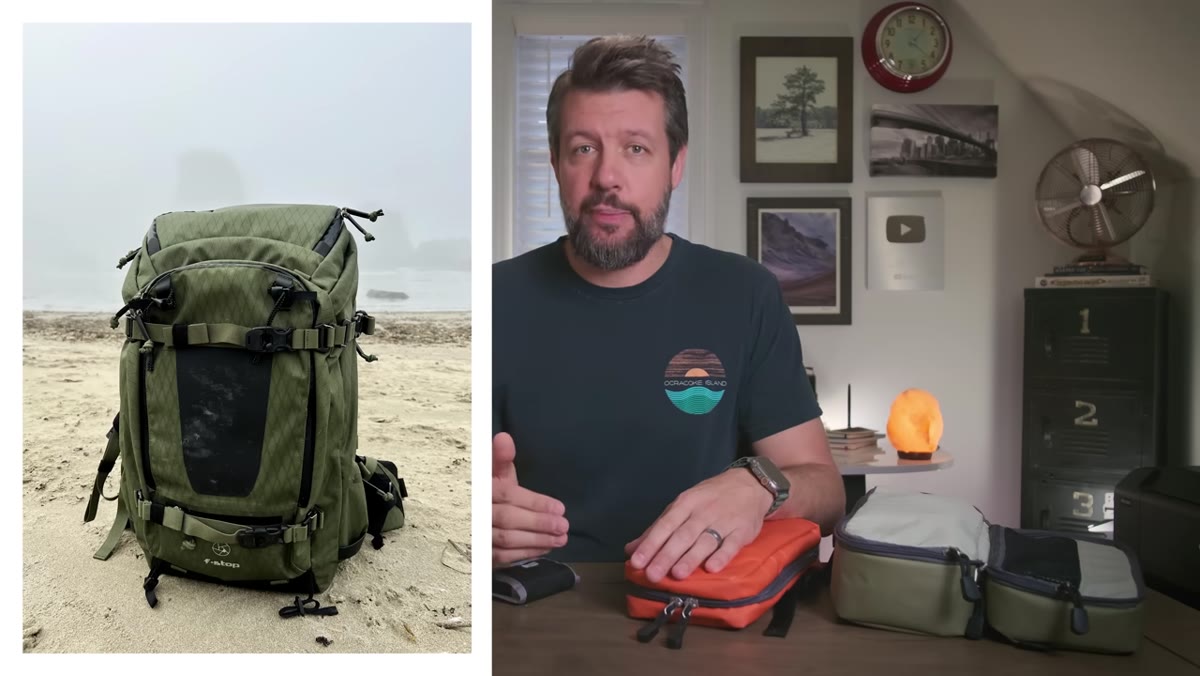 F-Stop Telopa 50L backpack shown as carry-on
Denney uses the F-Stop Telopa, a 50-liter camera backpack, as his main carry-on. His honest take: 40 liters is the safer choice if you want to fit into overhead bins on virtually every plane without issue. At 50 liters, you’ll be fine on most flights, but smaller regional aircraft can get tricky. If you’re taking a lot of connecting flights or booking budget carriers with stricter size enforcement, factor that into your bag choice.
The backpack format matters here too. A rolling hard case might feel more protective, but it draws attention and limits your overhead bin options. A camera backpack that looks like a regular hiking pack gives you more flexibility and tends to attract less scrutiny at the gate.
Step 3: Pack All Camera Bodies, Lenses, and Batteries in the Carry-On
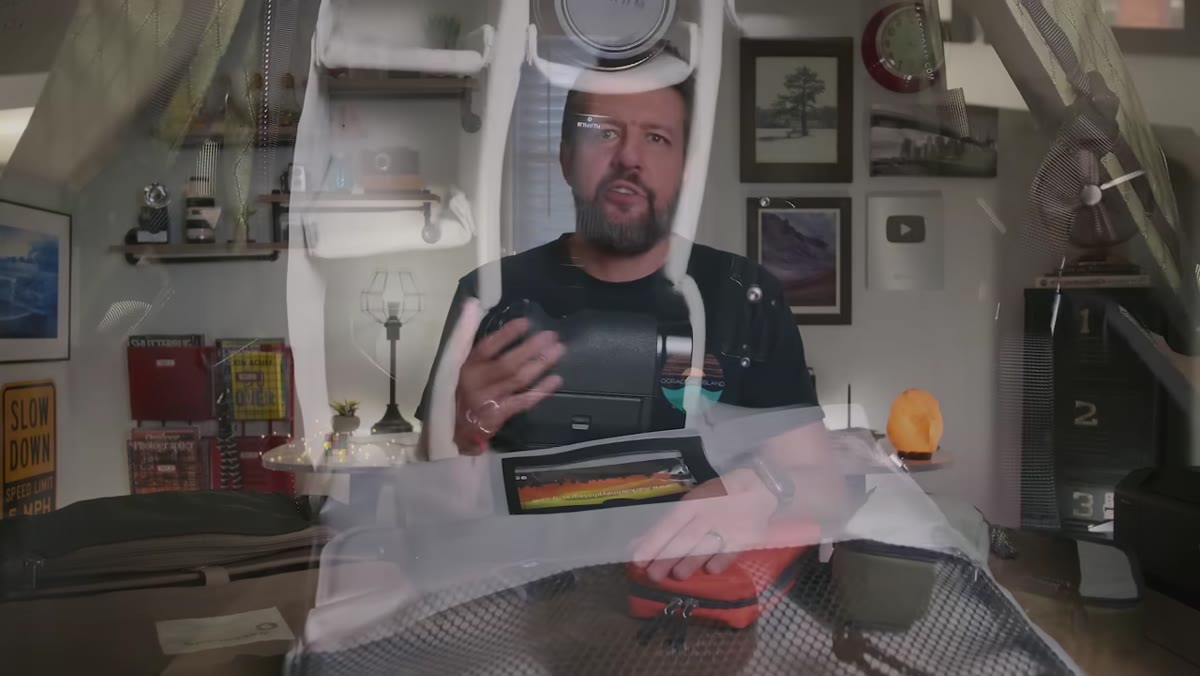 Camera bodies and lenses being organized inside backpack
Your irreplaceable gear lives in the carry-on, full stop. Camera bodies, lenses, and – this is non-negotiable – all lithium batteries. Airlines prohibit lithium batteries in checked luggage, so this isn’t just a preference, it’s a rule. Keep every battery on your person or in your carry-on, including backup batteries, camera batteries, and anything that charges via a battery pack.
The same goes for memory cards. They’re small enough that it’s easy to forget them, but losing a card mid-trip is the kind of thing that ruins a shoot. I keep mine in a small hard-shell case tucked into the front pocket of my backpack so I always know exactly where they are.
Step 4: Build Modular Sub-Packs Inside Your Carry-On
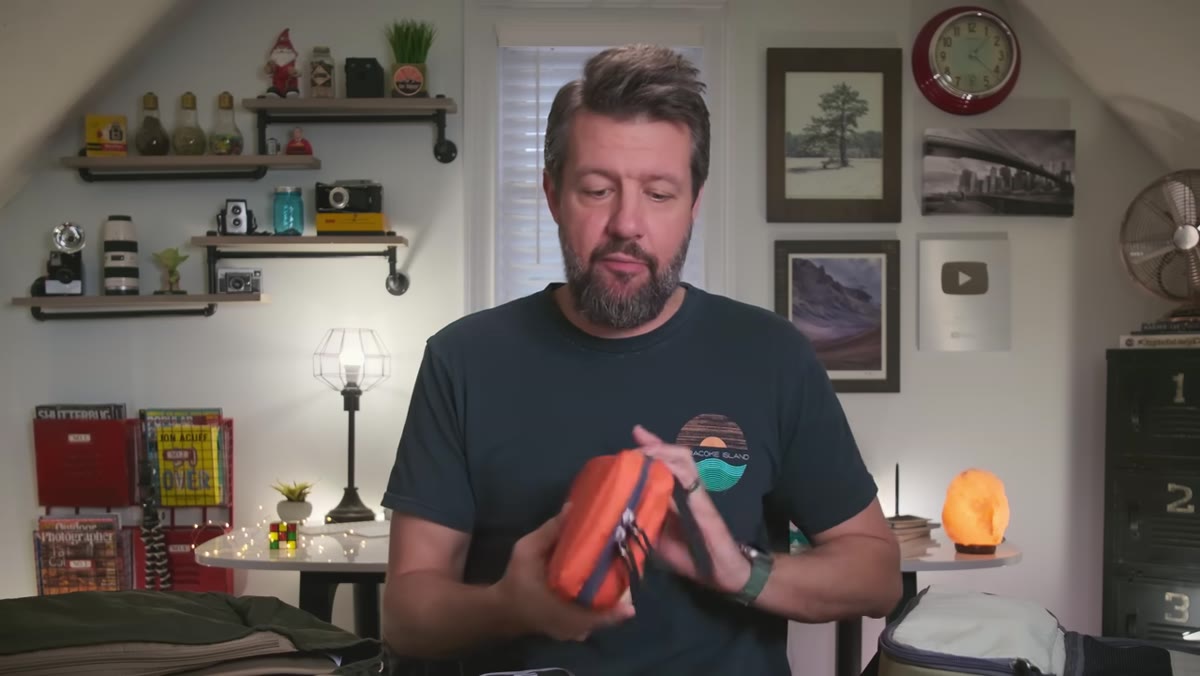 Orange charging pouch shown as a modular sub-pack
This is the actual “loophole” Denney is talking about in the video title, and it’s genuinely clever. Inside his carry-on, he organizes everything into smaller pouches grouped by function. One pouch holds everything charging-related: laptop charger, camera charging cables, battery packs, phone chargers, all of it in one place. Other pouches handle other categories.
The reason this matters is that if a gate agent forces you to check your carry-on at the last minute, you can pull out the essential pouches in seconds and stuff them into a personal item – a tote bag, a sling bag, whatever you have. You’re not digging through a disorganized pack in a panic. Everything critical comes out as a single grab. I’ve started doing a version of this with a small zippered pouch for my charging gear and another for memory cards and hard drives, and it has genuinely reduced my boarding-day anxiety.
Step 5: Identify Your Personal Item and Know What It Holds
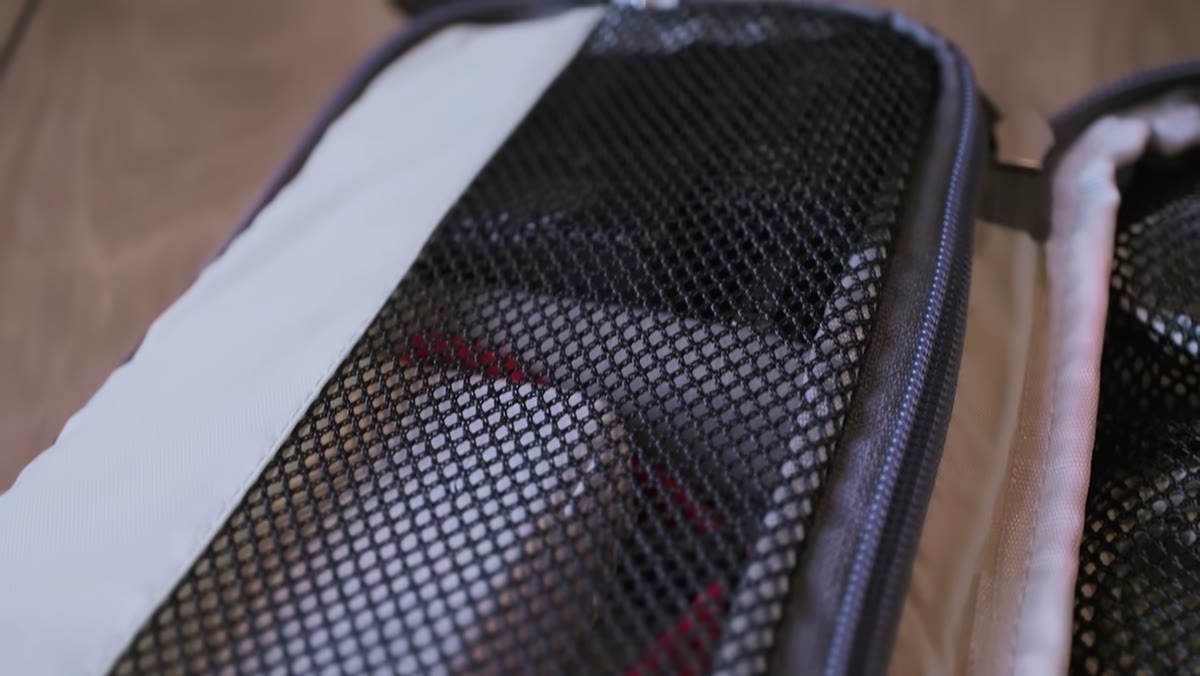 Small personal item bag shown alongside main backpack
Most airlines allow one carry-on and one personal item. Your personal item – whether it’s a tote, a small sling, or a daypack – is your safety net if your main bag gets checked. Decide in advance what goes in it. Denney’s system means he can transfer his modular pouches directly into this bag with no repacking required.
Think of your personal item as a mini photography survival kit. It should hold, at minimum, one camera body, your most-used lens, all batteries and memory cards, your laptop or hard drive, and your charging pouch. If your checked bag disappears and your carry-on gets gate-checked, you can still shoot.
A Note on Filters and Fragile Accessories
One thing I’d add from my own experience: filters need more protection than you think. I’ve checked filters wrapped in clothing and arrived to find hairline cracks I didn’t notice until I was out in the field looking at soft images and wondering what was wrong. Denney uses a dedicated padded filter pouch, and I’d strongly recommend the same. If your filter set is valuable, consider whether it’s actually worth checking at all – a compact filter wallet can fit in a carry-on without taking up much room.
Cables are another thing I’ve learned the hard way. One tangled mess of cables at the bottom of a bag means you’re digging through everything looking for the right one at 5am before a sunrise shoot. Label them, roll them, and keep them in their own pouch. It sounds fussy, but you’ll thank yourself when you’re exhausted and need to charge something fast.
The single most useful idea from Denney’s tutorial is this: design your packing system around the worst-case scenario, and the best-case scenario takes care of itself. When everything is modular and you’ve already decided what’s expendable, a gate agent asking you to check your bag stops being a catastrophe and becomes a minor inconvenience.
Watch the full tutorial on YouTube to see exactly how Denney lays out his full kit and explains his reasoning in his own words. It’s one of those videos that actually changes how you pack, not just what you pack.
Comments (3)
Bookmarked. Coming back to this one for sure.
Finally someone explains this in a way that actually makes sense.
Excellent tutorial. I'd add that from a business standpoint, this technique is incredibly versatile.
Leave a Comment