Sunset shots are the ones I get asked about most. Not portraits, not landscapes in general – sunsets specifically. And for a long time, my honest answer was something like “show up and hope for the best.” I’d get a decent shot every few outings, but I wasn’t making them happen. I was just getting lucky.
That changed when I started paying closer attention to photographers who treat sunset sessions as a system, not a lottery. In this Peter McKinnon tutorial filmed during a shoot at Laguna Beach and the rooftops of downtown Los Angeles, he walks through the decisions he’s making in real time – gear choices, timing, light management – in a way that actually transfers to your own workflow. It’s a vlog-style video, which means the tips are embedded in the chaos of a real day, but if you pull them out, they’re solid. Watch the full tutorial on YouTube if you want the full context, then come back here for the breakdown.
What I appreciate most is that Peter is working in genuinely brutal California midday light before the golden hour even arrives, which means the tutorial covers the whole arc of a shooting day – not just the pretty part at the end. That’s where most of us lose an hour of usable footage or images we could have had.
Step 1: Acknowledge Your Light Conditions Before You Even Lift the Camera
 Vlogger squinting on a rooftop in bright LA midday sun
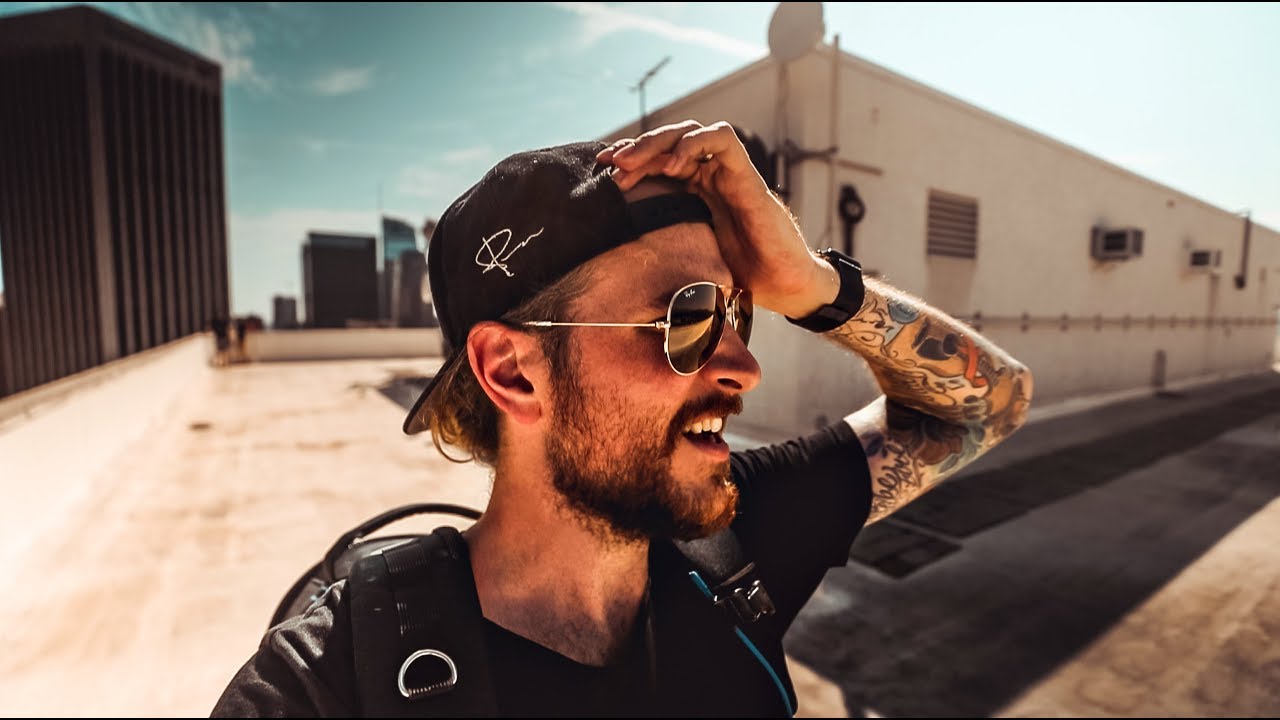
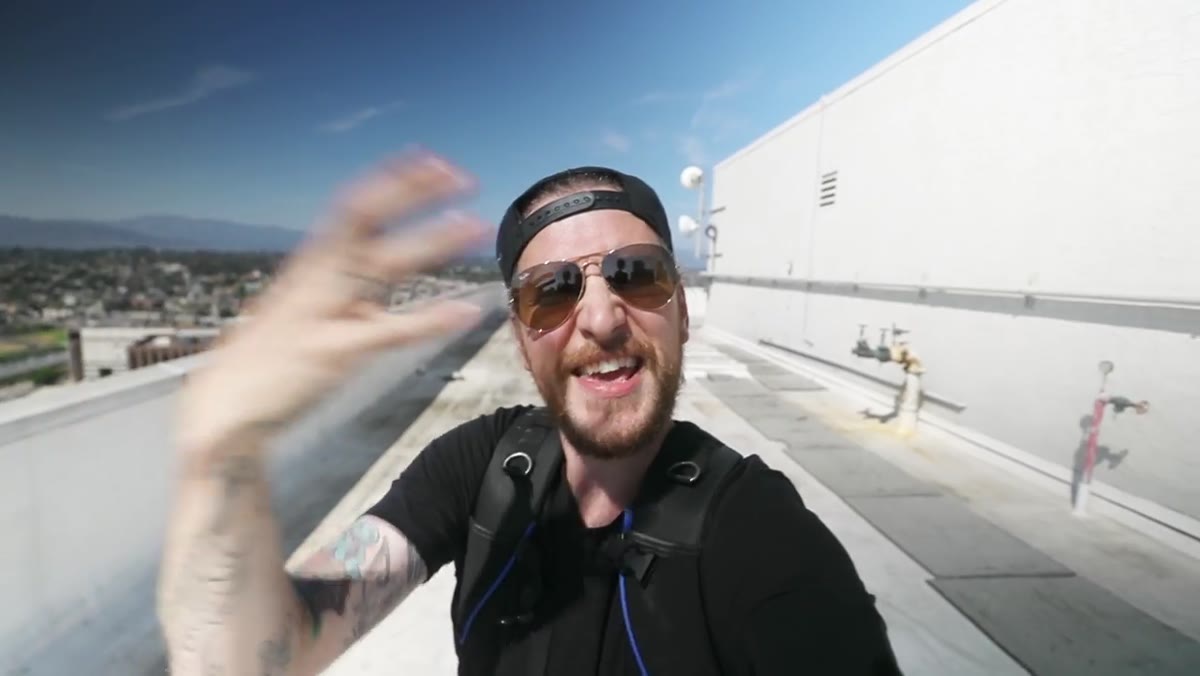
Before you think about composition or settings, look at what you’re actually working with. Peter is on a rooftop at 3:51 PM in Los Angeles – the sun is high, harsh, and directly in his face. He doesn’t fight it or pretend it’s not there. He names it. That sounds obvious, but most beginners spend their first ten minutes in bad light trying to get a good shot instead of adjusting their plan.
Vlogger squinting on a rooftop in bright LA midday sun
Before you think about composition or settings, look at what you’re actually working with. Peter is on a rooftop at 3:51 PM in Los Angeles – the sun is high, harsh, and directly in his face. He doesn’t fight it or pretend it’s not there. He names it. That sounds obvious, but most beginners spend their first ten minutes in bad light trying to get a good shot instead of adjusting their plan.
When you arrive at a location well before sunset, audit the light. Where is it coming from? How hard are the shadows? Is it going to shift dramatically in the next hour? Knowing what you have helps you decide whether to shoot now with modified settings, wait, or scout angles that might work better when the light drops.
Step 2: Use an ND Filter to Shoot Wide Open in Bright Conditions
 Camera lens being unscrewed to reveal overexposed, washed-out bright sky
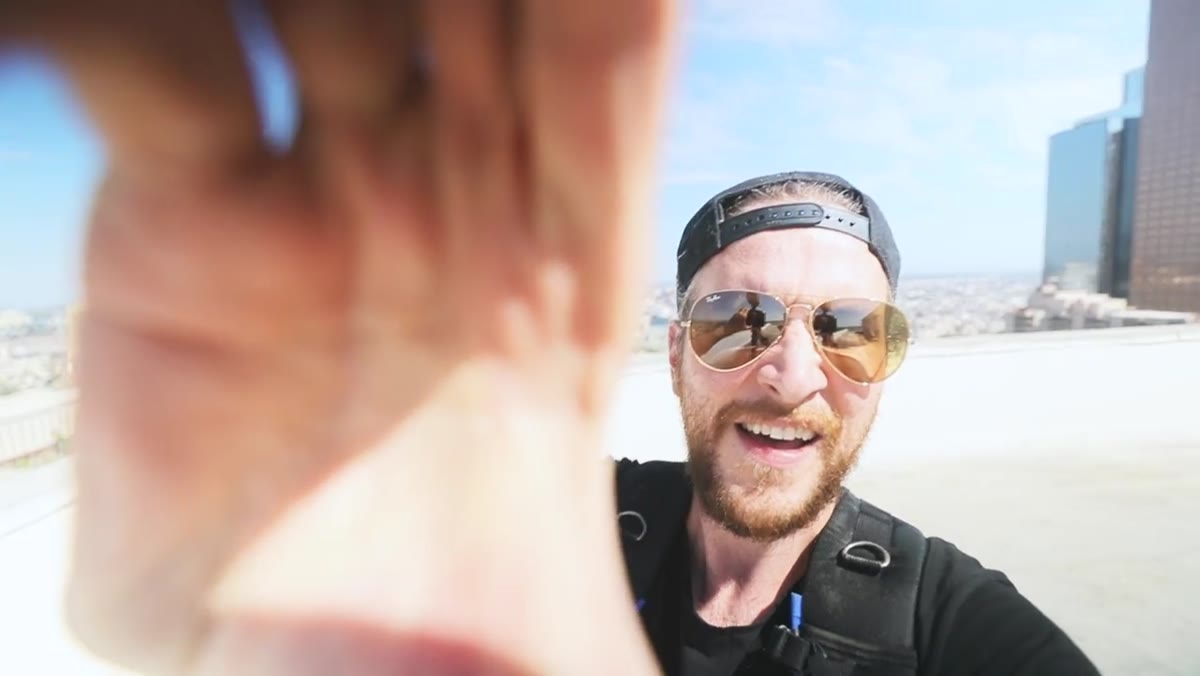
This is one of the most practical tips in the video. Peter demonstrates exactly what the scene looks like without an ND filter attached – completely blown out, unusable. With a variable ND filter on, he can shoot with a wide aperture even in bright conditions, giving him that shallow depth of field without sacrificing exposure.
Camera lens being unscrewed to reveal overexposed, washed-out bright sky
This is one of the most practical tips in the video. Peter demonstrates exactly what the scene looks like without an ND filter attached – completely blown out, unusable. With a variable ND filter on, he can shoot with a wide aperture even in bright conditions, giving him that shallow depth of field without sacrificing exposure.
A variable ND filter screws onto the front of your lens and lets you dial in how much light you’re blocking. For bright outdoor scenes, something in the ND8 to ND64 range is usually your starting point. If you want to shoot at f/1.8 or f/2 in full afternoon sun without overexposing, a variable ND is the tool. Peter has talked about these filters across multiple videos, and this moment – pulling the filter off to show the raw brightness – is one of the clearest demonstrations of why they matter.
Step 3: Plan Your Location with Travel Time in Mind
 Group walking toward a car, discussing drive time to Laguna Beach
Golden hour waits for no one, and traffic waits for everyone. Peter’s crew is driving from downtown Los Angeles to Laguna Beach – about an hour on a normal day, longer in LA traffic. They factor this in and leave with enough buffer to arrive before the light gets good.
Group walking toward a car, discussing drive time to Laguna Beach
Golden hour waits for no one, and traffic waits for everyone. Peter’s crew is driving from downtown Los Angeles to Laguna Beach – about an hour on a normal day, longer in LA traffic. They factor this in and leave with enough buffer to arrive before the light gets good.
This is a step that happens before you even pick up your camera, but it determines whether you get the shot at all. I missed an incredible tide pool sunset in Oregon because I underestimated how long the trail back to my car would take. Now I work backwards from the actual sunset time listed in my weather app – usually the Golden Hour app or PhotoPills – and build in at least 30 minutes of buffer. Add driving, parking, and walking to your shooting spot, and you might need to leave earlier than feels reasonable.
Step 4: Choose a Location That Gives the Sun Room to Perform
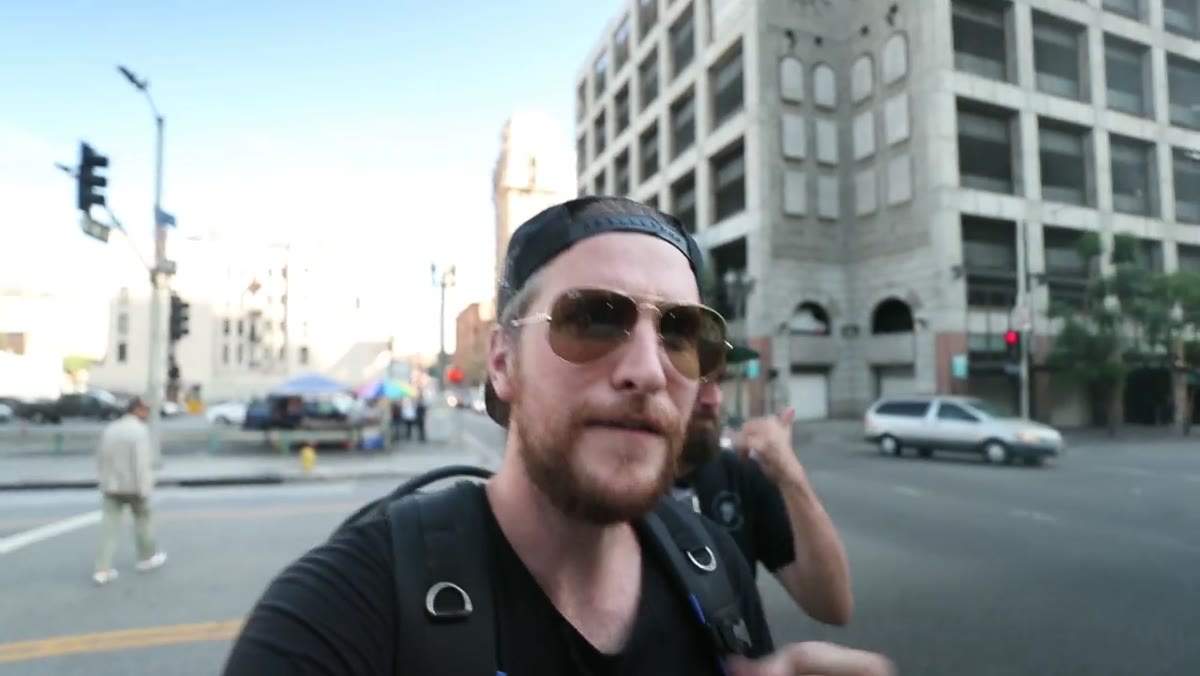 Wide establishing shot of coastal California landscape ahead of the drive
Laguna Beach is not a random choice. Coastal locations facing west give you a clean horizon for the sun to drop toward, uninterrupted by buildings or hills. Peter is deliberately selecting a spot where the environment will do some of the work.
Wide establishing shot of coastal California landscape ahead of the drive
Laguna Beach is not a random choice. Coastal locations facing west give you a clean horizon for the sun to drop toward, uninterrupted by buildings or hills. Peter is deliberately selecting a spot where the environment will do some of the work.
When scouting sunset locations, think about the western horizon specifically. Open water, flat plains, and beaches all tend to give you that uncluttered backdrop. If you’re shooting in a city, look for rooftops or elevated spots where you can clear the skyline, or lean into the skyline itself as a silhouette element. Every location has a version of this if you look for it.
Step 5: Treat the Drive and the Wait as Part of the Shoot
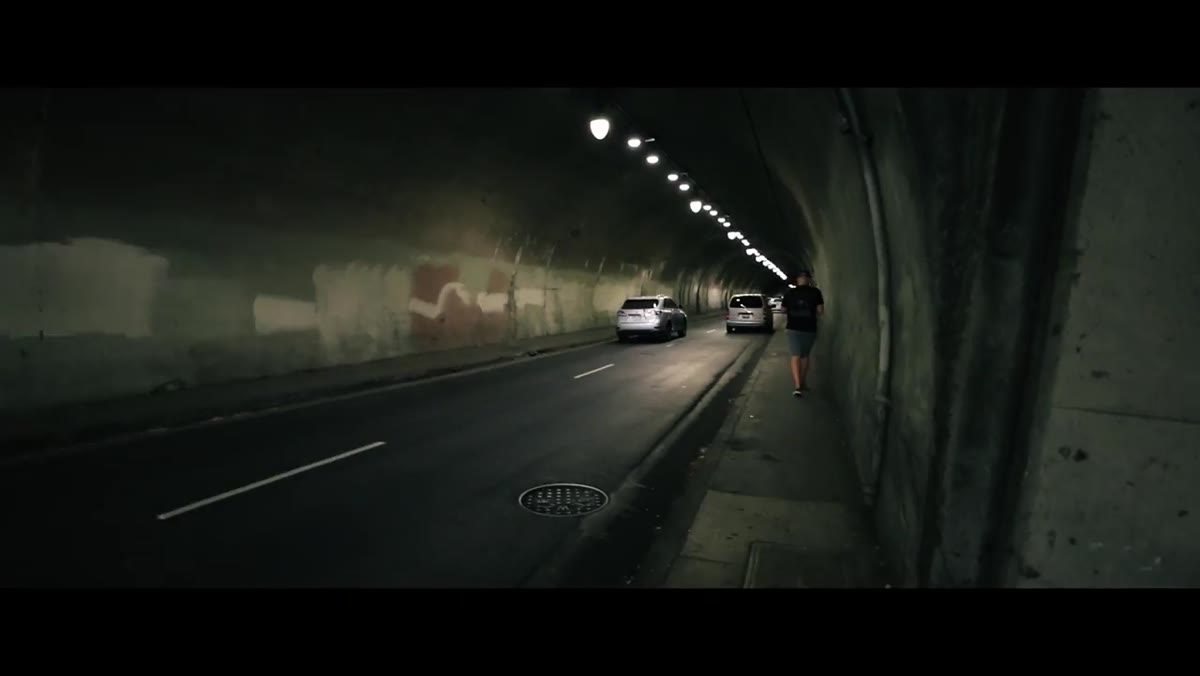 Casual in-car footage during the drive to the shoot location
Something I noticed watching this video is that Peter is already thinking photographically in the car. He’s filming, framing, noticing. He’s not just commuting – he’s warming up his eye.
Casual in-car footage during the drive to the shoot location
Something I noticed watching this video is that Peter is already thinking photographically in the car. He’s filming, framing, noticing. He’s not just commuting – he’s warming up his eye.
Use the time before golden hour to review your shots from earlier in the day, check your camera settings, and mentally rehearse the compositions you want to try. If you’re shooting with a partner, talk through who’s capturing what so you’re not both running to the same spot when the light gets good. The photographers I’ve been on walks with who get the best sunset shots are usually the ones who arrive calm and ready, not the ones who sprint from their car.
My Addition: Don’t Pack Up When the Sun Hits the Horizon
One thing the tutorial doesn’t spell out but that I’ve learned the hard way – the five to ten minutes after the sun disappears below the horizon are often the most interesting. The sky goes pink, then purple, and the light becomes genuinely magical without being blinding. Most people start walking back to their cars right when the shooting gets good.
I now set a second alarm on my phone for 10 minutes after the listed sunset time. That’s my signal to keep shooting, not stop. Some of my favorite golden hour images were technically taken in blue hour. The light doesn’t end when the sun does.
The single most important thing Peter demonstrates in this video is that great sunset photography is mostly preparation. The actual shooting is almost the easy part. Know your light, filter it when you need to, get to your location on time, and pick a spot where the environment works with you.
If you want to watch it all play out in real time – hotel room, LA rooftops, traffic, and all – Watch the full tutorial on YouTube. It’s the kind of video that’s easier to absorb once you’ve read the breakdown first.
Comments
Leave a Comment