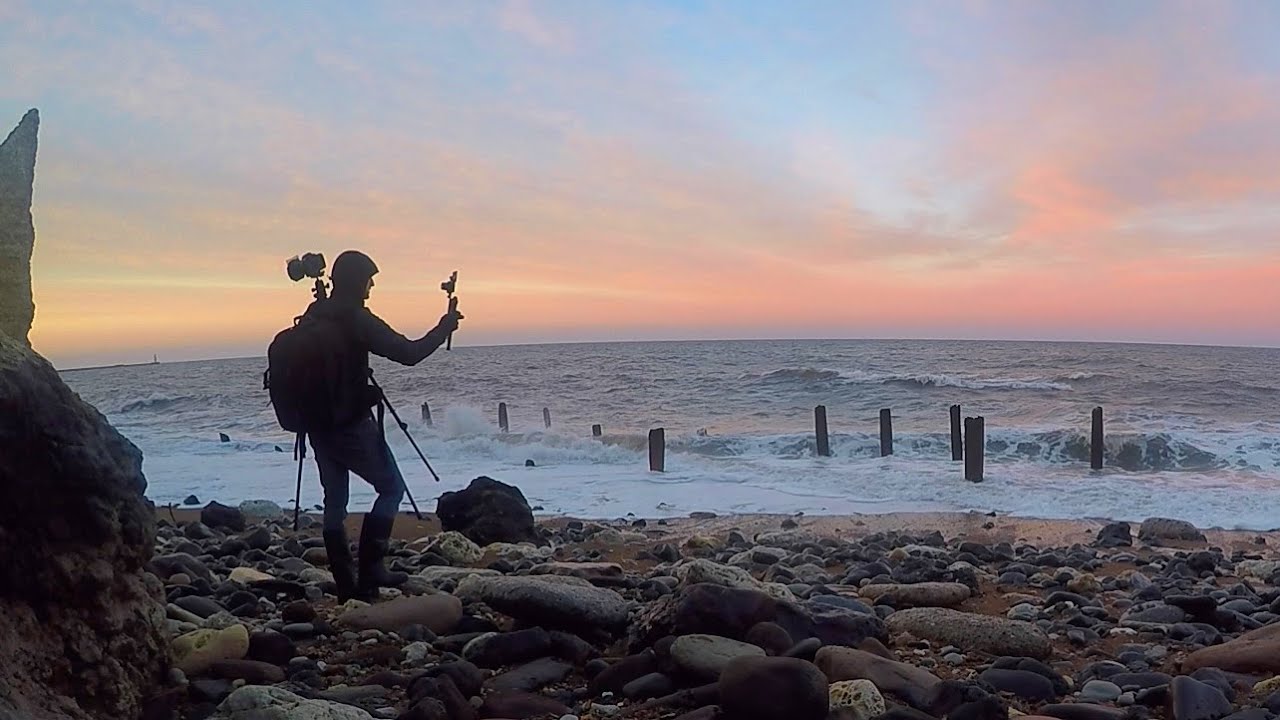
There’s a version of coastal photography that lives in my head rent-free: golden hour, perfectly scouted location, two hours to spare. And then there’s the version I actually live most of the time, which is showing up somewhere new with limited light and figuring it out fast. That gap between ideal conditions and real life is exactly why I keep coming back to spontaneous, unscripted tutorials from photographers who shoot the way most of us actually shoot. In this Thomas Heaton tutorial, Watch the full tutorial on YouTube, he grabs his camera after a day of errands, drives to a beach he has never visited before, and walks away with a beautiful seascape in roughly fifteen minutes. No elaborate prep. No pre-dawn alarm.
What makes this worth studying isn’t just the pretty result. It’s the decision-making underneath it. Heaton moves quickly but deliberately, and every choice he makes on that beach - filters, shutter speed, timing - has a reason behind it. I’ve broken that process down into concrete steps you can follow the next time you find yourself standing at the water’s edge with a narrowing window of light.
Step 1: Decide on a Location Based on Light Direction, Not Just Convenience
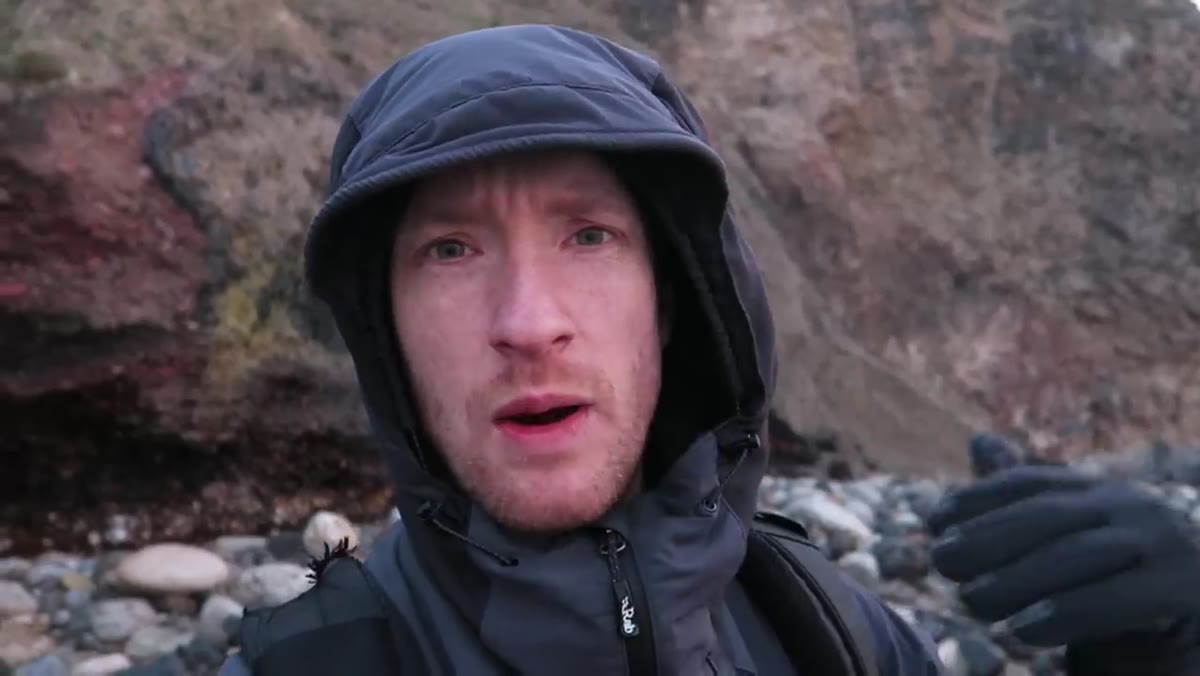
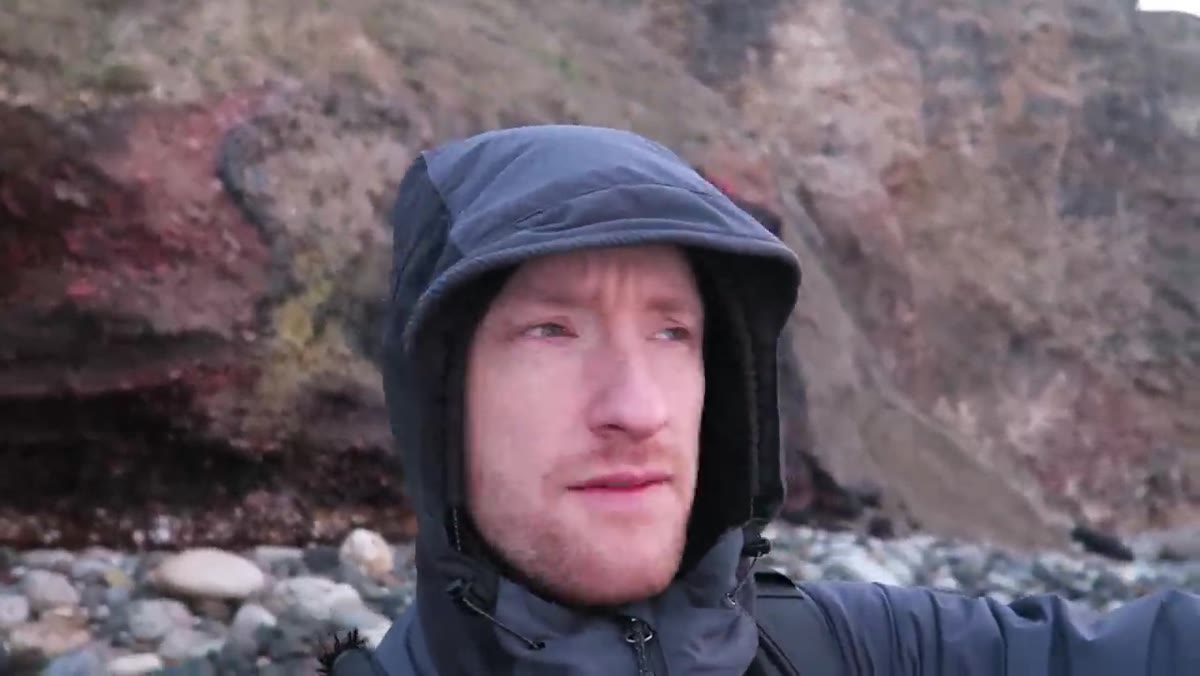
 Thomas at the coast weighing inland vs. seascape options
Before you even get in the car, think about where the sun is setting relative to the coastline you’re considering. Heaton mentions that his local coast faces east, which means direct sunset light on the water isn’t guaranteed. He goes anyway, because east-facing coasts can still produce beautiful reflected color and soft diffused glow in the sky behind you. That’s a useful reframe: a coast that doesn’t face the sunset isn’t a bad coast, it’s just a different kind of shot. Check your compass app before you commit to a drive and decide what you’re actually after - direct golden light on the water, or a glowing sky reflected in wet sand.
Step 2: Check the Tide Table Before You Step Onto the Beach
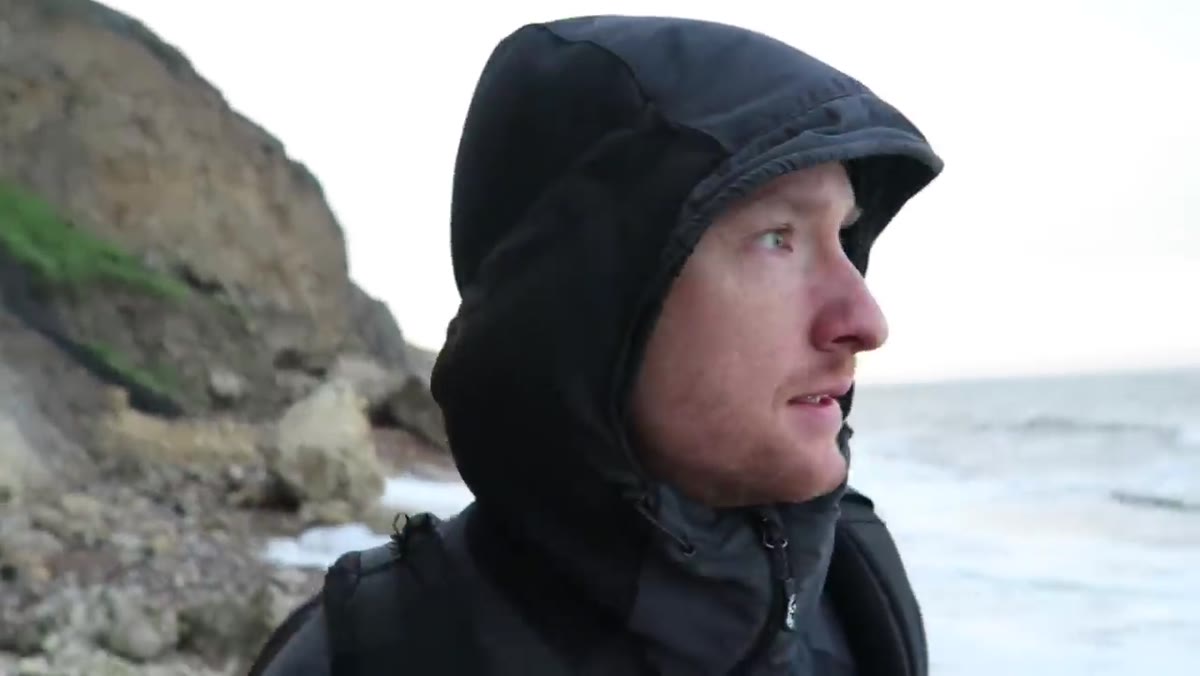 Thomas on the beach mentioning he checked tide tables
This is non-negotiable. Heaton makes a point of saying he checked the tide table before arriving and confirmed the tide was receding. A receding tide does two things for you: it leaves wet, reflective sand that picks up sky color, and it creates natural movement patterns in the water that photograph beautifully at moderate shutter speeds. It also keeps you safer. He flags that freak waves can still surprise you even on a falling tide, so stay aware of what’s happening at the waterline at all times. Apps like Tide Alert or Magic Seaweed give you hourly tide data for most coastal locations worldwide.
Step 3: Scout for a Foreground Subject the Moment You Arrive
 Thomas spotting wooden posts in the water as foreground interest
Heaton arrives at a beach he has never visited and within minutes zeroes in on a row of wooden posts partially submerged in the water. This is the compositional anchor for the entire shot. In seascape photography, the foreground is almost always the difference between a snapshot and a photograph - water alone rarely tells a story. Look for anything with vertical structure: rocks, pier pilings, sea grasses, tide pools, old breakwater timbers. The posts in this case give the eye an entry point and lead the viewer naturally toward the horizon. Walk the shoreline for two or three minutes before you set up your tripod, even when time is short.
Step 4: Stack Filters for a Balanced Exposure
 Close view of camera with polarizer and ND grad filter attached
For this shot, Heaton uses two filters simultaneously: a circular polarizer and a two-stop hard-edge graduated ND filter over the sky. The polarizer cuts surface glare on the wet sand and deepens the color saturation across the whole frame. The graduated ND darkens the brighter sky without affecting the foreground, letting you expose for the water and sand without blowing out the highlights above the horizon. A hard-edge grad works best when your horizon line is clean and flat, which it usually is on an open beach. If your scene has cliffs or irregular features breaking the skyline, switch to a soft-edge grad to avoid a visible dark band cutting through solid objects.
Step 5: Time Your Shutter Release to the Receding Water
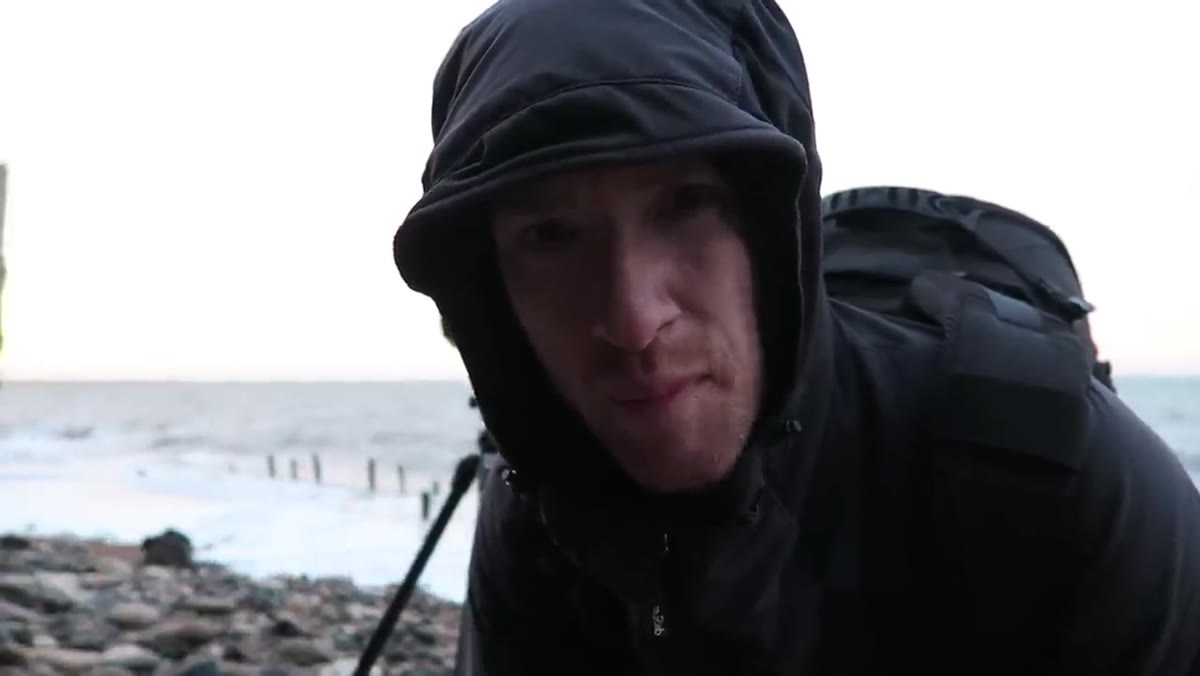
 Thomas watching waterline and triggering shutter as wave recedes
This is the technique that elevates the shot the most, and it’s pure timing. Heaton waits for a wave to wash toward the camera, then presses the shutter as the water pulls back. That outward motion of receding water creates long, smooth streaks in a moderate exposure - much more dynamic than still standing water or a foamy incoming wave. He lets the water come right up to his tripod legs before triggering. The result is a foreground that feels alive and directional. Watch the rhythm of the waves for a minute before you start shooting so you can predict when the pull-back begins.
Step 6: Use a Moderate Shutter Speed, Not a Long One
 Camera LCD showing 1/8 second exposure setting
Heaton settles on one-eighth of a second, and this surprised me the first time I watched it because we tend to associate seascape photography with 20- or 30-second exposures. That ultra-long exposure style turns water into smooth glass or mist. But at one-eighth of a second you retain texture and movement in the water - you can see it flowing - without freezing individual droplets. It reads as motion rather than blur, which pairs much better with a dramatic sky full of detail. If your scene has a lot of wave energy, start around one-quarter to one-second and adjust from there. Bracket a few exposures while the light holds.
What I’d Add: Work the Area Before the Light Dies
Heaton shoots his first composition, checks the result, and then immediately starts walking to find a second camera position. That instinct to keep moving is one I had to deliberately build into my own process. I used to get one shot I liked and pack up, convinced I’d gotten it. Now I treat the first successful frame as permission to explore, not a reason to stop. Give yourself a minimum of two or three distinct positions before you call it done, especially on an unfamiliar beach. Changing your angle by even twenty feet can completely reframe the foreground and the horizon relationship.
The single most important takeaway here is deceptively simple: a good seascape photograph is mostly about timing your shutter release to the water’s movement, not about finding a perfect location. Heaton’s beach was completely new to him. The light was uncertain when he left the house. What made the image work was knowing what to look for once he got there and moving quickly when the conditions aligned.
Watch the full tutorial on YouTube to see exactly how the shots come together in real time - watching him work the shoreline with actual waves coming in makes the timing step especially clear.
Comments
Leave a Comment