
Every October I drag myself out of bed before sunrise for my Sunday photo walk, and every October I’m reminded that fall is both the most forgiving and the most deceptive season to shoot. The colors do a lot of the heavy lifting for you, sure. But point your camera in the wrong direction or stand in the wrong spot, and those gorgeous reds and golds go flat fast. I’ve watched friends come home from leaf-peeping trips with hundreds of photos that look like sad screensavers. The foliage was there. The light wasn’t working for them.
That’s exactly why I want to walk you through this tutorial from landscape and travel photographer Matt Kloskowski, recorded while he was teaching at the Great Smoky Mountains Photo Summit. He shot it on his phone while walking around, which honestly makes it better, not worse. He’s not in a studio explaining theory. He’s standing in the middle of fall color, moving around, showing you how he thinks. The techniques he demonstrates apply whether you’re shooting on a $200 phone or a full-frame DSLR. Watch the full tutorial on YouTube alongside this walkthrough if you can. But if you’re out in the field right now, everything below is actionable on its own.
There are three core techniques in this video, and they all come back to one idea: light direction is your most powerful tool in fall photography. Here’s how to use it.
Step 1: Find a Gap in the Canopy and Position the Sun Inside It
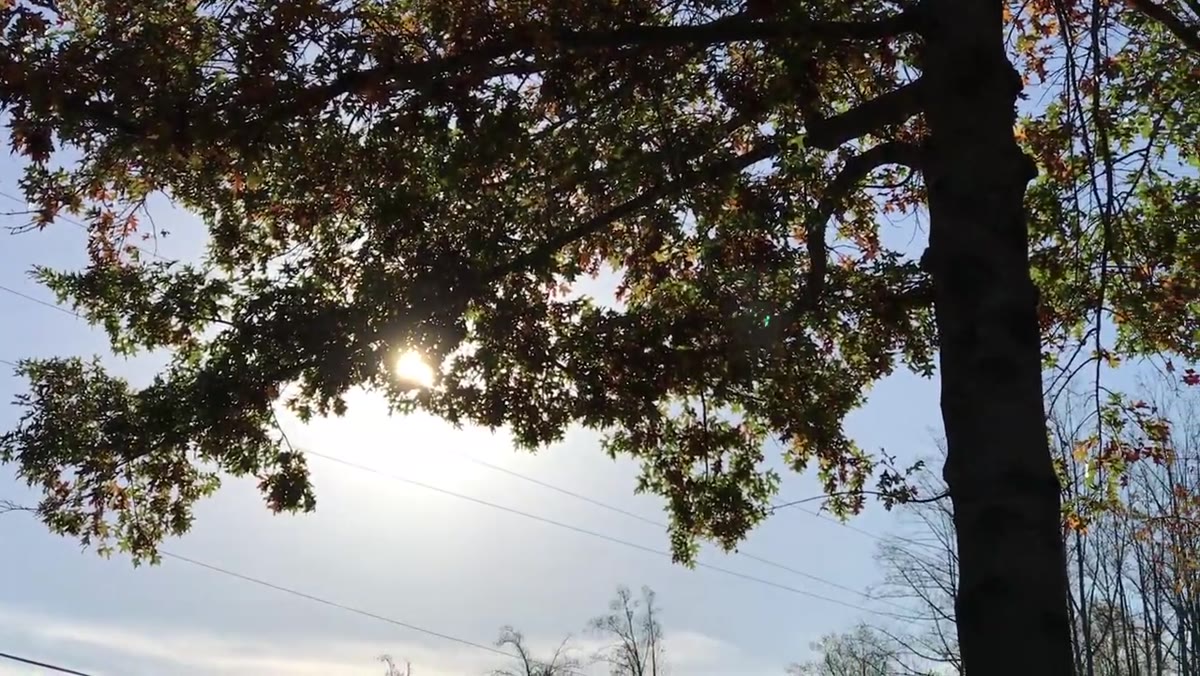 Framing the sun through a gap in autumn trees
This is one of those moves that sounds simple until you actually try it, and then you realize how much micro-positioning matters. The idea is to shoot toward the sun but tuck it behind a branch or leaf cluster at the edge of the frame, rather than letting it sit exposed in open sky. An unobstructed sun blows out the frame and kills your detail. But when you slide it just behind the edge of a branch or into a small gap in the canopy, you get a natural diffusion effect, and if you’re using a DSLR or mirrorless camera at a narrow aperture like f/16, you’ll get a defined sunburst star effect radiating from that point.
Framing the sun through a gap in autumn trees
This is one of those moves that sounds simple until you actually try it, and then you realize how much micro-positioning matters. The idea is to shoot toward the sun but tuck it behind a branch or leaf cluster at the edge of the frame, rather than letting it sit exposed in open sky. An unobstructed sun blows out the frame and kills your detail. But when you slide it just behind the edge of a branch or into a small gap in the canopy, you get a natural diffusion effect, and if you’re using a DSLR or mirrorless camera at a narrow aperture like f/16, you’ll get a defined sunburst star effect radiating from that point.
Matt zooms to 2x on his phone camera to help compress the scene and fill the frame with the tree canopy. On a DSLR, a short telephoto in the 50-85mm range does the same job. Take a few steps left and right, crouch or stand on something, and watch how the sun moves through the gaps. The difference between “blown out mess” and “gorgeous backlit glow” can be less than two feet of lateral movement.
Step 2: Use 2x Zoom (or a Short Telephoto) to Isolate and Fill the Frame
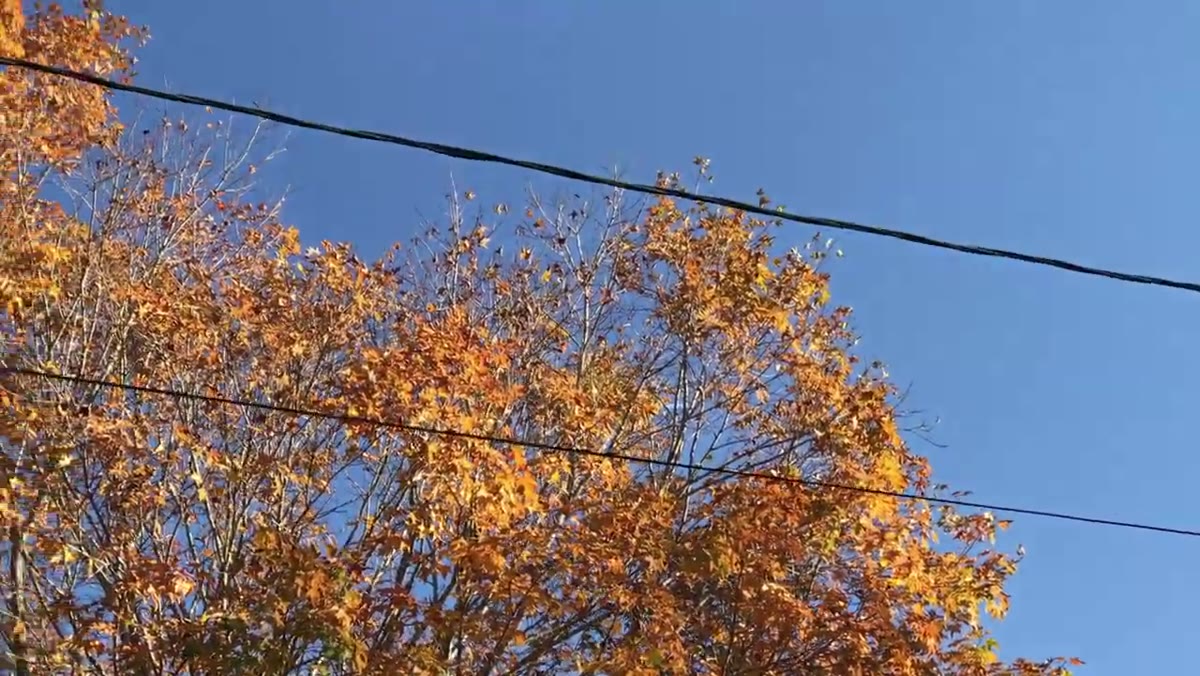 Camera zoomed to 2x on fall foliage against blue sky
Whether you’re on a phone or a dedicated camera, getting tighter on your subject changes what the photo is about. A wide shot of trees with fall color can feel generic. Zooming in to isolate a cluster of orange or yellow leaves against a clean background forces a composition decision, and usually makes a stronger image.
Camera zoomed to 2x on fall foliage against blue sky
Whether you’re on a phone or a dedicated camera, getting tighter on your subject changes what the photo is about. A wide shot of trees with fall color can feel generic. Zooming in to isolate a cluster of orange or yellow leaves against a clean background forces a composition decision, and usually makes a stronger image.
The practical reason Matt reaches for 2x zoom specifically is that it flattens perspective slightly and makes it easier to separate subject from background. On a phone, 2x typically means switching to the optical telephoto lens, which maintains image quality. On a mirrorless or DSLR, you’re looking at something in the 70-105mm range. The goal is the same either way: eliminate the clutter at the edges, and let the color do what it does best.
Step 3: Look for Yellow or Orange Against Blue Sky, Then Frame It Clean
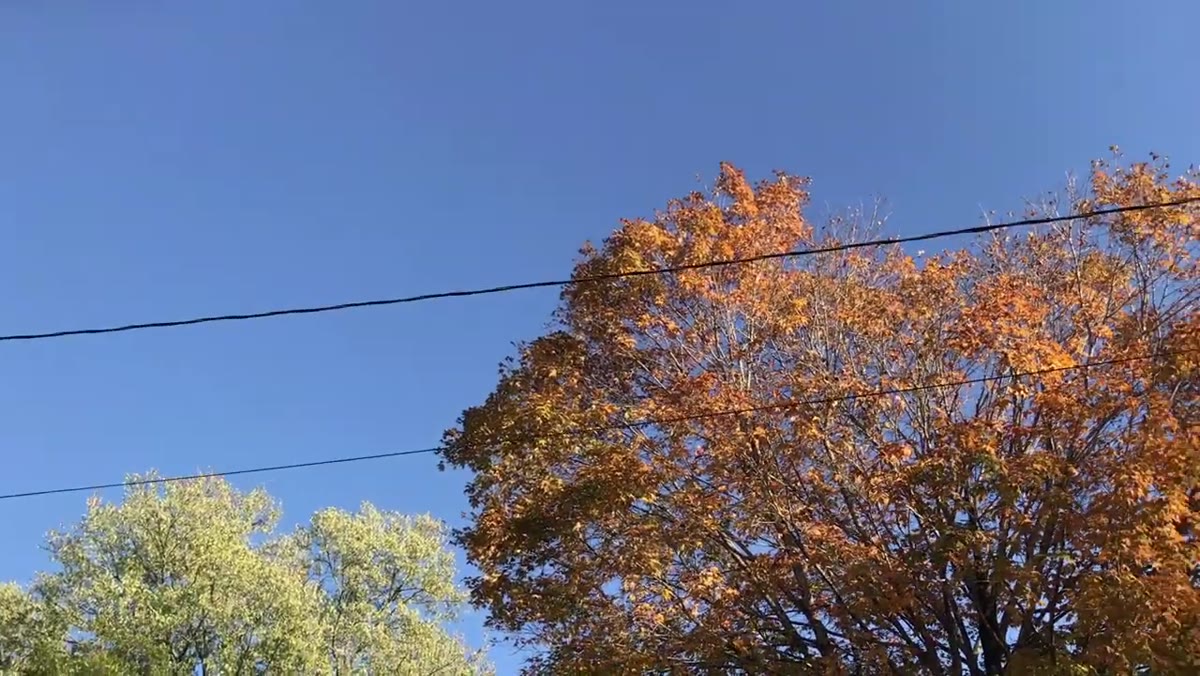 Orange autumn leaves isolated against deep blue sky
Complementary color contrast is one of the most reliable composition tools in photography, and fall hands it to you for free. Orange and blue sit opposite each other on the color wheel, which means they intensify each other when placed together in a frame. A cluster of orange maple leaves against a deep blue October sky is going to grab attention almost regardless of your camera settings.
Orange autumn leaves isolated against deep blue sky
Complementary color contrast is one of the most reliable composition tools in photography, and fall hands it to you for free. Orange and blue sit opposite each other on the color wheel, which means they intensify each other when placed together in a frame. A cluster of orange maple leaves against a deep blue October sky is going to grab attention almost regardless of your camera settings.
The challenge is keeping the frame clean. Matt specifically mentions watching for power lines or wires cutting across the scene. It sounds obvious until you’re out there and excited about the foliage and you miss the cable running through your shot. Before you press the shutter, take one deliberate scan around the edges of your frame. Move your position slightly if something is intruding. Even a foot or two can clear a wire out of the shot. Once you have clean foliage against blue sky, you’re most of the way to a keeper.
Step 4: Try Backlight or Sidelight to Make Leaves Glow From Within
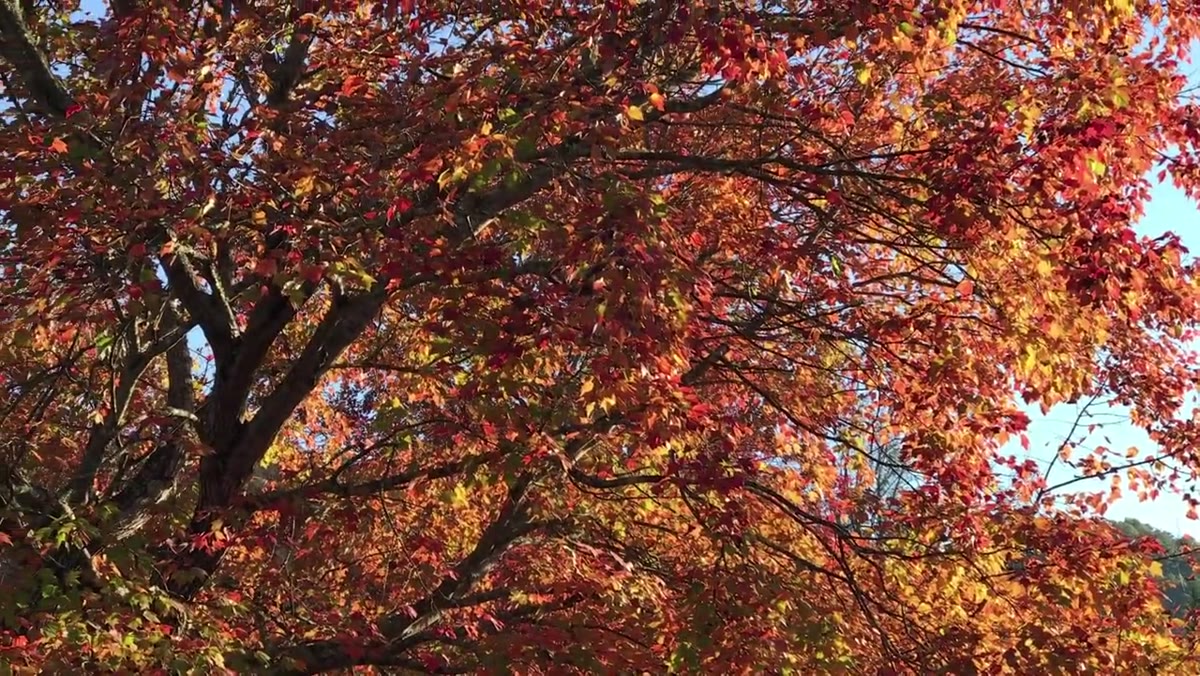 Fall foliage glowing with sidelight, woods in background
This is the technique I come back to most often, and Matt saves it for last for good reason. It builds on everything else. Once you understand how shooting toward the sun creates drama, you can start working with light that comes from the side or from slightly behind your subject, which is often even more flattering for fall foliage.
Fall foliage glowing with sidelight, woods in background
This is the technique I come back to most often, and Matt saves it for last for good reason. It builds on everything else. Once you understand how shooting toward the sun creates drama, you can start working with light that comes from the side or from slightly behind your subject, which is often even more flattering for fall foliage.
Backlight and sidelight cause thin leaves to transmit light rather than just reflect it. The result is that warm translucent glow you see in the best fall photos, where the leaf itself seems to be producing light. To find this, put the sun at roughly your 8 or 4 o’clock position rather than directly in front of you or behind you. Hold up your hand and watch how the light hits it as you rotate. Do the same thing with a branch or a cluster of leaves. When you see the glow kick in, that’s your angle.
One More Thing Worth Trying: Shoot Downward Into Fallen Leaves
Matt’s tips focus on shooting up or across into the canopy, which is where most people’s attention goes. But some of my favorite fall shots have been from above, looking straight down at fallen leaves on the ground, especially after rain when there’s a slight sheen on the surface.
The same principles apply: look for clean color separation, watch for distracting elements like sticks or debris breaking up the pattern, and play with light direction. Backlight works beautifully here too. I’ve taken shots from directly overhead at f/8 on my phone that ended up being some of my most-shared work. The canopy gets crowded and competitive. The ground is usually an untapped frame.
The single biggest takeaway from this tutorial is that your feet are your most important piece of gear in fall photography. Moving two feet left or right, crouching, standing, angling differently relative to the sun, all of it changes the image dramatically. Don’t shoot from wherever you happen to be standing. Walk the scene first, find the light, then compose.
Watch the full tutorial on YouTube to see Matt demonstrate all of this in real time, surrounded by actual fall color. Watching him physically move around to find his shots is its own lesson.
Comments
Leave a Comment