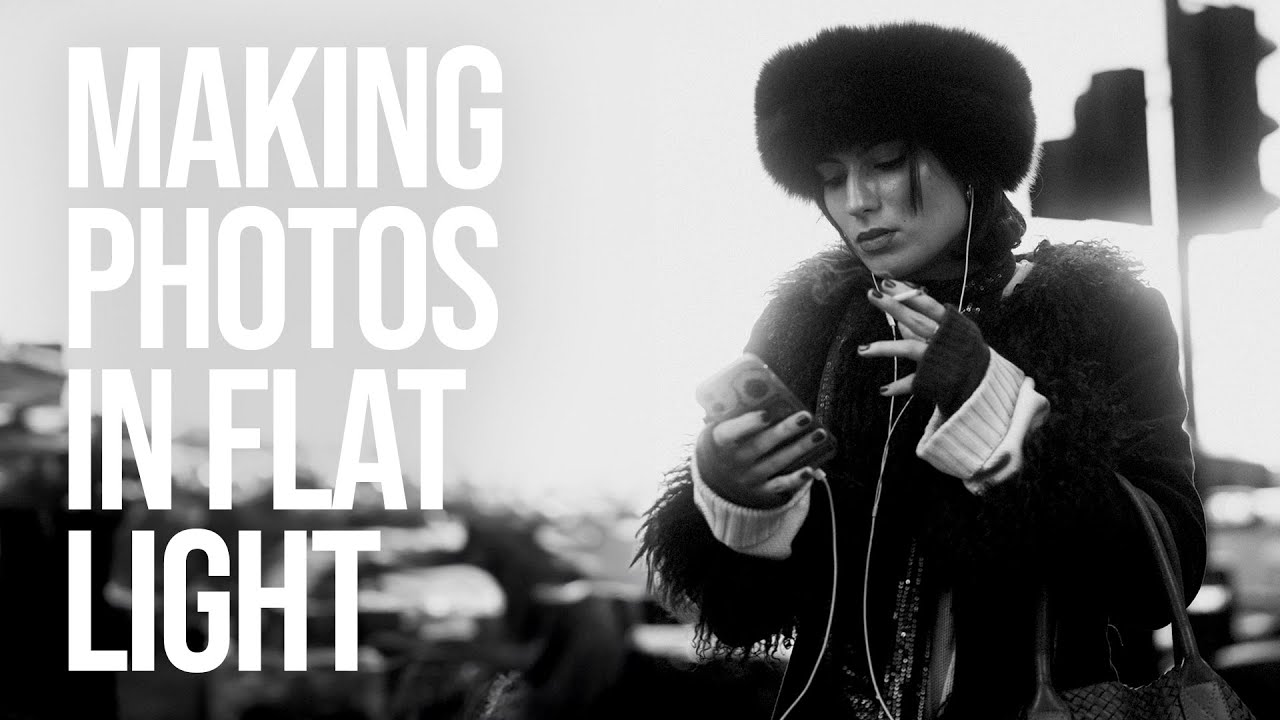
Sunday morning photo walks in Seattle are not always the golden-hour dream you see on Pinterest. Half the time I’m out there squinting into a flat white sky, wondering why I dragged myself out of bed. For a long time, overcast days felt like wasted shooting time. I’d pack up early, go home, make coffee, and tell myself I’d try again when the light was better. That habit cost me a lot of good images.
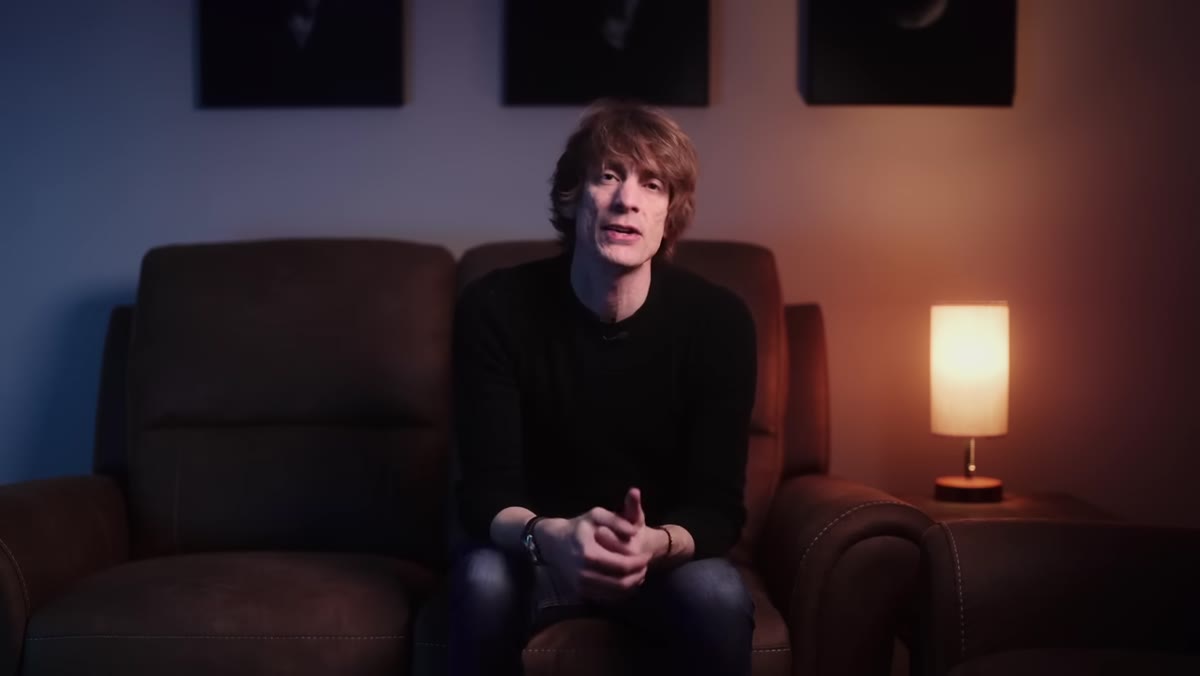
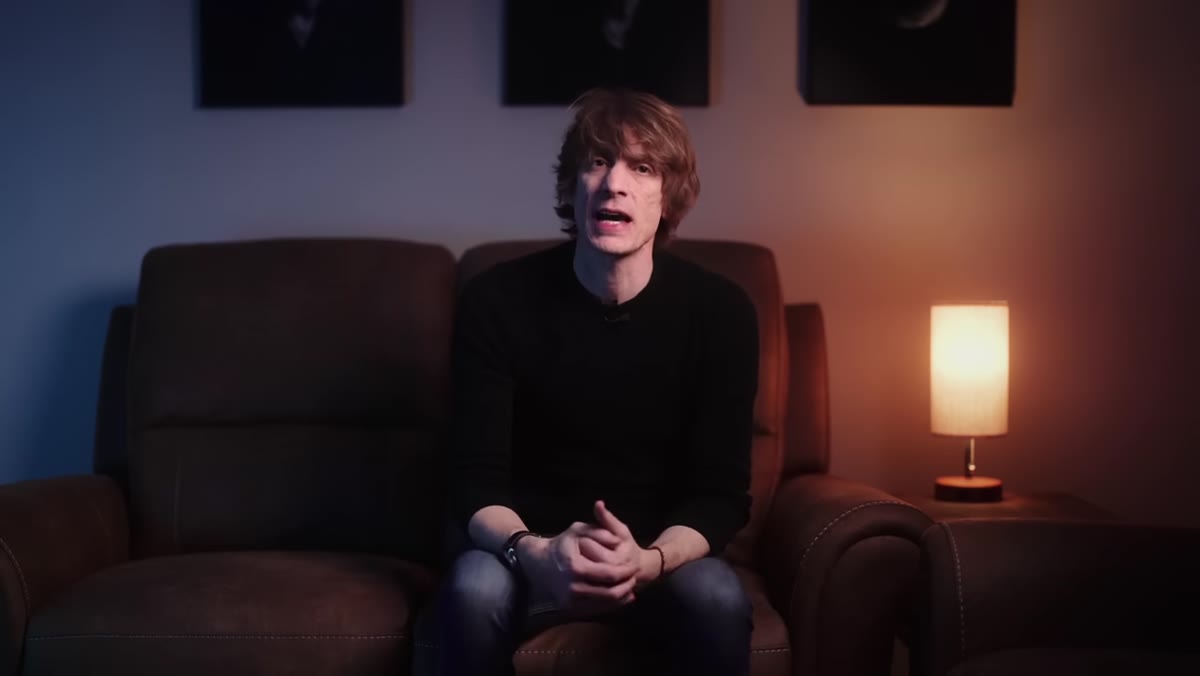
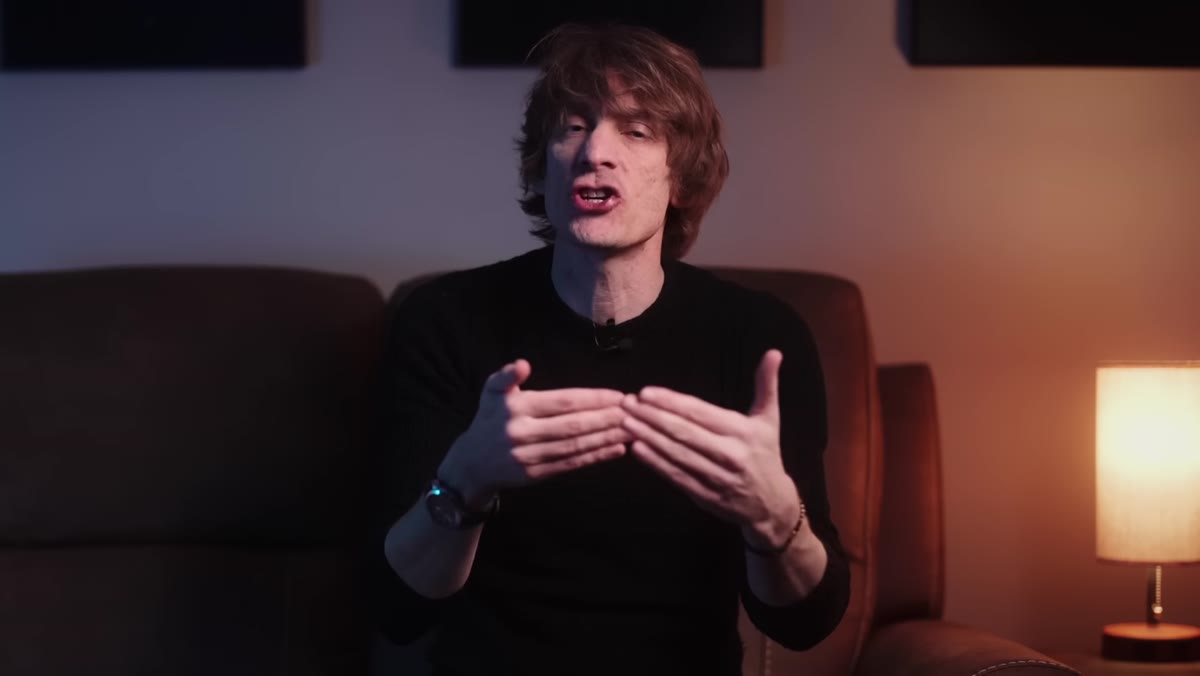
What changed my thinking was watching Sean Tucker work through this exact problem in his tutorial on shooting street photography in flat, overcast conditions. Watch the full tutorial on YouTube. He was in London, dealing with the kind of heavy gray skies that apparently show up there like a second job, and instead of giving up he reframed the whole challenge around one specific tool: a longer focal length. His logic was simple and immediately useful. When light can’t do the work of directing the viewer’s eye, something else has to. And that something is selective focus.
This approach doesn’t require new gear or a perfect location. It requires a shift in how you think about what your frame is actually doing. Here’s the breakdown.
Step 1: Recognize What Flat Light Actually Kills
 Gray London street scene with washed-out, low-contrast lighting
Before you can fix a problem, you have to understand it clearly. On a bright day with directional sun, contrast does a lot of compositional heavy lifting for you. The bright spot draws the eye, the darker areas recede, and the viewer naturally lands on your subject. On an overcast day, that contrast disappears. Color gets muted, shadows flatten out, and everything in your frame competes equally for attention. Your subject stops standing out.
Gray London street scene with washed-out, low-contrast lighting
Before you can fix a problem, you have to understand it clearly. On a bright day with directional sun, contrast does a lot of compositional heavy lifting for you. The bright spot draws the eye, the darker areas recede, and the viewer naturally lands on your subject. On an overcast day, that contrast disappears. Color gets muted, shadows flatten out, and everything in your frame competes equally for attention. Your subject stops standing out.
The key insight Tucker shares is that this isn’t just an aesthetic annoyance. It’s a structural problem. When everything in a scene has the same tonal weight, your viewer doesn’t know where to look. Your job as a photographer is to solve that problem with whatever tools you have available.
Step 2: Switch Your Strategy From Light to Focal Length
 Tucker’s camera with 85mm lens attached, shown close to body
On days when you can’t use light and shadow to separate your subject from the background, reach for a longer lens instead. Tucker committed to shooting his entire London trip with an 85mm lens, which isn’t his usual choice for street work. The longer focal length does two things at once: it narrows your field of view so you can fill the frame with your subject more easily, and it compresses the background, making it feel more separate from whatever is in focus.
Tucker’s camera with 85mm lens attached, shown close to body
On days when you can’t use light and shadow to separate your subject from the background, reach for a longer lens instead. Tucker committed to shooting his entire London trip with an 85mm lens, which isn’t his usual choice for street work. The longer focal length does two things at once: it narrows your field of view so you can fill the frame with your subject more easily, and it compresses the background, making it feel more separate from whatever is in focus.
If you don’t have an 85mm, don’t stress. A 50mm with a wide aperture can work. Even zooming toward the longer end of a kit lens gets you part of the way there. The goal is to stop shooting wide and expecting the scene to save you when the light isn’t cooperating.
Step 3: Open Your Aperture Wide
 Aperture setting shown wide open on camera display or lens ring
Paired with that longer focal length, Tucker opened his aperture as wide as it would go. On an 85mm lens, that might mean f/1.8 or f/1.4 if you’re working with a fast prime. The wide aperture gives you a shallow depth of field, which means your subject stays sharp while everything behind them melts into soft blur. That blur is doing the job that dark shadows would do on a sunny day: it removes distracting background elements from competition with your subject.
Aperture setting shown wide open on camera display or lens ring
Paired with that longer focal length, Tucker opened his aperture as wide as it would go. On an 85mm lens, that might mean f/1.8 or f/1.4 if you’re working with a fast prime. The wide aperture gives you a shallow depth of field, which means your subject stays sharp while everything behind them melts into soft blur. That blur is doing the job that dark shadows would do on a sunny day: it removes distracting background elements from competition with your subject.
A practical note here: shooting wide open at 85mm means your focus has to be precise. Even a small focusing error at f/1.8 can push an eye slightly out of sharp focus. Take the shot, check it, and take it again. Patience matters more than speed when your margin for error is this thin.
Step 4: Shift Your Subject Matter Toward Detail
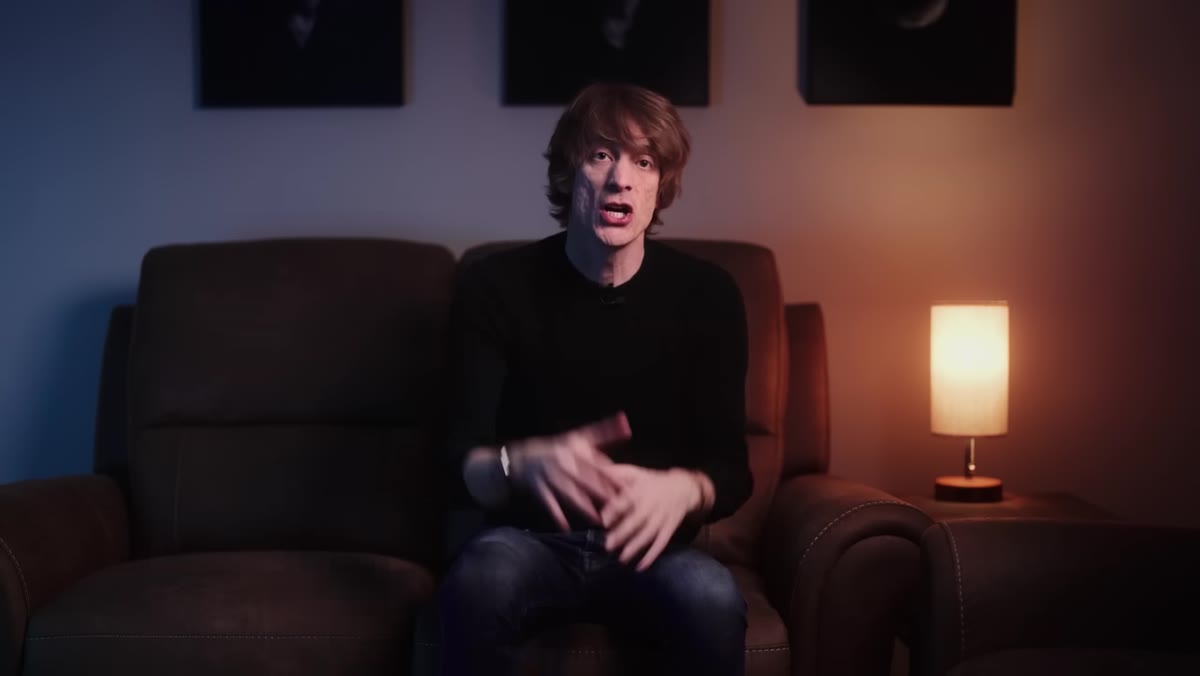 Close-up street frame showing subject’s face, texture, clothing detail
Here’s the part that really stuck with me. Tucker noticed that once he committed to this longer, wider-aperture approach, the entire nature of what he was photographing changed. Wide-angle street photography tends to be about place, context, and environment. Your subject exists inside a world, and that world tells part of the story. But when you’re filling the frame with your subject and letting the background blur away, the story shifts entirely onto the person themselves.
Close-up street frame showing subject’s face, texture, clothing detail
Here’s the part that really stuck with me. Tucker noticed that once he committed to this longer, wider-aperture approach, the entire nature of what he was photographing changed. Wide-angle street photography tends to be about place, context, and environment. Your subject exists inside a world, and that world tells part of the story. But when you’re filling the frame with your subject and letting the background blur away, the story shifts entirely onto the person themselves.
That means you start noticing different things: the texture of someone’s coat, the expression around their eyes, the small physical details that tell you something about who this person is. Let that be a creative prompt, not just a technical adjustment. When you can’t photograph the scene, photograph the person inside it.
Step 5: Manage Your Background Deliberately
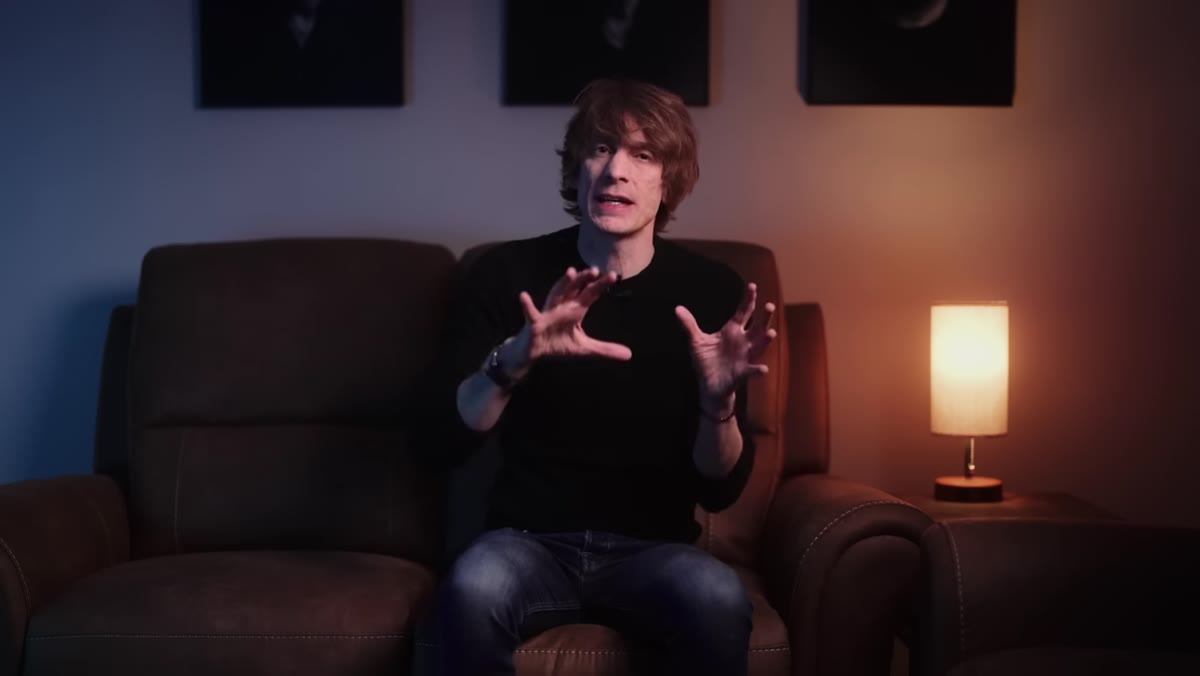 Tucker framing a shot, repositioning slightly to clean up background
Even with a shallow depth of field, the background still matters. A blurry lamppost growing out of your subject’s head is still a blurry lamppost growing out of your subject’s head. Tucker is clear on this point: the bokeh hides distracting detail, but it doesn’t fix bad framing. You still need to move your feet, change your angle, or wait for someone to step out of the frame before you press the shutter.
Tucker framing a shot, repositioning slightly to clean up background
Even with a shallow depth of field, the background still matters. A blurry lamppost growing out of your subject’s head is still a blurry lamppost growing out of your subject’s head. Tucker is clear on this point: the bokeh hides distracting detail, but it doesn’t fix bad framing. You still need to move your feet, change your angle, or wait for someone to step out of the frame before you press the shutter.
Look for backgrounds that are tonally clean even when blurred. A distant wall, an open stretch of pavement, or a patch of greenery all blur into something neutral and unobtrusive. Busy signage or high-contrast patterns can still read as distracting even out of focus.
Step 6: Embrace the Trade-Off Consciously
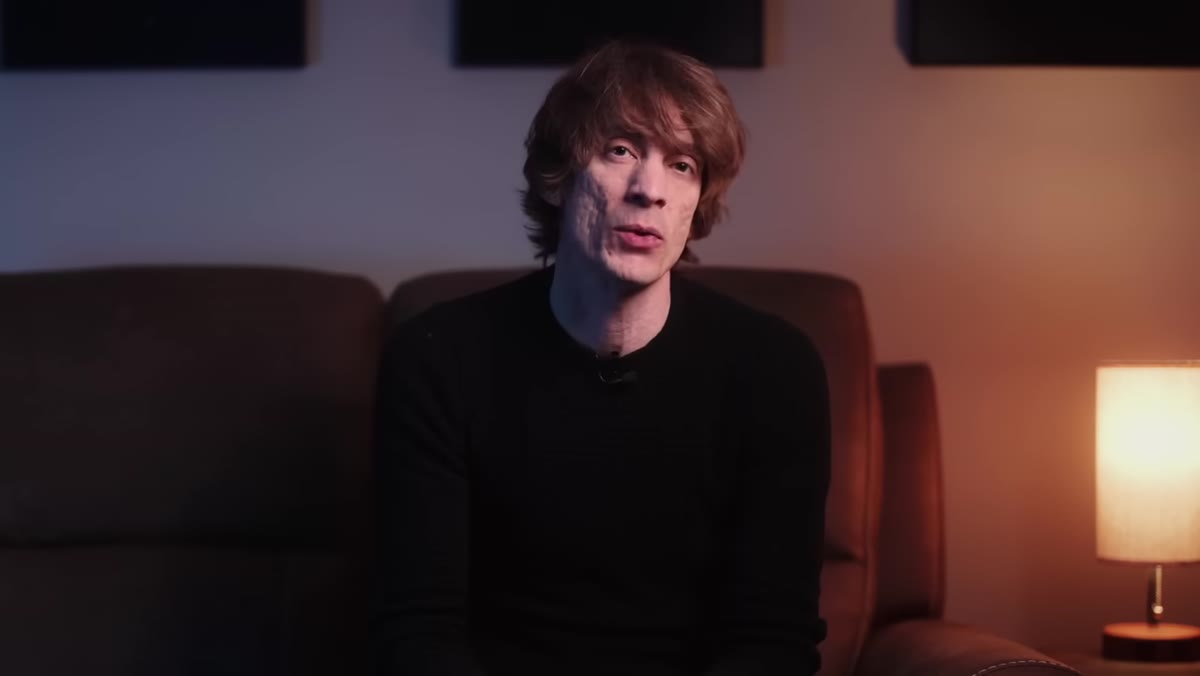 Tucker reviewing images on camera screen, contemplating the approach
Tucker is refreshingly honest about what this technique costs you. When you stop photographing context, you lose some storytelling depth. The environmental detail that tells a viewer where a person lives, works, or wanders through the city - that gets traded away for a cleaner, more intimate frame. He describes it as almost feeling like cheating, because you’re relying on blur rather than thoughtful composition to simplify your scene.
Tucker reviewing images on camera screen, contemplating the approach
Tucker is refreshingly honest about what this technique costs you. When you stop photographing context, you lose some storytelling depth. The environmental detail that tells a viewer where a person lives, works, or wanders through the city - that gets traded away for a cleaner, more intimate frame. He describes it as almost feeling like cheating, because you’re relying on blur rather than thoughtful composition to simplify your scene.
Knowing that trade-off going in helps you make a conscious creative choice rather than just defaulting to whatever is easiest. You’re not hiding from a hard compositional problem. You’re solving a lighting problem with a specific tool, and you’re aware of what it costs you.
What I’d Add From My Own Experience
I’ve taken this approach out on my Sunday walks here in Seattle, and one thing Tucker doesn’t mention explicitly is how much this technique changes your timing. With a wide-angle lens, you can grab environmental shots more spontaneously because depth of field covers your small focus errors. With an 85mm wide open, you have to be more patient and more deliberate. I’ve found it helpful to identify a spot where the background is already clean, pre-focus at a specific distance, and then wait for a subject to move into that zone rather than chasing subjects around. It slows the whole process down, which honestly makes the gray-day walk feel more meditative than frustrating.
The single most transferable idea from this tutorial is this: flat light is not a reason to stop shooting. It’s a prompt to change your tools. A longer focal length paired with a wide aperture moves the storytelling burden from light and shadow onto selective focus and intimate detail, and that’s a legitimate creative approach, not a workaround.
Watch the full tutorial on YouTube to see Tucker’s actual images from the London trip alongside his thinking. Seeing the results he pulled from a gray, flat day is genuinely motivating.
Comments
Leave a Comment