There’s a specific kind of frustration I know well: arriving at a beautiful location, feeling the pressure of fading light, and having absolutely no idea where to point your camera. I’ve stood at the edge of Puget Sound on a Sunday morning walk with a perfect golden sky overhead and a completely blank mind. No anchor. No composition. Just pretty light and nothing to do with it. That problem, the gap between a beautiful scene and a compelling photograph, is exactly what this tutorial addresses.
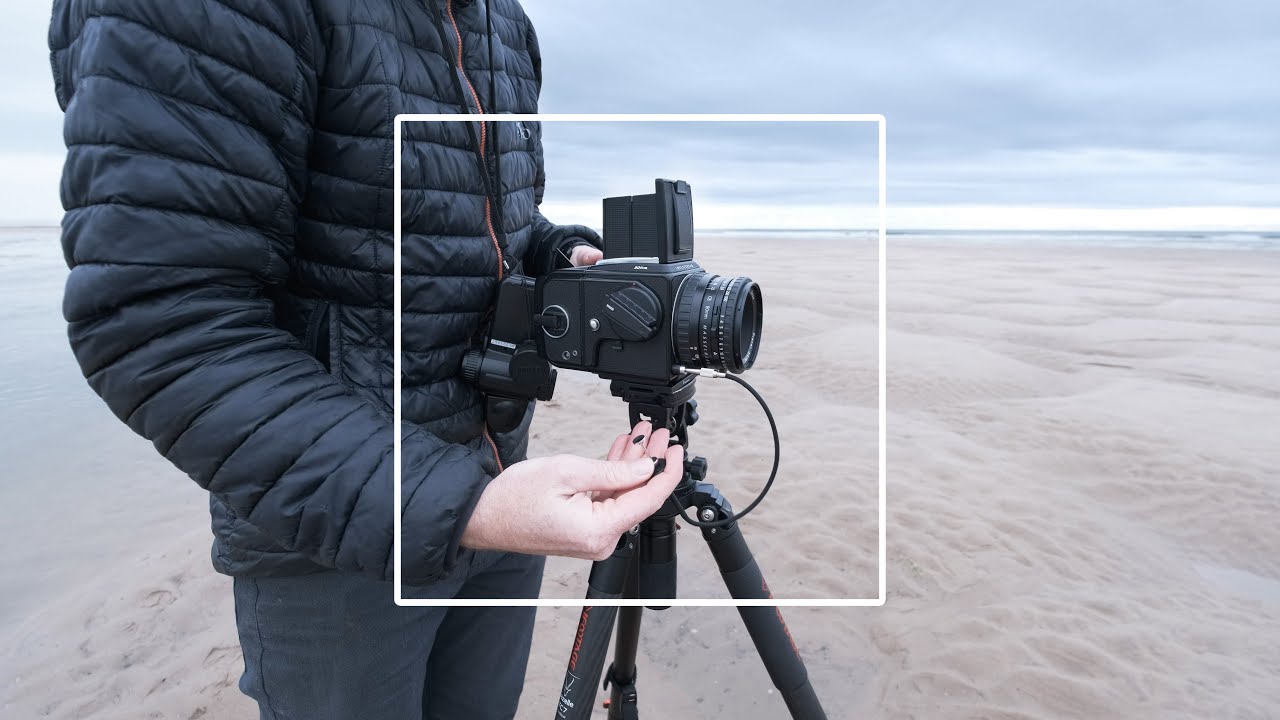
In this Thomas Heaton tutorial, the British landscape photographer takes his 1996 Hasselblad 501cm to the northeast coast of England on a warm summer evening. Watch the full tutorial on YouTube. What makes this video worth studying isn’t the gear (though the Hasselblad is gorgeous) - it’s the way Heaton thinks out loud while hunting for a shot. He starts with nothing and talks his way toward something. That process, step by step, is what I want to break down here.
Step 1: Arrive Without a Shot in Mind - but With a Framework
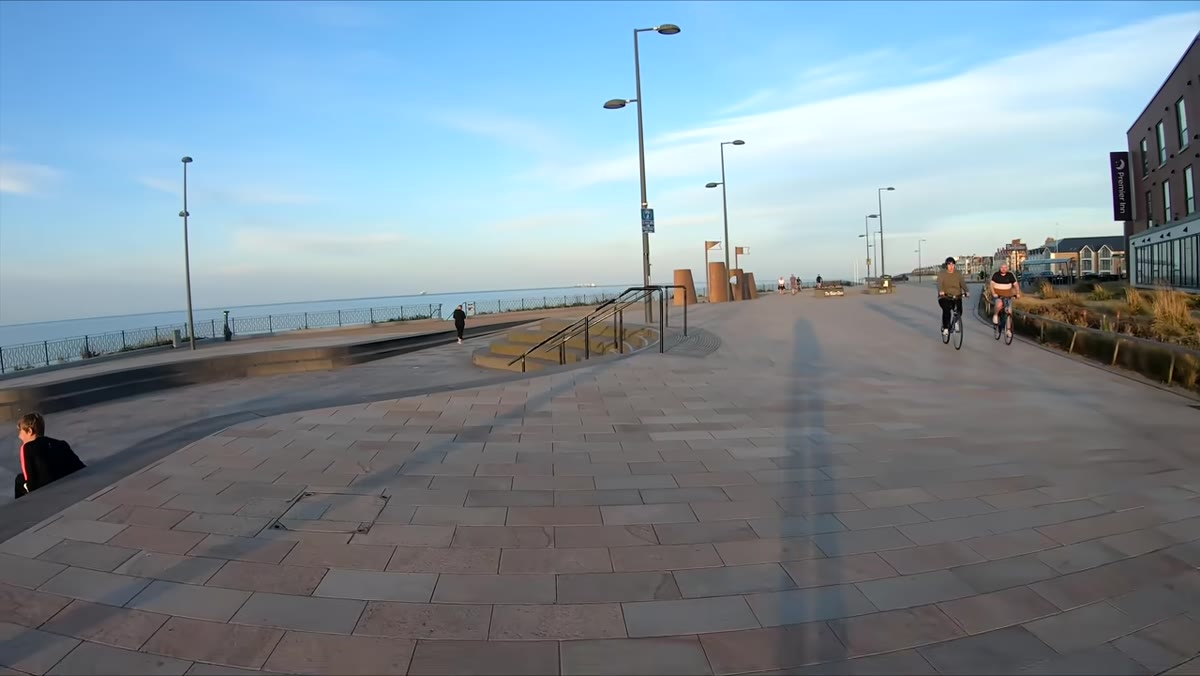 Thomas walking along a busy English beach with the Hasselblad
Heaton is explicit about this at the start: he has no ideas and no expectations for the evening. That sounds passive, but it’s actually a deliberate stance. He’s not aimless - he has a framework. He knows the format he’s shooting (6x6 square), and he knows the aesthetic he’s chasing (minimalism). Everything else is open. When you constrain one variable - your intention - you free yourself to actually look at what’s in front of you rather than forcing a pre-planned image onto an uncooperative scene. Before your next shoot, try writing down one word that describes your visual goal for the day. Just one. Mine this past Sunday was “stillness.” It changes what you notice.
Thomas walking along a busy English beach with the Hasselblad
Heaton is explicit about this at the start: he has no ideas and no expectations for the evening. That sounds passive, but it’s actually a deliberate stance. He’s not aimless - he has a framework. He knows the format he’s shooting (6x6 square), and he knows the aesthetic he’s chasing (minimalism). Everything else is open. When you constrain one variable - your intention - you free yourself to actually look at what’s in front of you rather than forcing a pre-planned image onto an uncooperative scene. Before your next shoot, try writing down one word that describes your visual goal for the day. Just one. Mine this past Sunday was “stillness.” It changes what you notice.
Step 2: Time Your Arrival Around the Tide and the Light Together
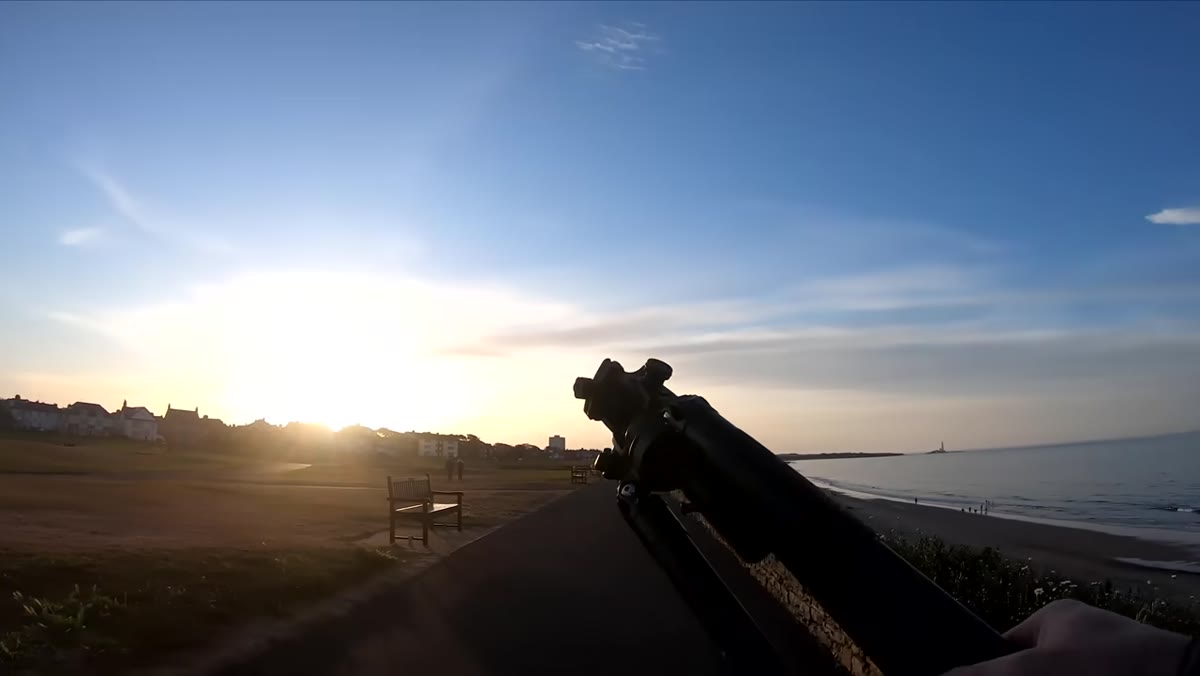 Wide view of the coast showing the eastern sky with pink sunset hues
This is a two-variable timing problem, and Heaton solves it by thinking about both at once. He explains that morning light on this particular stretch of coast is harsh because the sun rises directly over the water. Evening light, by contrast, wraps around and paints the eastern sky in soft pink - the direction he can actually photograph. On top of that, the tide has just turned, which means the water is receding and pulling footprints with it. Clean sand is a compositional asset. If you shoot coastlines, check a tide chart alongside your golden hour app before you leave the house. The two pieces of information together will tell you something that neither can tell you alone.
Wide view of the coast showing the eastern sky with pink sunset hues
This is a two-variable timing problem, and Heaton solves it by thinking about both at once. He explains that morning light on this particular stretch of coast is harsh because the sun rises directly over the water. Evening light, by contrast, wraps around and paints the eastern sky in soft pink - the direction he can actually photograph. On top of that, the tide has just turned, which means the water is receding and pulling footprints with it. Clean sand is a compositional asset. If you shoot coastlines, check a tide chart alongside your golden hour app before you leave the house. The two pieces of information together will tell you something that neither can tell you alone.
Step 3: Walk the Location Before You Set Up
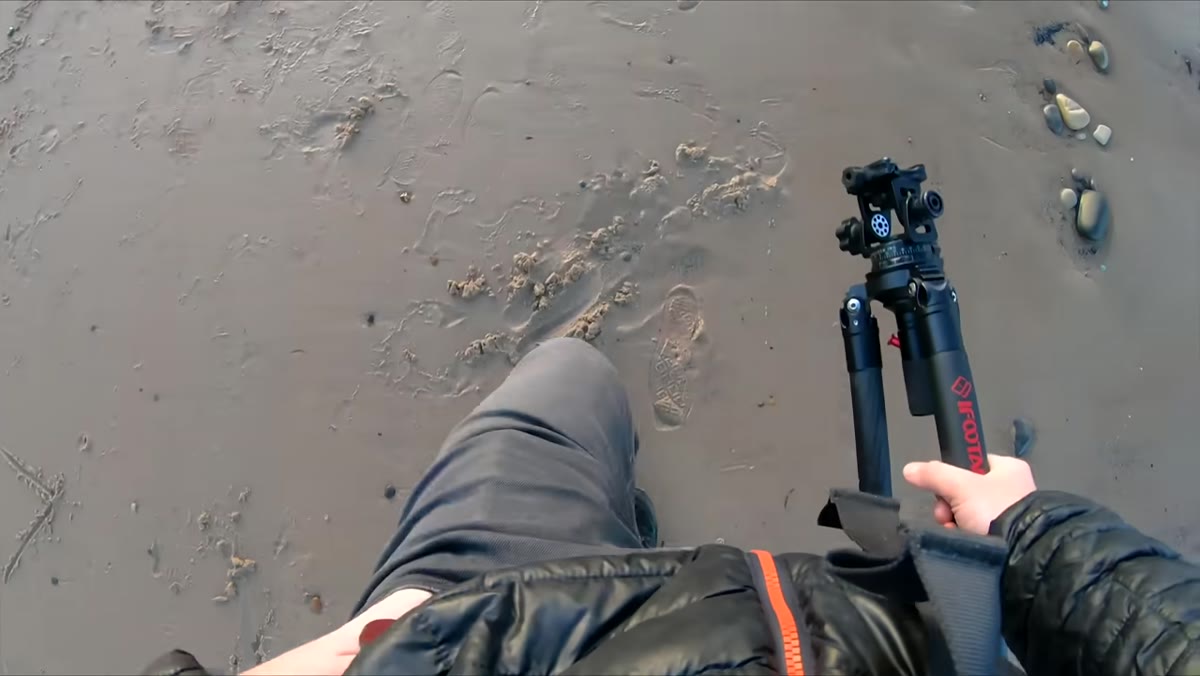 Heaton walking the beach, scanning the sand as the tide pulls back
Heaton logs what he estimates is a mile back and forth before he plants his tripod anywhere. During that walk, the receding tide is literally changing the landscape beneath him, and he’s watching it happen. This patience pays off. Details that were underwater ten minutes earlier start to appear - small rocks, tidal pools, curved lines in the wet sand. The instinct when light is good is to shoot immediately. Resist that. A five-minute walk in each direction will almost always reveal a better composition than the first thing you see. Think of it as a rough draft. I do this on every photo walk, even in the city. I circle the block once before I touch my camera.
Heaton walking the beach, scanning the sand as the tide pulls back
Heaton logs what he estimates is a mile back and forth before he plants his tripod anywhere. During that walk, the receding tide is literally changing the landscape beneath him, and he’s watching it happen. This patience pays off. Details that were underwater ten minutes earlier start to appear - small rocks, tidal pools, curved lines in the wet sand. The instinct when light is good is to shoot immediately. Resist that. A five-minute walk in each direction will almost always reveal a better composition than the first thing you see. Think of it as a rough draft. I do this on every photo walk, even in the city. I circle the block once before I touch my camera.
Step 4: Find a Minimalist Anchor Point, Not Just a Pretty Scene
 Close view of a tidal pool with small rocks reflected in shallow water
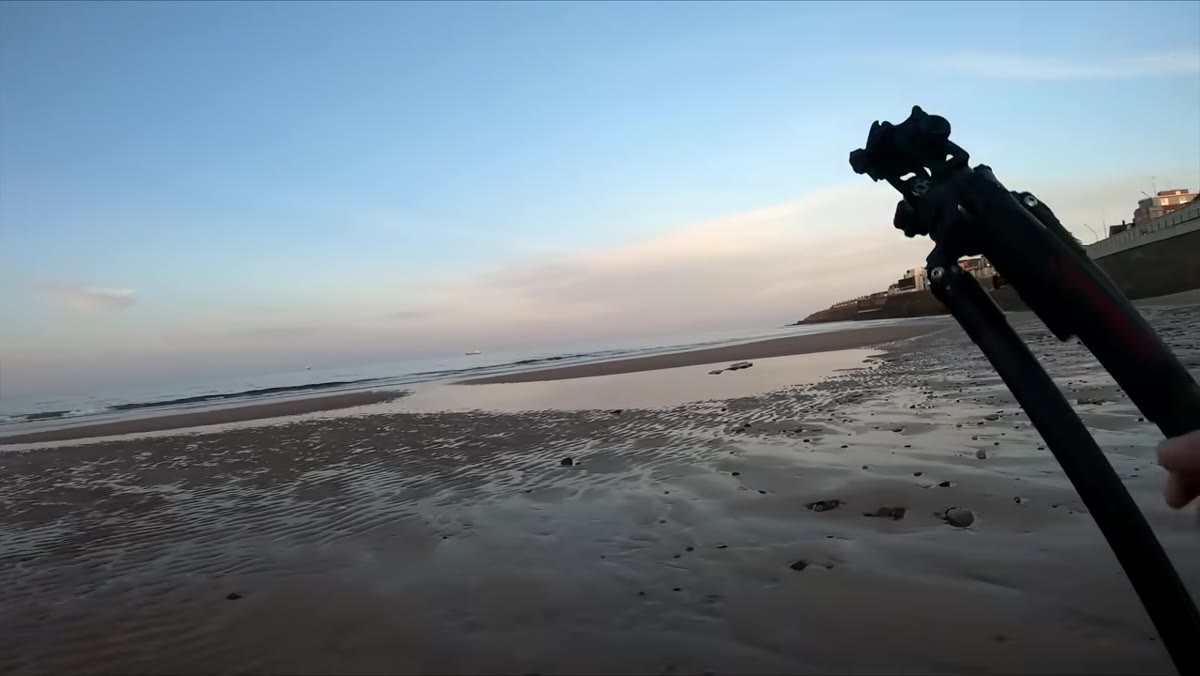
Here is where the shoot clicks into place. Heaton finds a small tidal pool with a cluster of rocks sitting in it, their reflections visible in the still water. He describes what makes it work: color reflected from the sky, the geometric interest of the stone shapes, the curves in the surrounding sand. Notice that he isn’t describing the landscape as a whole. He’s describing specific, small things. Minimalism isn’t about emptiness - it’s about choosing one thing to carry the image and stripping everything else away. With a square format especially, you need that anchor or the composition drifts. Ask yourself: if someone covered 80% of this photo, would the remaining 20% still be interesting? If yes, you’ve found your anchor.
Close view of a tidal pool with small rocks reflected in shallow water
Here is where the shoot clicks into place. Heaton finds a small tidal pool with a cluster of rocks sitting in it, their reflections visible in the still water. He describes what makes it work: color reflected from the sky, the geometric interest of the stone shapes, the curves in the surrounding sand. Notice that he isn’t describing the landscape as a whole. He’s describing specific, small things. Minimalism isn’t about emptiness - it’s about choosing one thing to carry the image and stripping everything else away. With a square format especially, you need that anchor or the composition drifts. Ask yourself: if someone covered 80% of this photo, would the remaining 20% still be interesting? If yes, you’ve found your anchor.
Step 5: Match Your Tripod Height to Your Camera’s Viewfinder
 Heaton adjusting tripod height to align with the Hasselblad’s waist-level viewfinder
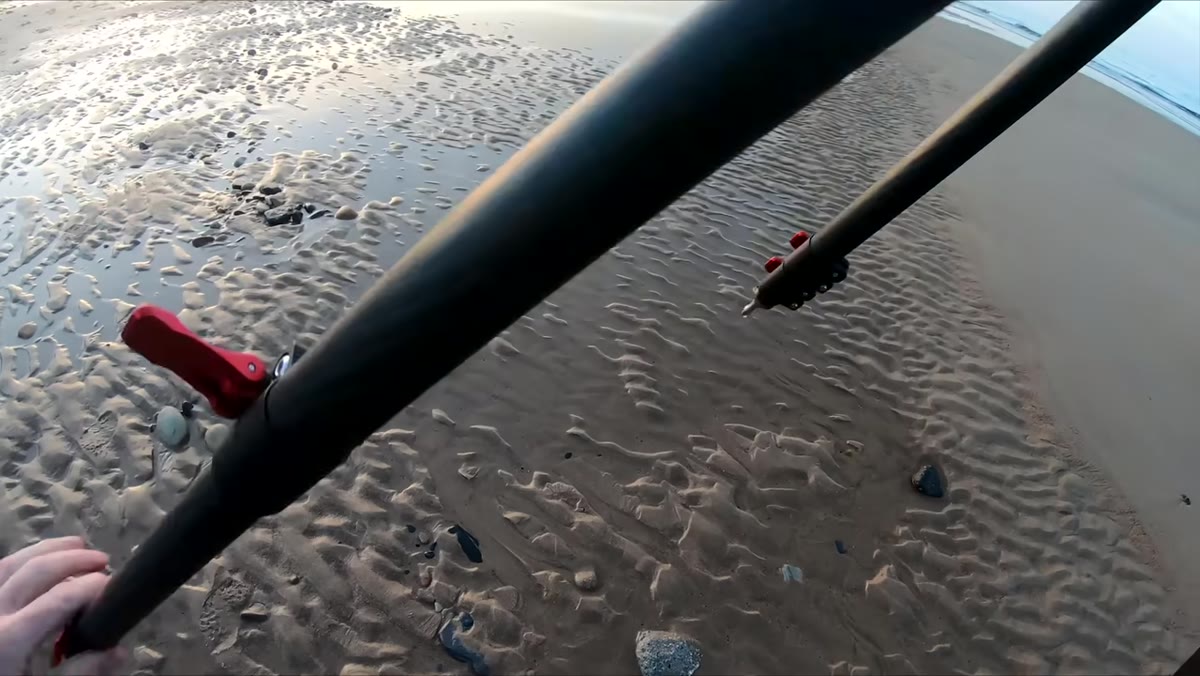
The Hasselblad 501cm uses a waist-level viewfinder, meaning you look down into the top of the camera rather than through an eyepiece at eye level. Heaton adjusts his tripod specifically to match this. It seems obvious, but the lesson here scales to any camera: your tripod height should serve your composition angle, not your comfort. Getting low - which this setup naturally encourages - compresses the foreground and makes those rocks and reflections feel larger and more present in the frame. If you shoot with a mirrorless camera that has a tilting screen, use it. Go lower than feels natural. The perspective shift is almost always worth it.
Heaton adjusting tripod height to align with the Hasselblad’s waist-level viewfinder
The Hasselblad 501cm uses a waist-level viewfinder, meaning you look down into the top of the camera rather than through an eyepiece at eye level. Heaton adjusts his tripod specifically to match this. It seems obvious, but the lesson here scales to any camera: your tripod height should serve your composition angle, not your comfort. Getting low - which this setup naturally encourages - compresses the foreground and makes those rocks and reflections feel larger and more present in the frame. If you shoot with a mirrorless camera that has a tilting screen, use it. Go lower than feels natural. The perspective shift is almost always worth it.
Step 6: Load Film Before You Leave the House (and Why It Matters Under Pressure)
 Hasselblad film back being loaded on the beach in a hurry
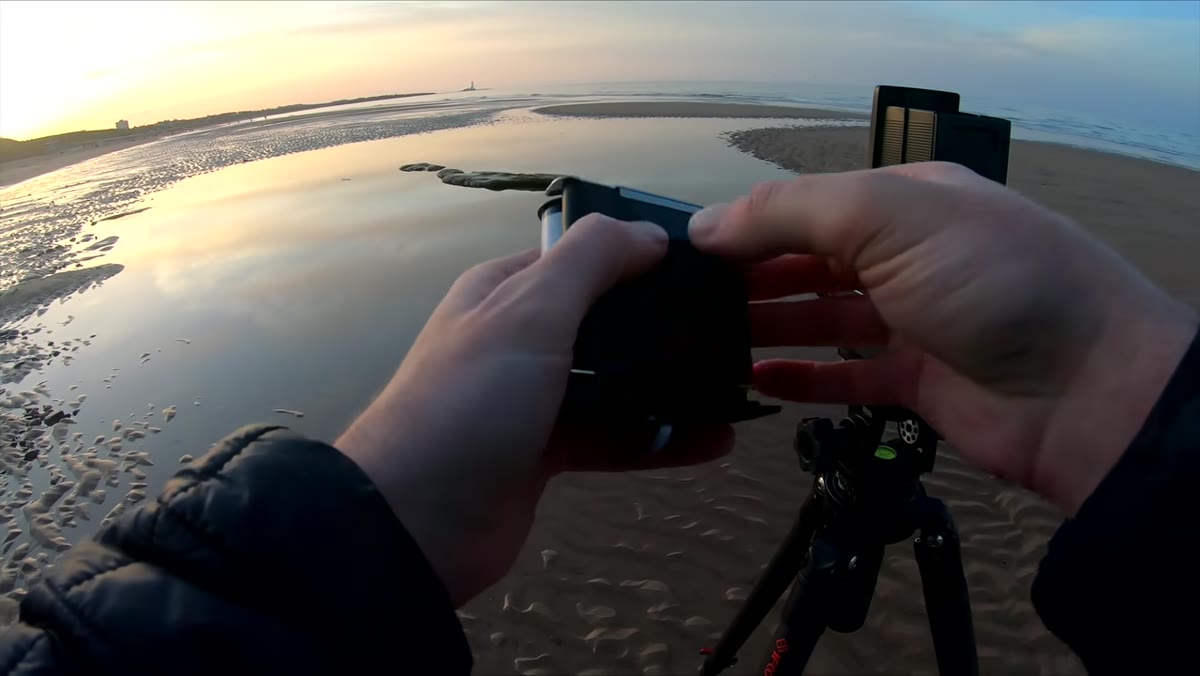
Heaton admits he was in a rush when leaving home and skipped loading the film magazine in advance. On the beach, with the sky starting to color up, he spends a significant amount of time wrestling with the film back. He’s laughing about it, but the lesson is real: any technical task you can complete before the light arrives should be completed before the light arrives. For film shooters, this means loaded magazines, a fresh battery in your light meter, and lens caps off before you’re standing somewhere beautiful. For digital shooters, the equivalent is formatted cards, charged batteries, and your most likely settings already dialed in. Pressure ruins fine motor skills. Remove the variables you can control.
Hasselblad film back being loaded on the beach in a hurry
Heaton admits he was in a rush when leaving home and skipped loading the film magazine in advance. On the beach, with the sky starting to color up, he spends a significant amount of time wrestling with the film back. He’s laughing about it, but the lesson is real: any technical task you can complete before the light arrives should be completed before the light arrives. For film shooters, this means loaded magazines, a fresh battery in your light meter, and lens caps off before you’re standing somewhere beautiful. For digital shooters, the equivalent is formatted cards, charged batteries, and your most likely settings already dialed in. Pressure ruins fine motor skills. Remove the variables you can control.
What I’d Add from My Own Experience
The piece of this video I keep coming back to is Heaton’s willingness to work a bad situation into a good one. He mentions that the beach is crowded - potentially a real problem for the minimalist shot he wants. His solution isn’t to leave. He notes that people in the far distance will be small enough not to matter, then moves to a quieter section of the beach. That’s a reframe, not a compromise. I’ve done something similar shooting at Seattle’s Golden Gardens on a busy Saturday. Instead of fighting the crowds, I got close to the water line, pointed away from the foot traffic, and found a 10-foot-wide patch of beach that looked like nobody had been there. The shot I got from that patch has been one of my most requested prints. You don’t need the whole location. You need a corner of it.
The single most important thing this video teaches isn’t about the Hasselblad, or film, or even the English coast. It’s that a great image comes from patient observation, not from arriving with one already fully formed in your head. Walk the location. Let it change. Let the tide reveal something. Then set up.
Watch the full tutorial on YouTube and pay attention to how much time passes before Heaton takes a single frame. That gap, the looking before the shooting, is where the real work happens.
Comments
Leave a Comment