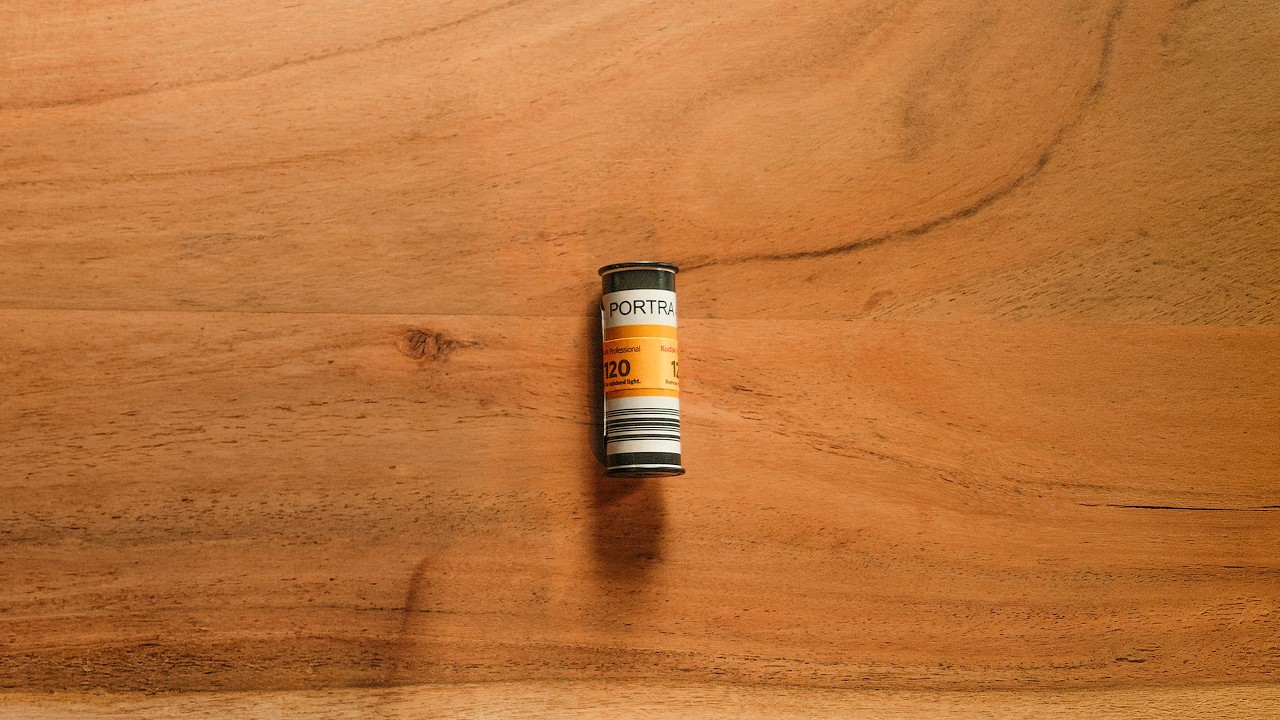
There’s a particular kind of pressure that comes with shooting film portraits. No chimping. No histogram. No safety net of a burst mode full of options. Every frame costs something, and that cost forces a level of intentionality that digital photography, for all its convenience, rarely demands of us. I’ve shot a lot of film over the years, but I always find myself circling back to tutorials from photographers who work at the intersection of creativity and craft. This one hit differently. In this Peter McKinnon tutorial, Watch the full tutorial on YouTube, he takes a medium format film camera into a fully built studio set to shoot moody, atmospheric portraits for a friend’s UFO investigation channel. The set, the subject, the lighting, the gear, all of it came together in a way that’s genuinely instructive whether you’re picking up film for the first time or trying to push your analog work into something more intentional.
What I love about this particular shoot is that McKinnon doesn’t pretend film is easy. He names the hard parts directly and then shows you how to work through them anyway. That honesty is worth a lot, especially when so much film content online leans on nostalgia rather than practical technique.
Step 1: Arrive with a Plan, Not Just a Camera Bag
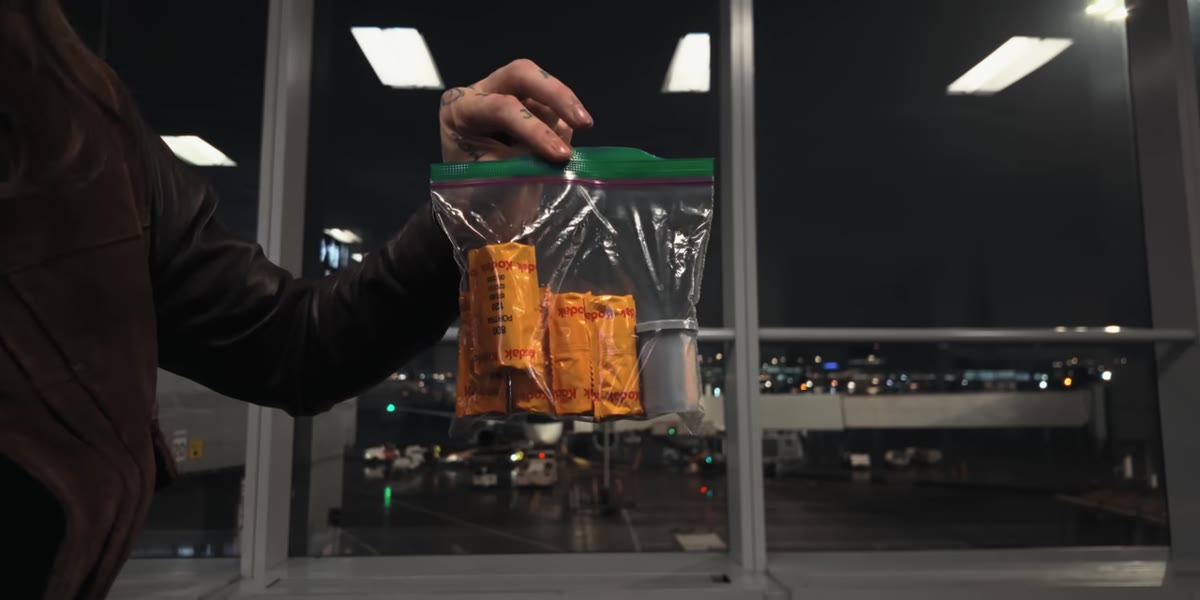 Peter laying out film rolls and gear on a surface
McKinnon showed up with a focused kit: one roll of 35mm and five rolls of 120 medium format film, along with magnetic gels and a compact strobe. That’s it. The discipline of packing light for a film shoot isn’t just about convenience. It forces you to commit to a look before you even load the camera. Before your next film shoot, decide on your format, your film stock, and your approximate lighting approach while you’re still at home. Write it down. The limitations you set in advance become creative constraints that actually help you on the day.
Peter laying out film rolls and gear on a surface
McKinnon showed up with a focused kit: one roll of 35mm and five rolls of 120 medium format film, along with magnetic gels and a compact strobe. That’s it. The discipline of packing light for a film shoot isn’t just about convenience. It forces you to commit to a look before you even load the camera. Before your next film shoot, decide on your format, your film stock, and your approximate lighting approach while you’re still at home. Write it down. The limitations you set in advance become creative constraints that actually help you on the day.
Step 2: Use a Pre-Built or Fully Realized Set
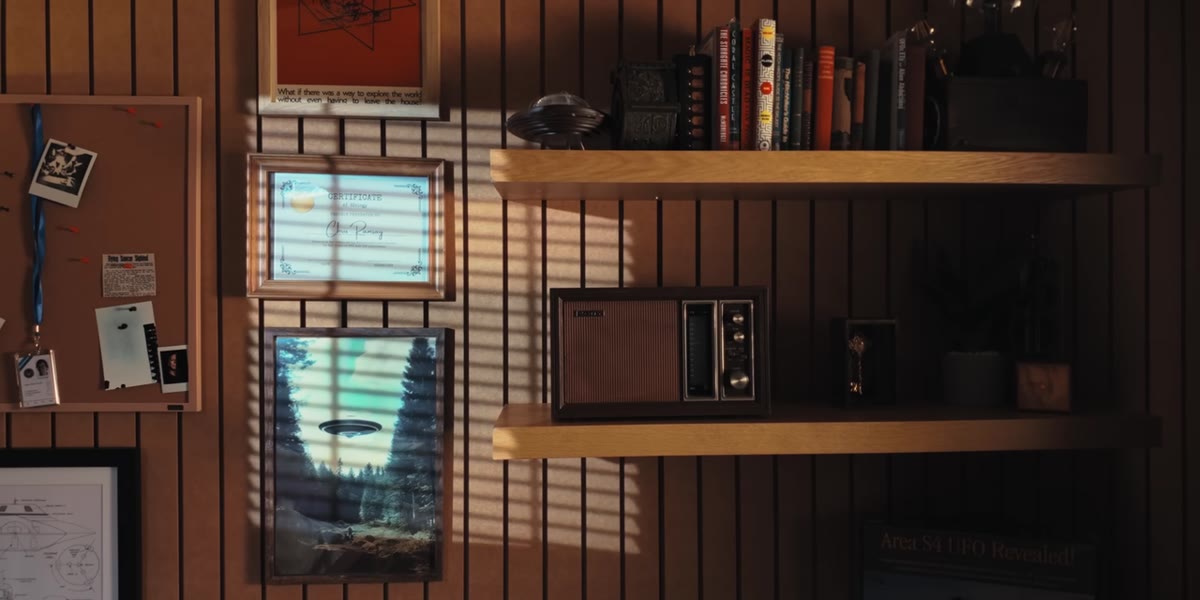 The studio set dressed for the UFO investigation theme
One of the most practical things McKinnon did here was photograph on a set his subject had already built and dressed. He didn’t have to art direct from scratch. If you’re shooting film portraits, especially with limited frames, working in a space that already tells a story is a genuine advantage. Whether it’s a friend’s workshop, a vintage living room, or a styled corner of a coffee shop, the environment does a lot of the narrative heavy lifting so you can focus on light and expression. Spend time in your location before you shoot. Walk it. Look at where natural or artificial light falls. Know your angles before the camera comes out of the bag.
The studio set dressed for the UFO investigation theme
One of the most practical things McKinnon did here was photograph on a set his subject had already built and dressed. He didn’t have to art direct from scratch. If you’re shooting film portraits, especially with limited frames, working in a space that already tells a story is a genuine advantage. Whether it’s a friend’s workshop, a vintage living room, or a styled corner of a coffee shop, the environment does a lot of the narrative heavy lifting so you can focus on light and expression. Spend time in your location before you shoot. Walk it. Look at where natural or artificial light falls. Know your angles before the camera comes out of the bag.
Step 3: Sync Your Off-Camera Strobe with a Trigger
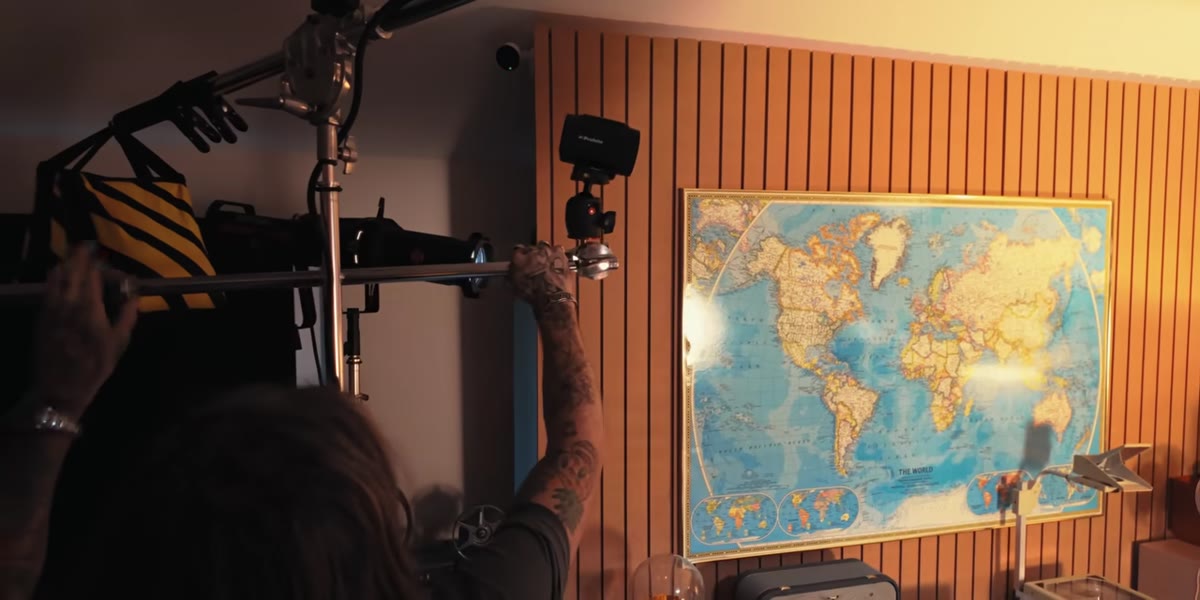 Trigger mounted on the Mamiya 7II hotshoe
This is the technical heart of the tutorial. McKinnon used a Profoto A2 strobe, a compact, powerful unit roughly the size of a soda can, and connected it to his Mamiya 7II via a wireless trigger mounted to the hotshoe. The challenge with off-camera flash on film is that you cannot test and review in real time the way you would with digital. You have to nail your exposure estimate before you commit to a frame. Set your strobe power based on its guide number, the distance to your subject, and your chosen aperture. For a compact strobe like the A2 at mid-range power, you might start around f/8 at ISO 400 and adjust based on experience rather than a screen. This is where a light meter earns its place in your bag.
Trigger mounted on the Mamiya 7II hotshoe
This is the technical heart of the tutorial. McKinnon used a Profoto A2 strobe, a compact, powerful unit roughly the size of a soda can, and connected it to his Mamiya 7II via a wireless trigger mounted to the hotshoe. The challenge with off-camera flash on film is that you cannot test and review in real time the way you would with digital. You have to nail your exposure estimate before you commit to a frame. Set your strobe power based on its guide number, the distance to your subject, and your chosen aperture. For a compact strobe like the A2 at mid-range power, you might start around f/8 at ISO 400 and adjust based on experience rather than a screen. This is where a light meter earns its place in your bag.
Step 4: Choose Your Film Stock to Match the Mood
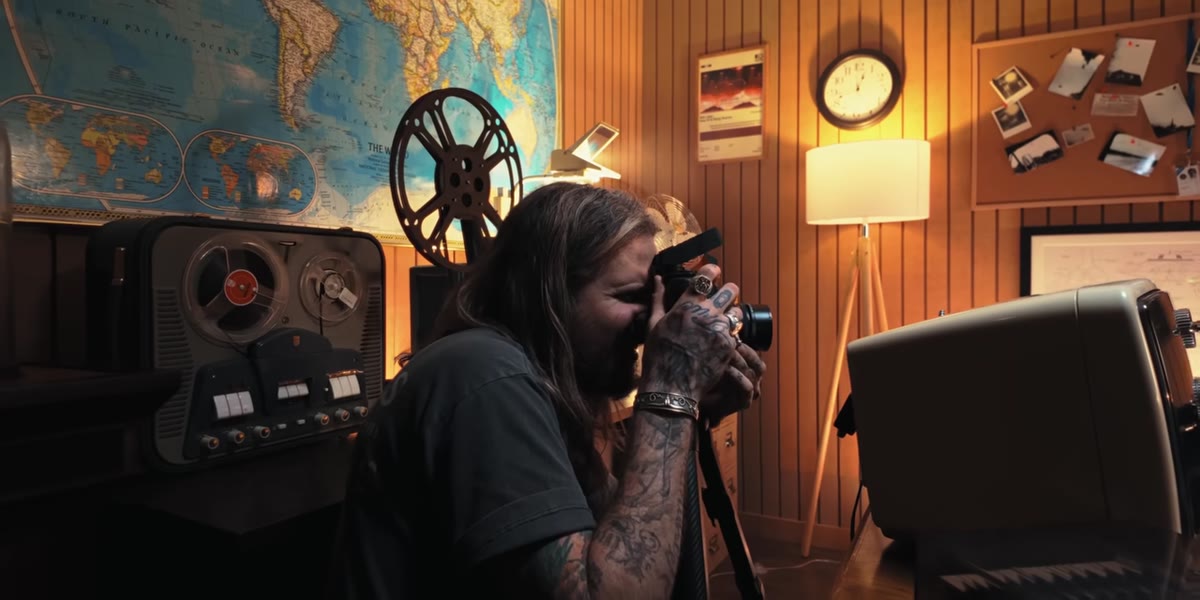 Peter referencing ISO 400 before loading the camera
McKinnon shot at ISO 400, a flexible choice that handles controlled studio strobe well without sacrificing detail in the shadows. For portrait work on medium format, 400-speed films give you a grain structure that feels organic rather than digital-noisy, especially when enlarged. If your set has a moody, low-contrast aesthetic like this one, a color negative film at 400 ISO will hold shadow detail and give you latitude during scanning or printing. If you want something harder and more graphic, a 400-speed black and white stock pushed slightly in development will give you deeper blacks and more defined grain. The film choice is a creative decision, not just a technical one.
Peter referencing ISO 400 before loading the camera
McKinnon shot at ISO 400, a flexible choice that handles controlled studio strobe well without sacrificing detail in the shadows. For portrait work on medium format, 400-speed films give you a grain structure that feels organic rather than digital-noisy, especially when enlarged. If your set has a moody, low-contrast aesthetic like this one, a color negative film at 400 ISO will hold shadow detail and give you latitude during scanning or printing. If you want something harder and more graphic, a 400-speed black and white stock pushed slightly in development will give you deeper blacks and more defined grain. The film choice is a creative decision, not just a technical one.
Step 5: Direct Your Subject Specifically and Quickly
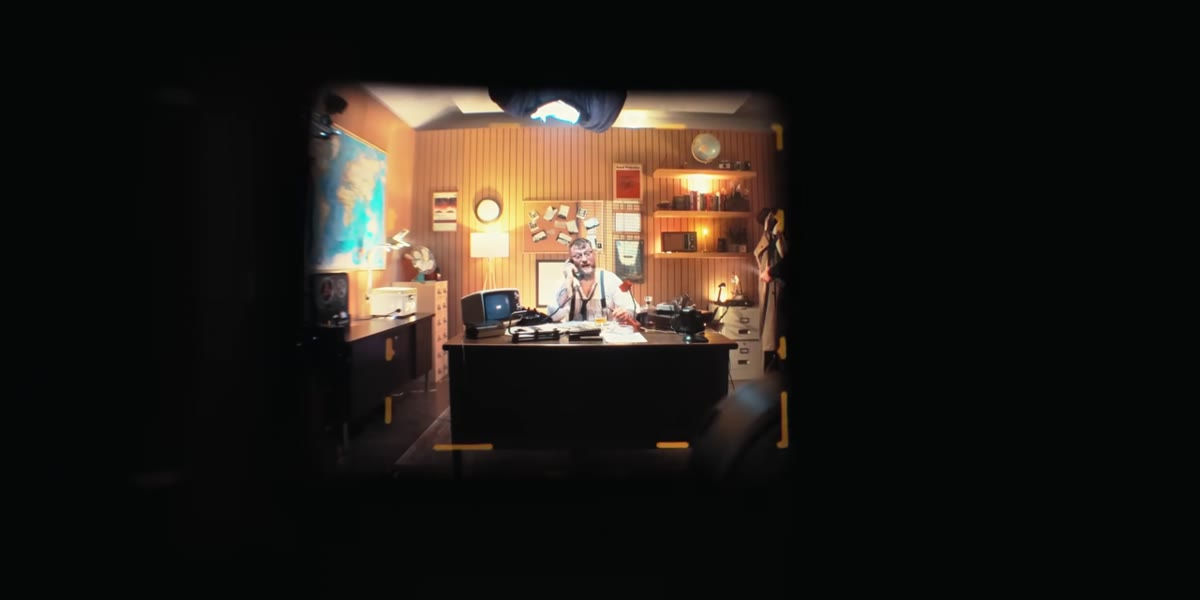 McKinnon directing subject’s expression and hand position
With 10 to 15 frames per roll on 120 format, you don’t have room for vague direction. McKinnon was precise: hold that expression, move the glass up slightly, keep the drinking hand still. That kind of specific direction isn’t controlling, it’s kind. It gives your subject something concrete to do instead of leaving them guessing while you burn through frames figuring it out. Before each setup, tell your subject exactly what you need from them. Then shoot two or three frames maximum before you either adjust the setup or move on. Treat each frame like it costs five dollars, because in medium format, it more or less does.
McKinnon directing subject’s expression and hand position
With 10 to 15 frames per roll on 120 format, you don’t have room for vague direction. McKinnon was precise: hold that expression, move the glass up slightly, keep the drinking hand still. That kind of specific direction isn’t controlling, it’s kind. It gives your subject something concrete to do instead of leaving them guessing while you burn through frames figuring it out. Before each setup, tell your subject exactly what you need from them. Then shoot two or three frames maximum before you either adjust the setup or move on. Treat each frame like it costs five dollars, because in medium format, it more or less does.
Step 6: Trust Your Instincts and Commit to the Frame
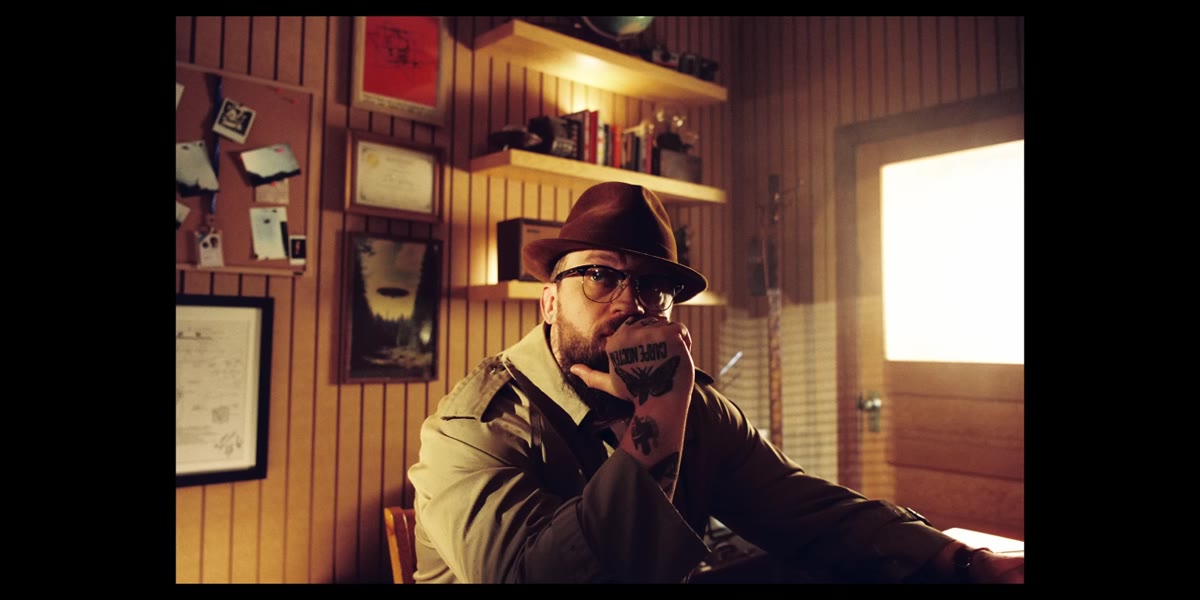 Peter raising the camera and shooting a focused frame
McKinnon made a point of focusing on a specific element in the frame, in this case a prop magazine, rather than hunting for a generically sharp image. On medium format, depth of field is shallower than you expect coming from digital APS-C or full frame. At f/5.6 on a 80mm medium format lens, you’re working with a very narrow plane of focus. Be deliberate: choose what you want sharp, set your focus there, and fire. Second-guessing between the moment of decision and the shutter press is how you waste frames and miss the expression.
Peter raising the camera and shooting a focused frame
McKinnon made a point of focusing on a specific element in the frame, in this case a prop magazine, rather than hunting for a generically sharp image. On medium format, depth of field is shallower than you expect coming from digital APS-C or full frame. At f/5.6 on a 80mm medium format lens, you’re working with a very narrow plane of focus. Be deliberate: choose what you want sharp, set your focus there, and fire. Second-guessing between the moment of decision and the shutter press is how you waste frames and miss the expression.
What I’d Add from My Own Experience
The quote McKinnon shares during this video stopped me: “The magic you are looking for lies in the work you’re avoiding.” I’ve been guilty of exactly this. I had a beach portrait project I carried from notebook to notebook for almost two years. The thing that finally broke the cycle wasn’t better gear or more time. It was picking a date, booking the subject, and showing up. Film photography has a way of forcing that commitment because the process itself has weight. You can’t endlessly defer when you’ve loaded the camera and the clock is running.
If you’re new to film and intimidated by the flash sync question specifically, I’d recommend doing one dedicated test roll before any real shoot. Load your chosen stock, set your strobe to a fixed power, and shoot the same subject at three different apertures. When those frames come back, you’ll have a reliable baseline for that strobe-and-film combination. That single roll of 36 frames will save you more shots on the day than any amount of reading.
The single most transferable lesson from this whole tutorial is simple: limitations are not obstacles, they are the method. Film’s constraints, finite frames, no preview, commitment on every click, are what make you a more deliberate photographer across every format you shoot.
Watch the full tutorial on YouTube and pay close attention to how McKinnon moves through the set. His physical confidence in each setup comes directly from having thought it through before the camera came out.
Comments
Leave a Comment