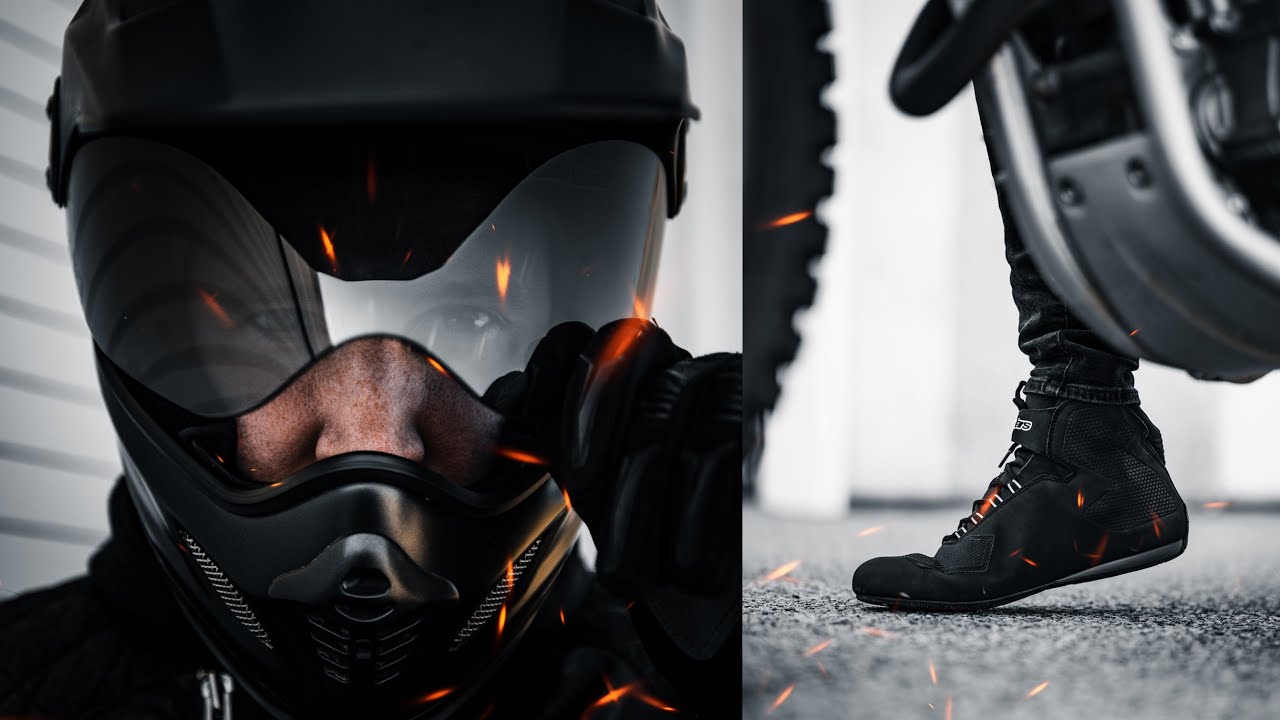
I had a client ask me once why their product photos looked “too perfect.” At first I thought that was a strange complaint. But I knew exactly what they meant. The images were clean, well-lit, technically correct, and completely soulless. Nobody looked at them and thought, I want to be in that moment. They looked at them and thought, that’s a shoe. That gap, between a product shot and a lifestyle shot, is something I’ve spent years learning to close. And it’s the exact gap that Peter McKinnon addresses in this tutorial, using a pair of boots and a motorcycle to illustrate principles that apply to pretty much any subject you’ll ever shoot.
Watch the full tutorial on YouTube
What I appreciate about his approach is that it isn’t about gear or presets. It’s about a mindset shift: stop photographing objects and start photographing situations. Once that clicks, everything else follows. Here’s how he breaks it down, and how I’d apply it to your own work.
Step 1: Understand What “Lifestyle” Actually Means
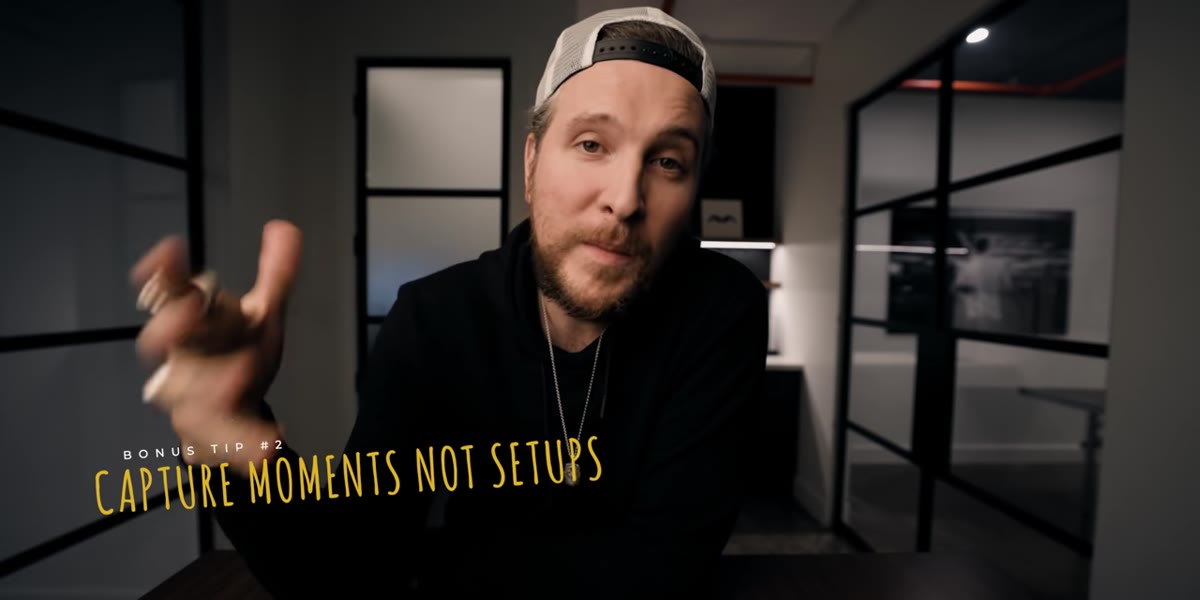
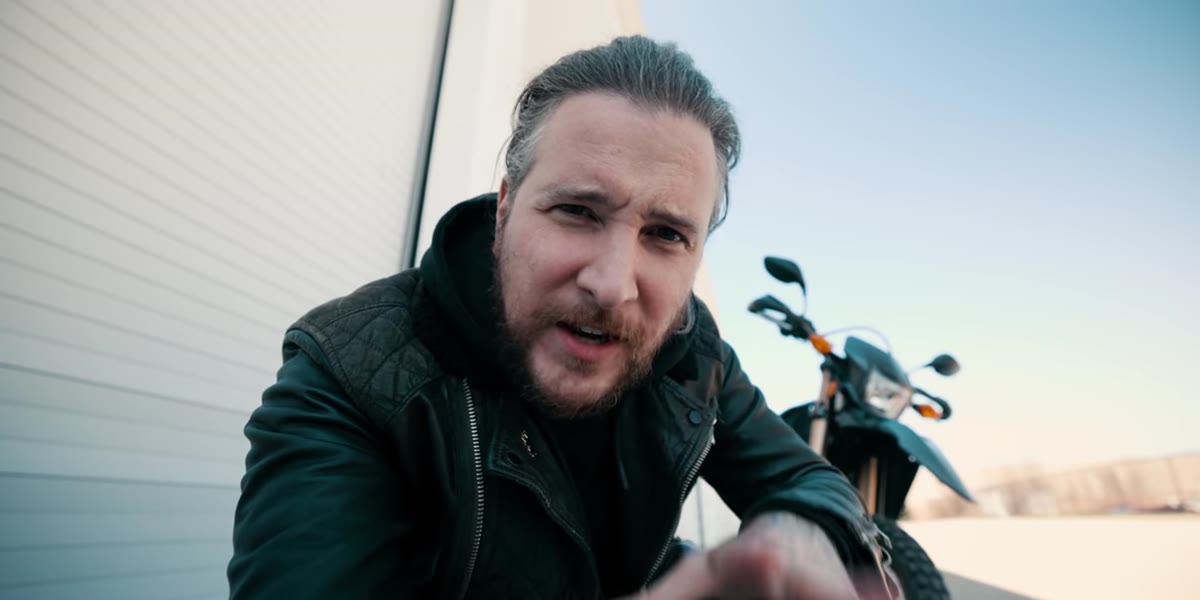 Peter introduces lifestyle photography concept beside a motorcycle
Lifestyle photography isn’t a style. It’s a context. McKinnon draws a clear line between standard product photography, boots on a white background, isolated, clean, and lifestyle photography, boots being worn, in a real environment, with a story around them. The product is still the subject, but the world around it does the selling.
Peter introduces lifestyle photography concept beside a motorcycle
Lifestyle photography isn’t a style. It’s a context. McKinnon draws a clear line between standard product photography, boots on a white background, isolated, clean, and lifestyle photography, boots being worn, in a real environment, with a story around them. The product is still the subject, but the world around it does the selling.
Think about what your subject does, where it lives, who uses it, and why. A coffee mug photographed alone on a counter is a product shot. That same mug in someone’s hand while they stand at a foggy kitchen window is a lifestyle shot. The mug hasn’t changed. The story has. Before you pick up your camera, ask yourself: what is this object for, and what does that moment actually look like?
Step 2: Shoot Wide to Set the Scene
 Wide frame of motorcycle parked against urban bay door
This is the technique I see beginners skip most often, and it’s the one that costs them the most. McKinnon’s first concrete instruction is to shoot wide. The reasoning is simple: lifestyle photography is about context, and you can’t communicate context if you’re cropped in tight on your subject.
Wide frame of motorcycle parked against urban bay door
This is the technique I see beginners skip most often, and it’s the one that costs them the most. McKinnon’s first concrete instruction is to shoot wide. The reasoning is simple: lifestyle photography is about context, and you can’t communicate context if you’re cropped in tight on your subject.
When you shoot wide, you let the environment do narrative work for you. The texture of a wall, a person walking in the background, the light hitting a sidewalk, these peripheral details are what make a photo feel like a moment instead of a setup. If you’re on a zoom lens, resist the instinct to reach for 85mm or longer. Stay at 24mm or 35mm. Give your subject room to exist in the frame rather than filling it. If you’re on a prime, physically step back further than feels comfortable. The scene matters as much as the subject.
Step 3: Use Motion Blur Intentionally
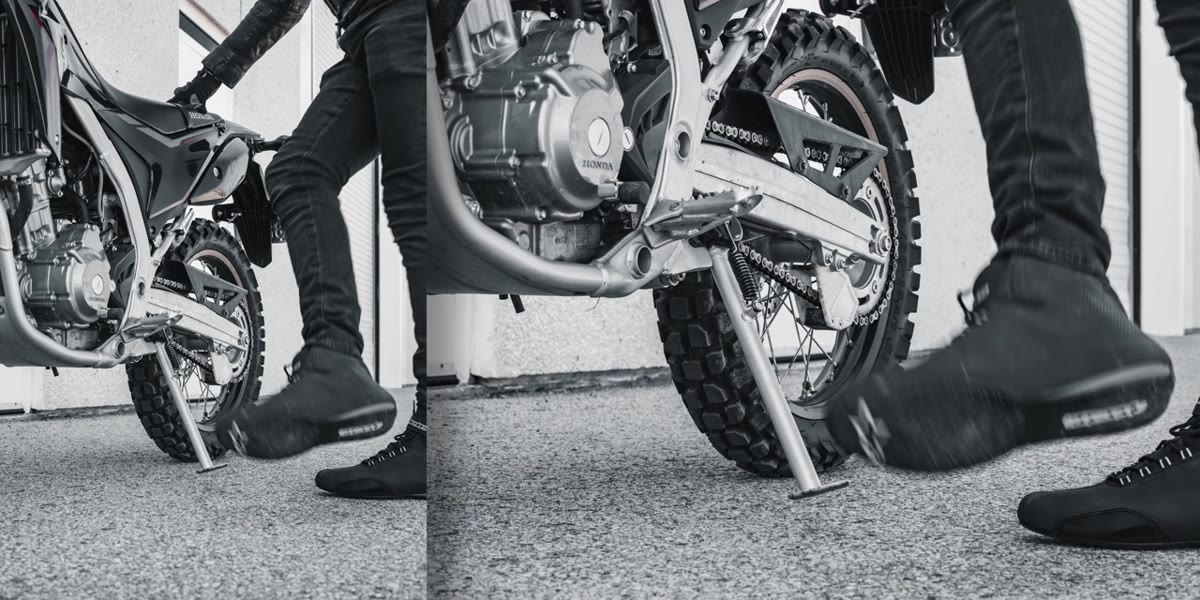 Blurred movement shot suggesting natural, candid energy
This one surprised me when I first started leaning into it, because we’re trained to avoid blur. Sharp equals good, blurry equals mistake. But McKinnon reframes motion blur as a tool for believability. When something is slightly blurred, your brain reads it as caught in the act. It happened. It was real. A perfectly still, sharp subject can paradoxically feel more staged than a slightly blurred one.
Blurred movement shot suggesting natural, candid energy
This one surprised me when I first started leaning into it, because we’re trained to avoid blur. Sharp equals good, blurry equals mistake. But McKinnon reframes motion blur as a tool for believability. When something is slightly blurred, your brain reads it as caught in the act. It happened. It was real. A perfectly still, sharp subject can paradoxically feel more staged than a slightly blurred one.
In practice, this means dropping your shutter speed lower than you normally would, somewhere around 1/60 or 1/80 depending on how much motion you want to capture. Have your subject actually move through the frame rather than hold a pose. Walking, adjusting gear, stepping over something. You won’t keep every frame, but the ones that work will feel alive in a way that a posed shot rarely does.
Step 4: Stop Posing, Start Directing Action
 Subject photographed mid-movement getting on motorcycle
Posed photos look posed. That sounds obvious, but the fix isn’t to tell people to “look natural,” which never works. The fix is to give them something to actually do. McKinnon’s example: instead of standing beside the motorcycle with arms folded, have your subject get on it, get off it, check something on it, walk away from it. The camera captures the action, not a recreation of action.
Subject photographed mid-movement getting on motorcycle
Posed photos look posed. That sounds obvious, but the fix isn’t to tell people to “look natural,” which never works. The fix is to give them something to actually do. McKinnon’s example: instead of standing beside the motorcycle with arms folded, have your subject get on it, get off it, check something on it, walk away from it. The camera captures the action, not a recreation of action.
For brand or product work, think about what a real person would authentically do with that item. Someone checking their boots before a hike. Someone sitting on a curb with a coffee, scrolling their phone. These aren’t glamorous, but they’re relatable, and relatable is what builds connection. Give your subject a task, then photograph them doing it. Direction beats posing every single time.
Step 5: Play with Focus, Foreground, and Background Separately
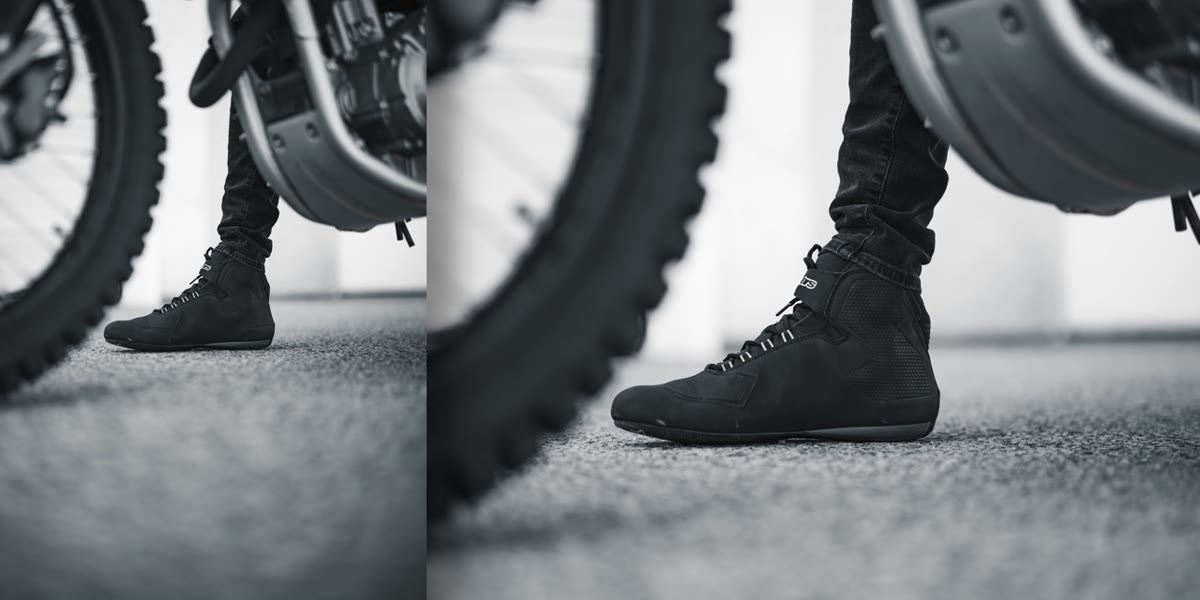 Boot in foreground out of focus, scene behind it in focus
McKinnon makes a point that stuck with me: the product doesn’t have to be sharp in every frame. Letting your subject go soft in the foreground while the background tells the story is a completely valid choice. So is the reverse. So is having an out-of-focus foreground element that frames the scene without being the subject at all.
Boot in foreground out of focus, scene behind it in focus
McKinnon makes a point that stuck with me: the product doesn’t have to be sharp in every frame. Letting your subject go soft in the foreground while the background tells the story is a completely valid choice. So is the reverse. So is having an out-of-focus foreground element that frames the scene without being the subject at all.
This is where your aperture becomes a storytelling tool rather than just a technical setting. Shoot a sequence at f/1.8 with your product in the foreground slightly out of focus and the environment sharp behind it. Then flip it. Then try f/8 where everything is in focus and the wide scene does the work. You’re not looking for one “right” frame. You’re building a set of images that together tell a complete story, and each frame can emphasize a different part of it.
What I’d Add From My Own Experience
The advice I’d layer on top of everything McKinnon covers is this: location scouting matters more than most people expect. He mentions they were driving by when they spotted the bay door that ended up as a backdrop. That wasn’t luck exactly. It was the result of being observant and moving through the world with a photographer’s eye. I do a photo walk every Sunday morning partly for the exercise, but mostly to build a mental library of locations. Interesting walls, good light angles at different times of day, textures that work as backgrounds. When a shoot comes up, I already know three places that would work before I even pick up my camera.
You don’t need a scouting budget. You need to pay attention on your commute. Note the spots that catch your eye and actually write them down.
The single biggest takeaway from this tutorial is the mindset shift: you’re not photographing a product or even a person. You’re photographing a moment that could belong to your viewer. When someone looks at your image and thinks “I could be there,” you’ve done lifestyle photography correctly. Everything else, the wide lens, the motion blur, the active direction, is just technique in service of that feeling.
Watch the full tutorial on YouTube to see McKinnon walk through these techniques in real time. Watching him work through the motorcycle shoot makes the principles land in a way that’s hard to get from reading alone.
Comments
Leave a Comment