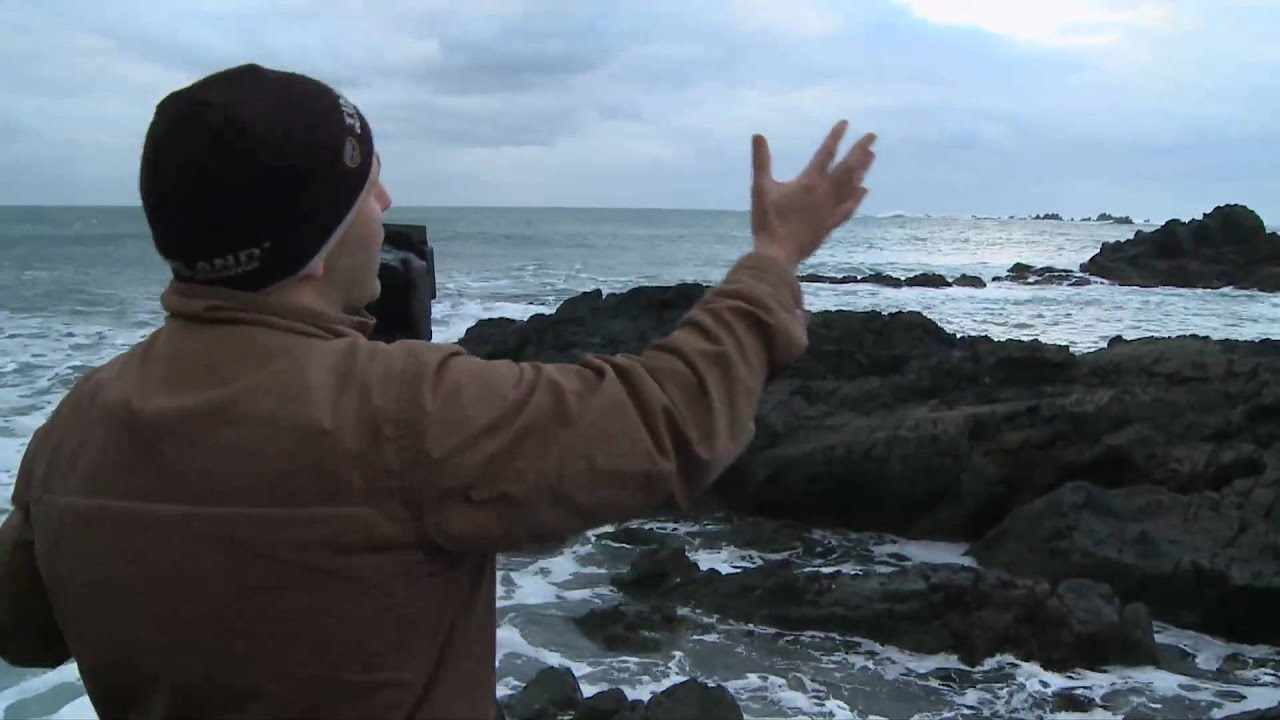
There’s a specific kind of frustration that hits when you’re standing in front of a gorgeous scene, clouds racing across the sky, and your camera refuses to cooperate. You want that silky, dragged-cloud effect, but the sun is still up and every setting you try lands you with a blown-out, unusable frame. I’ve been there more times than I care to admit. This is the exact problem that long-exposure daytime technique solves, and once it clicks, it genuinely changes how you see moving skies.
In this Visual Education tutorial, the photographer walks through a real coastal shoot, still in decent daylight, and pulls off a stunning 30-second exposure that turns drifting clouds into soft, sweeping streaks. Watch the full tutorial on YouTube to see the results in motion. What I love about this breakdown is that it isn’t theoretical. You’re watching someone make decisions in the field, check a test exposure, and get a genuinely dramatic shot from a bright coastal afternoon. Below, I’ve unpacked every step so you can follow along with your own gear.
Step 1: Assess Your Starting Light and Know What You’re Working Against
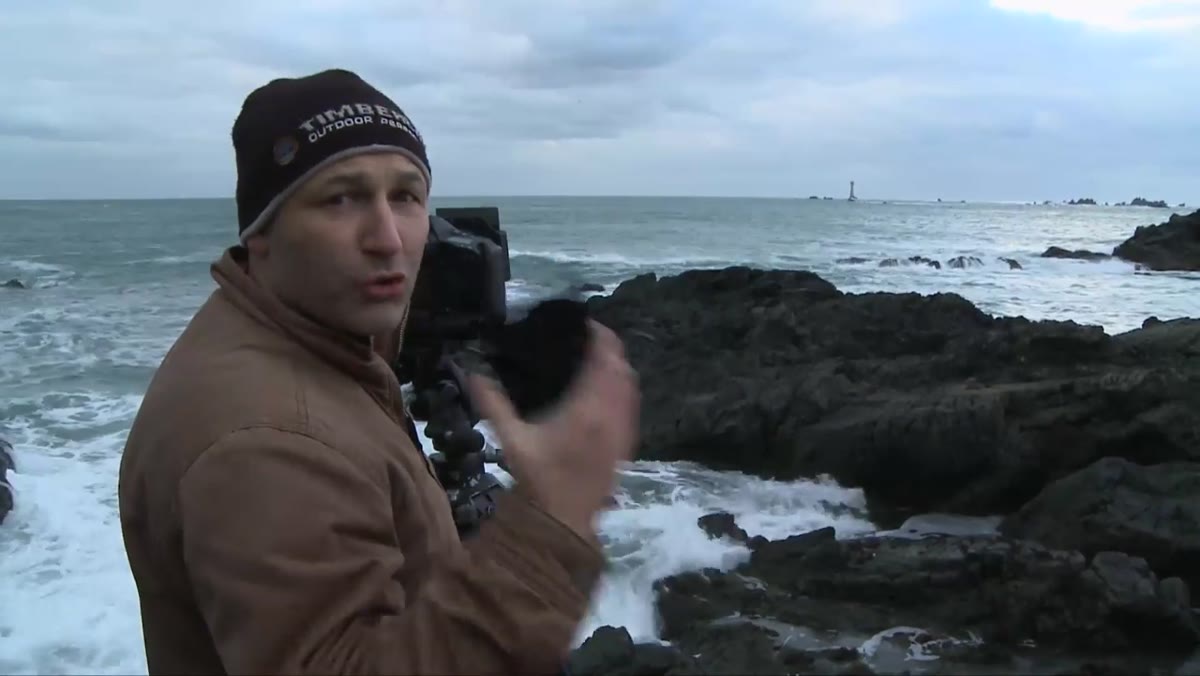
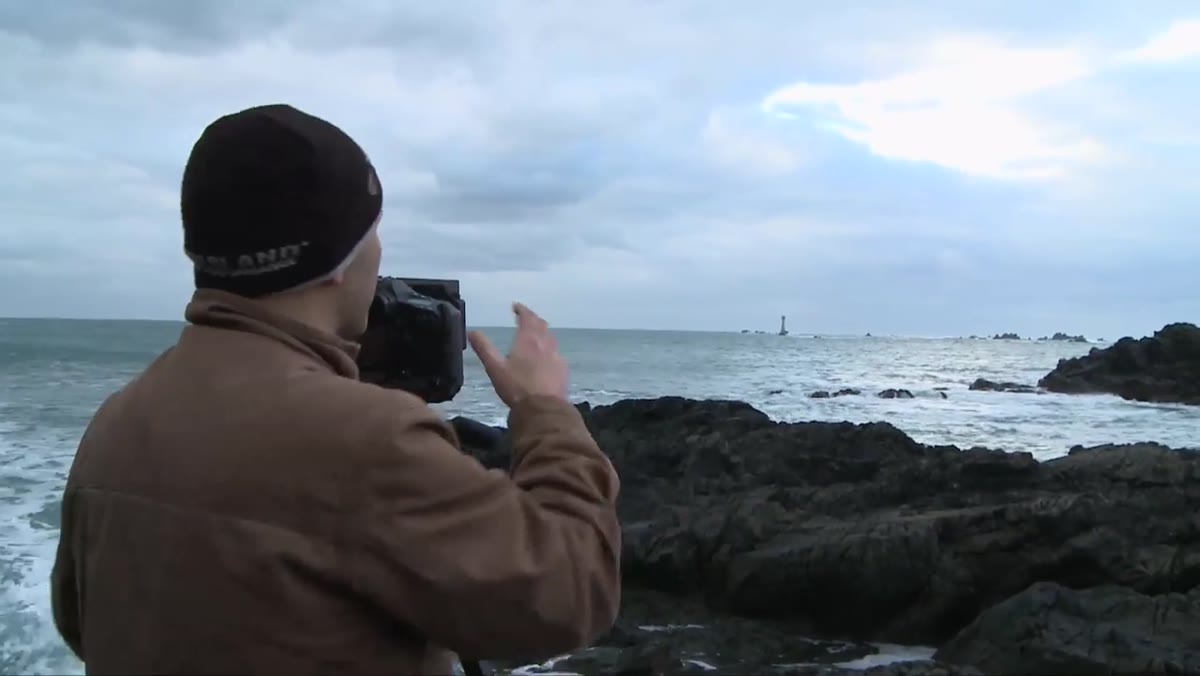
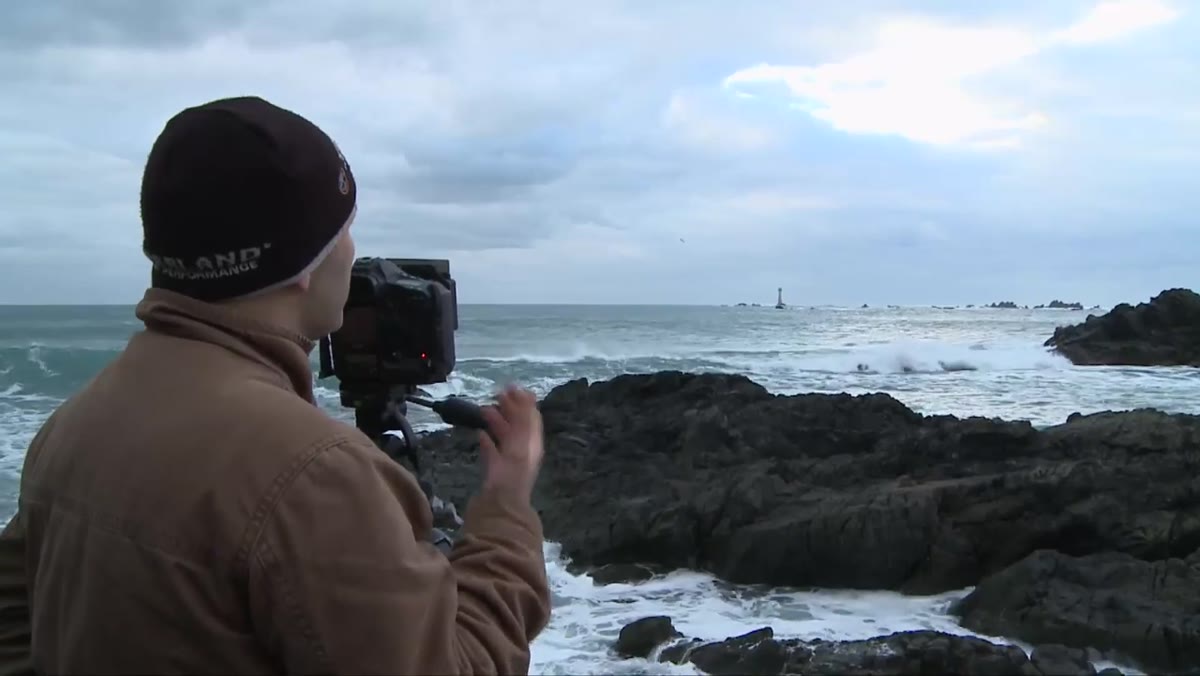
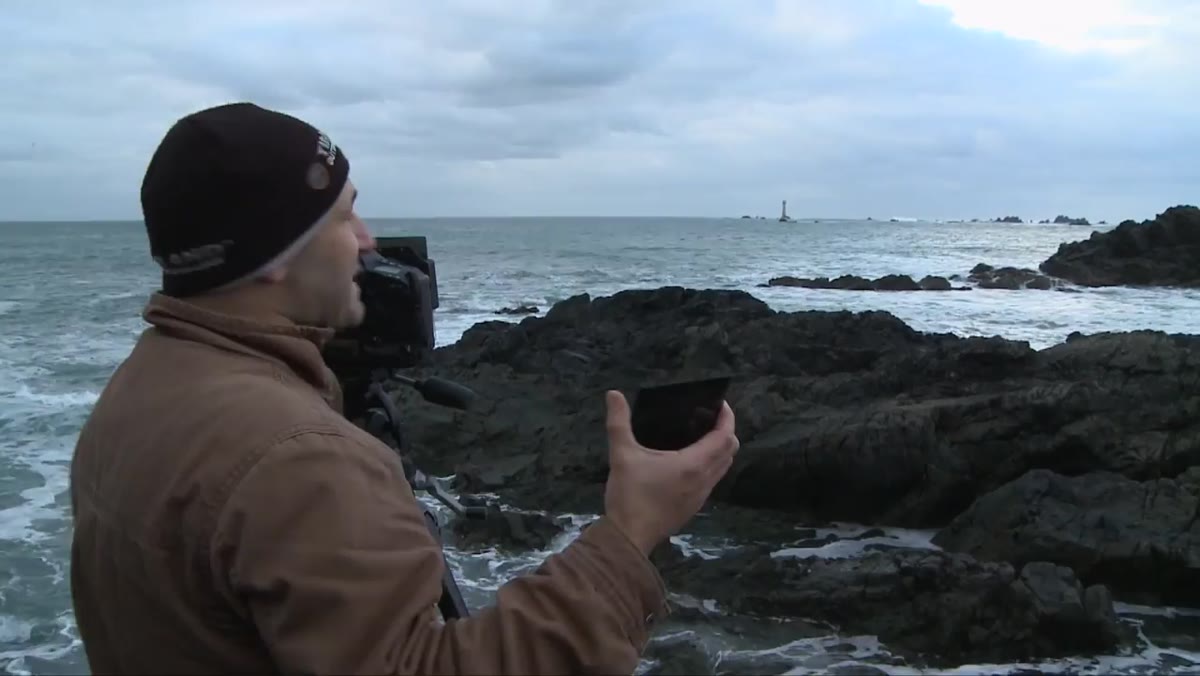 Photographer at coastal location in bright late-day conditions
Before you reach for any filter, take a moment to read your scene. In the tutorial, the shooter is working in late-afternoon light at the coast, bright but not harsh. The clouds are moving at a good pace, which is exactly the condition where long exposures pay off. If clouds are barely drifting, even a 30-second exposure won’t give you much blur. Scout for movement first. Wind direction, cloud speed, and overall brightness all shape which filters you’ll need and for how long you’ll need to expose.
Think of this step as setting your intention. You’re not just picking a pretty view. You’re identifying a moving element (clouds, water, crowds) that a long shutter speed will transform into something painterly.
Step 2: Start With a Polarizing Filter to Cut Your First Two Stops
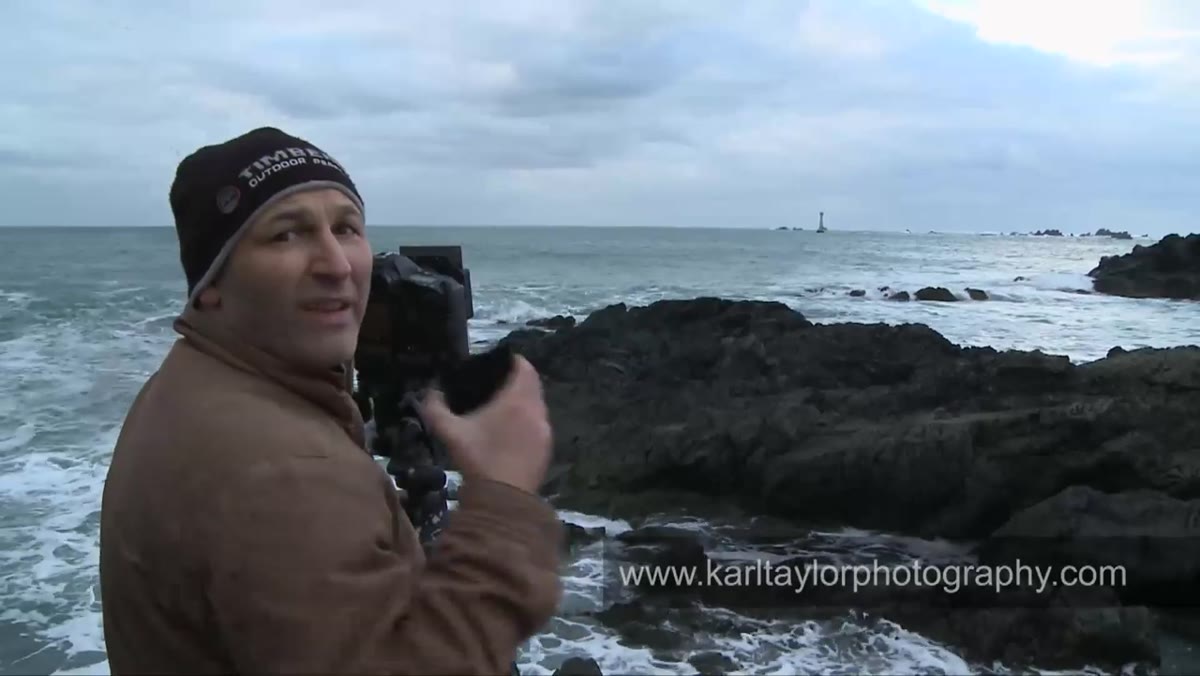 Close-up of polarizing filter already mounted on lens
The tutorial photographer already has a circular polarizer mounted before the shoot even begins. A polarizer does two jobs at once: it reduces light entering the lens by roughly two stops, and it deepens the contrast between sky and clouds, saturates colors, and cuts glare off water. That last part matters enormously for coastal shots.
Rotate the polarizer until you find the position that gives you the richest sky without pushing your scene into an unnatural look. Two stops of light reduction might not sound dramatic, but it’s a meaningful start when you’re building toward a longer exposure. Think of it as the foundation layer of your filter stack.
Step 3: Add a Graduated Neutral Density Filter to Balance the Sky
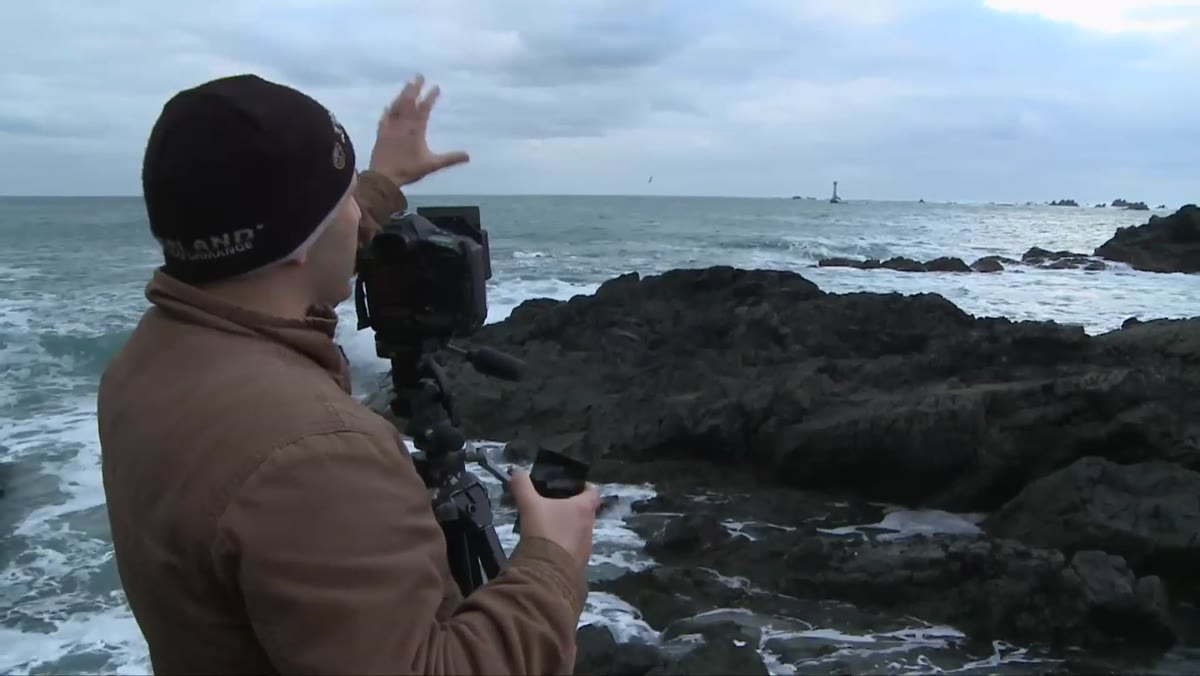 Graduated ND filter positioned over bright sky portion of frame
With the polarizer in place, the next addition is a graduated neutral density filter, placed so the darker portion sits over the bright sky and the clear portion covers the foreground. This is about keeping tonal balance in your image. A bright sky against a darker sea will almost always blow out if you expose for the water. The grad ND brings those highlights back into a manageable range without affecting the foreground.
Position it carefully. The transition line should follow your actual horizon, not cut across any prominent elements like buildings or cliff edges. If your grad ND line is obvious in the final image, shift it or consider a soft-edge version for scenes where the horizon isn’t perfectly flat.
Step 4: Stack a Solid ND Filter to Achieve Your Target Shutter Speed
 Solid 9-stop ND filter being mounted onto the front of the lens
This is where the magic really happens. On top of the polarizer, the photographer adds a solid 9-stop neutral density filter. Combined with the polarizer’s two-stop reduction, the total light entering the lens is cut by five stops. That’s the difference between a fast, cloud-freezing shutter speed and the 30-second exposure needed to blur moving clouds into something dramatic.
Solid ND filters come in various strengths, typically labeled as 3-stop, 6-stop, or 10-stop options. The right choice depends on how much ambient light you’re working with and how long you want your exposure to run. A 3-stop ND barely extends your shutter time in bright conditions. A 10-stop filter can turn a sunny midday scene into a multi-minute exposure. For moving clouds in late afternoon, the 9-stop option used here is a sweet spot.
Step 5: Dial In Your Camera Settings for Maximum Exposure Length
 Camera settings showing ISO 50, f/16, 30-second shutter speed
With filters stacked, the photographer sets ISO to the camera’s native minimum of 50, which keeps digital noise as low as possible during a long exposure. Aperture is set to f/16, which gives a deep depth of field across the coastal scene. Shutter speed lands at 30 seconds, the longest setting available without switching to Bulb mode on most cameras.
These three settings work together as a system. If you can’t get to 30 seconds at f/16 and your lowest ISO, add a stronger ND filter. If your image is still overexposed, stop down your aperture further. The goal is to reach the slowest shutter speed the scene allows while keeping your exposure correct.
Step 6: Run a Test Exposure and Evaluate the Result
 Photographer reviewing the test exposure result on camera screen
The tutorial is refreshingly honest about this step: even experienced photographers can’t know for certain how a long exposure will turn out until they’ve run one. After the 30-second exposure completes, the result shows beautifully blurred clouds sweeping across the frame with solid detail in the sea below. The bright patch of sky is slightly hot, but the overall image is striking.
Check your histogram, not just the LCD preview. The screen can look different depending on your brightness settings and ambient light. A histogram with highlights pushing right but not clipped means you’re close. From there, adjust your aperture by a stop or tweak your ND strength if you need more time in the scene.
A Note From My Own Experience With Filter Stacking
One thing the tutorial doesn’t mention, but that I’ve learned from my Sunday morning photo walks along the Seattle waterfront, is that stacking multiple filters introduces the risk of vignetting, especially at wide focal lengths. When you layer a polarizer, a grad ND, and a solid ND together, the combined thickness of the filter ring edges can creep into your corners. Check your test exposure at the corners, not just the center of the frame. If you see darkening, zoom in slightly or switch to thin-profile filter rings. It’s a small adjustment that saves you cleanup time in post.
Also, keep a lens cloth handy. Filters attract fingerprints and sea spray, and any smudge on the front glass will bloom into a soft haze across your long exposure. I’ve lost more than one otherwise-great frame to a fingerprint I didn’t notice until I was back at my desk.
The single most important takeaway here is this: light reduction is additive. Every filter you stack contributes to a longer possible shutter speed, and understanding how to layer a polarizer with solid and graduated ND filters gives you precise control over time in your images. Moving clouds become texture. Moving water becomes glass. The same bright afternoon that would otherwise force a fast, forgettable shutter speed becomes raw material for something genuinely dramatic.
Watch the full tutorial on YouTube to see the technique in action and check out the actual results straight from the camera.
Comments
Leave a Comment