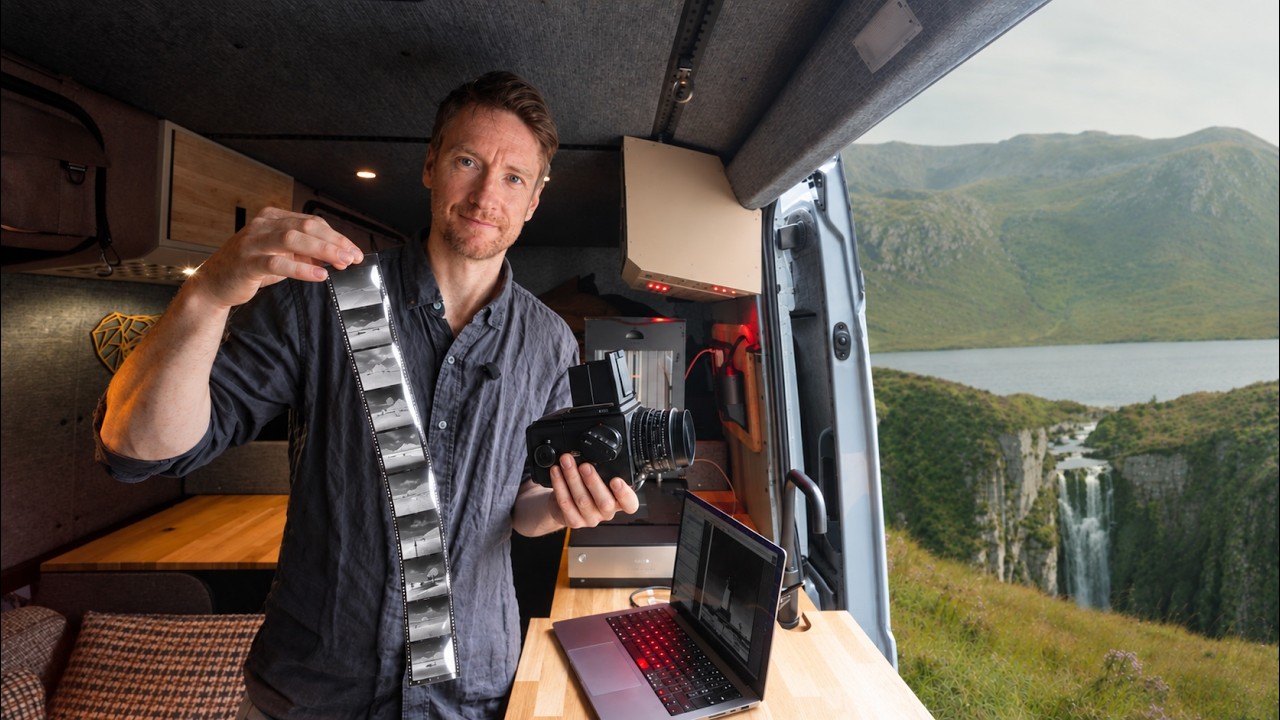
There is something about committing to film on a road trip that forces you to slow down in the best possible way. You get thirty-six frames, maybe fewer, and every single one costs you something. I started thinking seriously about mobile film processing after I spent a week in the Olympic Peninsula with a roll of Ilford in my bag and zero plan for developing it when I got home. It sat in a drawer for two months. That is not the point of shooting film.
Watch the full tutorial on YouTube
In this Thomas Heaton tutorial, he does something I had assumed required a proper setup at home: he shoots a roll of film in the Scottish Highlands, then develops and scans it entirely from his van. No lab. No darkroom. Just blackout curtains, a red light, a development kit, and a portable scanner. The results might surprise you, and the process is more approachable than you might expect.
Step 1: Gather Your Mobile Darkroom Essentials
 Van interior with film development kit, red light, and curtains
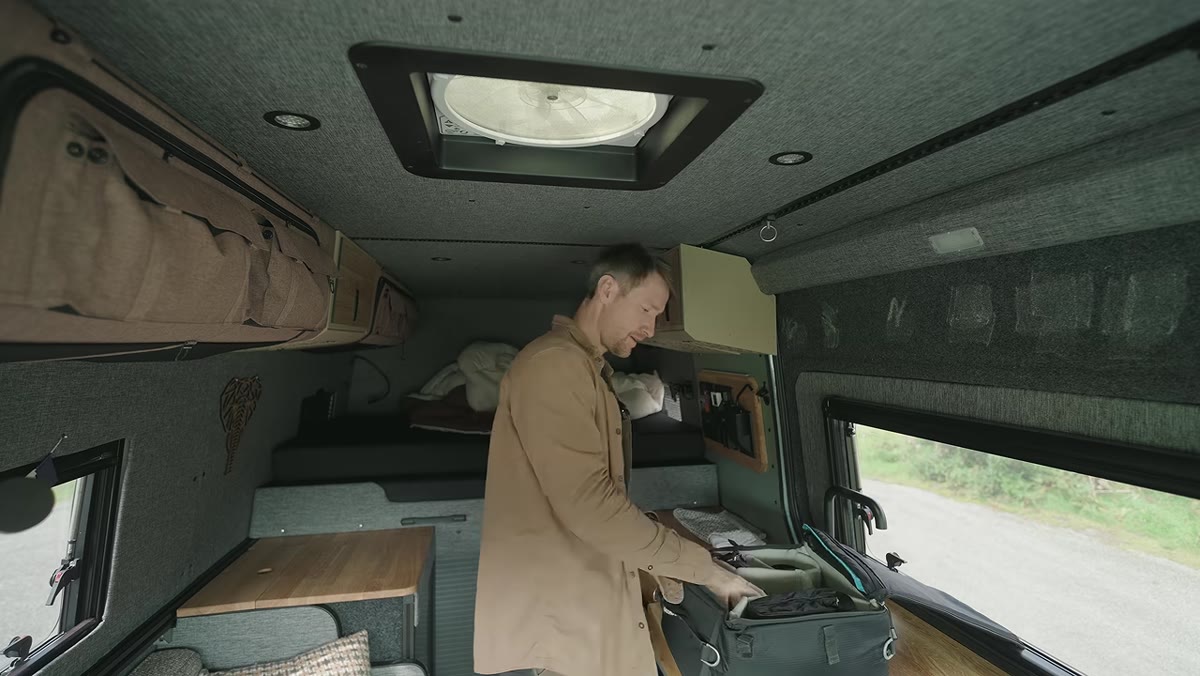
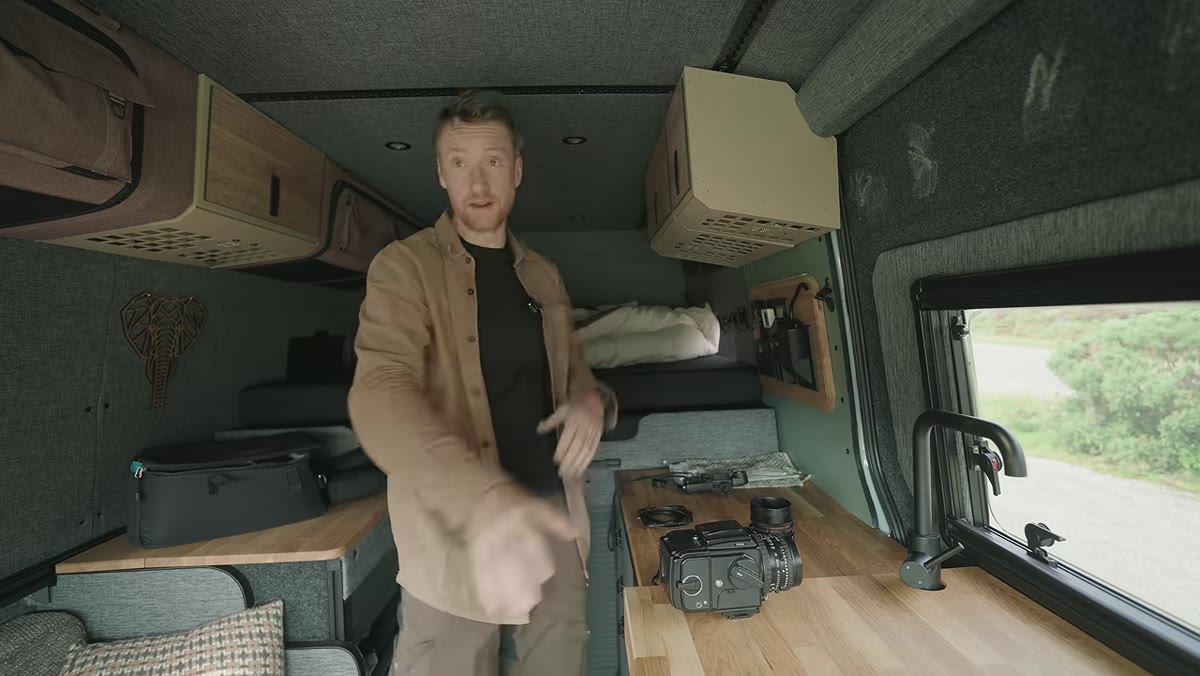
Before you even think about loading film, you need to turn whatever space you are working from into something that can function as a darkroom. Heaton keeps it minimal: blackout curtains for the windows, a small red safelight, a film development kit (chemicals, a developing tank, and reels), and a portable flatbed scanner. That is the full list. You do not need a chemical enlarger or a dedicated room. What you need is a light-tight space and the discipline to work carefully inside it.
Van interior with film development kit, red light, and curtains
Before you even think about loading film, you need to turn whatever space you are working from into something that can function as a darkroom. Heaton keeps it minimal: blackout curtains for the windows, a small red safelight, a film development kit (chemicals, a developing tank, and reels), and a portable flatbed scanner. That is the full list. You do not need a chemical enlarger or a dedicated room. What you need is a light-tight space and the discipline to work carefully inside it.
If you are setting this up in a vehicle, test your curtains at midday before you commit. Pinhole leaks that seem invisible at dusk will ruin a roll in seconds. Spend the five minutes checking.
Step 2: Choose Your Film and Protect It
 Ilford Delta 100 film box next to a foil bag
Heaton is shooting Ilford Delta 100, a black and white film with a fine grain structure that rewards careful exposure. It is a strong choice for landscapes where you want tonal detail in both shadows and highlights without the grain getting in the way of the image. The ISO 100 rating means you will be working in good light or on a tripod, which suits the methodical pace of this kind of trip.
Ilford Delta 100 film box next to a foil bag
Heaton is shooting Ilford Delta 100, a black and white film with a fine grain structure that rewards careful exposure. It is a strong choice for landscapes where you want tonal detail in both shadows and highlights without the grain getting in the way of the image. The ISO 100 rating means you will be working in good light or on a tripod, which suits the methodical pace of this kind of trip.
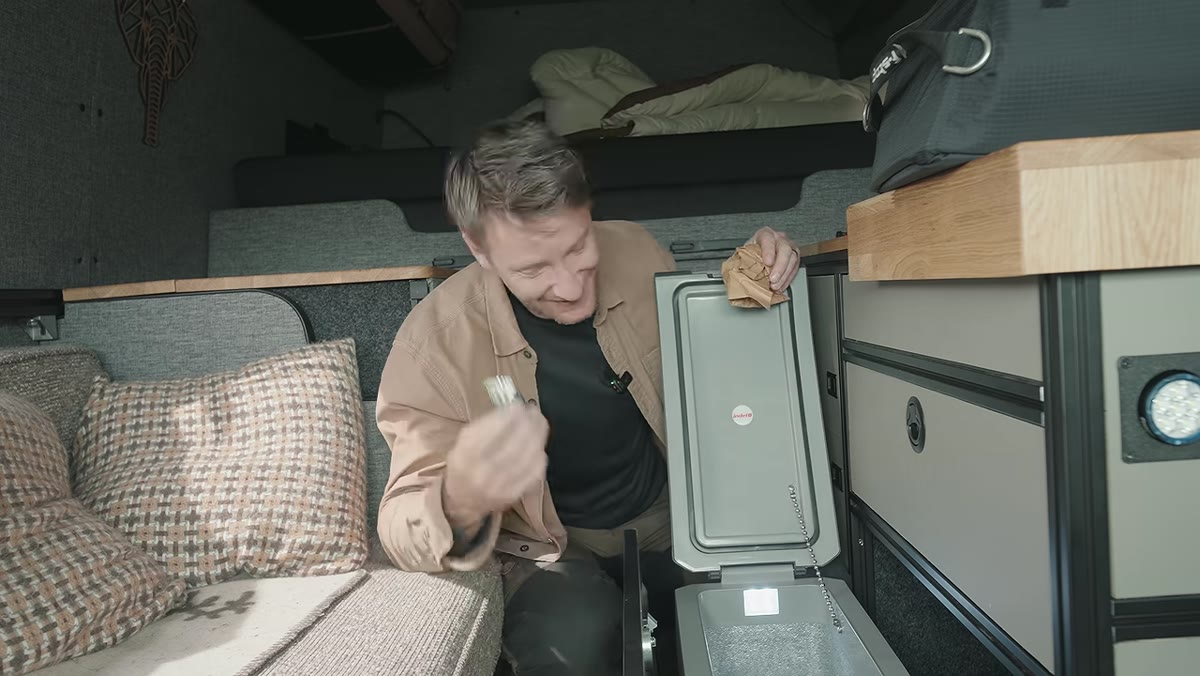
One practical note: keep your film in its foil bag until you are ready to load it. Heaton has a minor sauerkraut incident in the van that nearly introduces fermented cabbage to his Ilford. The foil bag saves him. Road life is unpredictable, and your film should be sealed, dry, and stored away from anything that leaks.
Step 3: Choose the Right Lens Focal Length for Your Subject
 View through van window of Mount Suilven, Scotland
Looking out at Mount Suilven rising over Assynt, Heaton makes a quick compositional decision: the 80mm lens he has available will not compress the scene enough to give the mountain the presence it deserves. He reaches for 150mm instead. This is a useful reminder that focal length is not just about fitting things in the frame. It is about how much weight your subject carries in the image.
View through van window of Mount Suilven, Scotland
Looking out at Mount Suilven rising over Assynt, Heaton makes a quick compositional decision: the 80mm lens he has available will not compress the scene enough to give the mountain the presence it deserves. He reaches for 150mm instead. This is a useful reminder that focal length is not just about fitting things in the frame. It is about how much weight your subject carries in the image.
When you are working with a limited set of lenses on the road, spend a moment before you set up the tripod just looking through different options. The extra sixty seconds of evaluation saves you from a composition you will dismiss in editing.
Step 4: Use Colored Filters to Shape Your Black and White Tones
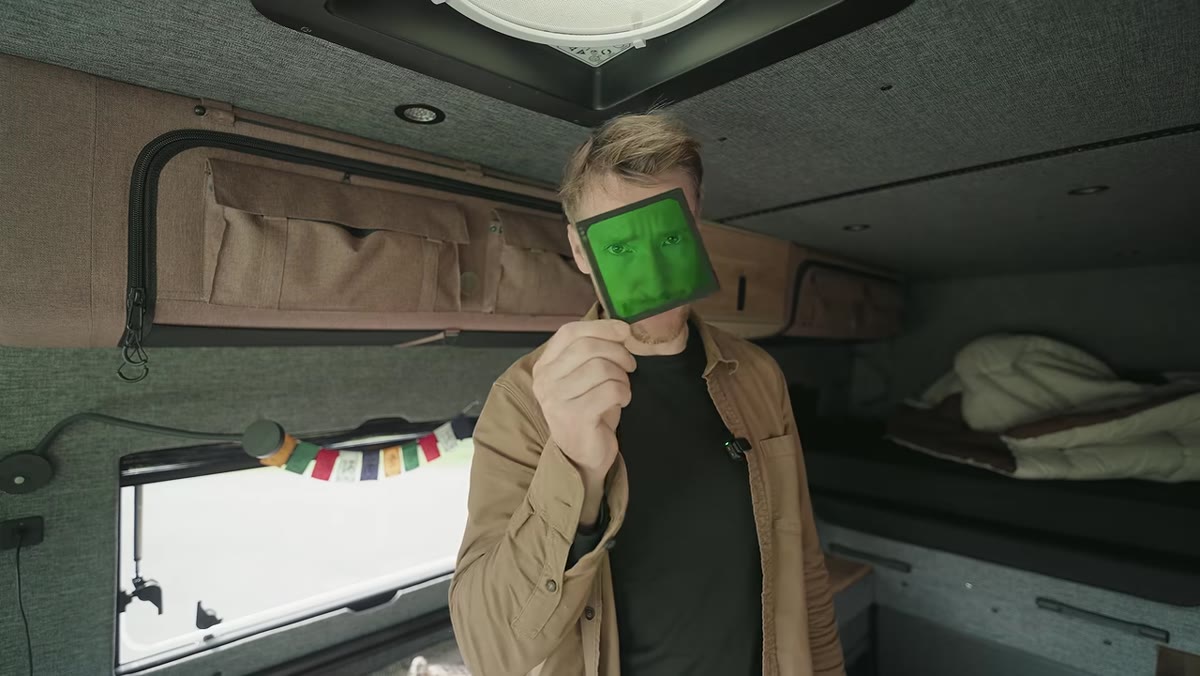 Green filter being held up in front of camera lens
Shooting black and white film does not mean surrendering control over how different colors translate to gray tones. Heaton reaches for a green filter when he sees the Highland landscape in front of him. A green filter brightens greens in the final print and, crucially, separates tonal values across the different shades of green in a scene. Foliage that might blend into a muddy mid-tone suddenly has texture and contrast.
Green filter being held up in front of camera lens
Shooting black and white film does not mean surrendering control over how different colors translate to gray tones. Heaton reaches for a green filter when he sees the Highland landscape in front of him. A green filter brightens greens in the final print and, crucially, separates tonal values across the different shades of green in a scene. Foliage that might blend into a muddy mid-tone suddenly has texture and contrast.
He also stacks a graduated neutral density filter to balance the brighter sky against the darker land, and adds a polarizer for additional contrast and clarity. If you are new to filter stacking, just remember that each filter you add costs you exposure stops, so you will need to compensate. Heaton bumps his exposure up a stop when adding the polarizer. Keep a filter factor chart in your bag until this becomes second nature.
Step 5: Set Your Exposure and Use Mirror Lock-Up
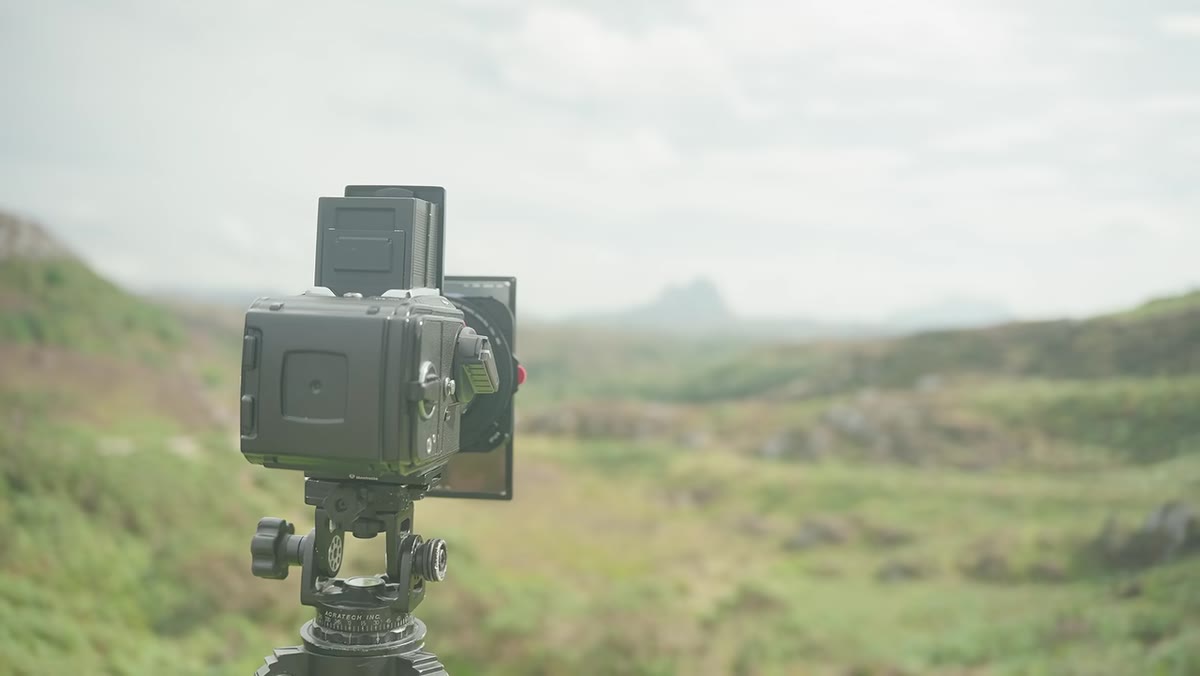 Camera on tripod, aperture F11, shutter speed 1/30 second displayed
For his first frame, Heaton lands on f/11 at 1/30 second with ISO 100. That combination gives him enough depth of field to keep the landscape sharp from foreground to mountain without requiring a shutter speed so long that any movement in the scene becomes a problem. On a medium format camera on a tripod, this is a solid starting point for daylight landscape work.
Camera on tripod, aperture F11, shutter speed 1/30 second displayed
For his first frame, Heaton lands on f/11 at 1/30 second with ISO 100. That combination gives him enough depth of field to keep the landscape sharp from foreground to mountain without requiring a shutter speed so long that any movement in the scene becomes a problem. On a medium format camera on a tripod, this is a solid starting point for daylight landscape work.
He also uses mirror lock-up before releasing the shutter. On medium format cameras especially, the mirror slap can introduce enough vibration to soften an otherwise sharp image. The technique is simple: lock the mirror up, wait a beat for any vibration to settle, then fire the shutter. It is a small habit that makes a real difference at slower speeds.
Step 6: Bracket Your Exposure for Critical Subjects
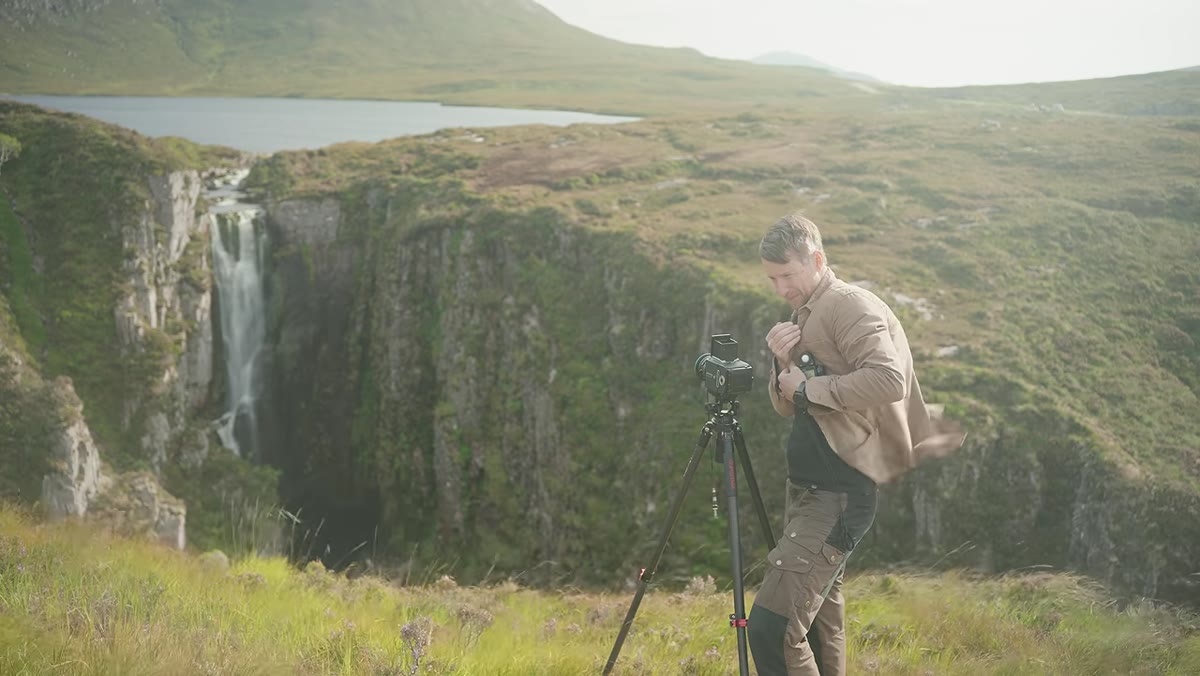 Waterfall scene, two different exposure times being tested
When Heaton moves to a waterfall shot, he does not commit to a single exposure. He shoots one frame at f/16 for one second, then a second at two seconds to see which rendition of the water reads better. The longer exposure risks blowing out the sky slightly, but it gives the cascade more contrast and movement. Bracketing on film is a real cost since you are burning frames, but for a scene you drove a long way to photograph, it is worth it.
Waterfall scene, two different exposure times being tested
When Heaton moves to a waterfall shot, he does not commit to a single exposure. He shoots one frame at f/16 for one second, then a second at two seconds to see which rendition of the water reads better. The longer exposure risks blowing out the sky slightly, but it gives the cascade more contrast and movement. Bracketing on film is a real cost since you are burning frames, but for a scene you drove a long way to photograph, it is worth it.
With black and white film, slight overexposure is almost always more recoverable than underexposure, so if you are unsure, lean a little long on your exposure time.
A Note From My Own Experience
I have never developed film in a moving vehicle, but I have done it in a rented cabin bathroom with a towel stuffed under the door. The principle is exactly the same: light-tight is light-tight. What I wish I had known earlier is that the loading process, not the chemicals, is where most beginners lose rolls. Loading the film onto the development reel in complete darkness takes practice. Do it a dozen times with a sacrificial roll in daylight, then in the dark, before you trust yourself to do it on the road with a frame of Mount Suilven on the line. The chemistry is forgiving. The loading is not.
The single most important takeaway from Heaton’s tutorial is this: the barrier to shooting and processing film on the road is mostly psychological. The actual gear list is short, the process is learnable, and the payoff, holding a developed strip of negatives you made somewhere beautiful, is unlike anything a memory card gives you.
Watch the full tutorial on YouTube to see how Heaton’s frames turn out and to get a feel for the rhythm of his mobile workflow. It will make you want to pack a roll.
Comments
Leave a Comment