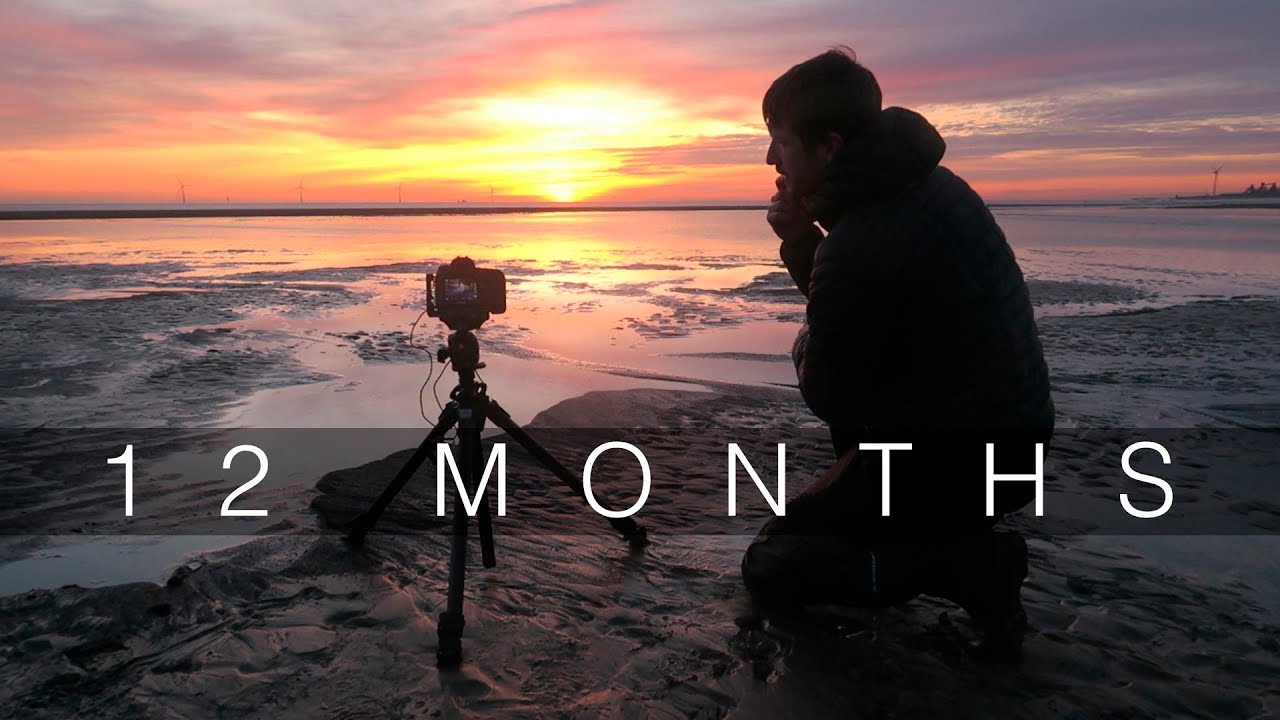
There’s a particular kind of pressure that comes with committing to a long-term photography project. I felt it when I challenged myself to shoot a “best of the year” collection for the first time - suddenly every outing felt like it either counted or didn’t, and I started second-guessing compositions I would have just shot freely before. What I needed wasn’t more gear advice. I needed to see how a working landscape photographer actually makes decisions in the field, across different locations, different seasons, different light. In this Thomas Heaton tutorial, Watch the full tutorial on YouTube, he pulls back the curtain on every image from his annual calendar, showing the behind-the-scenes footage that led to each final shot. It’s one of the most honest looks at landscape photography I’ve seen.
What makes this video genuinely useful is that Heaton doesn’t dress up the process. You see the cold, the waiting, the walk-around moments where he’s not sure a composition will work at all. That kind of transparency is rare, and it mirrors what actually separates photographers who get strong images consistently from those who get lucky once in a while. The decision-making is the skill. Here’s how to apply what he demonstrates.
Step 1: Commit to Conditions, Not Comfort
Heaton makes a point early that’s easy to skip past: the heavy snowfall transformed a scene that was already decent into something exceptional. He’d been patient, waiting for the weather to turn, and that patience paid off in a way that no amount of post-processing could replicate. The lesson here isn’t “wait for snow” - it’s that you should have a clear mental image of what would make your chosen location extraordinary, and then be willing to stay in the field long enough for the conditions to match that vision. Before your next shoot, ask yourself what version of the scene you’re hoping for. Wind? Fog? A sliver of directional light? Name it before you leave the house.
Step 2: Shoot the Pre-Sunrise Window Before You “Need” To
One of the most practical moments in the video is when Heaton spots the soft pink hue behind the mountains before the sun has even appeared, and immediately starts shooting rather than waiting for the “main event.” He’s explicit about why: light can change or disappear in minutes, and being too confident that something better is coming is how you miss what’s in front of you right now. His framing of this is smart. He says he’s not so arrogant as to assume the best light hasn’t arrived yet. That’s a mental reset worth adopting. Shoot what you have. Then keep shooting as conditions evolve.
Step 3: Match Your Filter Choice to the Sky You Actually Have
Heaton runs through his filter setup quickly but it’s worth slowing down on. He’s using a two-stop graduated neutral density filter to balance the sky and foreground exposure. He deliberately skips the polarizer, and his reason is specific: on a wide-angle lens with blue sky, a polarizer creates an uneven darkening effect - a deep blue band that looks unnatural and inconsistent. If you’ve ever noticed a weird circular gradient in your wide sky shots and couldn’t figure out what caused it, this is almost certainly it. The rule of thumb is simple. Polarizers work well on longer focal lengths. On anything wider than about 24mm with blue sky in frame, they can create more problems than they solve.
Step 4: Set Your Technical Baseline and Then Stop Fiddling
His camera settings for the pre-sunrise Patagonia shot are f/11, around 35mm, and an exposure of roughly one to two seconds. He uses a cable release so he doesn’t physically touch the camera during the shot. What’s notable is how quickly he lands on these settings and then turns his attention back to the composition and the light. Technical decisions for landscape work don’t need to be agonizing. For most static scenes with a tripod, f/8 to f/11 gives you reliable sharpness across the frame, and a cable release or two-second timer handles camera shake. Once those are locked in, your creative energy can go where it actually matters.
Step 5: Walk the Location Before You Commit to a Composition
When Heaton arrives at a sand dune location for a sunrise shoot, his first instinct isn’t to plant the tripod. He walks. He finds an initial composition based on the curves of the dune, evaluates it critically - and spots a flaw, areas where the smooth ridge has collapsed - and keeps looking. This walk leads him to a completely different composition: a lone tree against the bright face of the dune, with nothing else to compete for attention. The contrast between the green of the tree and the warm orange of the sand does the heavy lifting. It’s a simple image, but it only exists because he didn’t stop at the first decent angle. Build in fifteen to twenty minutes of exploration before you set up, even if you think you know the shot.
Step 6: Use Contrast and Simplicity as a Compositional Strategy
The tree-against-dune composition Heaton settles on is a master class in contrast-driven simplicity. He describes a mental image he’d carried for a while: a single subject against a clean, contrasting backdrop. A yellow autumn tree against dark slate. A green tree against red rock. The idea is repeatable across locations because it’s not about any one place - it’s about isolating a subject and giving it a background that makes it pop. When you’re scouting, look for that kind of pairing actively. Ask yourself what the background is doing for your subject, not just what the subject is doing on its own.
What I’d Add from My Own Experience
Heaton shoots across dramatically different environments, and one thing I’ve learned doing my Sunday morning photo walks around Seattle is that this kind of project discipline works at any scale. You don’t need Patagonia. The practice of returning to the same locations across different seasons, different weather, different times of day - that repetition is what teaches you how light actually behaves in a specific place. My most consistent work comes from spots I know well enough to predict, not from places I’m seeing for the first time. Start a running list of your five most accessible locations. Revisit each one at least once a month for a year. You’ll be stunned what you find.
The single most important takeaway from this tutorial is that the conditions you wait for and the compositions you’re willing to keep searching for matter more than any piece of equipment or any setting. Technique is the floor, not the ceiling. Watch the full tutorial on YouTube to see every behind-the-scenes location in full and hear Heaton’s real-time thinking as each shot comes together.
Comments (5)
Simple but effective. Sometimes that's all you need.
This saved me so much time on my last edit. Wish I'd found this sooner.
I tried this on a client project yesterday and the results were way better than expected.
Finally someone explains this in a way that actually makes sense.
Couldn't agree more. I've seen this make a huge difference in gear work specifically.
Leave a Comment