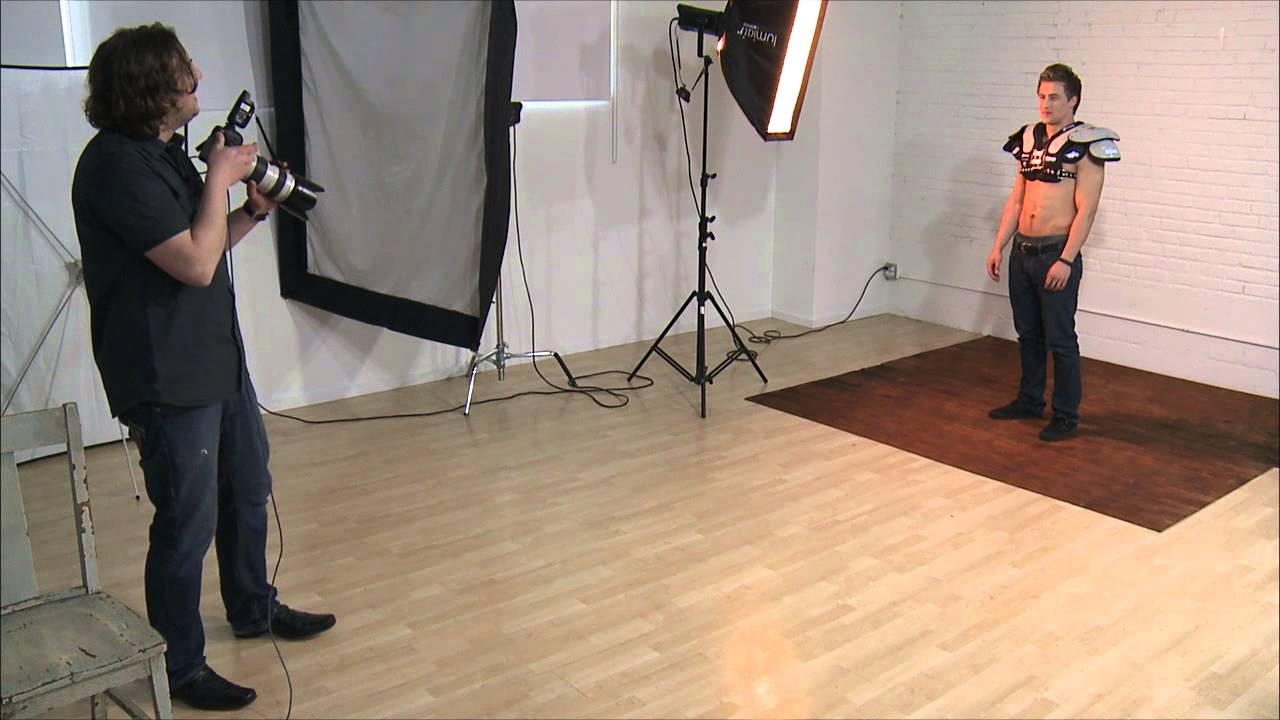
There’s a specific kind of pressure that comes with senior portrait sessions. You’ve got a teenager who doesn’t quite know what to do with their hands, a parent with high expectations off to the side, and a narrow window of good light. The margin for wandering around without a plan is basically zero. What saves you every single time is walking in with a lighting concept you believe in and a short, structured pose list you can execute confidently. That combination is exactly what this CreativeLive tutorial demonstrates so well.
Watch the full tutorial on YouTube
In this CreativeLive tutorial, the photographer builds a complete senior portrait session around a single dramatic lighting setup inspired by a classic album cover image. The shadow falls straight down the center of the subject’s face, dividing light from dark, and the result is bold, editorial, and completely different from the soft, even light most senior portraits rely on. What I love about this approach is that the technique isn’t complicated. The drama comes from understanding how light placement changes everything and then committing to a pose list that plays to that light.
I’ve started using a version of this workflow for any portrait session where I know the subject will feel awkward in front of the camera. Having a clear sequence of six poses means I’m never asking “so, what should we try next?” It also means I’m actually directing, which puts the subject at ease faster than almost anything else I’ve tried.
Step 1: Choose a Lighting Concept Before You Arrive
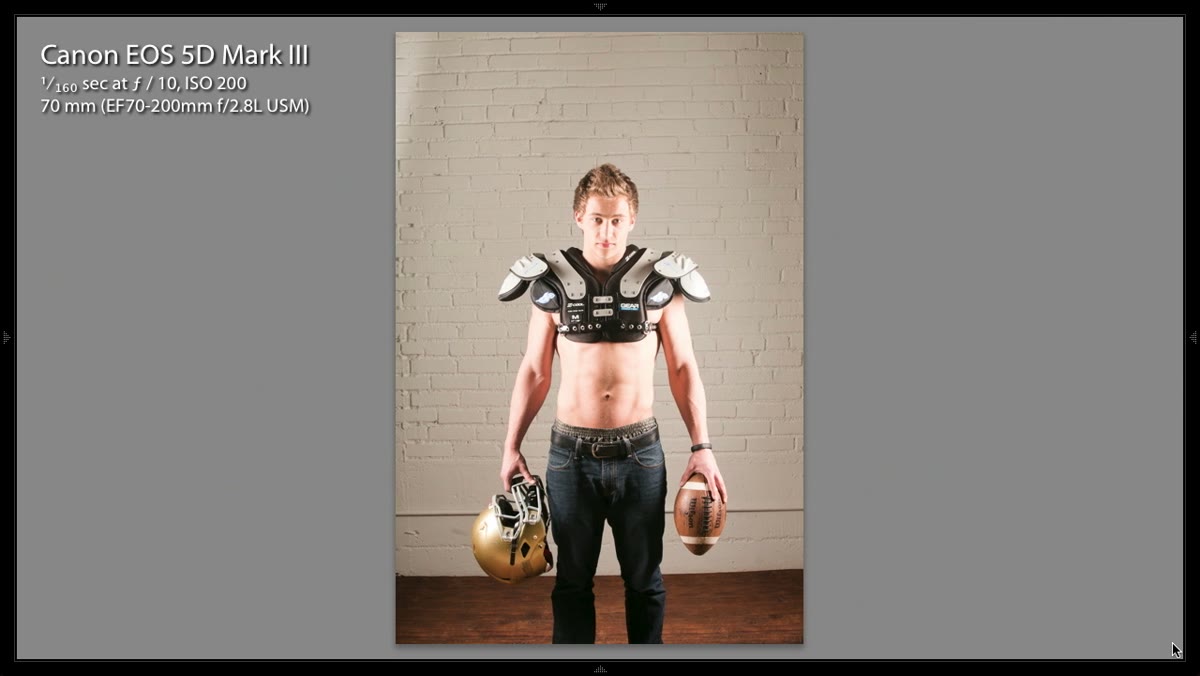 Photographer describing the album cover image that inspired the setup
Your lighting shouldn’t be something you figure out on location. The photographer in this tutorial arrived with a fully formed reference image in mind: a portrait where a hard shadow bisects the subject’s face right down the center. That’s split lighting, also called split or Rembrandt-adjacent depending on how you place it, and it’s achieved by positioning your light source at roughly a 90-degree angle to your subject.
Before your next session, pick one lighting style you want to build around and find a reference image you can actually show your subject. It immediately sets expectations, gives you both something to work toward, and makes your direction feel intentional rather than improvised.
Step 2: Position Your Subject Relative to the Light First
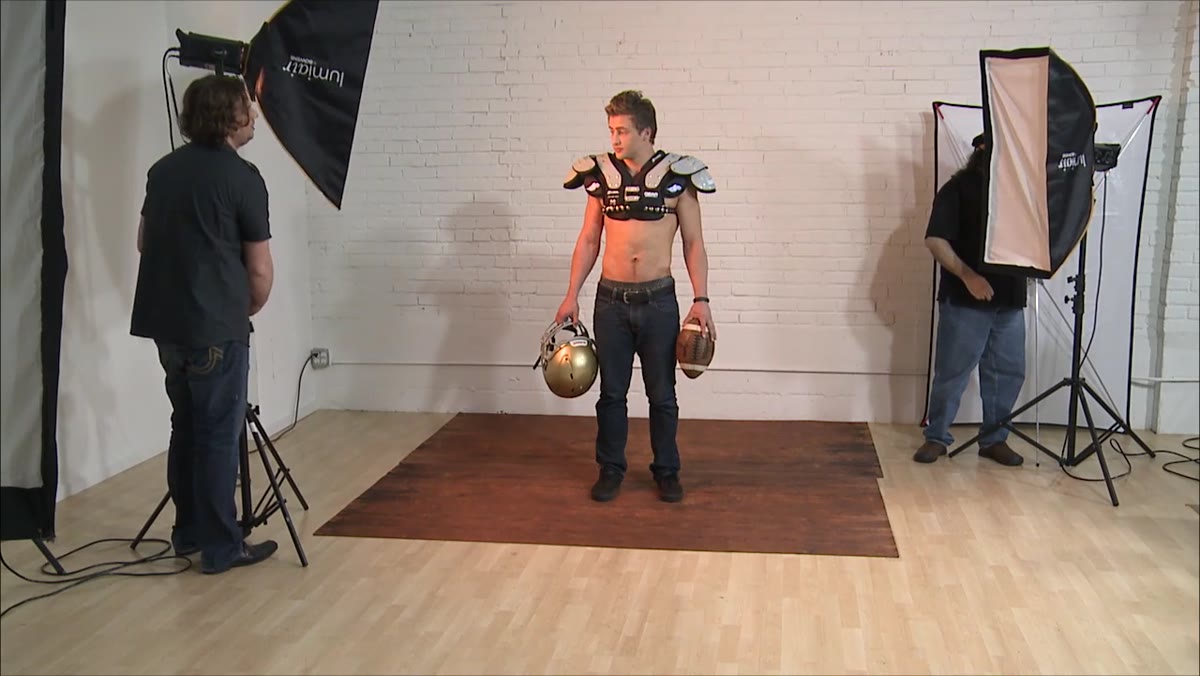 Photographer directing subject to point toes toward the light source
Before any pose detail, the photographer’s first instruction is about the subject’s body orientation relative to the light. Getting the feet and torso pointed correctly toward the source is the foundation everything else sits on. If you skip this step and go straight to arm placement, you’ll spend the whole session fighting the light instead of working with it.
Point your subject’s toes toward the light, then build from the ground up. Feet, hips, shoulders, face. That order keeps you from having to constantly reset because one adjustment knocked everything else out of alignment.
Step 3: Introduce a Prop That Belongs to the Subject
 Subject holding football, photographer adjusting position and rotation of ball
The subject in this session is a football player, and the photographer brings in the helmet and ball as natural props. Notice the level of detail in how the prop is handled: the ball is rotated so the laces are visible, the grip is adjusted, the height is fine-tuned. The prop isn’t just there to fill the frame. It’s being used to reinforce the subject’s identity and give their hands a purpose.
For senior sessions, ask ahead of time what sport, instrument, or activity defines this person’s high school experience. Bring that thing into the frame and treat it with the same intentionality as your lighting. A prop that actually belongs to the subject reads completely differently than a generic accessory.
Step 4: Work Through Poses in a Logical Sequence
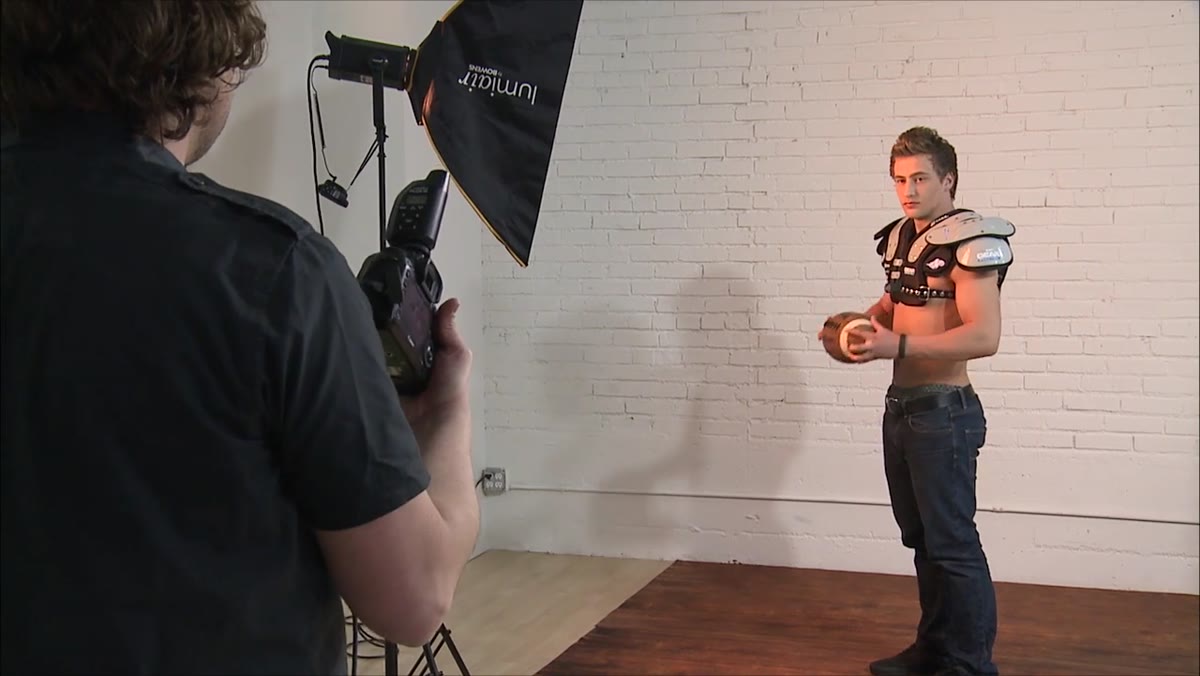 Photographer moving subject through arm and hand variations systematically
The photographer moves through a deliberate series of poses: ball in one hand, ball in two hands, arms crossed with hands gripping the shoulder pads, and finally hands hooked into the belt line. Each pose is a variation on the same general position rather than a completely new setup. The subject barely has to move. The light stays consistent. The photographer is just changing what the hands and arms are doing.
This is the most efficient way to build a pose library in a short session. Anchor the body position, then iterate through hand and arm variations. You’ll get more usable shots in less time, and your subject won’t feel like they’re constantly being repositioned from scratch.
Step 5: Lock the Expression Before You Fire the Shutter
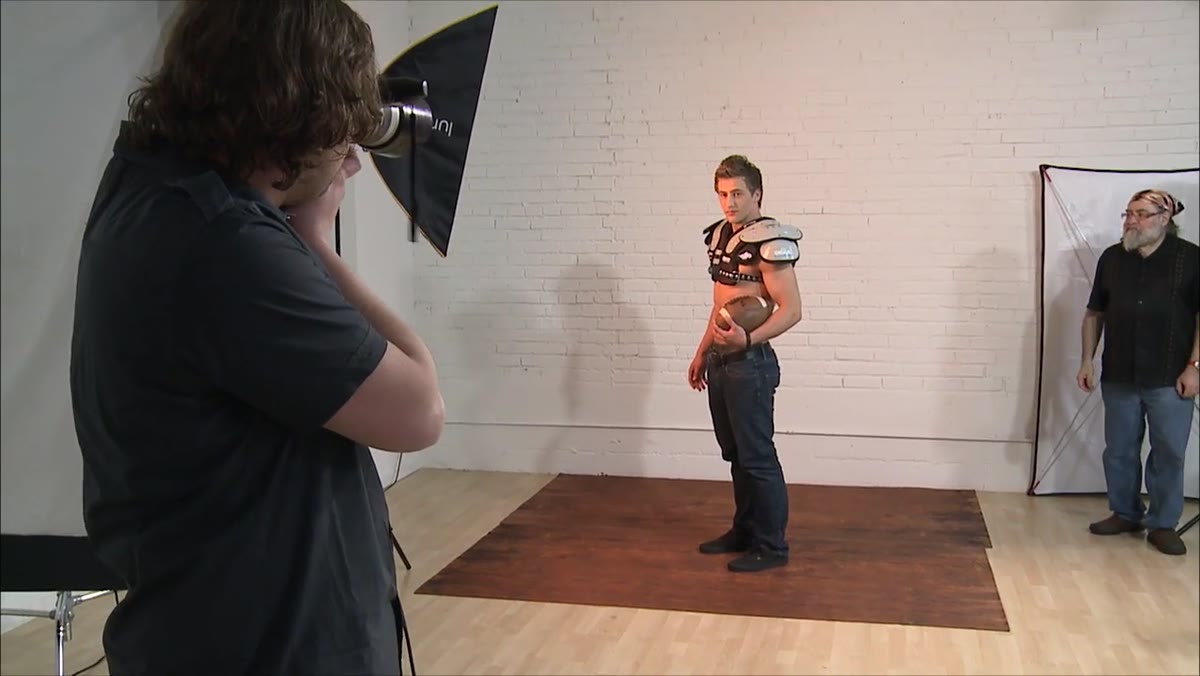 Photographer telling subject to get serious and hold still before shooting
Several times throughout the session, the photographer pauses and very directly asks for a specific expression before shooting. “Get serious with it.” “Don’t move.” These aren’t throwaway instructions. The expression is treated as its own deliberate element, not something that just happens while you’re focused on pose and light.
Get in the habit of calling the expression separately from the pose. Set the body, check the light, then ask for the face. Senior subjects in particular tend to let their expression slip back to neutral or slightly awkward once they think they’ve done the hard part. Calling the shot before you fire it keeps them engaged right through the moment of capture.
Step 6: Do a Quick Review and Fill Any Gaps Before You Wrap
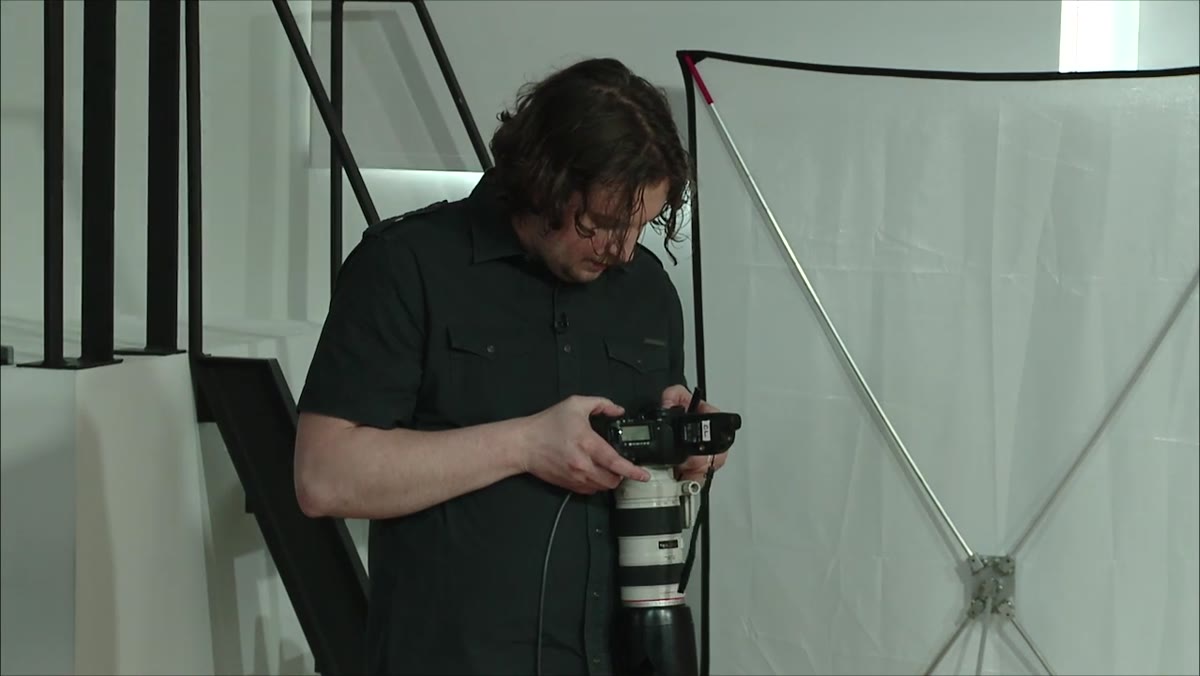 Photographer reviewing shots on camera before releasing the subject
Right before releasing the subject, the photographer does a fast review and realizes all but one pose has a “game face” expression. Rather than calling it done, they go back and reshoot that one pose with a consistent serious look. That’s the difference between a session that produces six technically correct images and one that produces a cohesive set.
Build a 60-second review into the end of every session. Scroll through quickly, ask yourself whether the expressions match, whether the prop reads clearly, whether anything is technically off. It’s much easier to get one more frame while your subject is still there than to wish you had it in post.
What I’d Add From My Own Experience
Split lighting is striking, but it rewards confident direction even more than it rewards perfect gear. The first time I tried a hard-light setup like this, I spent so much mental energy on the technical side that I forgot to actually talk to my subject. The images were well-lit and completely lifeless.
Now I treat the lighting as something I set before the subject even walks in front of it. Once it’s locked, I’m fully present for the direction. I’ve also found it helps to tell the subject why you’re using this particular look. When you explain that you’re going for something editorial and dramatic rather than soft and traditional, most people lean into it rather than fighting it.
The single biggest takeaway from this tutorial is that a great senior portrait session isn’t a free-form exploration. It’s a short, structured sequence built around one clear lighting concept and a pose list you can execute with confidence. Six intentional frames beats thirty scattered ones every time.
Watch the full tutorial on YouTube to see the complete session and lighting setup in action.
Comments
Leave a Comment