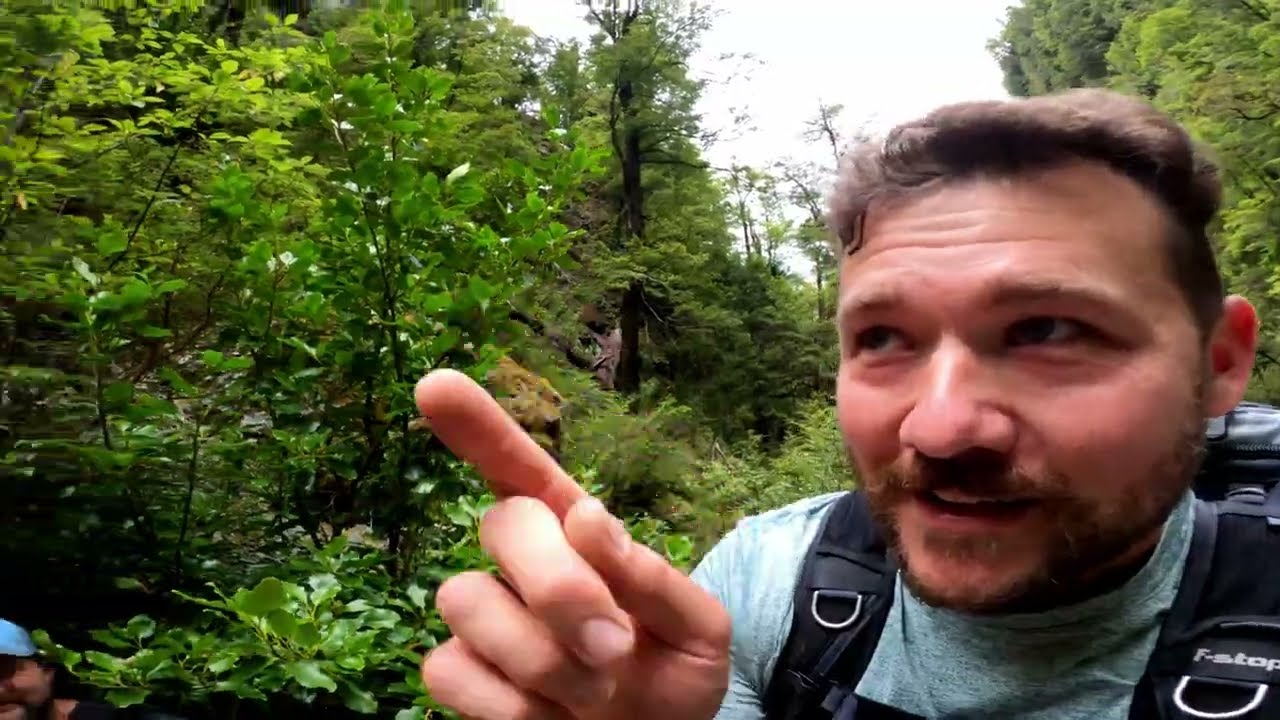
I once spent four consecutive evenings at a waterfall in Olympic National Park, missing dinner every single night, trying to get one shot I’d pre-visualized at home on Google Maps. My husband ate alone and said nothing. I came home on day five with an image I still use in my portfolio, and I learned more about reading terrain and making compositional decisions under pressure than any workshop had ever taught me. So when I found William Patino’s vlog documenting his hike into an uncharted gorge in Fiordland, New Zealand, I watched it twice. Not for the scenery, though the scenery is extraordinary. I watched it for the decision-making.
Watch the full tutorial on YouTube
This isn’t a perfectly lit studio tutorial with a preset download at the end. It’s a real photographer working through a real problem: he’s spotted something on satellite imagery that might be a significant waterfall, he has no idea if it’s accessible or photogenic, and he hikes in anyway with a friend and a camera bag. What unfolds is one of the most honest and instructive examples of on-location decision-making I’ve seen documented. Here’s how he does it, step by step.
Step 1: Use Satellite Imagery to Find Locations Nobody Else Is Shooting
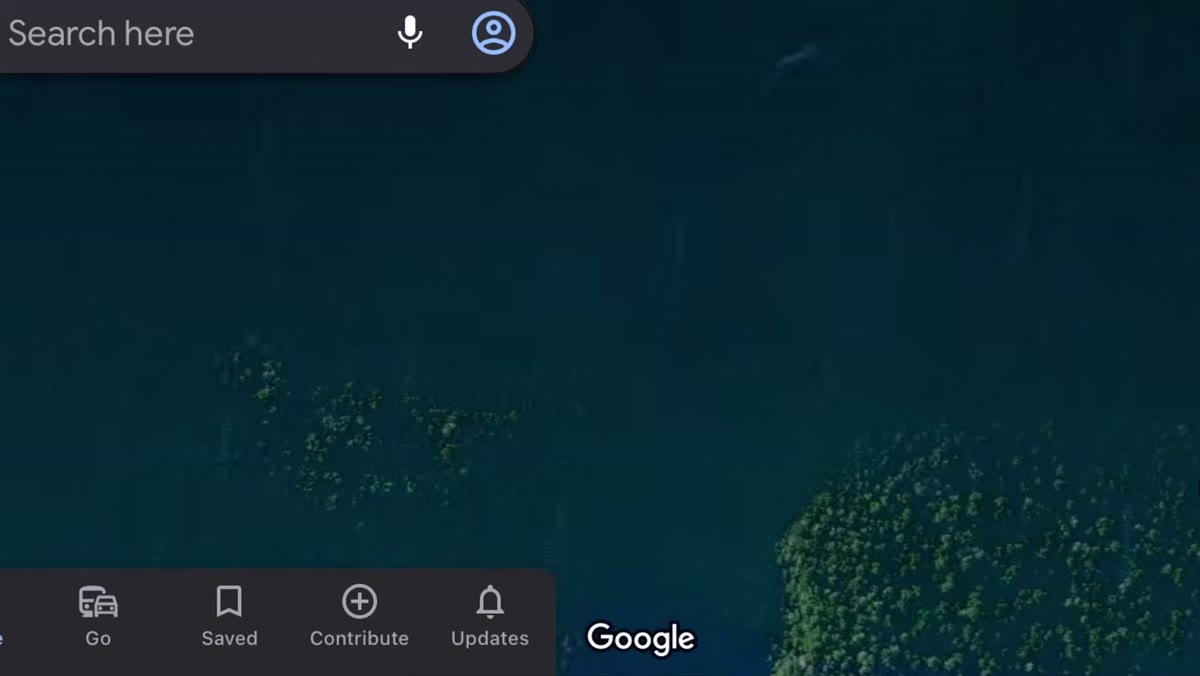 Satellite map showing gorge and large waterfall above it
Before you ever lace up your boots, Patino is already working. He identifies the waterfall not from a photography forum or a “best shots in Fiordland” listicle, but by studying satellite imagery in a maps application. He notices a feature in the upper section of a gorge he’d previously only explored partway. This is the habit that separates photographers who find original images from photographers who shoot the same spots as everyone else.
Satellite map showing gorge and large waterfall above it
Before you ever lace up your boots, Patino is already working. He identifies the waterfall not from a photography forum or a “best shots in Fiordland” listicle, but by studying satellite imagery in a maps application. He notices a feature in the upper section of a gorge he’d previously only explored partway. This is the habit that separates photographers who find original images from photographers who shoot the same spots as everyone else.
Spend time with Google Earth or Apple Maps in satellite view, looking at river systems, gorge lines, and elevation changes. Waterfalls show up as white streaks or abrupt elevation drops. Mark anything that looks interesting, note the access point, and estimate hiking distance. Patino’s target is roughly 1.5 to 2 kilometers from his entry point. That’s useful data before you go.
Step 2: Commit to the Hike With Realistic Expectations
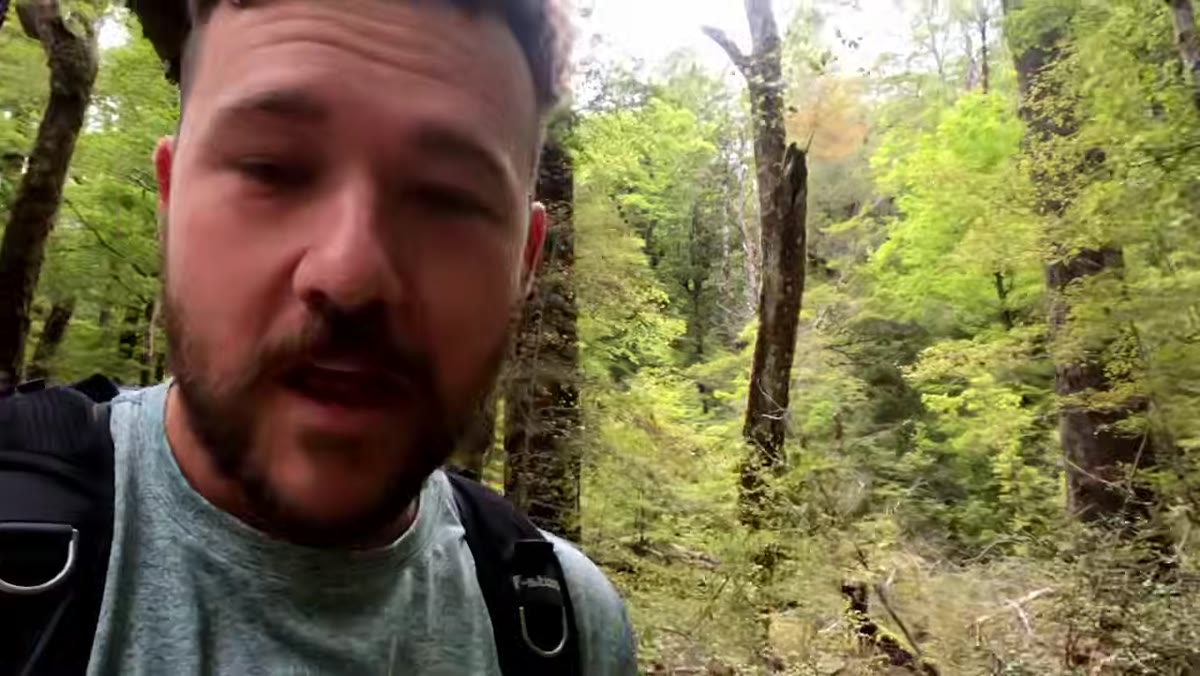 Two hikers making their way up a rocky creek bed
One of the most underrated skills in location photography is the willingness to go without guarantees. Patino is explicit about this as he and his friend pick their way up the creek. He doesn’t know if the waterfall is accessible. He doesn’t know if the vegetation around it will be worth photographing. He goes anyway, driven by what he calls curiosity. That’s not naivety. That’s the correct attitude.
Two hikers making their way up a rocky creek bed
One of the most underrated skills in location photography is the willingness to go without guarantees. Patino is explicit about this as he and his friend pick their way up the creek. He doesn’t know if the waterfall is accessible. He doesn’t know if the vegetation around it will be worth photographing. He goes anyway, driven by what he calls curiosity. That’s not naivety. That’s the correct attitude.
When you scout a new location, go in with a checklist of what you’re hoping to find, but hold it loosely. Patino is looking for access to the base of the fall, a plunge pool, and foreground plant life. Those three things would give him a workable composition. Make your own version of that list before any hike. It keeps you observant rather than reactive.
Step 3: Read the Terrain as You Move and Adjust Your Plan
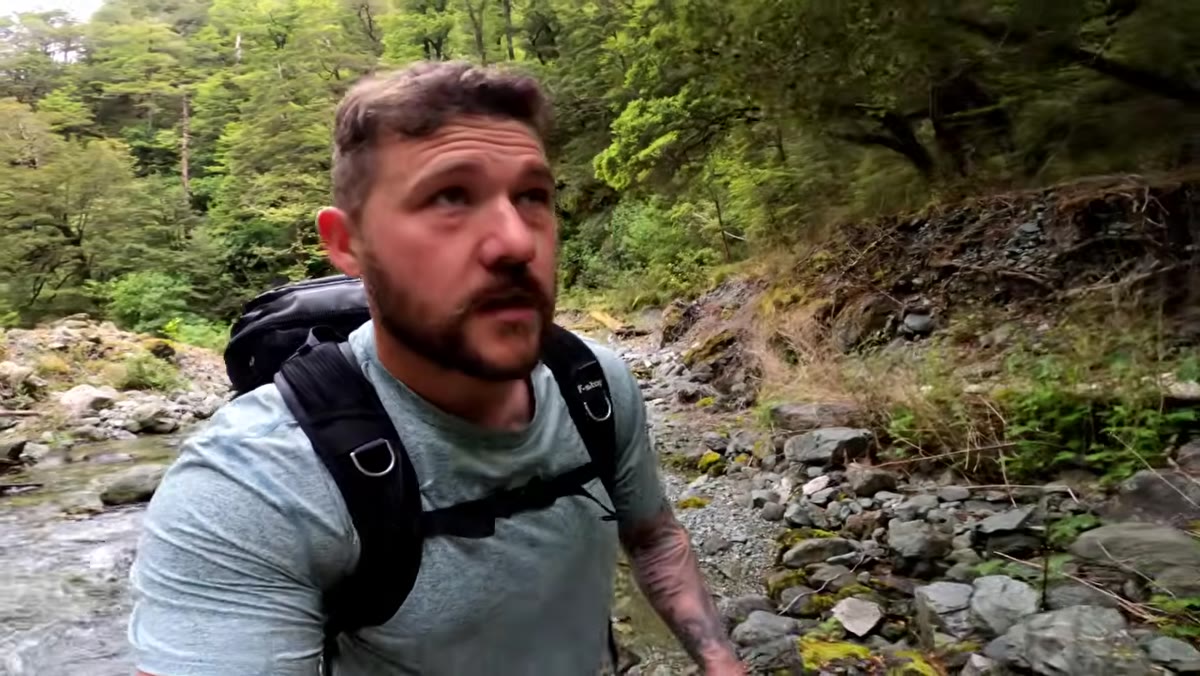 Gorge walls narrowing, debris from landslides visible on branches
As the gorge tightens around him, Patino is already recalibrating. He notes the tree fall, the landslide debris, the way the walls are starting to close in. He’s scanning for any secondary feature that might add to a composition, including a side cascade that he suspects would run heavily on a rain day. This is active observation, not just walking.
Gorge walls narrowing, debris from landslides visible on branches
As the gorge tightens around him, Patino is already recalibrating. He notes the tree fall, the landslide debris, the way the walls are starting to close in. He’s scanning for any secondary feature that might add to a composition, including a side cascade that he suspects would run heavily on a rain day. This is active observation, not just walking.
Train yourself to look at a landscape the way a director scouts a film location. Ask: what is the light doing here at different times of day? Where does water collect? What would this look like after rain? What’s the leading line, and where does it take the eye? You can answer some of these questions in the moment, but having the instinct to ask them is something you build deliberately, hike after hike.
Step 4: Choose Your Focal Length Before You Descend Into a Scene
 Photographer looking at the waterfall, deciding to use wide angle
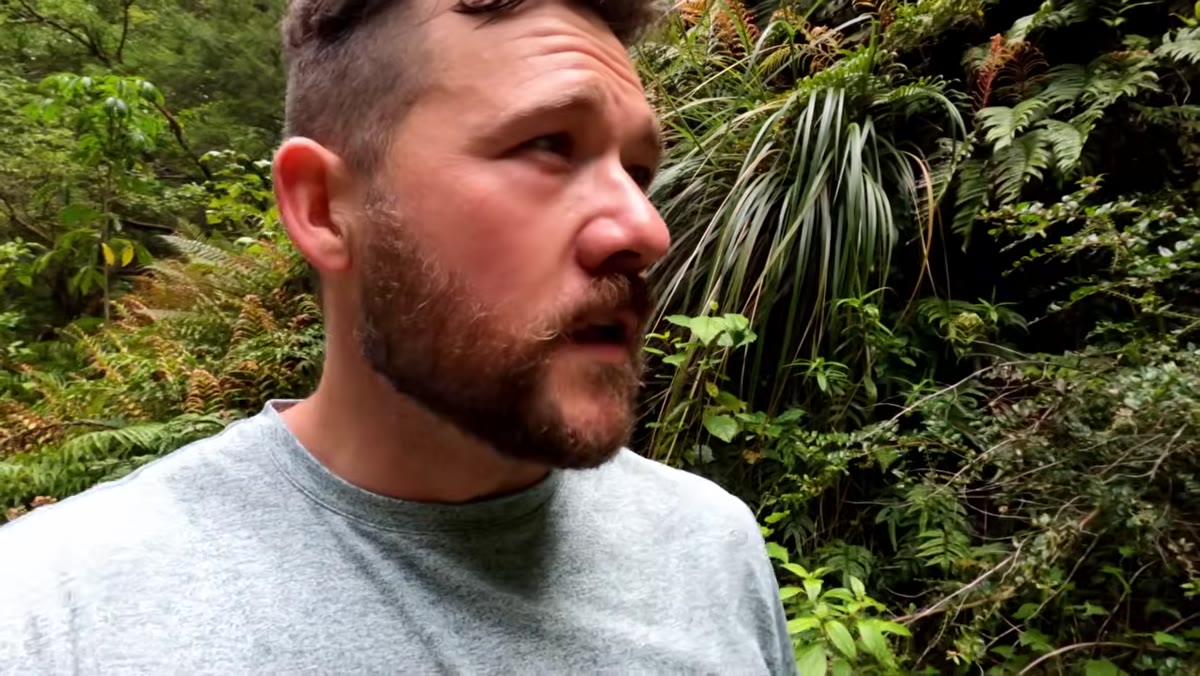
When Patino finally reaches the waterfall and takes in the full scene, his first decision is gear-based. He wants to capture a significant amount of the fall while also including the environment around it, so he reaches for a wide angle lens. This sounds obvious, but it’s a decision he makes standing above the scene before he climbs down into it. That order matters.
Photographer looking at the waterfall, deciding to use wide angle
When Patino finally reaches the waterfall and takes in the full scene, his first decision is gear-based. He wants to capture a significant amount of the fall while also including the environment around it, so he reaches for a wide angle lens. This sounds obvious, but it’s a decision he makes standing above the scene before he climbs down into it. That order matters.
Wide angle lenses, typically 16mm to 24mm on a full-frame body, let you include a large waterfall and its surrounding landscape in a single frame, but they also exaggerate the foreground. That means the foreground needs to be interesting. Before you descend into any scene, look at the whole composition from your entry point. Ask yourself what focal length serves that vision. Changing lenses while crouched over a creek is frustrating and risks gear. Make the call from a high, dry vantage point.
Step 5: Diagnose the Foreground-to-Background Problem Before You Shoot
 Wide view of waterfall with barren, sparse surroundings visible
Here’s where the tutorial becomes genuinely valuable for anyone learning composition. Patino arrives at the waterfall and finds that the surrounding landscape is largely barren. Landslides have stripped the vegetation. The angle of the fall is awkward. And critically, there’s no midground. He can see foreground, and he can see the fall in the background, but there’s nothing connecting them visually. He says this out loud, which is the kind of honest field commentary that most photography content glosses over.
Wide view of waterfall with barren, sparse surroundings visible
Here’s where the tutorial becomes genuinely valuable for anyone learning composition. Patino arrives at the waterfall and finds that the surrounding landscape is largely barren. Landslides have stripped the vegetation. The angle of the fall is awkward. And critically, there’s no midground. He can see foreground, and he can see the fall in the background, but there’s nothing connecting them visually. He says this out loud, which is the kind of honest field commentary that most photography content glosses over.
A strong landscape composition typically needs three planes: something close, something in the middle distance, and something far. When one of those is missing, the image feels flat or disjointed. Patino’s instinct is to move lower, toward the creek, to use the water flow as that middle layer. If you’re ever stuck on location and the image isn’t working, ask yourself which of the three planes is absent, then physically reposition until you can find or create it.
Step 6: Keep Exploring When the First Angle Fails
 Photographer moving around corner toward possible cave formation
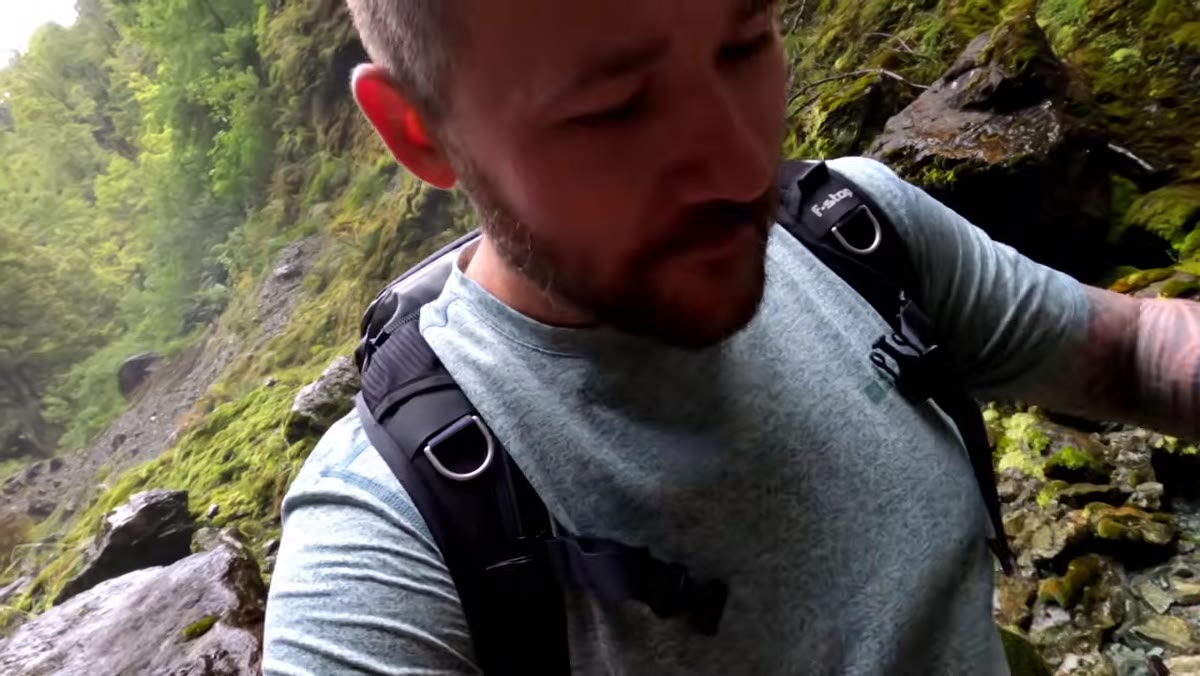
Rather than forcing a shot from an unsatisfying position, Patino keeps moving. His companion spots what looks like a cave around a bend, and they go investigate. It turns out to be too deep with water to access safely, but the instinct to keep looking is correct. The best composition at a location isn’t always the first one you see or the most obvious one.
Photographer moving around corner toward possible cave formation
Rather than forcing a shot from an unsatisfying position, Patino keeps moving. His companion spots what looks like a cave around a bend, and they go investigate. It turns out to be too deep with water to access safely, but the instinct to keep looking is correct. The best composition at a location isn’t always the first one you see or the most obvious one.
Give yourself permission to spend the first fifteen to twenty minutes of any shoot just moving around without raising the camera. Walk the perimeter. Look back the way you came. Get low. Get high. Photographers who plant their tripod at the first promising spot and stay there often leave value on the table. The image you almost didn’t find is usually the strongest one.
What I’d Add: Factor In Wind Before You Commit to a Long Exposure
Patino mentions wind as a genuine problem at the waterfall. The sparse remaining vegetation is blowing significantly, which would ruin the sharp foreground details he’d need for a strong wide-angle image at slow shutter speeds. He’s right to name it as a variable.
When I’m shooting water, I always check wind at the forecast level before I go, and I check it again on arrival. Apps like Windy give hyperlocal wind modeling that’s surprisingly accurate for mountain terrain. If the wind is over about 10 to 12 mph and you’re shooting plants or foliage at shutter speeds longer than 1/60, you’ll get motion blur in your greenery that you probably didn’t intend. Either wait for a calm moment, shoot faster and reduce your depth of field, or accept the blur as part of the mood. Just don’t be surprised by it.
The single most important thing Patino models in this video is this: curiosity is a photography technique. He goes into an unmapped gorge with a lead from satellite imagery, no guarantee of a shot, and a friend in rubber boots. He diagnoses compositional problems out loud. He keeps moving when the first angle doesn’t work. He doesn’t manufacture enthusiasm for an image he can’t honestly get.
That’s the job. And it looks a lot like this.
Watch the full tutorial on YouTube to follow Patino through the full hike and see the final compositions he attempts at the waterfall.
Comments
Leave a Comment