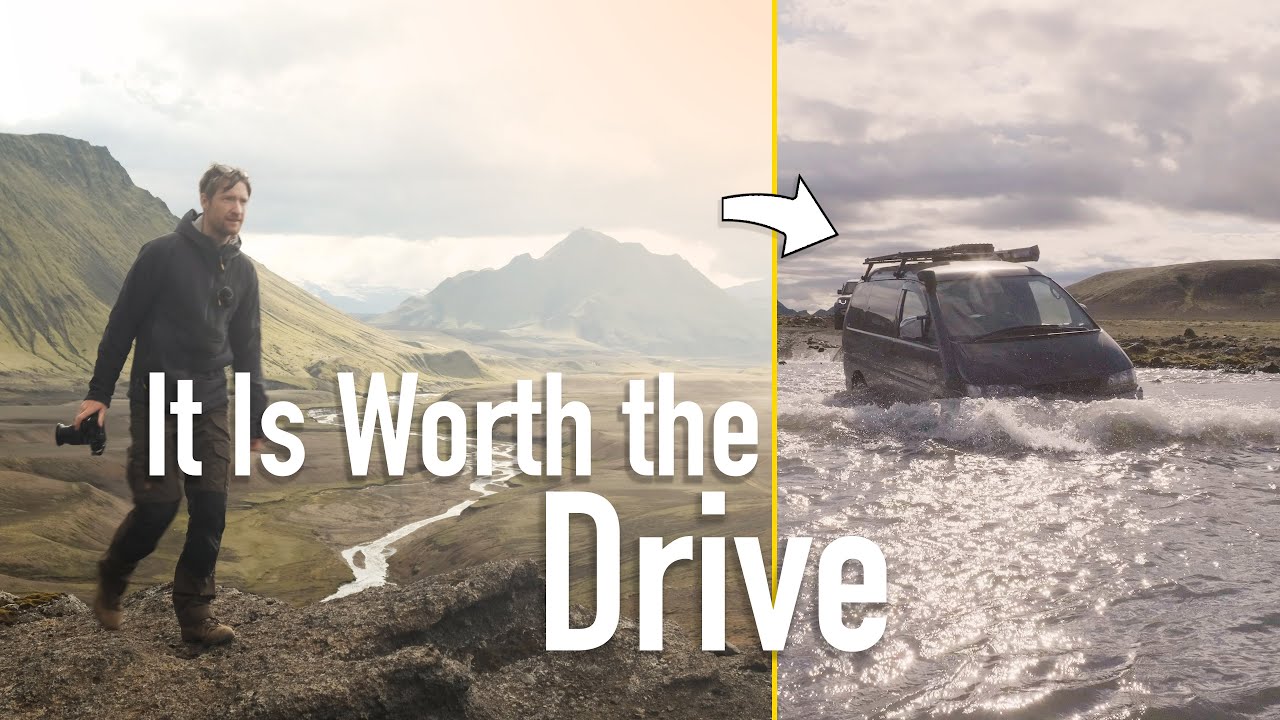
There’s a particular kind of frustration that comes from arriving at a stunning location with no plan. You’ve seen the photos online, you know it’s spectacular, but you’re standing there spinning in circles, camera in hand, with no idea where to point it. I’ve been there more times than I’d like to admit, including one embarrassing week in Oregon where I spent three days circling a waterfall before I finally understood what I was actually looking for compositionally. What separates photographers who consistently come home with strong images from those who don’t isn’t gear or luck. It’s a scouting and decision-making process that happens before the shutter ever clicks.
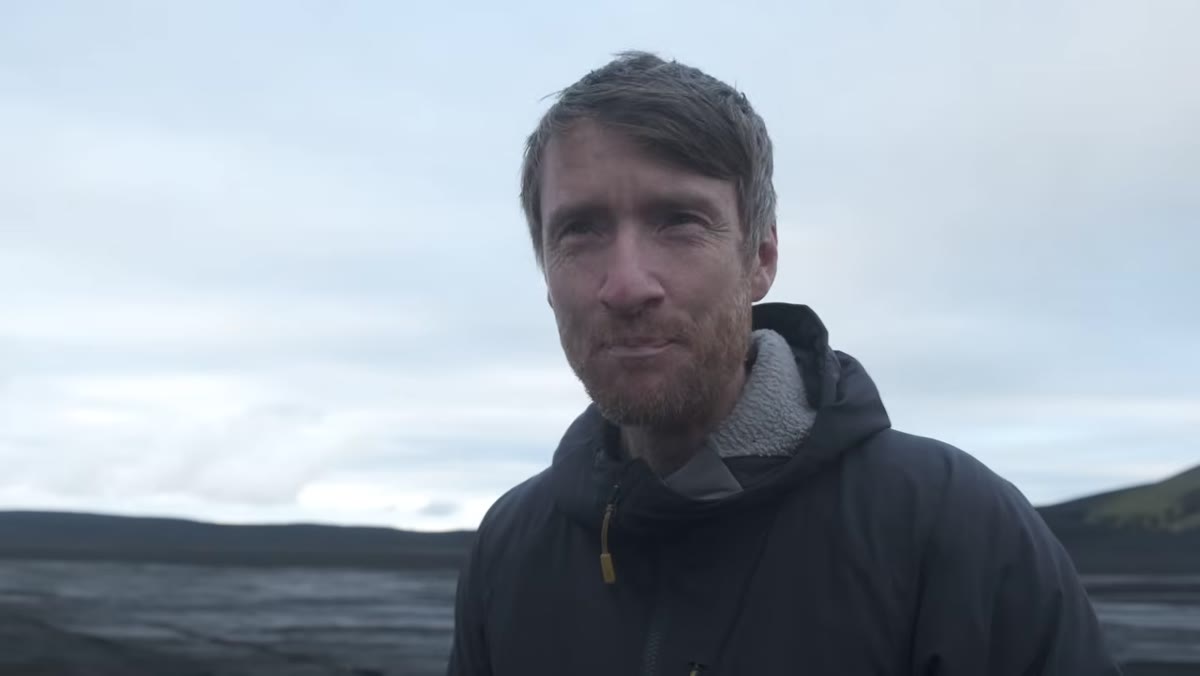
In this Thomas Heaton tutorial, Watch the full tutorial on YouTube, Heaton drives his off-road campervan into Iceland’s Southern Highlands alongside a group of experienced photographers including Norman McCloskey, Nick Page, Sean Bagshaw, and Peter Gordon. What unfolds is less of a formal lesson and more of a real-time demonstration of how seasoned landscape photographers actually think in the field. The decisions he makes, from choosing a vantage point to framing his final shot, map onto principles any photographer can take home.
What I love about watching Heaton work is that he doesn’t pretend the process is tidy. He climbs a hill, reconsidering his composition twice before he locks in. He talks himself through problems out loud. That kind of honest, iterative thinking is exactly what I try to model with my own students, and it’s worth breaking down step by step.
Step 1: Choose Mobility Over Comfort
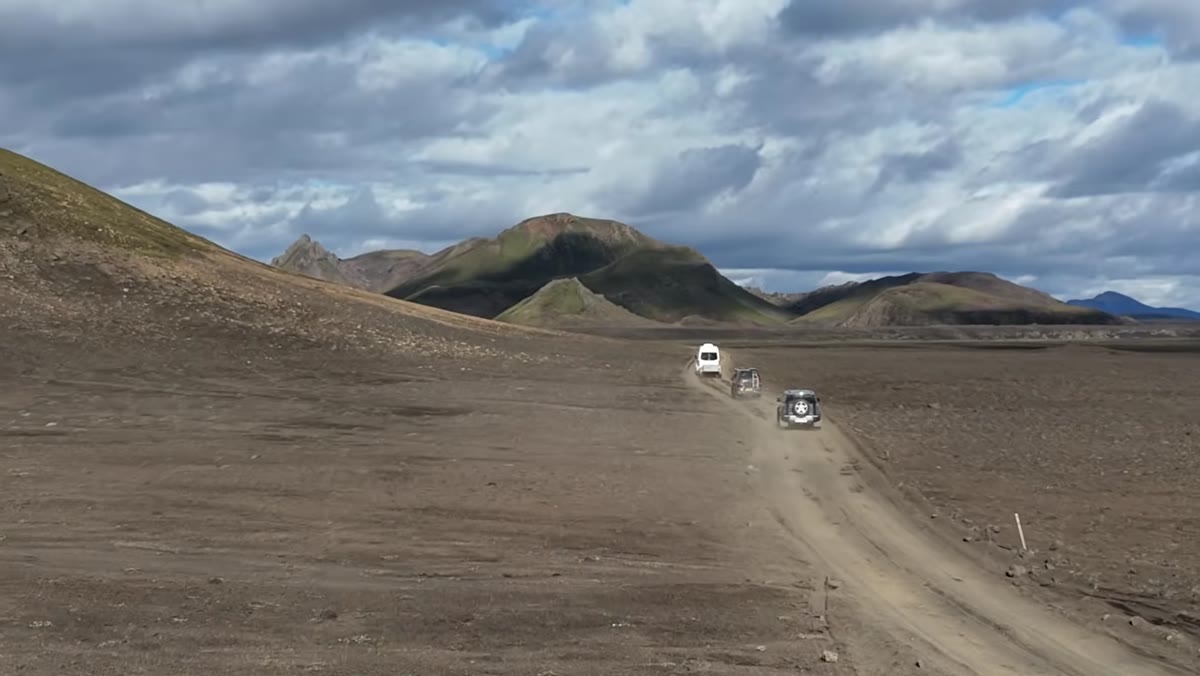 Thomas arriving at Iceland’s Southern Highlands in his campervan
Heaton drives his own van from the UK to Iceland, and he’s direct about why that matters: being able to camp close to a location means he can respond to light without logistical friction. When the group sets up camp in the Highlands, they’re already where they need to be. No hotel checkout times, no long drives at 3am.
Thomas arriving at Iceland’s Southern Highlands in his campervan
Heaton drives his own van from the UK to Iceland, and he’s direct about why that matters: being able to camp close to a location means he can respond to light without logistical friction. When the group sets up camp in the Highlands, they’re already where they need to be. No hotel checkout times, no long drives at 3am.
This is a practical lesson that scales even if you’re not shipping a van across the North Sea. When you plan a shoot, ask yourself how close you can physically get to your subject before the shoot begins. Camping permits, overnight parking lots near trailheads, or even booking an Airbnb within walking distance of your location can be the difference between catching golden hour and watching it from a car.
Step 2: Use a Drone as a Scouting Tool, Not Just a Camera
 DJI Air 3 drone launching over black sand desert landscape
Heaton picks up a DJI Air 3 and immediately frames its value in a way that reframed how I think about drones myself. He describes it not as a camera that makes pretty aerial shots, but as a way to instantly see the landscape from an elevated vantage point, the kind of perspective that used to require a long hike.
DJI Air 3 drone launching over black sand desert landscape
Heaton picks up a DJI Air 3 and immediately frames its value in a way that reframed how I think about drones myself. He describes it not as a camera that makes pretty aerial shots, but as a way to instantly see the landscape from an elevated vantage point, the kind of perspective that used to require a long hike.
If you shoot with a drone, try using it as your first scouting step rather than your last creative flourish. Send it up, take a slow 360-degree pan from a medium altitude, and study the footage before you ever set up your tripod on the ground. You’ll identify leading lines, natural frames, and the relationship between elements in the scene in a fraction of the time. No drone? Use Google Earth’s 3D view or a topographic map app before you arrive to simulate the same elevated perspective.
Step 3: Hike to Match the Drone’s Perspective
 Heaton hiking up rocky peak above the black sand desert
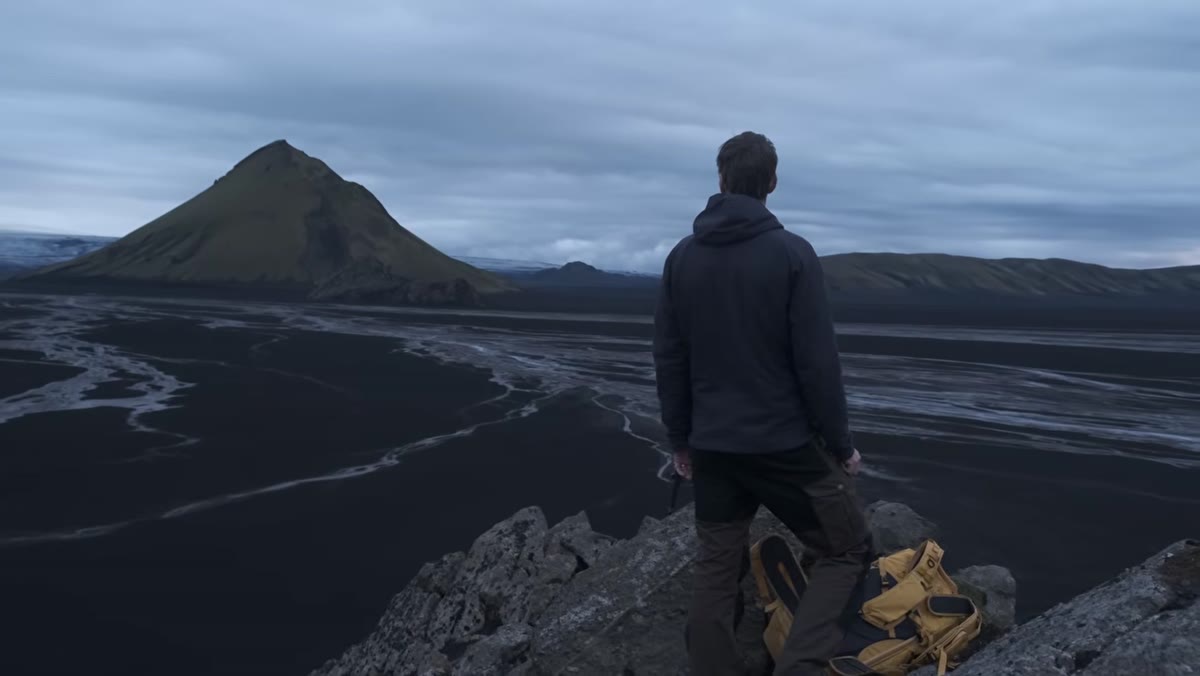
After flying the drone, Heaton does something I really respect: he decides to hike up a manageable peak so he can see the same composition with his own eyes and his tripod. He notes that the elevated view reveals two distinct shots from the same location, one facing the green mountain with rivers running toward it, and another behind him where the rivers run horizontally through the frame.
Heaton hiking up rocky peak above the black sand desert
After flying the drone, Heaton does something I really respect: he decides to hike up a manageable peak so he can see the same composition with his own eyes and his tripod. He notes that the elevated view reveals two distinct shots from the same location, one facing the green mountain with rivers running toward it, and another behind him where the rivers run horizontally through the frame.
This is the scouting mindset in action. One location is not one shot. Train yourself to physically move around a scene and count how many distinct compositions exist before you commit to any single one. Even a 20-foot change in elevation or a 90-degree turn can reveal a completely different image. I keep a small notepad in my jacket pocket on location walks specifically to sketch out the two or three strongest compositions before I start shooting.
Step 4: Let Compositional Problems Drive Your Physical Position
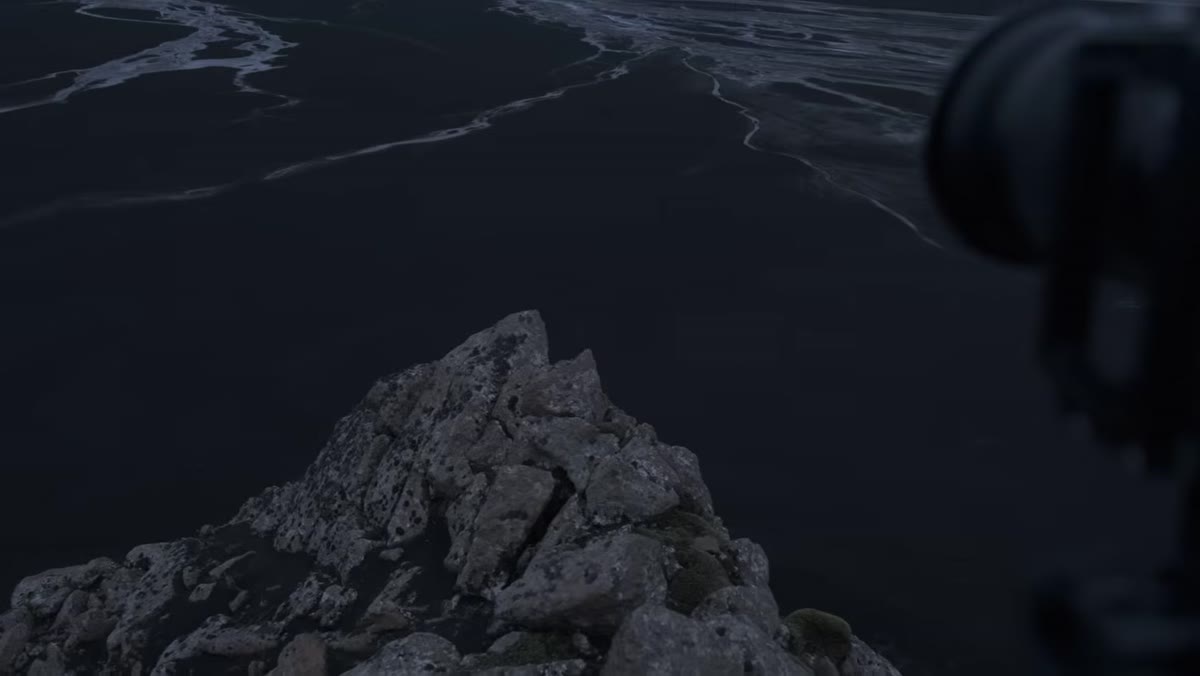 Heaton repositioning tripod at the rocky cliff edge for clean composition
Once Heaton is at the top of the peak, he identifies a specific problem: a triangular piece of foreground rock that looks out of place rather than grounding the composition. His solution isn’t to zoom in and crop it out. He physically moves to the very edge of the rock face to find an angle where the foreground works with the frame rather than against it.
Heaton repositioning tripod at the rocky cliff edge for clean composition
Once Heaton is at the top of the peak, he identifies a specific problem: a triangular piece of foreground rock that looks out of place rather than grounding the composition. His solution isn’t to zoom in and crop it out. He physically moves to the very edge of the rock face to find an angle where the foreground works with the frame rather than against it.
This is a habit worth building deliberately. Before you adjust any setting on your camera, ask whether the problem you’re seeing in the viewfinder is a camera problem or a position problem. Nine times out of ten, moving your feet or shifting your tripod by a few inches will solve it faster than any focal length adjustment. The shot Heaton lands on has strong horizontal river lines leading toward a green mountain peak, framed in a 16:9 letterbox crop that emphasizes the width of the landscape.
Step 5: Commit to a Crop Ratio Before You Shoot
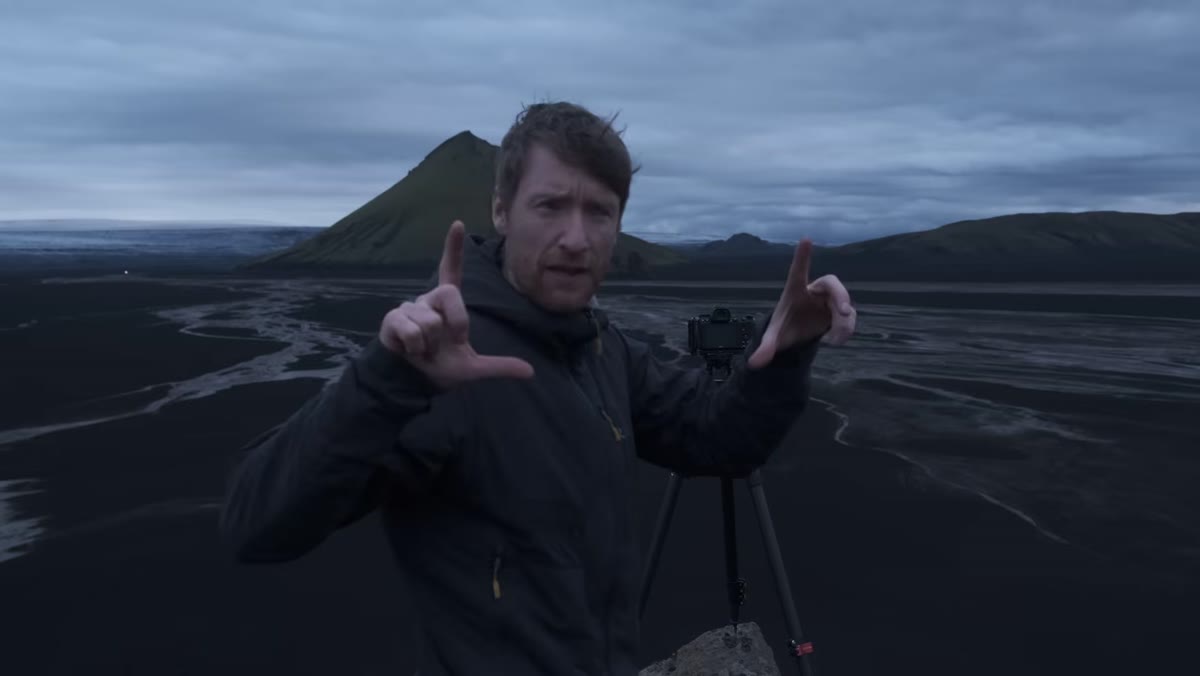 Camera framed in 16x9 letterbox ratio above the highland river system
Heaton explicitly decides on a 16:9 crop before he takes the shot, not in post. He knows the letterbox format will emphasize the horizontal sweep of the rivers and the wide landscape character of the Highlands, and he composes accordingly.
Camera framed in 16x9 letterbox ratio above the highland river system
Heaton explicitly decides on a 16:9 crop before he takes the shot, not in post. He knows the letterbox format will emphasize the horizontal sweep of the rivers and the wide landscape character of the Highlands, and he composes accordingly.
This is something I push hard in my own workshops: know your output format before you frame the shot. If you’re going to crop to a square for Instagram, frame for a square in the field. If you want a cinematic wide crop for a print, mentally draw those horizontal bars in your viewfinder before you set your tripod height. Shooting full frame and “fixing it later” usually means cropping out the very foreground detail that made the image interesting in the first place.
What I’d Add From My Own Experience
Heaton is working with a group of experienced photographers on this trip, and that matters more than it might seem at first glance. Having even one other set of eyes on a location changes how quickly you identify strong compositions. I’ve started treating my Sunday photo walks less as solo expeditions and more as low-stakes collaborative scouts, even if that just means texting a frame to a photographer friend and asking what they see.
If you can’t always shoot with other people, try this instead: after you take what you think is your best shot, turn 180 degrees and spend five minutes actively looking in the opposite direction. Heaton does this naturally on that hilltop, and it’s how he finds his second composition. Deliberately fighting your first instinct about where the shot is can open up images you would have walked right past.
The single most transferable lesson from watching Heaton work in Iceland’s Highlands is this: strong landscape photography is a sequence of physical decisions, not a series of camera settings. Get closer to the location, get above it first, then move your feet until the composition solves itself.
Watch the full tutorial on YouTube to see the full Highland adventure and all the behind-the-scenes moments with the group that a breakdown like this can’t fully capture.
Comments (1)
Wow, I had no idea you could do this. Mind blown.
Leave a Comment