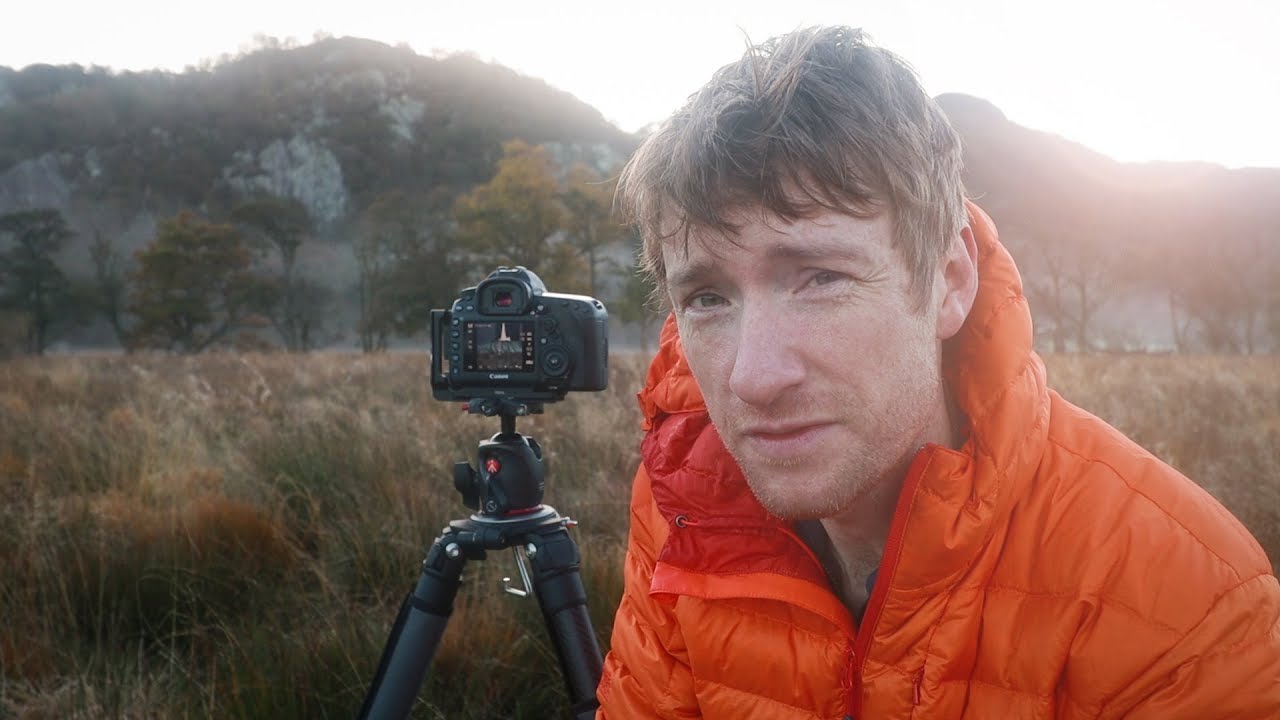
Every Sunday morning I do a photo walk. It started as a way to stay sharp between paid shoots, but it’s turned into the single best thing I do for my photography. The problem I kept running into, especially in the early days, was showing up to a beautiful location and coming home with nothing. The light was fine, the scenery was there, but I had no framework for how to find a shot when one wasn’t obviously presenting itself.
That’s exactly why this Thomas Heaton tutorial stopped me mid-scroll. Watch the full tutorial on YouTube before or after reading this, because seeing the actual light conditions he’s working with makes everything click faster. In it, Heaton spends an autumn afternoon and the following morning working through two very different light situations on the English fells, and the way he talks himself through each decision is the kind of thing photography school doesn’t always teach you.
What I love about this tutorial is that it’s not about gear or presets. It’s about the thinking that happens before you even touch your camera. Here’s how to break it down and put it to work.
Step 1: Explore Without Pressure First
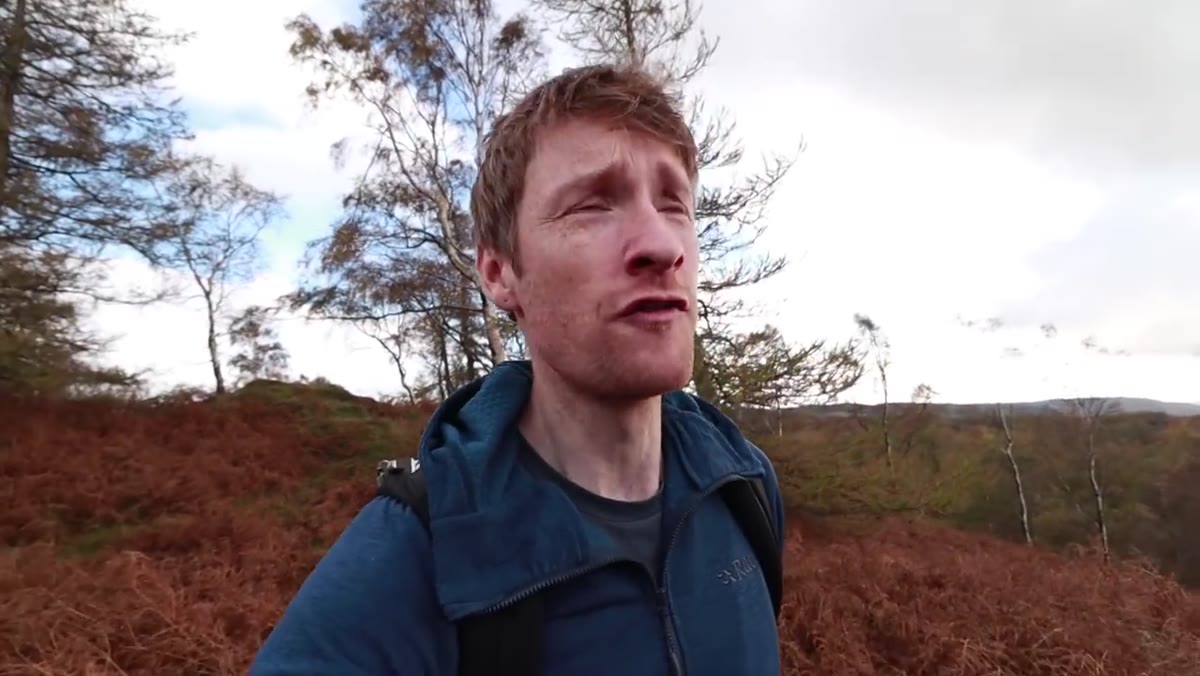 Thomas walking remote fell with no marked footpaths
Before Heaton even mentions his camera, he talks about wandering. He and his friend spend close to an hour on a remote fell with no real plan, following their instincts and looking for anything that catches their eye. This is not wasted time. This is the work.
Thomas walking remote fell with no marked footpaths
Before Heaton even mentions his camera, he talks about wandering. He and his friend spend close to an hour on a remote fell with no real plan, following their instincts and looking for anything that catches their eye. This is not wasted time. This is the work.
If you arrive somewhere and immediately set up your tripod on the first decent-looking view, you’ve probably left a better composition fifty meters behind you. Give yourself a dedicated exploration window before you commit to a shot. I usually budget at least twenty minutes just to walk, especially somewhere new. Leave the tripod in the bag and use that freedom to move quickly and look widely.
Step 2: Let a Single Element Stop You
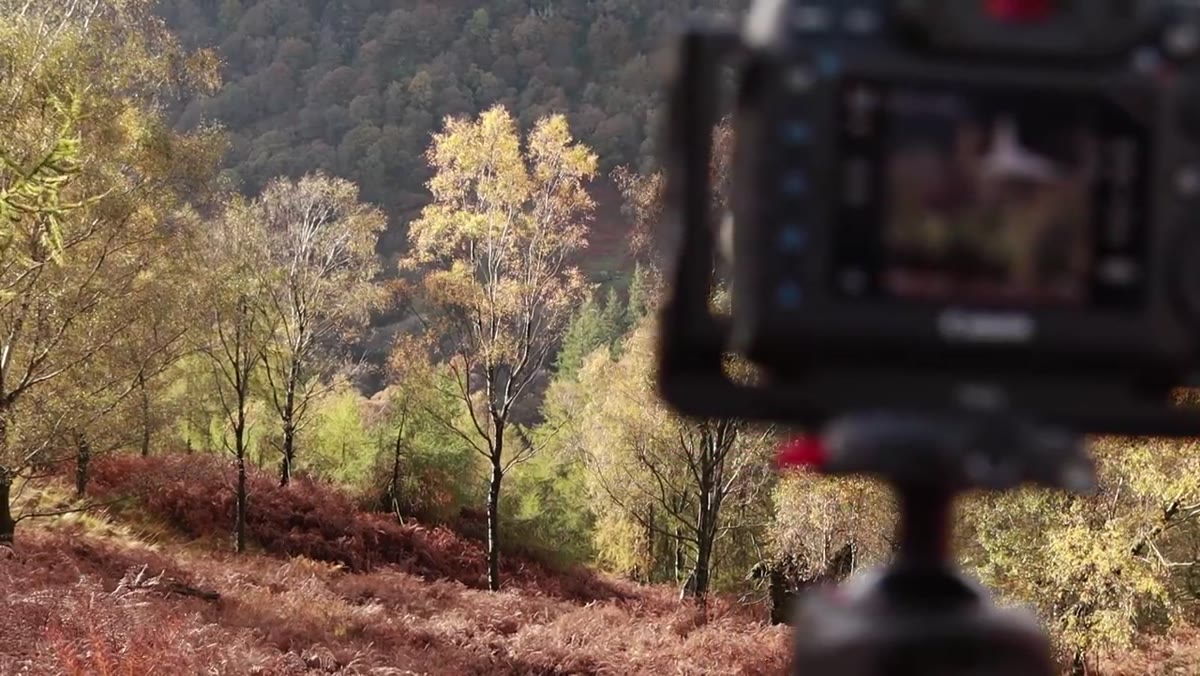 Vibrant yellow tree standing alone on the fell
Heaton eventually locks onto one tree. Not a sweeping valley vista, not a dramatic sky. One tree, standing mostly alone, with vibrant yellow leaves catching the sidelight. He’s clear about why it stopped him: color and simplicity.
Vibrant yellow tree standing alone on the fell
Heaton eventually locks onto one tree. Not a sweeping valley vista, not a dramatic sky. One tree, standing mostly alone, with vibrant yellow leaves catching the sidelight. He’s clear about why it stopped him: color and simplicity.
This is a useful mental filter. Ask yourself what specifically is making you want to raise your camera. If you can’t name it, keep walking. When you can name it, as Heaton could with that tree, that named thing becomes your anchor. Everything else in the frame either supports it or competes with it. The subject doesn’t have to be dramatic. It just has to be clear.
Step 3: Use Crop Ratios to Solve Composition Problems In-Camera
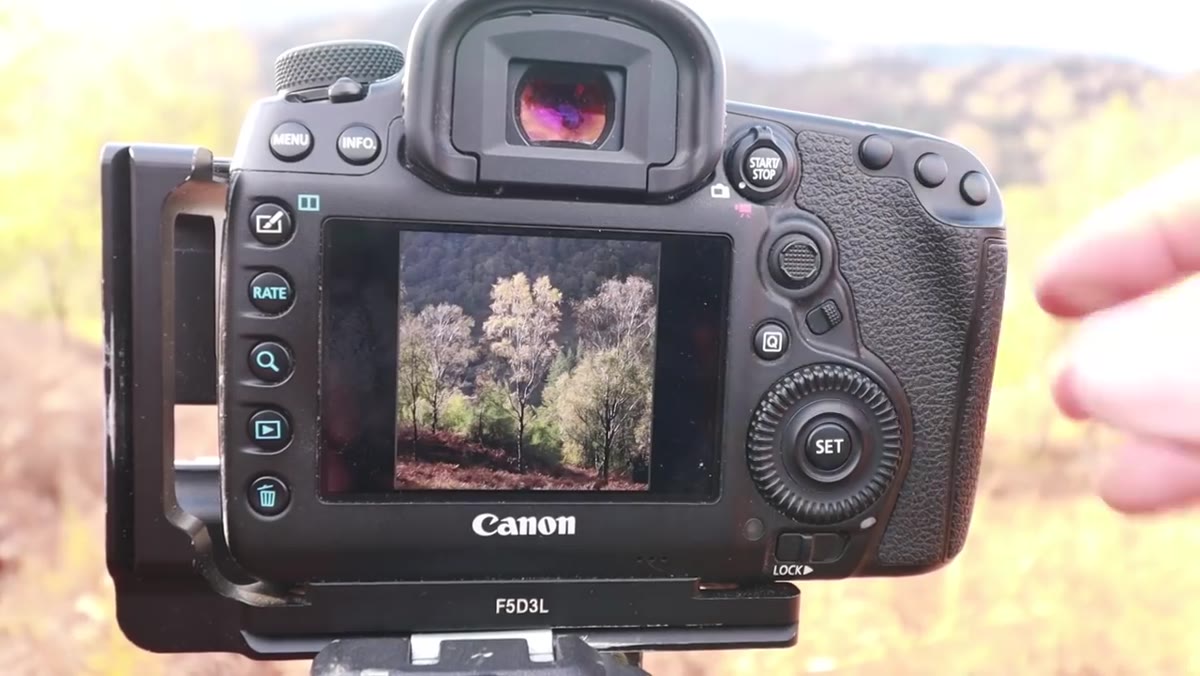 Camera display showing 1:1 square crop overlay on tree composition
Here’s a practical trick I started using after watching this video. When Heaton framed the tree initially, the composition felt unbalanced, with too much competing visual information coming in from both sides. Instead of guessing his way to a fix, he switched on a 1:1 square crop overlay in his camera. Non-destructive, just a preview, but it immediately showed him that a square format would center and simplify the image.
Camera display showing 1:1 square crop overlay on tree composition
Here’s a practical trick I started using after watching this video. When Heaton framed the tree initially, the composition felt unbalanced, with too much competing visual information coming in from both sides. Instead of guessing his way to a fix, he switched on a 1:1 square crop overlay in his camera. Non-destructive, just a preview, but it immediately showed him that a square format would center and simplify the image.
Most cameras let you toggle crop overlays in the live view or electronic viewfinder settings. A square crop works especially well for isolated subjects with strong symmetry or strong contrast between subject and background. If your camera doesn’t have that option, hold up your hands to form a square frame and physically look through it. Low-tech, but it works. I’ve done it on location more times than I’d like to admit.
Step 4: Use Sidelight and Background Shadow as a Contrast Pair
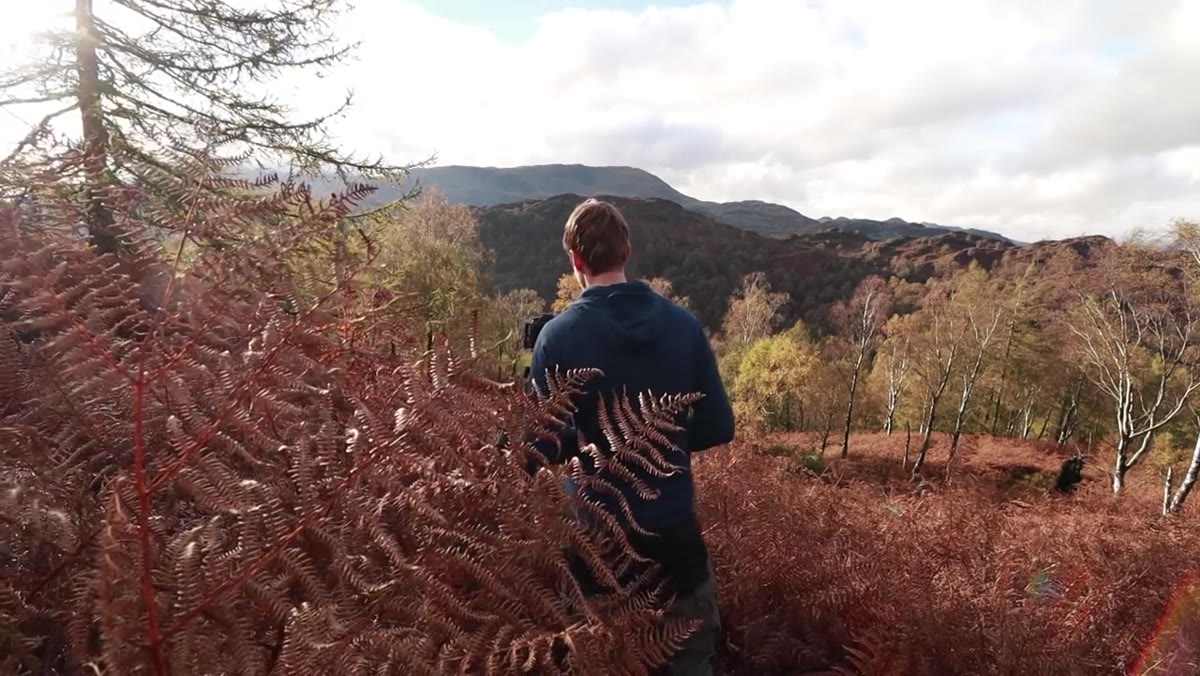 Sidelit yellow leaves against deep shadowed background
The reason Heaton’s tree image works comes down to one lighting relationship: the leaves are catching direct sidelight, and the background is in deep shadow. That contrast does all the heavy lifting. The yellow glows against the dark because of how the light is raking across the scene from one side.
Sidelit yellow leaves against deep shadowed background
The reason Heaton’s tree image works comes down to one lighting relationship: the leaves are catching direct sidelight, and the background is in deep shadow. That contrast does all the heavy lifting. The yellow glows against the dark because of how the light is raking across the scene from one side.
Afternoon light, especially in autumn, creates this naturally when the sun is lower in the sky. You don’t need to manufacture it. You need to position yourself so your subject is between you and the light source, with something dark behind it. Look for hillsides, tree lines, or buildings that cast shadow behind your subject. If the background is also lit, the subject loses its pop. Move until the shadow is behind what you’re shooting.
Step 5: Shoot Shallow to Separate Subject from Background
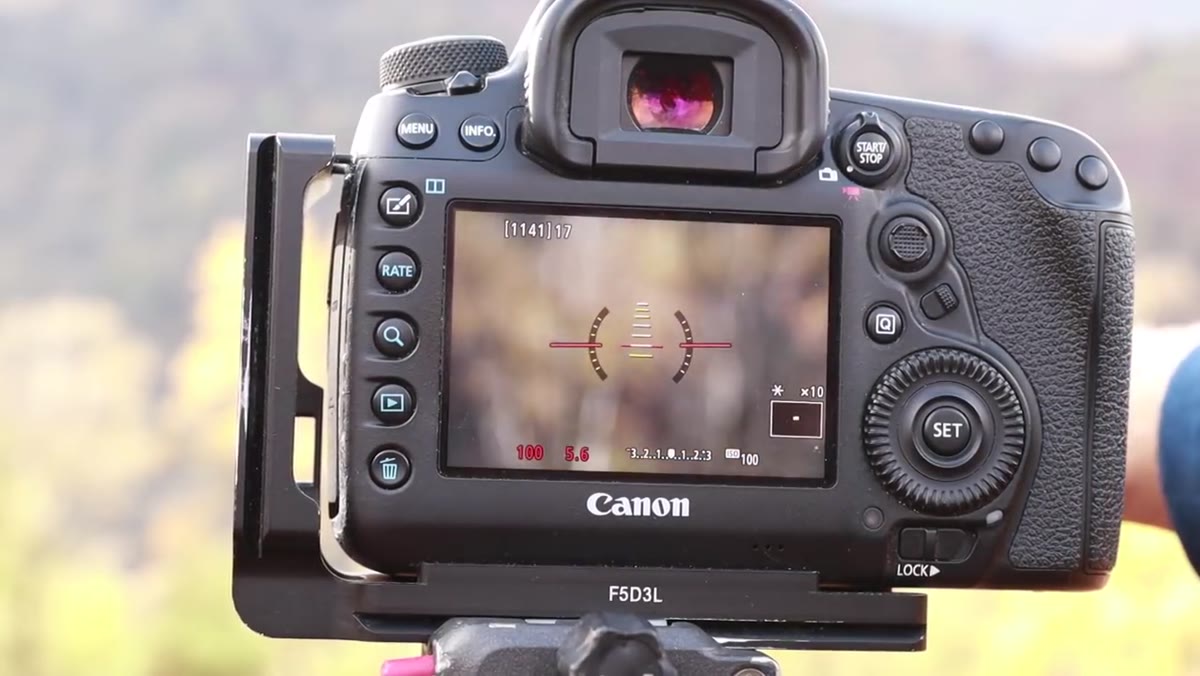 Camera settings visible, aperture at f/5.6 on isolated tree
For the tree shot, Heaton chose f/5.6, deliberately shallow for a landscape. His reasoning is direct: the background isn’t the point, so he doesn’t want it sharp. A gentle focus falloff pulls attention toward the tree and softens anything that might otherwise distract.
Camera settings visible, aperture at f/5.6 on isolated tree
For the tree shot, Heaton chose f/5.6, deliberately shallow for a landscape. His reasoning is direct: the background isn’t the point, so he doesn’t want it sharp. A gentle focus falloff pulls attention toward the tree and softens anything that might otherwise distract.
This goes against the “always shoot landscapes at f/11” rule you might have heard. That rule assumes you want everything sharp, which makes sense for sweeping vistas. When your subject is a single isolated element, especially against a blurred or shadowed background, a wider aperture lets you sculpt the focus the same way sidelight sculpts the form. Try f/5.6 or even f/4 next time you’re shooting a lone tree, a single flower, or any isolated natural subject.
Step 6: Shoot Morning Mist by Prioritizing Open Space and Scattered Elements
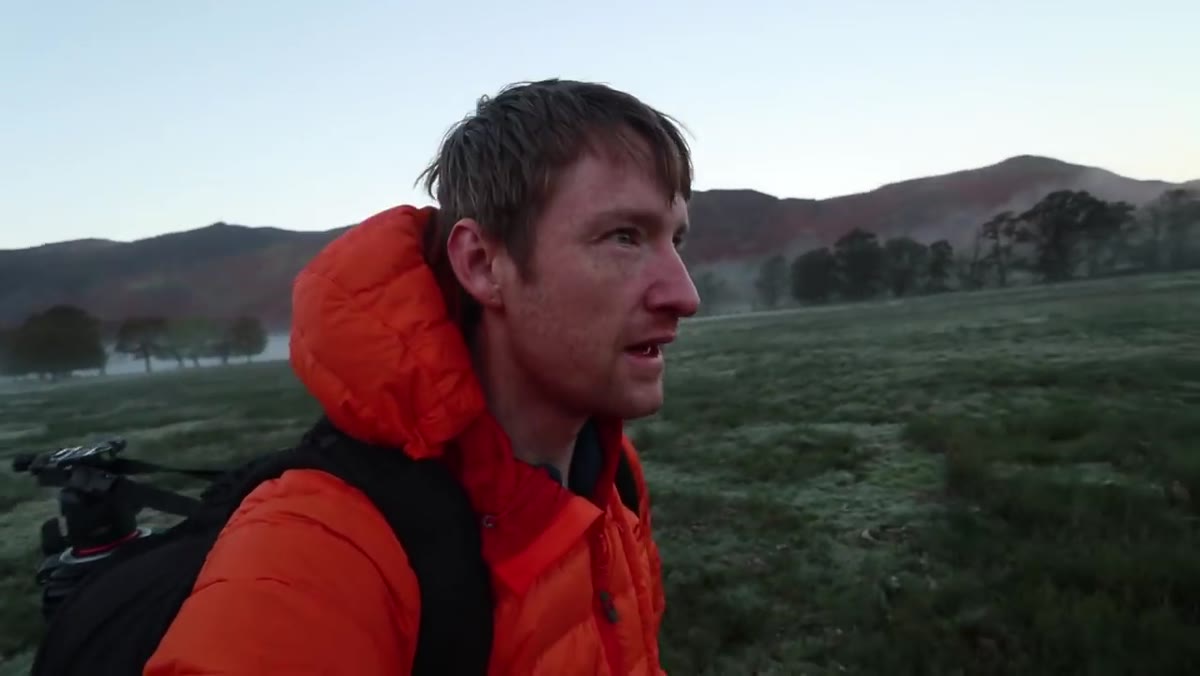 Low-hanging mist over open field with scattered trees at dawn
The following morning, Heaton wakes to frost and a low-hanging mist layer. His instinct is immediately to find open space with scattered trees rather than dense woodland. Mist loses its magic when it’s trapped between tight trees. It needs room to hang, to layer, to create depth between foreground and background elements.
Low-hanging mist over open field with scattered trees at dawn
The following morning, Heaton wakes to frost and a low-hanging mist layer. His instinct is immediately to find open space with scattered trees rather than dense woodland. Mist loses its magic when it’s trapped between tight trees. It needs room to hang, to layer, to create depth between foreground and background elements.
When you arrive at a misty scene, resist the urge to shoot straight into the densest part of it. Walk the edges. Look for lone trees, fence lines, or small structures that can serve as subjects with the mist wrapping around them in the middle distance. Still conditions matter too. Wind breaks the mist up quickly, so if you’ve got calm air and a frost, get out early and move fast.
What I’d Add from My Own Experience
Heaton doesn’t mention this directly, but one thing I’ve learned from my own Sunday morning walks is that mist and sidelight reward patience more than any other conditions. The light from his afternoon tree shot existed for maybe thirty minutes. The mist the next morning was probably gone by nine. I’ve missed both kinds of shot because I was still fussing with settings when the window closed.
My fix is to nail a base exposure before conditions peak, then adjust from there rather than starting from scratch when the light does something exciting. Set your ISO, get your aperture in the range you want, and do a test shot on a neutral subject nearby. When the light shifts, you’re only making small corrections, not rebuilding from zero. Staying ready is its own skill.
The single most important idea in this tutorial is one Heaton returns to without ever stating it outright: good landscape photography is mostly about attention, not equipment. He finds one compelling image in an afternoon of wandering, then wakes up early to chase the next one. The shots come from showing up, slowing down, and knowing what you’re looking for before you look.
Watch the full tutorial on YouTube to see how he reads and responds to both the afternoon and morning light in real time. Watching his thought process alongside these steps will make the whole framework land faster than either one alone.
Comments (2)
I've watched a dozen tutorials on this and yours is the clearest by far.
The tip about how to read light in the field was the missing piece for me. Thank you.
Leave a Comment