There’s a specific kind of frustration I know well: you’ve driven hours to a location, the light is flat, the foreground is uninspiring, and your wide-angle lens is basically useless. I’ve stood at the edge of a beautiful lake in the Pacific Northwest and felt completely stuck, watching gorgeous mountains sit behind a shoreline that gave me absolutely nothing to work with. That feeling used to send me back to the car empty-handed. It doesn’t anymore, and a big part of that shift came from watching how working photographers solve problems in real time rather than waiting for perfect conditions.
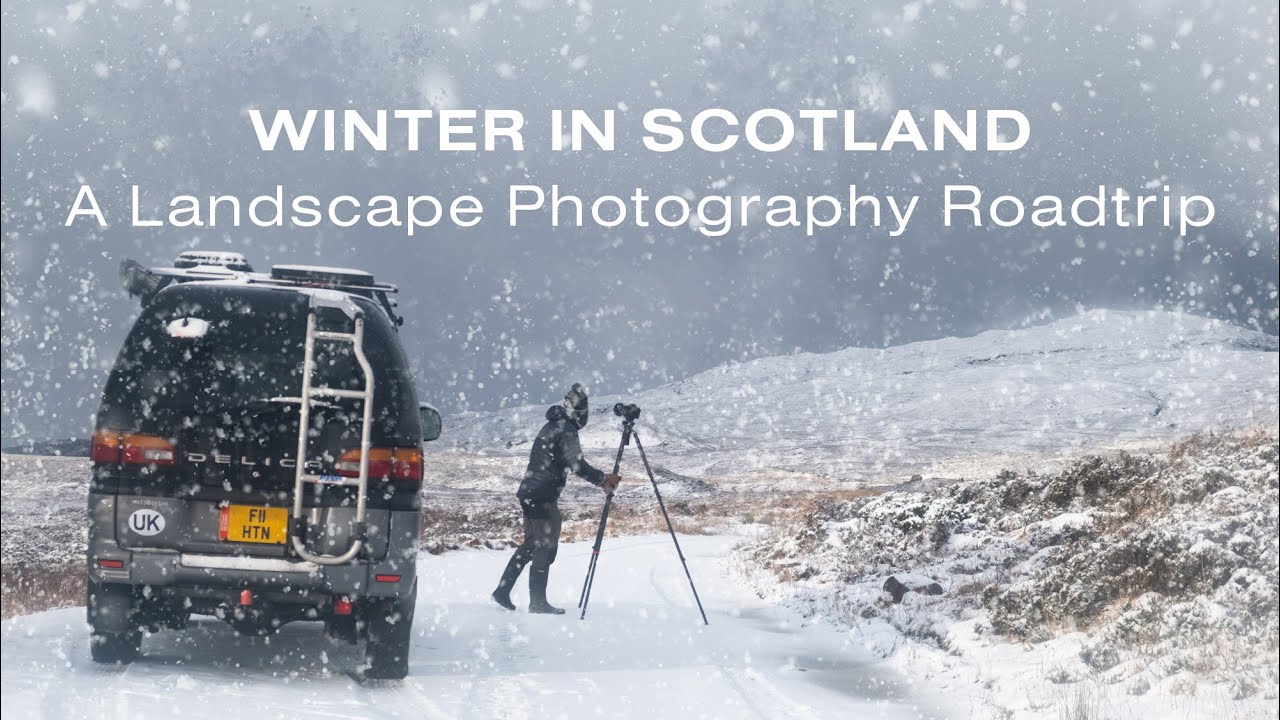
In this Thomas Heaton tutorial, he documents a winter road trip through the far northwest of Scotland, shooting from a 4x4 campervan in sub-zero temperatures with unpredictable snow showers. Watch the full tutorial on YouTube - it’s worth seeing the actual conditions he’s working in. What makes this video useful isn’t the scenery (though it’s stunning). It’s the way Heaton narrates his decision-making out loud: why he reaches for the telephoto instead of the wide, why he hikes away from the water instead of toward it, and why a fresh snowfall sends him sprinting back outside ahead of schedule. These are transferable instincts, and you can build them deliberately.
Step 1: Plan Your Route from Far to Near
 Map overview of northwest Scotland with starred locations
When Heaton planned this trip, he marked several locations he wanted to visit and started at the northernmost point, then worked his way south along the west coast. This isn’t just logistically efficient. It’s a compositional mindset applied to travel. You’re giving yourself the best chance of hitting locations at the right time of day as you move through them, rather than doubling back or arriving at a sunset spot at noon.
Map overview of northwest Scotland with starred locations
When Heaton planned this trip, he marked several locations he wanted to visit and started at the northernmost point, then worked his way south along the west coast. This isn’t just logistically efficient. It’s a compositional mindset applied to travel. You’re giving yourself the best chance of hitting locations at the right time of day as you move through them, rather than doubling back or arriving at a sunset spot at noon.
Before your next trip, open Google Maps or a dedicated app like PhotoPills and drop pins on your target locations. Then sequence them based on the direction of light you want at each one. Heaton explicitly notes that the loch he’s visiting is a sunset location, so he plans to be there in the evening rather than treating morning as automatically better.
Step 2: Recognize When Your Planned Lens Is Wrong for the Conditions
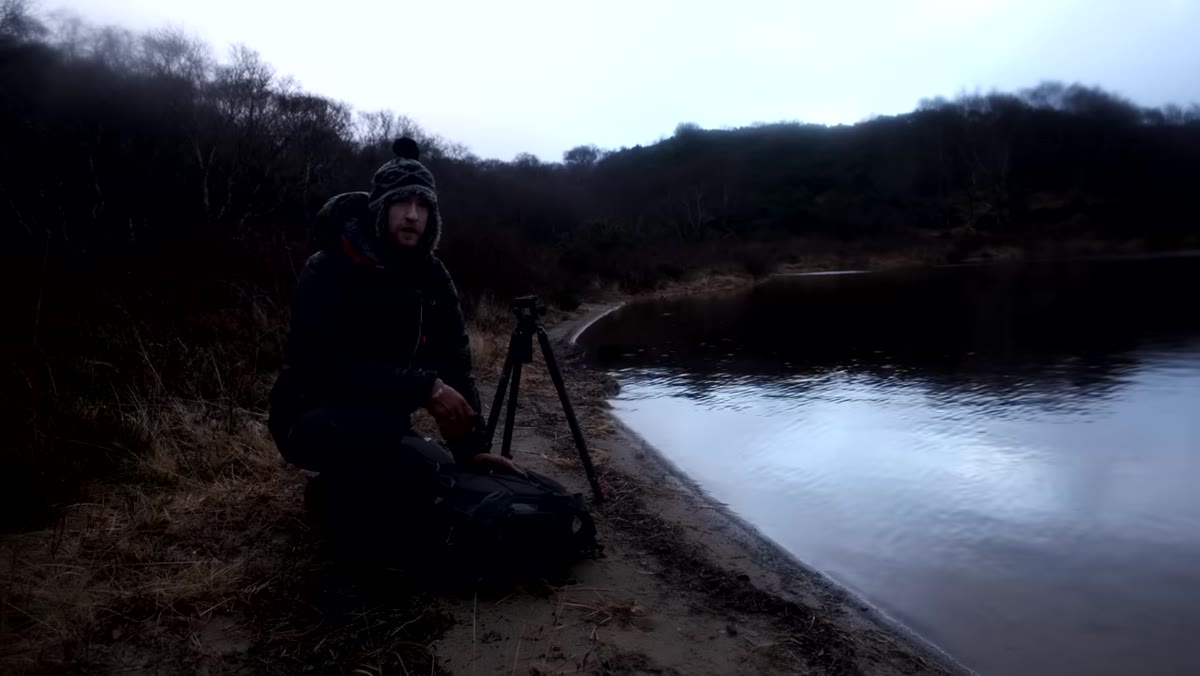
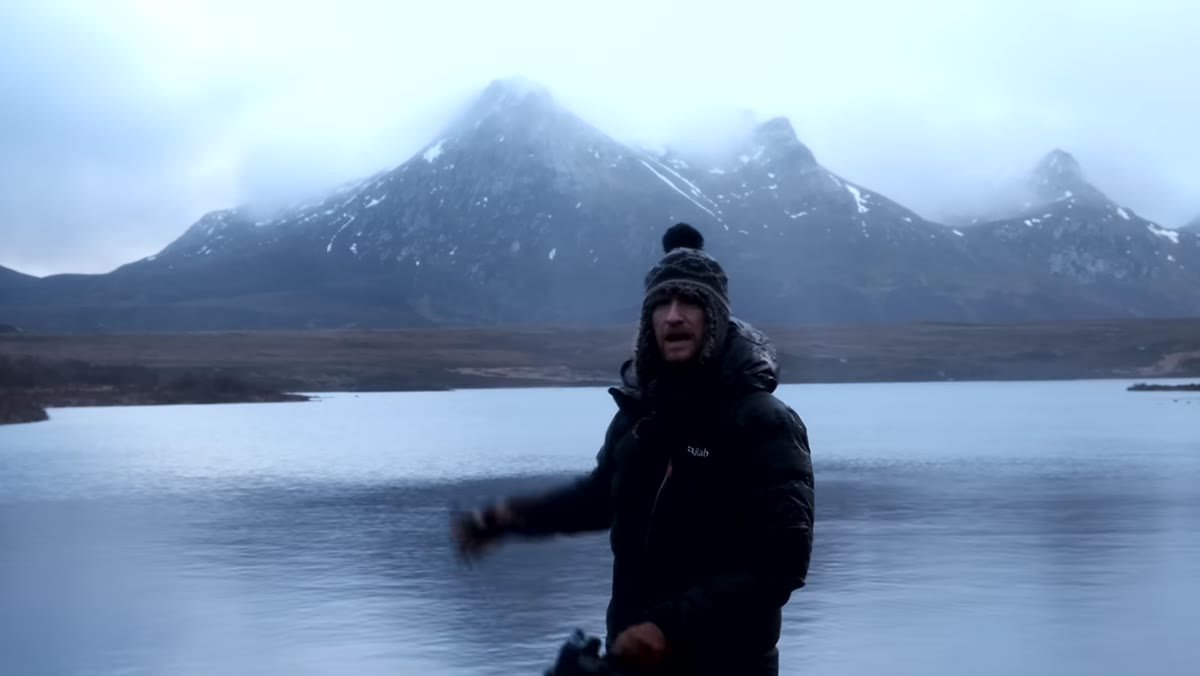
 Heaton looking out at mountains with overcast flat light
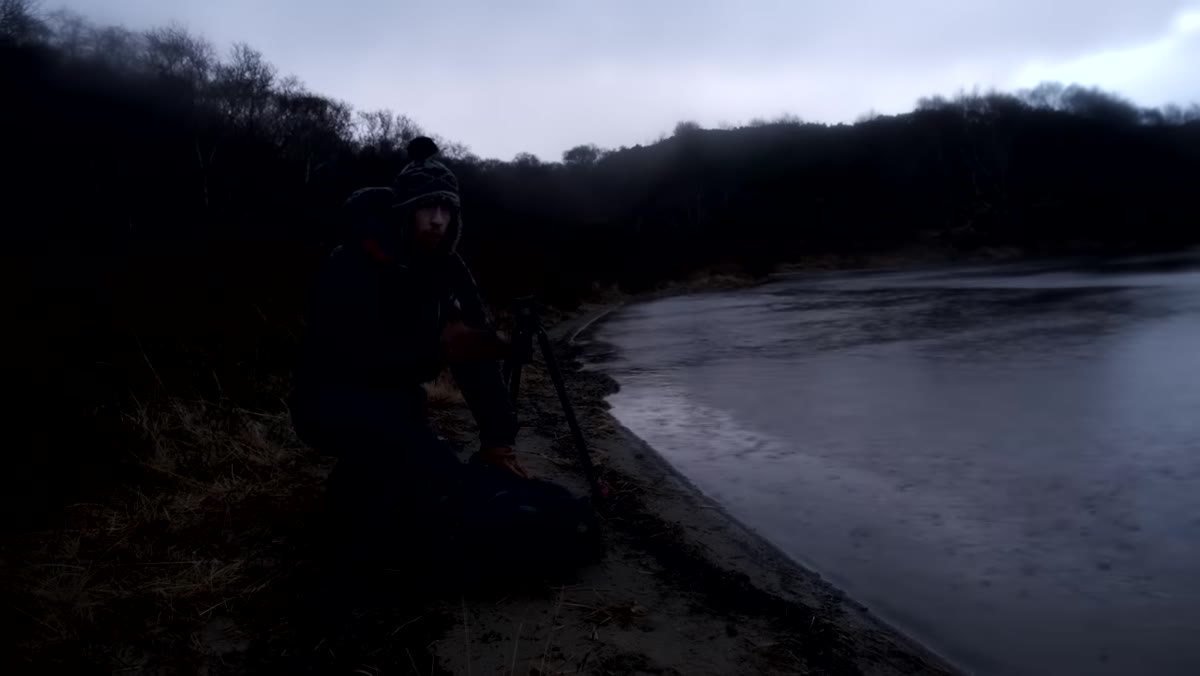
This is the step most beginners skip entirely. Heaton arrives at the loch under flat, directionless light, and instead of defaulting to his wide-angle and trying to force a foreground-led shot, he pauses and reassesses. He notes that shooting wide here would require a compelling foreground element, and the shoreline isn’t giving him one. So he pivots.
Heaton looking out at mountains with overcast flat light
This is the step most beginners skip entirely. Heaton arrives at the loch under flat, directionless light, and instead of defaulting to his wide-angle and trying to force a foreground-led shot, he pauses and reassesses. He notes that shooting wide here would require a compelling foreground element, and the shoreline isn’t giving him one. So he pivots.
The instinct to swap lenses based on what the scene is offering rather than what you planned to shoot is a skill you have to practice consciously. Ask yourself: what is actually interesting right now? Not what did I imagine would be interesting. If the answer is texture, drama, or compression rather than expansiveness, reach for the longer glass.
Step 3: Use a Telephoto to Compress and Isolate Drama
 100-400mm telephoto lens pointed at distant snow-covered mountains
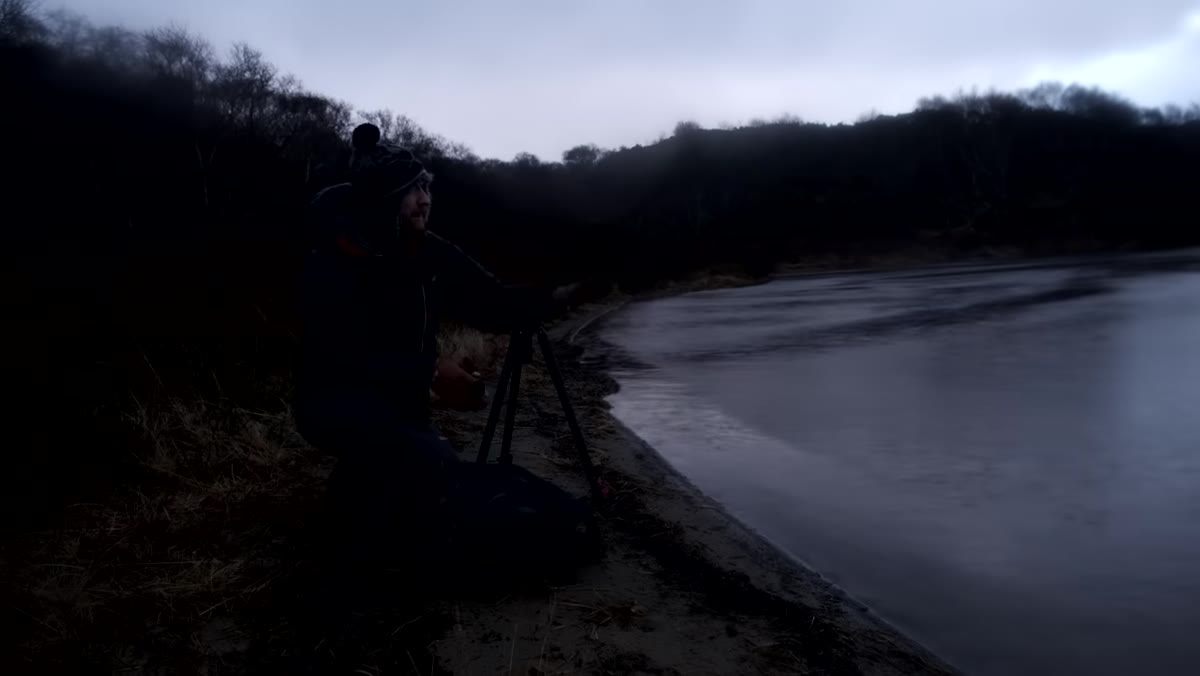
Heaton pulls out a 100-400mm zoom and turns his attention to the mountains, where cloud is moving through and interacting with snow and rock in genuinely interesting ways. By compressing that distance, he can fill the frame with texture and tonal contrast that a wide shot would reduce to a tiny sliver of the image.
100-400mm telephoto lens pointed at distant snow-covered mountains
Heaton pulls out a 100-400mm zoom and turns his attention to the mountains, where cloud is moving through and interacting with snow and rock in genuinely interesting ways. By compressing that distance, he can fill the frame with texture and tonal contrast that a wide shot would reduce to a tiny sliver of the image.
If you’re shooting with a kit zoom, try the longest end of your range and point it at whatever is the most visually complex part of the scene. Look for places where light and shadow are actively changing, where snow meets dark rock, where clouds are partially obscuring peaks. You don’t need a 400mm prime to practice this thinking. The discipline of isolating the most interesting element in a frame is the skill, and you can train it at 200mm or even 135mm.
Step 4: Let Changing Light Guide Your Shutter Timing
 Soft reflected light hitting cloud-covered mountain faces
Once Heaton has his telephoto trained on the mountains, he isn’t just firing continuously. He’s watching the cloud movement and waiting for the moments when light reflects off the cloud layer above and illuminates the face of the mountain. This kind of patience looks passive from the outside, but it’s actually active observation.
Soft reflected light hitting cloud-covered mountain faces
Once Heaton has his telephoto trained on the mountains, he isn’t just firing continuously. He’s watching the cloud movement and waiting for the moments when light reflects off the cloud layer above and illuminates the face of the mountain. This kind of patience looks passive from the outside, but it’s actually active observation.
Set your camera to continuous shooting mode and keep your eye on the moving elements in the scene. Clouds, light shafts, and snow showers all move on predictable trajectories once you watch them for a few minutes. You can start anticipating the peak moment rather than reacting to it after it’s gone. In bright, changeable conditions, also watch your histogram: bright snow can blow out quickly when light shifts.
Step 5: Reposition Vertically When the Shoreline Fails You
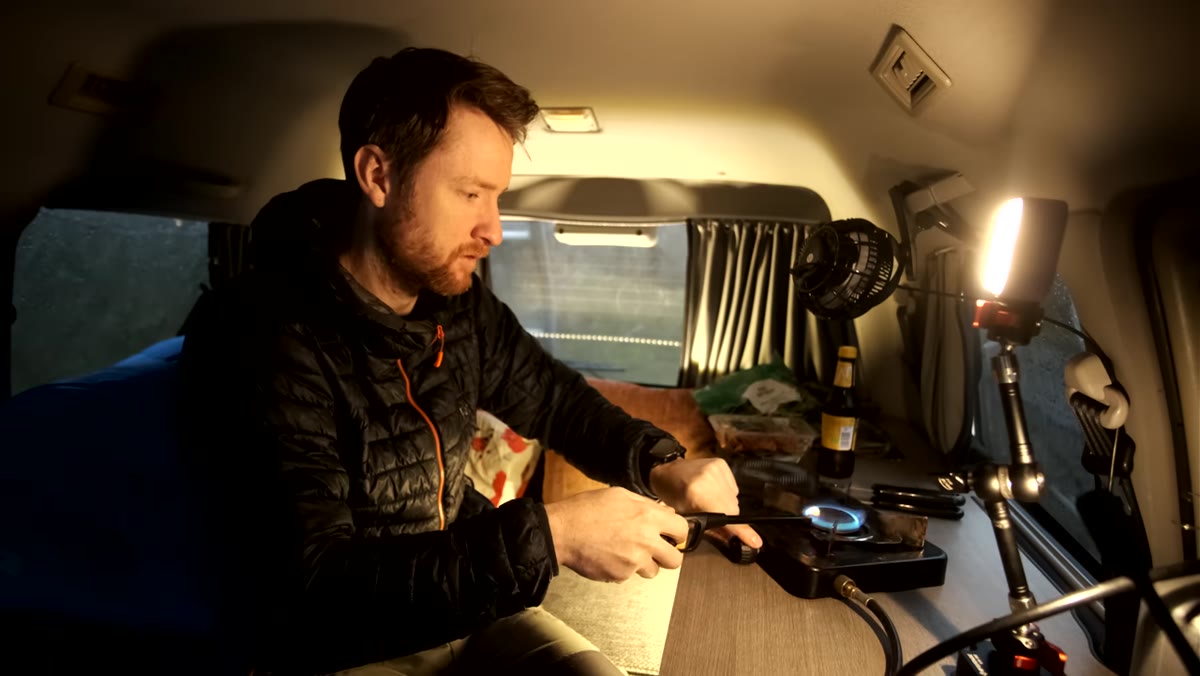 Heaton describing the plan to hike uphill away from the loch
After lunch, Heaton articulates a really important compositional principle out loud: he couldn’t find strong compositions along the loch edge, so his solution is to hike uphill until the loch becomes a smaller feature within a larger landscape. By gaining elevation, he can include the mountain range, use the loch as a mid-ground element, and compress the whole scene.
Heaton describing the plan to hike uphill away from the loch
After lunch, Heaton articulates a really important compositional principle out loud: he couldn’t find strong compositions along the loch edge, so his solution is to hike uphill until the loch becomes a smaller feature within a larger landscape. By gaining elevation, he can include the mountain range, use the loch as a mid-ground element, and compress the whole scene.
When you’re stuck at a location, vertical movement is often the answer. Walk uphill. Even 50 or 100 feet of elevation gain can completely change your relationship to a landscape. The loch that was dominating and boring your foreground becomes a reflective accent in the middle distance. Try this the next time you feel trapped by a flat, uninspiring waterfront.
Step 6: Respond to Sudden Conditions Fast
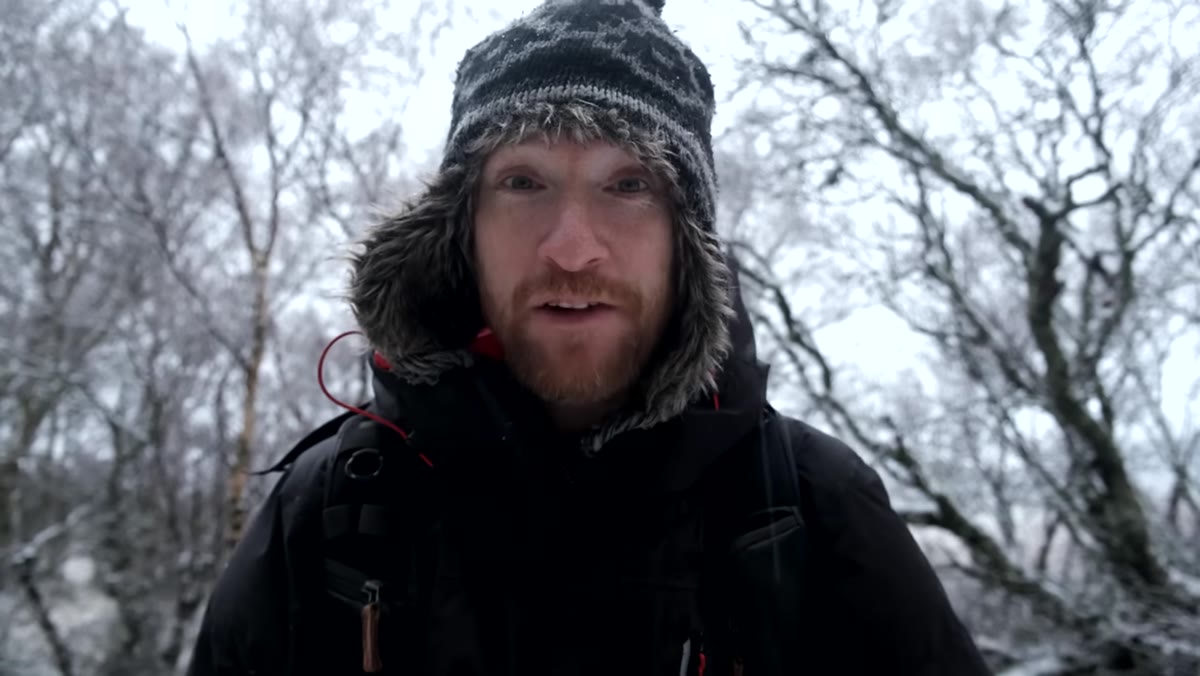 Fresh snow covering trees and ground after quick weather change
Heaton is mid-lunch when a short snow shower deposits a thin layer of snow across everything and transforms the scene. His response is immediate: stop eating, grab gear, get out. He explicitly says he wasn’t planning another outing that afternoon, but the conditions made the decision for him.
Fresh snow covering trees and ground after quick weather change
Heaton is mid-lunch when a short snow shower deposits a thin layer of snow across everything and transforms the scene. His response is immediate: stop eating, grab gear, get out. He explicitly says he wasn’t planning another outing that afternoon, but the conditions made the decision for him.
This is the part you can’t entirely plan for, but you can prepare for. Keep your camera bag packed and your boots on when you’re in the field. Have a shot in mind before conditions arrive so you’re not inventing your composition while the fresh snow is already melting. Heaton already had the elevated viewpoint in his head from his earlier scouting walk, so when the snow hit, he had somewhere specific to go.
What I’d Add from My Own Experience
I’ve had exactly this situation at the coast north of Seattle: arrived at the tide pools at the wrong light, the wide shots were going nowhere, and I almost left. What saved the shoot was switching to my longest zoom and pointing it at where the waves were breaking against distant sea stacks. Same instinct as Heaton’s telephoto mountain shots. The lesson I keep relearning is that good light doesn’t have to be everywhere in the scene. It just has to be somewhere, and your job is to find that somewhere and fill your frame with it.
One thing I’d add specifically for cold-weather shooting: keep a spare battery in an inside pocket against your body. Cold kills battery life fast, and if you’re rushing out to catch fresh snow the way Heaton does here, you don’t want to discover your battery is at 15% while you’re hiking uphill.
The single most important takeaway from this video is deceptively simple: the conditions you’re given are not the enemy. They’re the assignment. Heaton doesn’t waste time wishing for different weather. He asks what the current weather makes possible, and then he goes and makes it.
Watch the full tutorial on YouTube to see how all these decisions play out across the full road trip, including the sunset he’s been building toward all day.
Comments
Leave a Comment