
There’s a trap a lot of photographers fall into on location, myself included: waiting for the “perfect” conditions before picking up the camera. Clear skies, golden hour, no wind. I spent an entire vacation once chasing a single waterfall shot in the Cascades, convinced I needed ideal light. I missed dinner three nights in a row and came home with maybe two frames I actually liked. What I should have been doing was working with whatever the landscape was handing me.
That’s exactly the mindset William Patino models in his Fiordland boat expedition tutorial, filmed during one of his yearly New Zealand photography workshops run with the team at Pure Salt. Watch the full tutorial on YouTube before or after reading this, because seeing the landscape in motion adds a lot of context. The entire trip takes place across Dusky Sound in Fiordland, covering five days of shooting from a vessel with access to shorelines, forests, waterfalls, and open water. The conditions shift constantly, and that’s the whole point. This tutorial is less about specific camera settings and more about training your eye to respond quickly to what’s in front of you. That skill transfers to any location.
Step 1: Embrace Variable Conditions as a Creative Resource
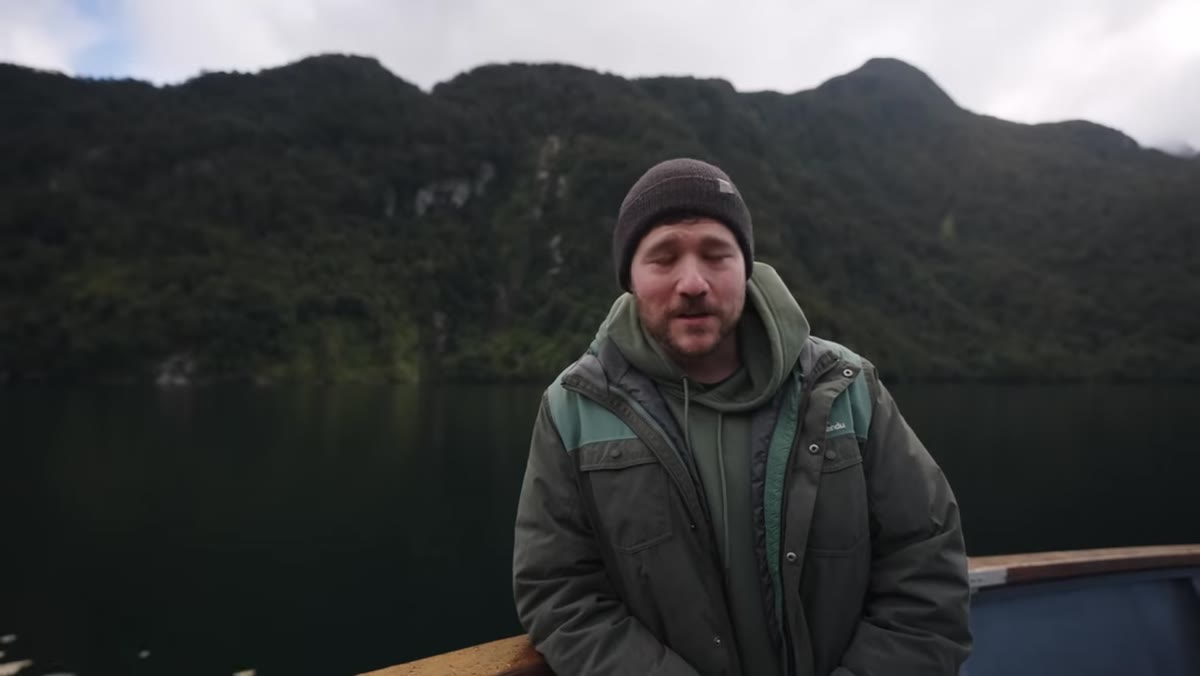 Misty fjord layers visible from the boat deck
Most photographers treat changing weather as a problem. Patino treats it as the entire reason to be out. On the first half-day of the expedition, the group experiences what he describes as something close to all four seasons compressed into a few hours: mist layers through the trees, patches of sun, rain, shifting cloud cover. The takeaway here is that you should be ready to shoot the moment conditions do something interesting, not after they stabilize. Keep your camera accessible, not packed away. If you’re on a hike or a boat or even just a walk around your neighborhood, the light shifting behind a cloud for thirty seconds is a composition. Train yourself to notice that window and move toward it.
Misty fjord layers visible from the boat deck
Most photographers treat changing weather as a problem. Patino treats it as the entire reason to be out. On the first half-day of the expedition, the group experiences what he describes as something close to all four seasons compressed into a few hours: mist layers through the trees, patches of sun, rain, shifting cloud cover. The takeaway here is that you should be ready to shoot the moment conditions do something interesting, not after they stabilize. Keep your camera accessible, not packed away. If you’re on a hike or a boat or even just a walk around your neighborhood, the light shifting behind a cloud for thirty seconds is a composition. Train yourself to notice that window and move toward it.
Step 2: Use Rain as a Trigger for Waterfall Hunting
 Multiple waterfalls streaming down steep fjord cliffs
This is practical advice I wish someone had told me years ago. Patino points out that a dry, sunny day in Fiordland might produce one visible waterfall on a given cliff face. A rainy afternoon multiplies that dramatically. Rain-fed waterfalls appear all over the hillsides, temporary and unpredictable, which means you have both more subjects and more urgency. The technique here is directional: scan the cliff faces and ridgelines systematically as you move through a landscape after rain, rather than waiting for something to announce itself. If you’re in a mountainous region with a forecast for showers, that’s not a rest day. That’s a waterfall day.
Multiple waterfalls streaming down steep fjord cliffs
This is practical advice I wish someone had told me years ago. Patino points out that a dry, sunny day in Fiordland might produce one visible waterfall on a given cliff face. A rainy afternoon multiplies that dramatically. Rain-fed waterfalls appear all over the hillsides, temporary and unpredictable, which means you have both more subjects and more urgency. The technique here is directional: scan the cliff faces and ridgelines systematically as you move through a landscape after rain, rather than waiting for something to announce itself. If you’re in a mountainous region with a forecast for showers, that’s not a rest day. That’s a waterfall day.
Step 3: Use Slow Shutter Speed to Unify Moving Water
 River foam and bubbles rushing past rocks in foreground
When Patino gets ashore near a river cove, he immediately identifies the foam and rushing water as a compositional element worth exploring. The technique he applies is a slow shutter speed to blend the movement of the water into a smooth, continuous texture. Practically, this means dropping your shutter to somewhere between half a second and several seconds depending on the speed of the water, using a tripod, and letting the motion blur work for you rather than fighting it. He specifically notes that a line of foam rushing past the camera creates a natural leading line that draws the eye into the frame. Set your ISO low (100 or 200), stop your aperture down to f/8 or f/11, and add an ND filter if you’re shooting in bright conditions and still can’t get the shutter slow enough.
River foam and bubbles rushing past rocks in foreground
When Patino gets ashore near a river cove, he immediately identifies the foam and rushing water as a compositional element worth exploring. The technique he applies is a slow shutter speed to blend the movement of the water into a smooth, continuous texture. Practically, this means dropping your shutter to somewhere between half a second and several seconds depending on the speed of the water, using a tripod, and letting the motion blur work for you rather than fighting it. He specifically notes that a line of foam rushing past the camera creates a natural leading line that draws the eye into the frame. Set your ISO low (100 or 200), stop your aperture down to f/8 or f/11, and add an ND filter if you’re shooting in bright conditions and still can’t get the shutter slow enough.
Step 4: Look for the Composition Before Committing to the Subject
 Waterfall visible but partially obscured with no strong foreground
This step is where a lot of photographers lose time in the field. Patino approaches a waterfall that is, by itself, genuinely nice. But he pauses and evaluates: there’s nothing in the frame to lead the eye toward the fall. The waterfall is the subject, but without a strong compositional structure around it, the image doesn’t have much pull. His solution is to keep moving and look for a framing element, a foreground, a natural line, something that gives the viewer an entry point. Before you set up your tripod, walk the scene. Crouch down. Step left and right. The subject matters less than the relationship between the subject and everything else in the frame.
Waterfall visible but partially obscured with no strong foreground
This step is where a lot of photographers lose time in the field. Patino approaches a waterfall that is, by itself, genuinely nice. But he pauses and evaluates: there’s nothing in the frame to lead the eye toward the fall. The waterfall is the subject, but without a strong compositional structure around it, the image doesn’t have much pull. His solution is to keep moving and look for a framing element, a foreground, a natural line, something that gives the viewer an entry point. Before you set up your tripod, walk the scene. Crouch down. Step left and right. The subject matters less than the relationship between the subject and everything else in the frame.
Step 5: Prioritize Intimate Details Over Grand Scenes
 Close-up of foam bubbles swirling on water surface
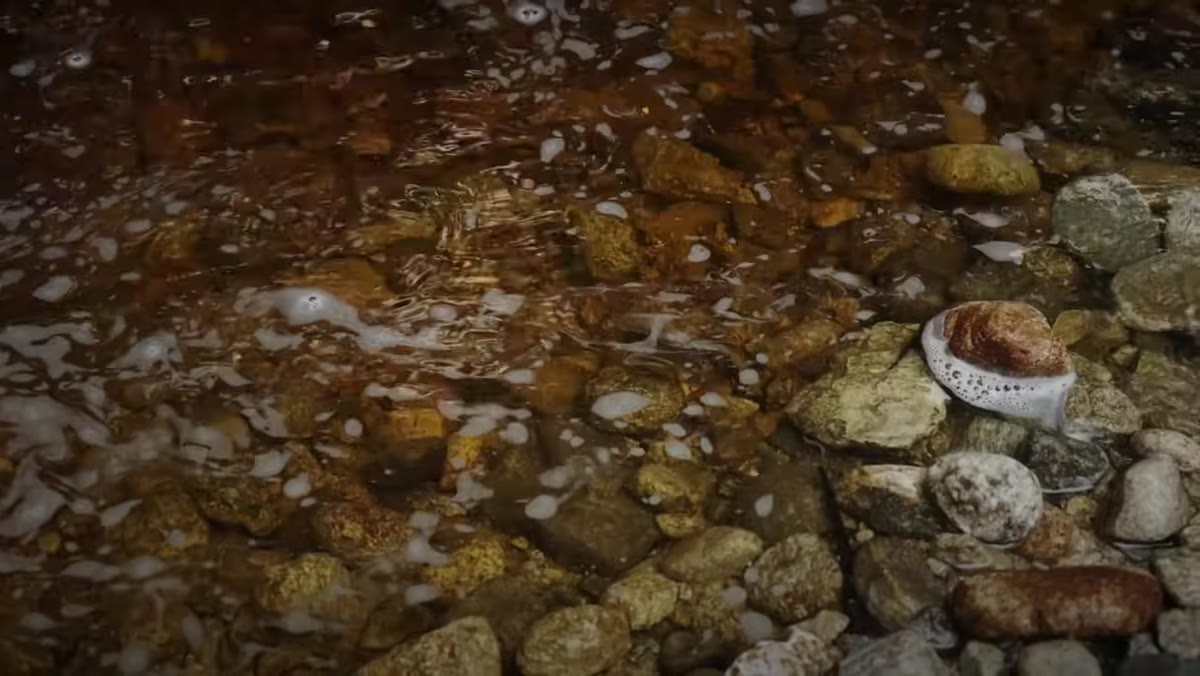
The most transferable lesson in this tutorial happens quietly. After exploring the waterfall, Patino redirects his attention entirely to the foam and bubbles on the water’s surface at his feet. He makes the explicit point that the “obvious” subject, the waterfall, isn’t always where the best image lives. Sometimes it’s the texture of water pooling over a rock, or the pattern light makes through leaves on the ground, or condensation on a window. Practicing this means slowing down and scanning at a smaller scale than you’re used to. Before you move on from any location, spend five minutes looking at what’s within two or three feet of you. Macro lenses help, but this works with any focal length if you get close enough.
Close-up of foam bubbles swirling on water surface
The most transferable lesson in this tutorial happens quietly. After exploring the waterfall, Patino redirects his attention entirely to the foam and bubbles on the water’s surface at his feet. He makes the explicit point that the “obvious” subject, the waterfall, isn’t always where the best image lives. Sometimes it’s the texture of water pooling over a rock, or the pattern light makes through leaves on the ground, or condensation on a window. Practicing this means slowing down and scanning at a smaller scale than you’re used to. Before you move on from any location, spend five minutes looking at what’s within two or three feet of you. Macro lenses help, but this works with any focal length if you get close enough.
Step 6: Stay Reactive Throughout the Day, Not Just at Golden Hour
 Early morning on the water before sunrise, low light conditions
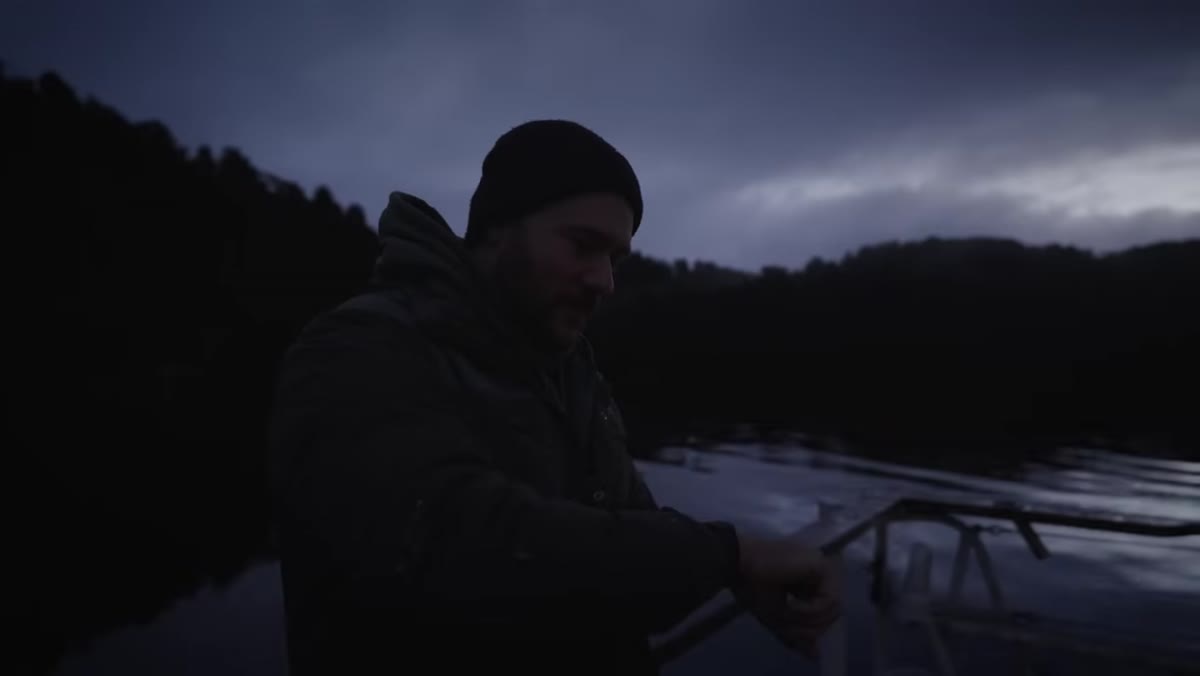
On day two, Patino is up and moving before sunrise, noting that the low light at that hour, combined with uncertain conditions, is exactly what creates interesting atmosphere. He’s not waiting for a guaranteed payoff. He’s building momentum and staying ready. The practical habit here is to treat the entire day as a shooting window, not just the bookend hours. Midday diffused light in a forested canyon is often more workable than harsh midday sun in an open field. Overcast skies are a giant softbox. Early starts give you water that hasn’t been disturbed yet, better wildlife activity, and often mist that burns off within the hour. Set your alarm earlier than feels reasonable.
Early morning on the water before sunrise, low light conditions
On day two, Patino is up and moving before sunrise, noting that the low light at that hour, combined with uncertain conditions, is exactly what creates interesting atmosphere. He’s not waiting for a guaranteed payoff. He’s building momentum and staying ready. The practical habit here is to treat the entire day as a shooting window, not just the bookend hours. Midday diffused light in a forested canyon is often more workable than harsh midday sun in an open field. Overcast skies are a giant softbox. Early starts give you water that hasn’t been disturbed yet, better wildlife activity, and often mist that burns off within the hour. Set your alarm earlier than feels reasonable.
What I’d Add from My Own Shooting Experience
The reactive mindset Patino demonstrates is real, but it takes practice to build. When I first started doing Sunday morning photo walks around Seattle, I kept defaulting to the same angles at the same spots because they’d worked before. What broke that habit was giving myself a rule: no shot I’d taken before. It forced me to look at the same locations differently, which is essentially what Patino is doing across five days in a single fjord system. Familiarity with a place isn’t a creative limitation. It’s actually an advantage if you stop expecting it to perform the same way twice. The conditions will change. Your job is to be there and paying attention when they do.
The single most important thing this tutorial reinforced for me is that patience and reactivity aren’t opposites. You wait with your camera ready, eyes moving, and when the light does something unexpected, you’re already halfway to the frame. If you want to see how that looks in practice across an actual five-day expedition, Watch the full tutorial on YouTube and pay attention to the moments Patino chooses to stop and why.
Comments (3)
Clear and practical. No fluff. Appreciate that.
I tried this on a client project yesterday and the results were way better than expected.
Clear and practical. No fluff. Appreciate that.
Leave a Comment