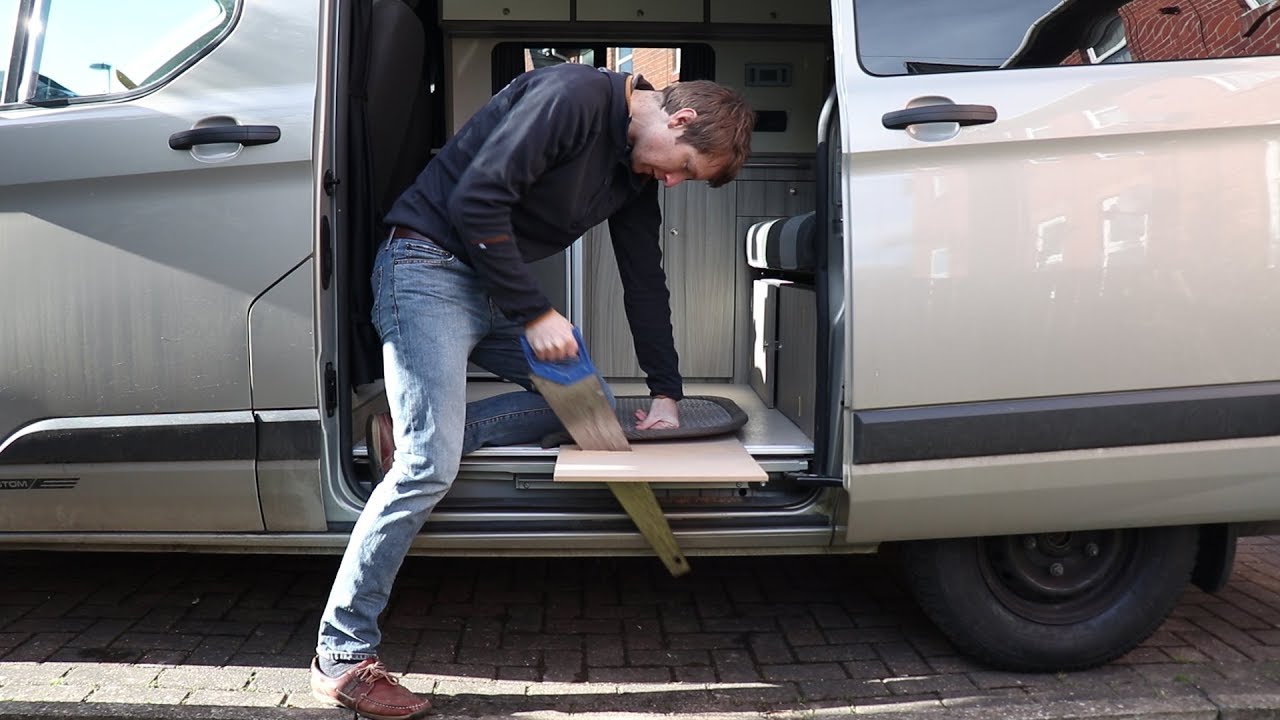
Road trips and photography go together like golden hour and wide-open landscapes. But there’s a version of this that nobody talks about enough: the unglamorous prep work that happens before you ever point a lens at anything. I’ve shown up to shoots with a dead battery, a lens I forgot to pack, and once, memorably, a tripod but no tripod plate. The “getting there” part of travel photography can quietly wreck the whole trip if you don’t take it seriously.
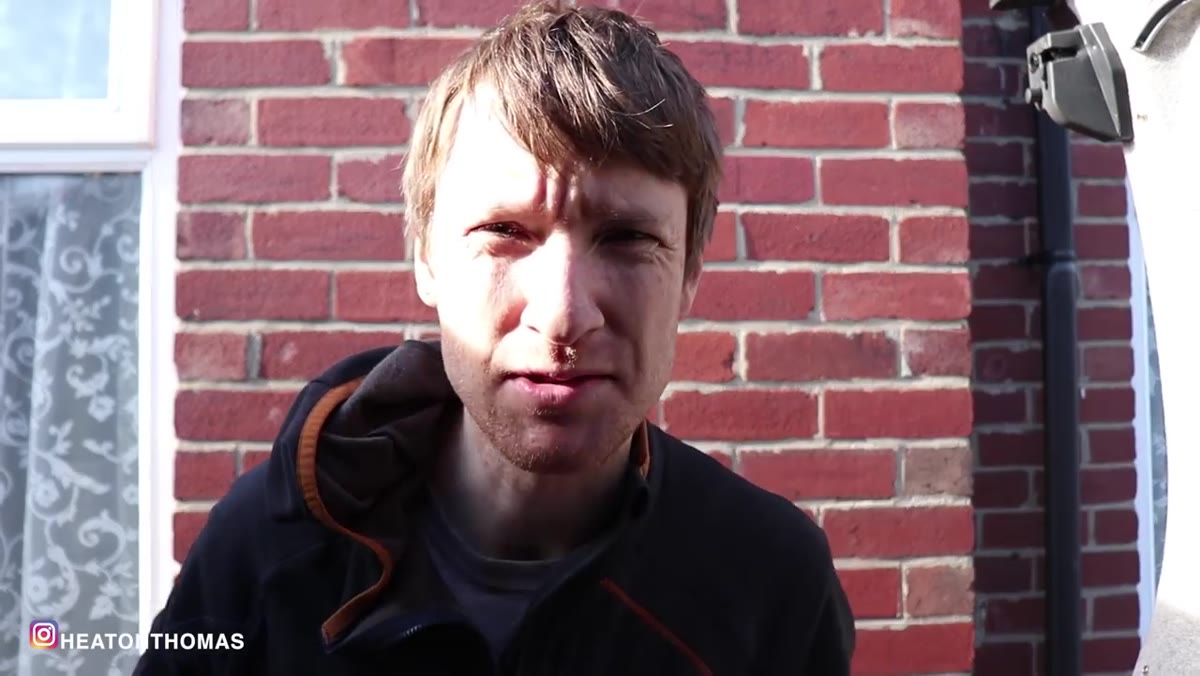
That’s why I found myself completely absorbed by this Thomas Heaton tutorial on road trip preparation. Watch the full tutorial on YouTube. Heaton shoots out of a converted van, which is a different setup than most of us are working with, but the thinking behind his prep routine is universal. He’s asking the right question: how do I protect expensive, fragile gear through hours of vibration, shifting loads, and unpredictable terrain? That question matters whether your “vehicle” is a camper van or an overhead bin on a regional flight.
What I love about his approach is that he doesn’t wait until something breaks. He identifies the weak points in his system before he leaves the driveway. That mindset is the real takeaway here, and the specific solutions he builds are worth walking through one by one.
Step 1: Audit Your Current Storage for Hidden Risks
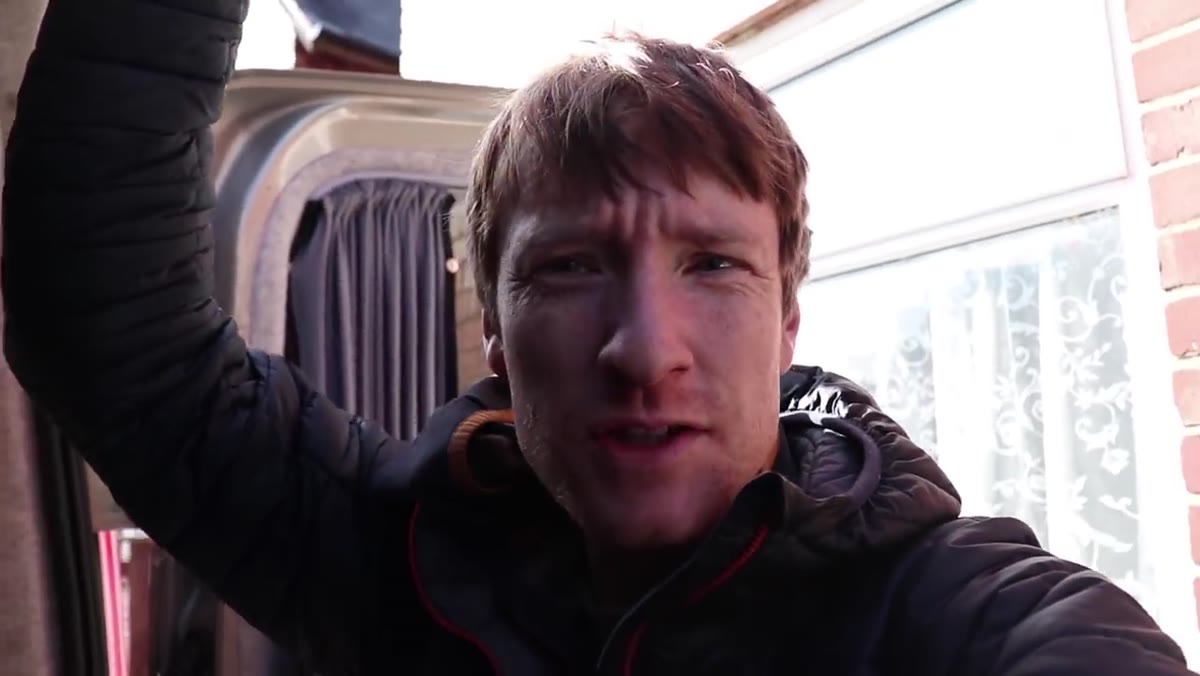 Thomas opening a storage cupboard to inspect the gas pipe
Before you build anything new or buy any gear organizers, do what Heaton does first: open every compartment and look at what’s actually in there. He discovers that a gas pipe inside his storage cupboard is completely exposed, hanging free in a space where a falling tripod could hit it and cause a serious problem. It’s a risk he hadn’t thought about until he looked.
For photographers, the equivalent audit means checking whether your lenses are actually cushioned or just sitting in a bag that slides around, whether your laptop can shift during hard braking, and whether anything heavy is stacked on top of anything fragile. Do this with a critical eye, not a reassuring one. The goal is to find the thing that’s going to fail before it fails.
Step 2: Create a Dedicated, Padded Home for Your Most Valuable Gear
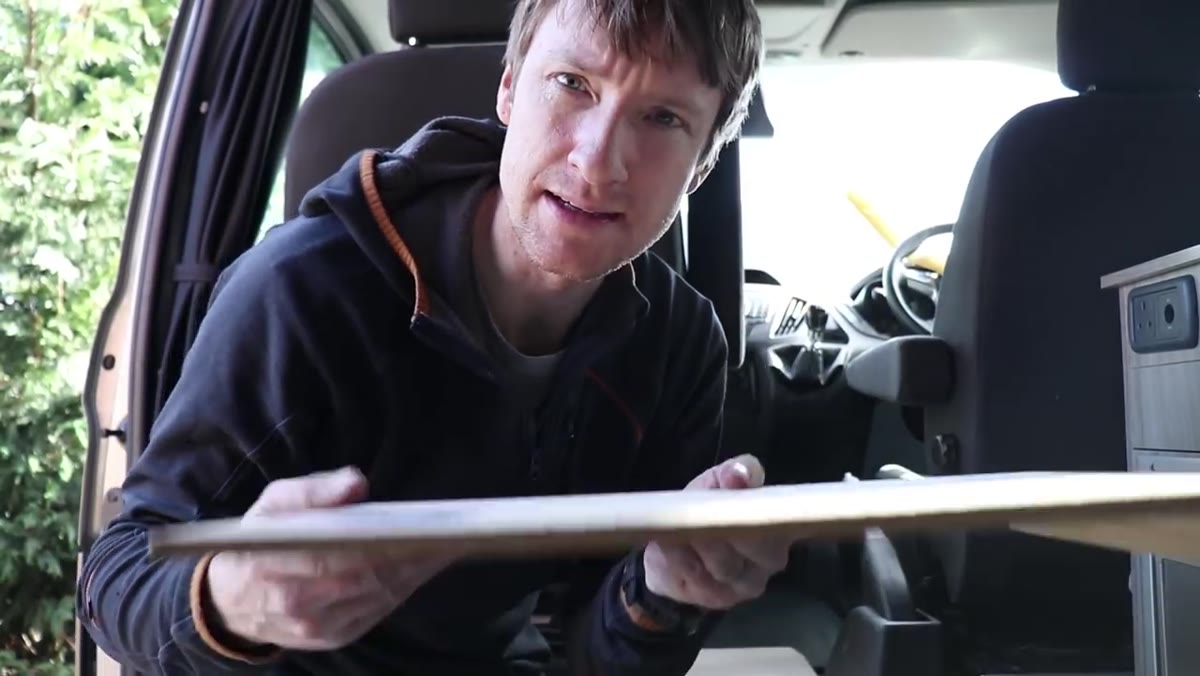 Thomas building a shelf insert for the van safe
Heaton’s main project is converting a van safe into a functional camera storage unit. He builds a simple wooden shelf that slides inside the safe, creating two levels: the laptop lives underneath, and camera bodies, drones, and lenses sit on top on foam padding. The key insight is that heavy gear should never rest directly on top of lighter, more fragile items.
You don’t need a built-in safe to apply this logic. A hard-sided Pelican case with custom foam, a divider-based backpack with a dedicated laptop sleeve, or even a rigid cooler with foam cut to fit all accomplish the same thing. What matters is that each item has a specific spot, can’t shift in transit, and isn’t being compressed by something heavier sitting on it.
Step 3: Use Foam Inserts and Velcro to Lock Gear in Place
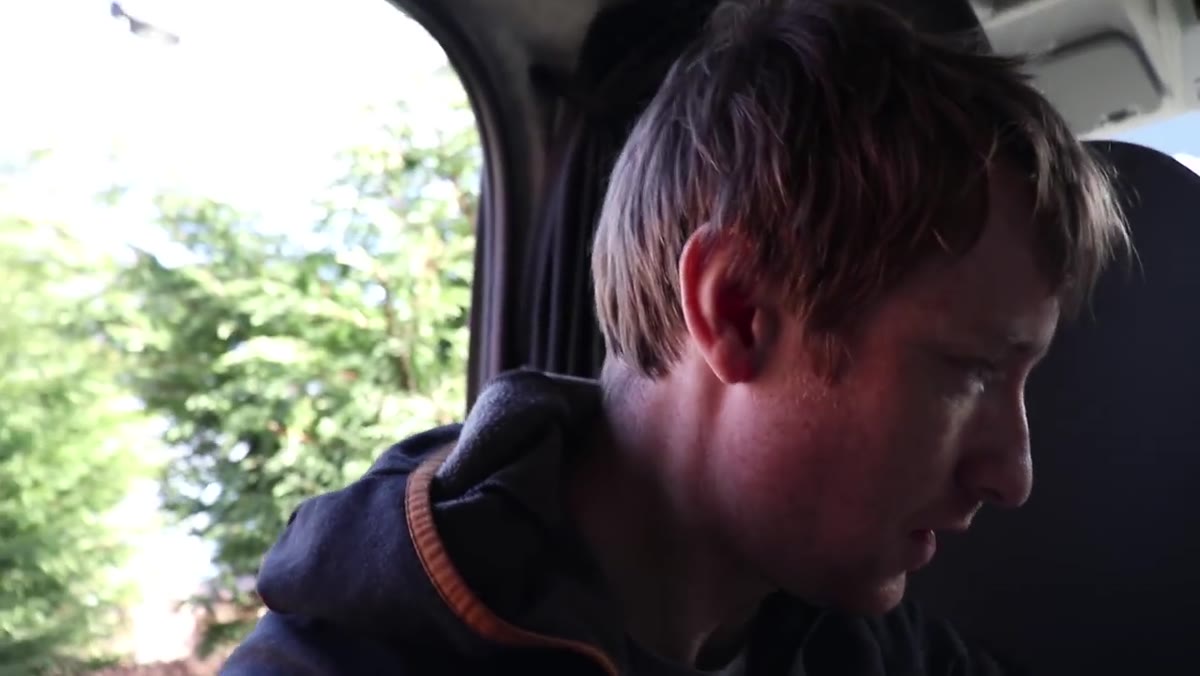 Adding foam inserts and velcro strips to the shelf surface
Once the shelf is in place, Heaton adds foam camera bag inserts to the top surface and secures them with velcro so they don’t migrate. He’s essentially building a modular system where he can reconfigure the layout depending on what gear he’s bringing. The velcro-to-foam connection is simple and costs almost nothing, but it’s what keeps a camera body from sliding into a lens mount during a sharp turn.
If you’re working with a camera bag, this same approach applies. Most quality bags come with velcro-attached dividers. Take the time to actually configure those dividers for your specific kit rather than leaving them in the default layout. A divider that’s in the wrong place offers almost no protection because the gear shifts around it rather than being held by it.
Step 4: Protect Any Vulnerable Lines, Cables, or Connections
 Wrapping foam padding around the exposed gas pipe
Heaton’s fix for the exposed gas pipe is straightforward: he wraps leftover foam around it and tapes it securely. The foam acts as a buffer so that if anything falls against the pipe, the impact is absorbed before it reaches the fitting. It’s a five-minute fix that addresses a genuine hazard.
For photographers, think about this in terms of cables and connections. A tethering cable that’s not strain-relieved will eventually pull out of a port at the worst moment. A power bank with a loose charging cable will disconnect when the bag shifts. Heaton’s foam-and-tape approach is almost a metaphor: find the thing that’s one bad impact away from failing, and wrap something protective around it before you go.
Step 5: Do a Final Load-Up and Walk-Through Before You Leave
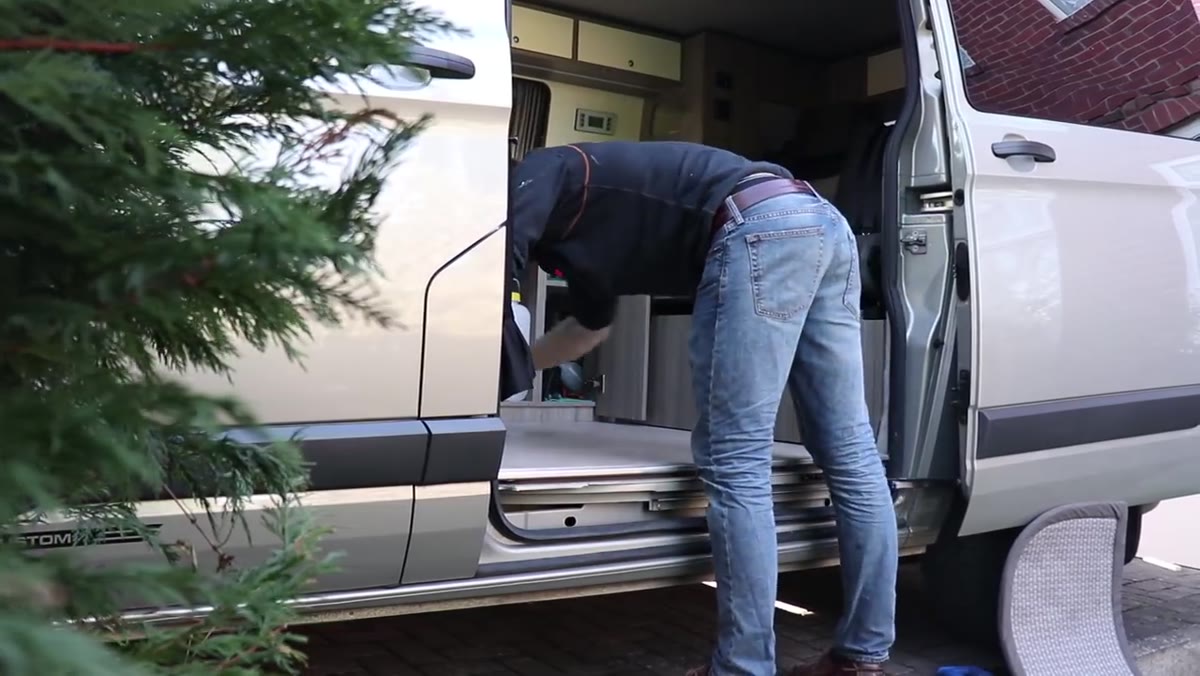 Thomas cleaning the van and organizing for departure
After all the building and fixing, Heaton does something easy to overlook: he cleans out the van and loads it intentionally for the specific trip. He’s heading to Wales, so he’s thinking about what that terrain and that weather require. The van gets cleaned, gear gets loaded with purpose, and only then does he actually leave.
This is the step most photographers skip because it feels administrative. But a ten-minute load-out check before a trip saves you from discovering at the trailhead that you grabbed the 70-200 instead of the wide angle, or that your extra batteries are sitting on the kitchen counter at home. I keep a physical checklist on my phone now, broken out by shoot type, because I’ve learned I cannot trust myself to remember everything while I’m excited about a location.
What I’d Add: The Soft Gear Problem
Heaton’s prep is primarily focused on hard gear, which makes sense for a van build. But when I’m packing for a road trip, soft goods cause me just as much trouble: rain covers, lens cloths, filter wallets, spare straps, and chargers all have a way of ending up in a pile at the bottom of a bag where nothing is findable.
My current solution is a small zippered pouch that lives in the same spot in every bag I use, containing only those small essentials. It’s the photography equivalent of Heaton’s velcro system: everything has a defined place, so I’m never digging around at 5am on a dark hillside looking for a lens cloth. The principle is the same whether you’re building a shelf in a van or just reorganizing a backpack. Reduce chaos before you’re in the field, because the field will add enough of its own.
The single most important thing Heaton demonstrates here isn’t any specific build or fix. It’s the habit of doing a real, honest prep audit before you travel, not just assuming everything is probably fine. Gear that isn’t protected doesn’t fail gradually. It fails suddenly, in bad conditions, far from anywhere you can fix it.
Watch the full tutorial on YouTube to see exactly how Heaton builds out his van system, and then spend twenty minutes doing your own version of the same audit before your next trip.
Comments
Leave a Comment