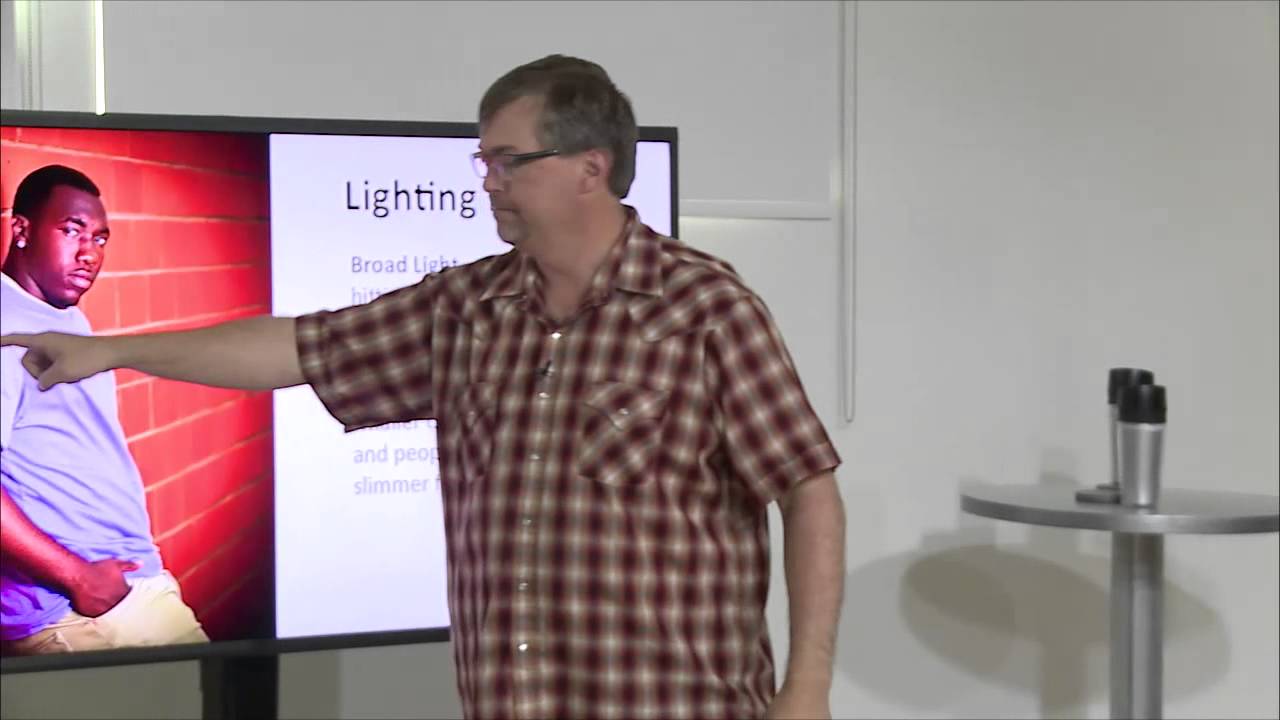
Senior guy sessions used to make me nervous in a way I didn’t fully understand at first. I’d show up with a solid location, good light, a clear plan, and then my subject would stand there looking stiff and vaguely uncomfortable, like he was waiting for a bus rather than sitting for a portrait. The problem wasn’t the light. It wasn’t the settings. It was the posing, specifically, the fact that most posing language I’d internalized was built around photographing women.
I ran into this CreativeLive tutorial while looking for something concrete to fix that gap, and it delivered. Watch the full tutorial on YouTube. The instructor works through a live demo with a male subject, breaking down not just where to put someone’s hands, but the entire mindset shift required when you move from female to male portraiture. I’ve pulled the core techniques into a step-by-step guide you can take straight into your next session.
Step 1: Start With Body Position Toward the Light Source
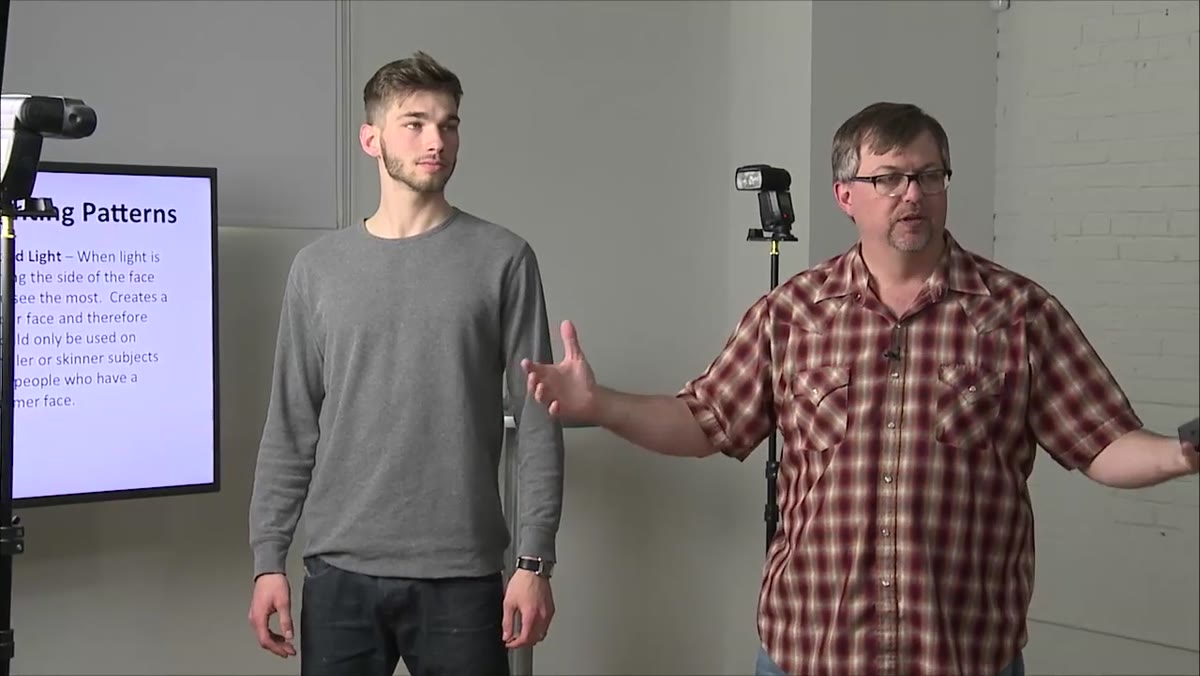 Instructor positioning male subject sideways toward softbox light
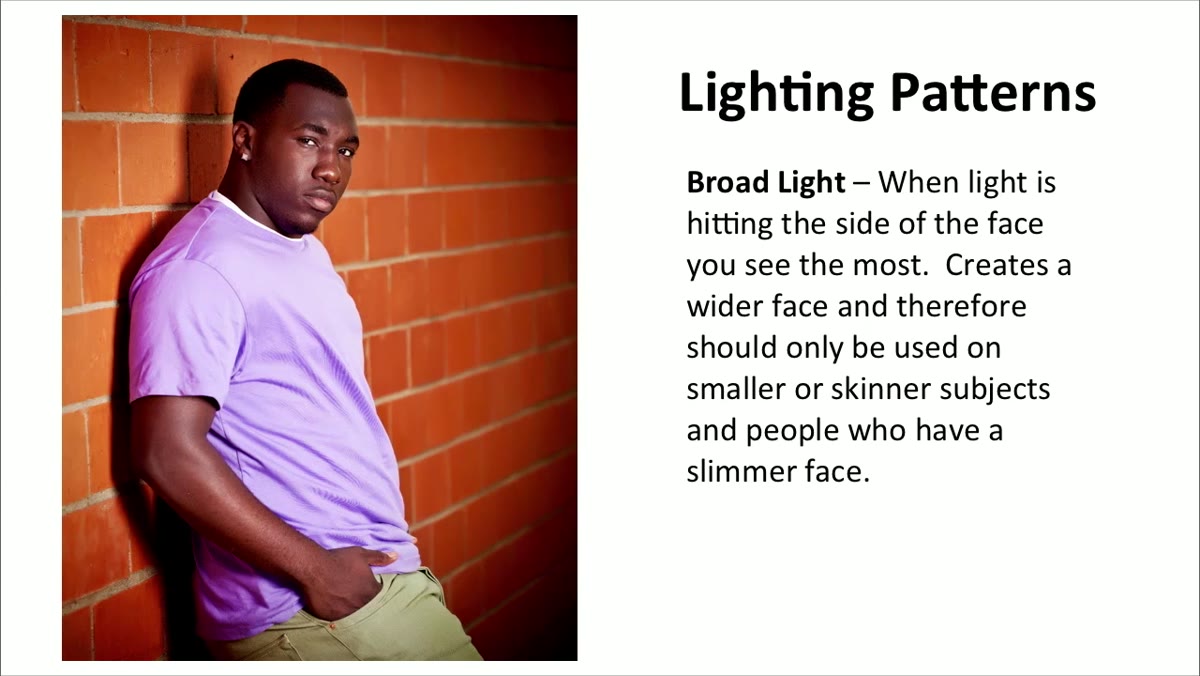
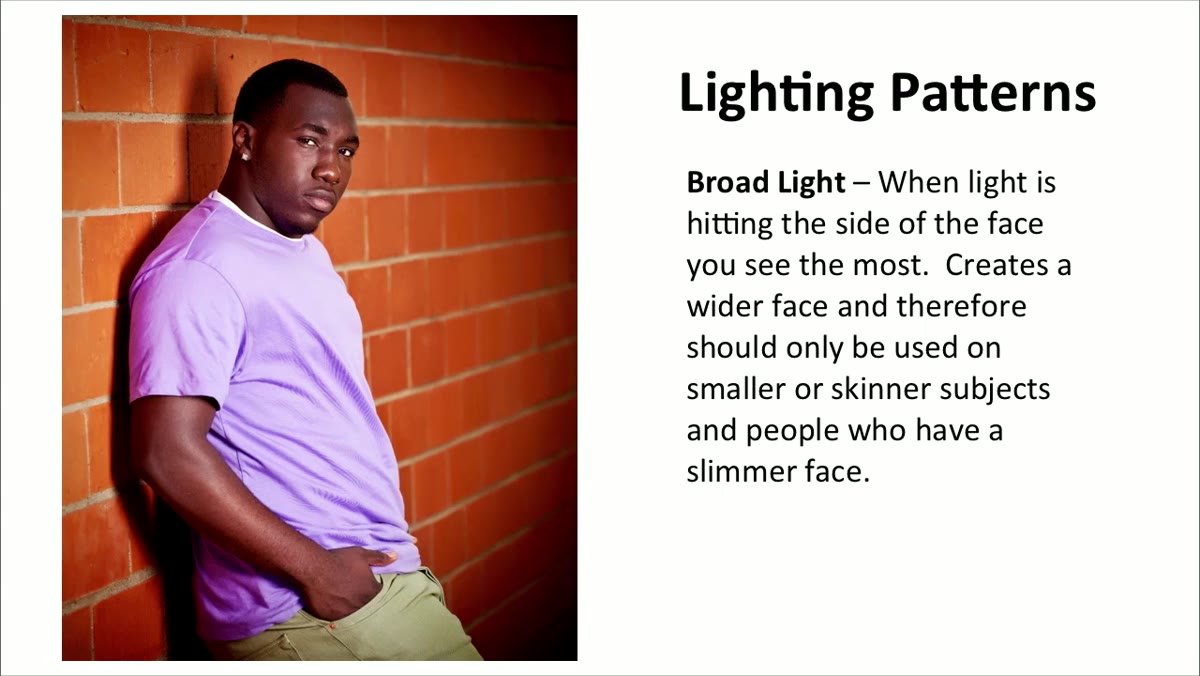
Before you think about expression or hands, get the body right. The instructor’s starting point is simple: turn the subject so his body faces the light source, not the camera. This is called broad lighting when the lit side of the face is facing the camera, and it does something specific for male subjects. It reads as wider, more substantial, and more authoritative in the frame. For a high school senior who plays sports or just wants to look like he belongs in the photo, this foundation matters.
Instructor positioning male subject sideways toward softbox light
Before you think about expression or hands, get the body right. The instructor’s starting point is simple: turn the subject so his body faces the light source, not the camera. This is called broad lighting when the lit side of the face is facing the camera, and it does something specific for male subjects. It reads as wider, more substantial, and more authoritative in the frame. For a high school senior who plays sports or just wants to look like he belongs in the photo, this foundation matters.
Position your softbox or natural light source at roughly 45 degrees to the side, then rotate your subject so his chest opens toward it. His face can then turn back toward the camera at whatever angle feels natural. You’re creating width through body angle, which is the opposite of what you’d typically do with a female subject where you’d angle the body away to create a slimmer silhouette.
Step 2: Give Him Something to Do With His Hands
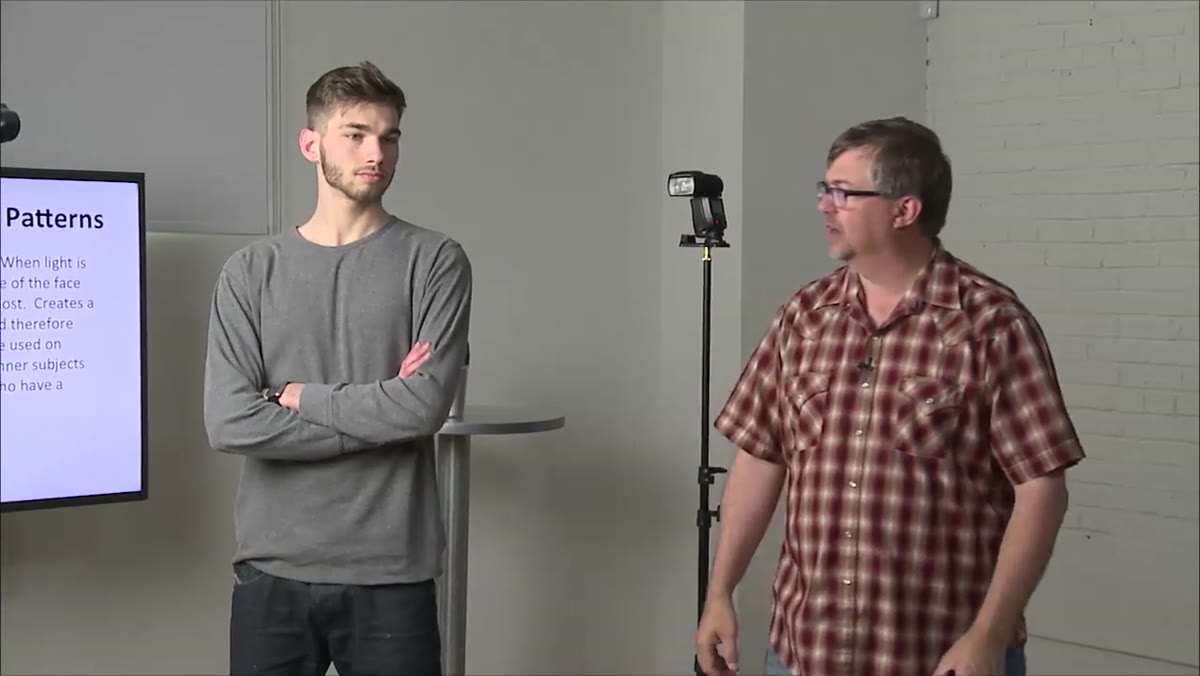 Subject crossing arms naturally in front of body
Hands are where most senior guy sessions fall apart. The instructor’s fix is refreshingly low-effort: ask him to cross his arms or put his hands in his pockets and then leave it alone. These two options work because they’re positions men actually stand in outside of a photo studio. They don’t require instruction to feel natural because they already are natural.
Subject crossing arms naturally in front of body
Hands are where most senior guy sessions fall apart. The instructor’s fix is refreshingly low-effort: ask him to cross his arms or put his hands in his pockets and then leave it alone. These two options work because they’re positions men actually stand in outside of a photo studio. They don’t require instruction to feel natural because they already are natural.
The key word in this step is “leave it alone.” Once he settles into one of these positions, resist the urge to keep adjusting. Maybe make one small correction to how his fingers are sitting, but don’t overthink it. The more you fiddle, the more self-conscious he becomes, and self-consciousness is the enemy of a good senior portrait.
Step 3: Avoid Poses That Read as Feminine
 Instructor demonstrating what not to do with hand positions
The instructor is direct about something that applies especially if you, like me, spend most of your sessions photographing women: the instinct to reach for your usual posing toolkit will get you in trouble here. Certain poses that look elegant and editorial on a female subject, hands raised to the chin, fingers touching the face, hair touching, crouching low with knees together, read as feminine on a teenage boy. And no matter how technically well-executed the photo is, if the subject looks uncomfortable with the result, it’s not a good photo.
Instructor demonstrating what not to do with hand positions
The instructor is direct about something that applies especially if you, like me, spend most of your sessions photographing women: the instinct to reach for your usual posing toolkit will get you in trouble here. Certain poses that look elegant and editorial on a female subject, hands raised to the chin, fingers touching the face, hair touching, crouching low with knees together, read as feminine on a teenage boy. And no matter how technically well-executed the photo is, if the subject looks uncomfortable with the result, it’s not a good photo.
This isn’t about rigid gender rules for their own sake. It’s about reading your subject and what they want to walk away with. A 17-year-old guy showing his senior portrait to his teammates has a specific idea of how he wants to look in it, and your job is to meet that. Keep poses upright, grounded, and direct.
Step 4: Use Prompts Instead of Precise Direction
 Instructor physically engaging with subject to elicit natural expression
Getting a natural expression from a teenage guy can feel like negotiating. The instructor shares a story about working with a football player who was genuinely too cheerful to pull off a serious look on command. Telling him to look tough wasn’t working. What worked was a physical prompt: the instructor walked up and gave him a light push, the subject looked back with exactly the guarded, serious expression they’d been trying to get, and they grabbed the shot.
Instructor physically engaging with subject to elicit natural expression
Getting a natural expression from a teenage guy can feel like negotiating. The instructor shares a story about working with a football player who was genuinely too cheerful to pull off a serious look on command. Telling him to look tough wasn’t working. What worked was a physical prompt: the instructor walked up and gave him a light push, the subject looked back with exactly the guarded, serious expression they’d been trying to get, and they grabbed the shot.
The lesson isn’t “push your clients.” The lesson is that prompts work better than descriptions. Instead of saying “look serious,” try “you just heard something you don’t agree with” or “someone just walked into the room you’re not happy to see.” Action-based prompts pull an honest reaction rather than a performed one. For guys especially, the performance instinct tends to produce either a forced grin or a theatrical scowl. A real reaction looks like neither.
Step 5: Use Shadows Intentionally With Off-Camera Flash
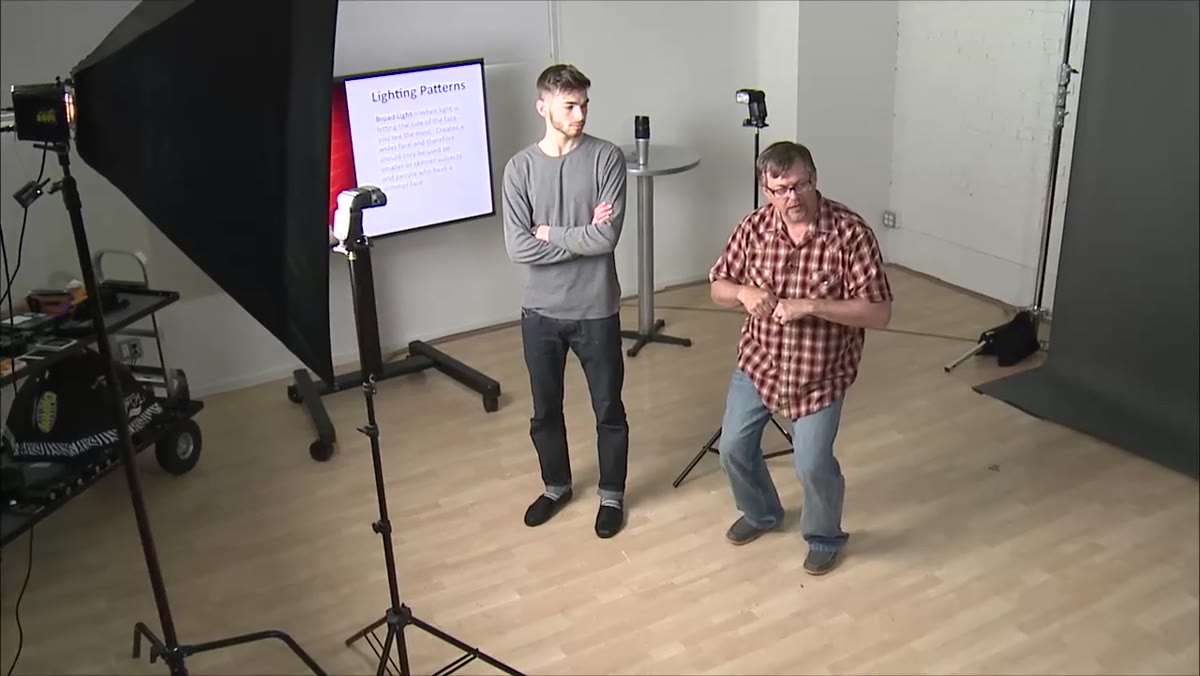
 Wireless flash setup with visible shadow cast behind subject on wall
When working with a wireless off-camera flash setup, the instructor points out something that beginners often panic about: the shadow behind the subject on the wall. The instinct is to eliminate it, but for a male subject, that shadow is actually doing useful work. It adds depth, volume, and a kind of visual weight to the frame that flatters a broader, more solid build.
Wireless flash setup with visible shadow cast behind subject on wall
When working with a wireless off-camera flash setup, the instructor points out something that beginners often panic about: the shadow behind the subject on the wall. The instinct is to eliminate it, but for a male subject, that shadow is actually doing useful work. It adds depth, volume, and a kind of visual weight to the frame that flatters a broader, more solid build.
You can’t always eliminate the shadow completely depending on your location and setup, but you can control it by adjusting the angle of your light and your own shooting perspective. The instructor notes that for female subjects he’d often reposition to minimize shadow, but for guys he lets it live in the frame. This is one of those small decisions that shifts the mood of a portrait significantly without changing a single camera setting.
What I’d Add From My Own Experience
The thing this tutorial doesn’t spell out but implies throughout is that the real skill here is adaptability, reading the specific person in front of you, not running a formula. I’ve had senior guys who were completely comfortable on camera and needed almost no direction, and I’ve had guys who were so anxious that every instruction made them tense up worse. For the second type, I’ve found that talking about something they actually care about, the sport they play, a show they watch, anything, while shooting gets better results than any pose ever will. The camera becomes secondary to the conversation, and that’s when the real expressions come through.
The single most important takeaway from this tutorial is that simplicity is a feature, not a shortcut. Two or three solid, natural-feeling poses done well will almost always outperform a complicated session full of adjustments and second-guessing. Get the light right, give him somewhere to put his hands, and let him be himself in front of the camera.
Watch the full tutorial on YouTube to see the instructor work through this live, including the lighting setup details and real-time posing adjustments that are hard to fully capture in text.
Comments (2)
The before and after really sells it. Incredible difference.
This saved me so much time on my last edit. Wish I'd found this sooner.
Leave a Comment