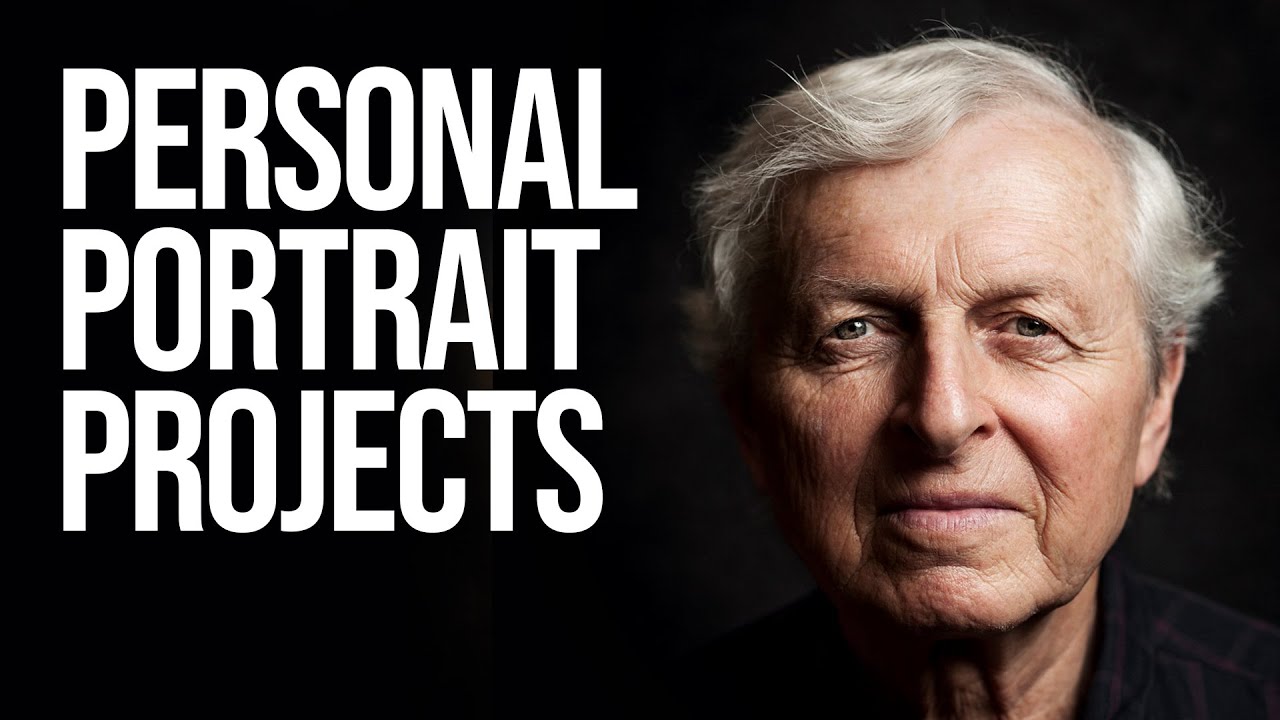
Portrait projects are where photography gets personal. Not personal in a vague, artistic way — personal in the sense that you’re walking into someone’s home or workspace, pointing a camera at their face, and trying to make something that actually means something. I’ve done enough of those shoots to know that the ones that fall flat almost always come down to one thing: not enough planning before you ever pick up the camera.
That’s exactly why this tutorial stuck with me. In this Sean Tucker tutorial on planning and shooting a portrait project, Tucker does something most gear-focused photography videos skip entirely. He starts with the why before he ever gets to the how. He’s traveling around South Africa to photograph a series of men who mentored him through a difficult stretch of his life, and that emotional anchor shapes every decision he makes — from the light he chooses to how he positions his subjects. Watch the full tutorial on YouTube if you want to follow along. It’s well worth the full runtime.
What I’m breaking down here is the practical, repeatable framework he uses. Whether your portrait project is a tribute to someone important or a commercial client series, the steps are the same.
Step 1: Define the Project Before You Define the Gear
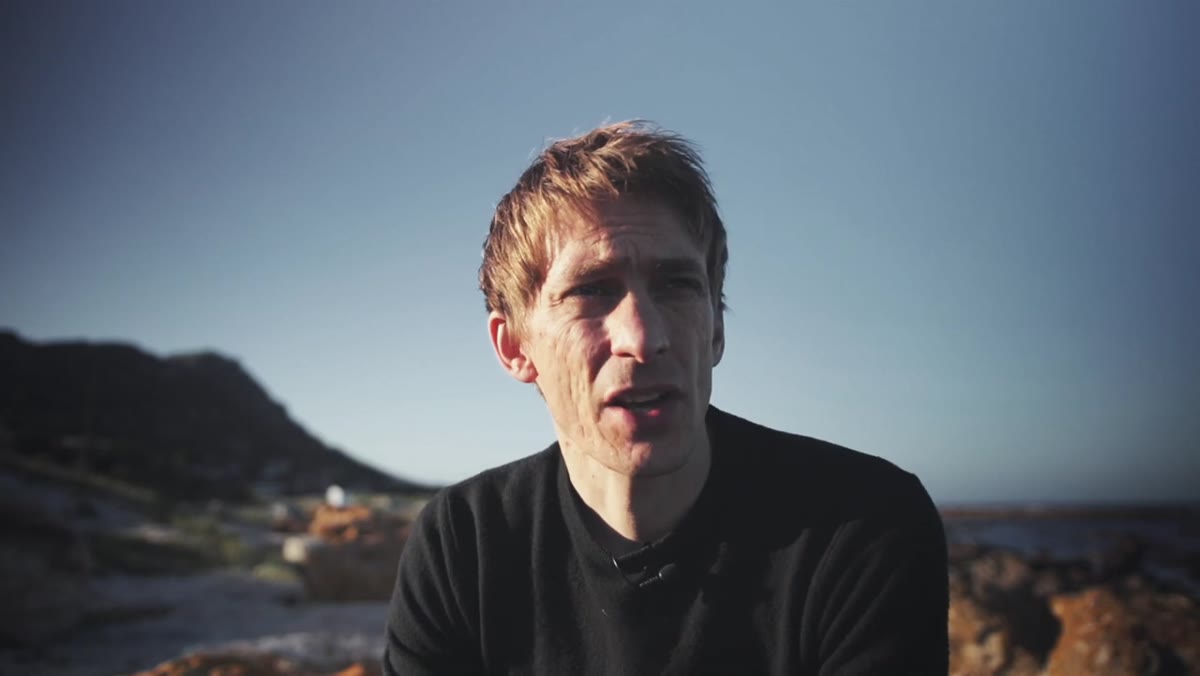 Tucker speaking directly to camera about his personal backstory
Tucker opens with a detailed personal narrative about growing up without a father and the men who stepped in to fill that gap. This isn’t self-indulgence. It’s the most important step in the whole video. Before he ever mentions a lens or a light, he knows exactly who he’s photographing, why those people matter, and what feeling he wants the finished portraits to carry.
Tucker speaking directly to camera about his personal backstory
Tucker opens with a detailed personal narrative about growing up without a father and the men who stepped in to fill that gap. This isn’t self-indulgence. It’s the most important step in the whole video. Before he ever mentions a lens or a light, he knows exactly who he’s photographing, why those people matter, and what feeling he wants the finished portraits to carry.
Before your next portrait project, write down one or two sentences that answer this: what do I want someone to feel when they look at these images? That emotional brief becomes your creative compass for every other decision — location, light quality, wardrobe, even the time of day you schedule the shoot.
Step 2: Build Your Shot Plan Around the Subject, Not the Location
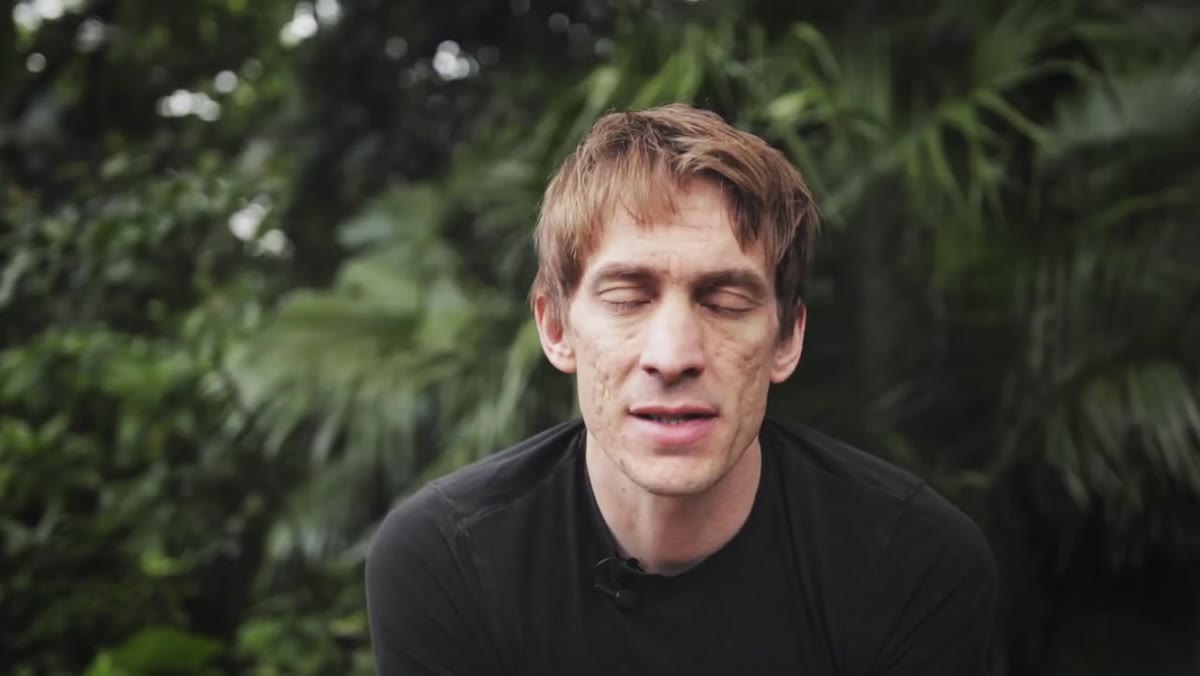 Tucker explaining his plan to visit each mentor and shoot on location
Tucker’s approach here is subject-first. He travels to where each person actually lives and works, rather than pulling them into a studio. That choice is intentional. A person photographed in their own environment carries a different kind of presence than someone standing awkwardly in front of a seamless backdrop. The surroundings tell part of the story.
Tucker explaining his plan to visit each mentor and shoot on location
Tucker’s approach here is subject-first. He travels to where each person actually lives and works, rather than pulling them into a studio. That choice is intentional. A person photographed in their own environment carries a different kind of presence than someone standing awkwardly in front of a seamless backdrop. The surroundings tell part of the story.
For each stop, Tucker arrives with a general concept in mind but leaves room to adapt when he sees the actual space. Before your shoot, scout the location either in person or through photos, note where the natural light falls at the time you plan to shoot, and identify two or three potential spots. Don’t lock yourself into one frame before you arrive.
Step 3: Choose a Portable Strobe That Can Compete with Daylight
 Tucker introducing the Godox AD200 flash unit on location
This is where the gear conversation starts, and Tucker keeps it focused. He brings the Godox AD200 as his primary light source. The reason matters more than the brand: he needs a battery-powered strobe that’s compact enough to travel with but powerful enough to overpower or balance with bright outdoor light. The AD200 puts out 200 watt-seconds of power, which gives him real flexibility shooting in harsh midday sun or open shade.
Tucker introducing the Godox AD200 flash unit on location
This is where the gear conversation starts, and Tucker keeps it focused. He brings the Godox AD200 as his primary light source. The reason matters more than the brand: he needs a battery-powered strobe that’s compact enough to travel with but powerful enough to overpower or balance with bright outdoor light. The AD200 puts out 200 watt-seconds of power, which gives him real flexibility shooting in harsh midday sun or open shade.
If you’re building a travel portrait kit, prioritize output and battery life over size alone. A light that’s small but underpowered will leave you fighting the ambient exposure and losing. Look for something in the 150-200 Ws range minimum if you plan to shoot outdoors.
Step 4: Shape the Light to Flatter Without Overpowering
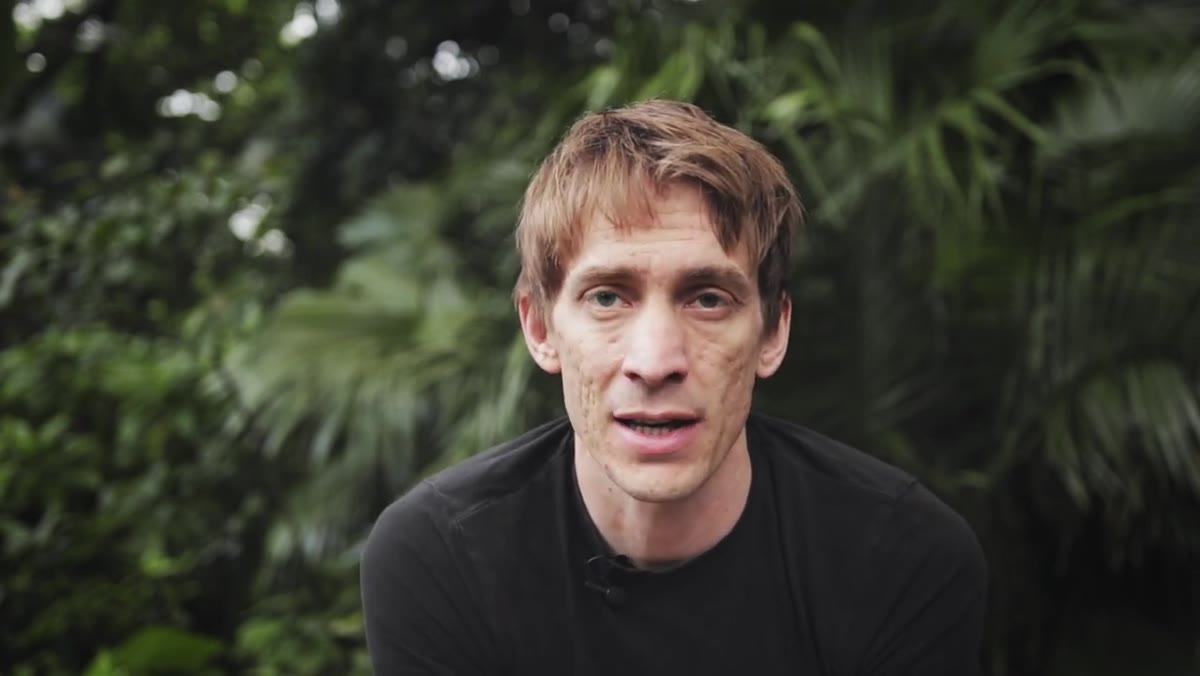 Godox AD200 fitted with a modifier on location setup
Raw strobe light is unflattering on faces. Tucker modifies his AD200 with a softbox or similar diffusion to spread and soften the output. The goal is a light quality that looks intentional but not artificial, something that wraps around facial features rather than blasting them flat.
Godox AD200 fitted with a modifier on location setup
Raw strobe light is unflattering on faces. Tucker modifies his AD200 with a softbox or similar diffusion to spread and soften the output. The goal is a light quality that looks intentional but not artificial, something that wraps around facial features rather than blasting them flat.
For outdoor portraits specifically, a small to medium softbox (roughly 24-36 inches) gives you a manageable modifier that a single assistant or light stand can hold without becoming a sail in the wind. Position it at roughly a 45-degree angle to your subject’s face, slightly above eye level, and watch how the light falls across the nose and cheekbones before you commit to a frame.
Step 5: Balance Ambient and Strobe Exposure Deliberately
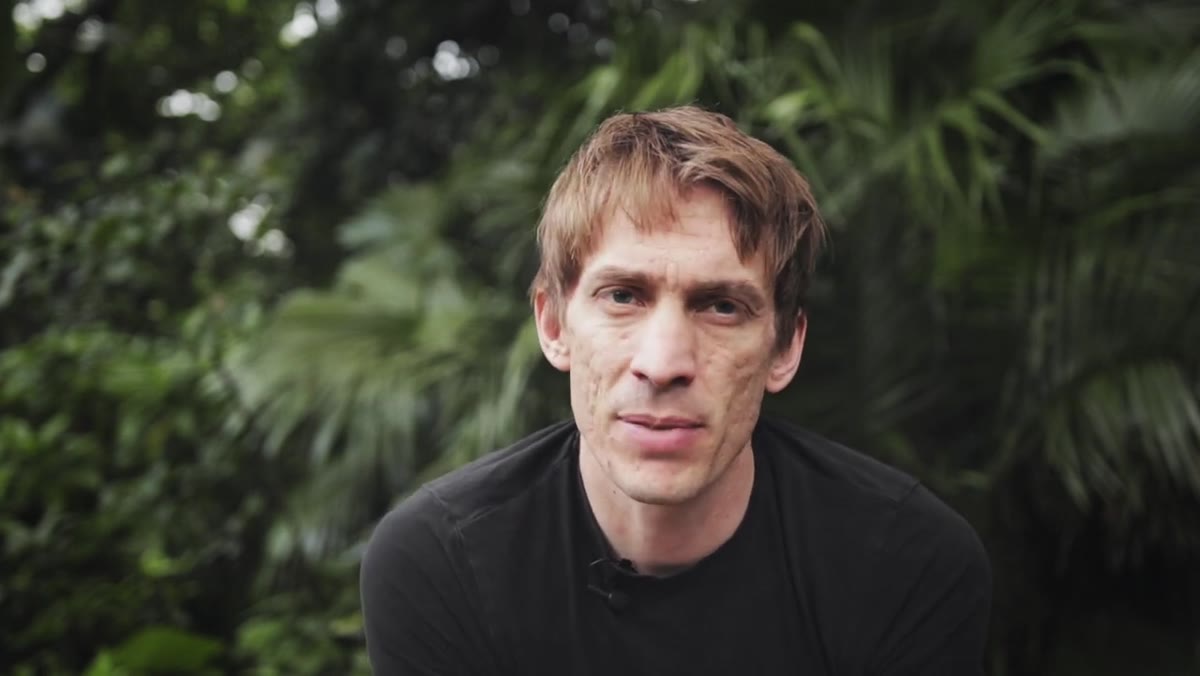 Tucker adjusting camera settings during outdoor portrait setup
One of the trickier parts of shooting with a strobe outdoors is balancing two different light sources. Tucker works by setting his ambient exposure first, then dialing in strobe power to complement rather than replace the natural light. This keeps backgrounds from going dark and unnatural.
Tucker adjusting camera settings during outdoor portrait setup
One of the trickier parts of shooting with a strobe outdoors is balancing two different light sources. Tucker works by setting his ambient exposure first, then dialing in strobe power to complement rather than replace the natural light. This keeps backgrounds from going dark and unnatural.
A practical starting point: set your shutter speed at or below sync speed (typically 1/200s or 1/250s depending on your camera), dial your ISO down, and adjust aperture to expose the background slightly darker than “correct.” Then bring the strobe in to lift the subject and create separation. Adjust strobe power until the subject’s face looks natural, not lit.
Step 6: Direct with Honesty, Not Just Posing Cues
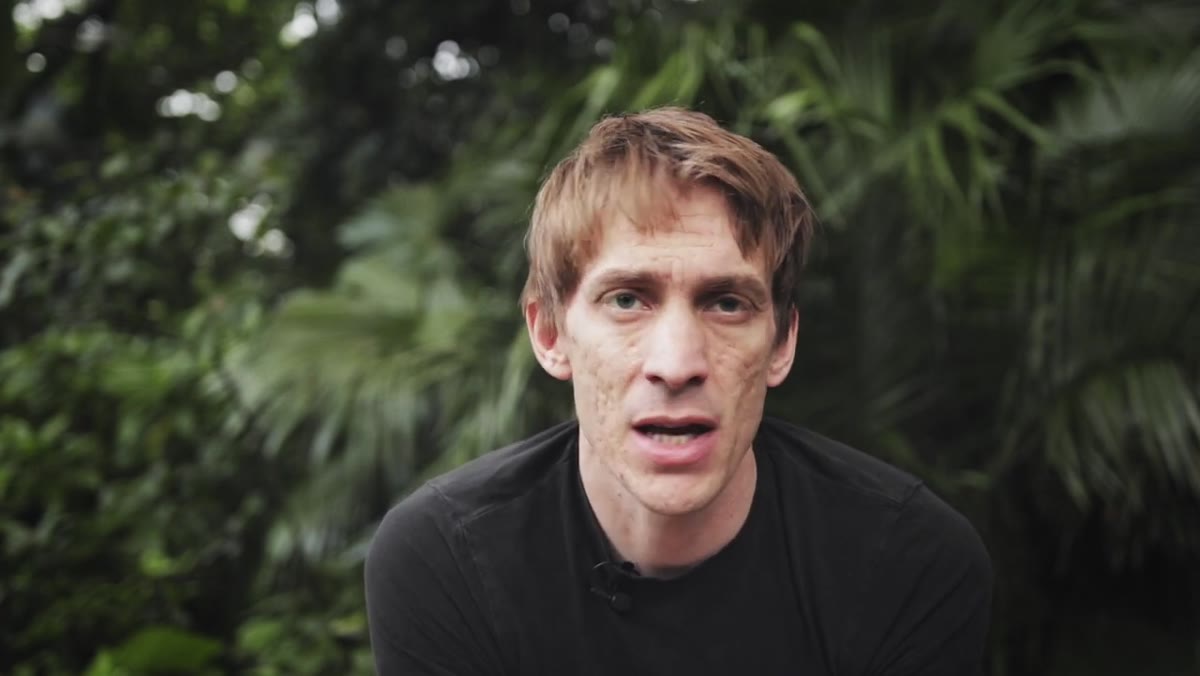 Tucker describing his relationship with each mentor subject
Tucker’s portraits work because his subjects trust him. That trust comes from the fact that he has a genuine, meaningful relationship with each person he’s photographing. He’s not just directing a stranger to “look natural.” He’s having a real conversation.
Tucker describing his relationship with each mentor subject
Tucker’s portraits work because his subjects trust him. That trust comes from the fact that he has a genuine, meaningful relationship with each person he’s photographing. He’s not just directing a stranger to “look natural.” He’s having a real conversation.
Even when you don’t have a decades-long relationship with a subject, you can create the conditions for honest expression. Spend the first ten minutes of any portrait shoot just talking without the camera at your eye. Ask them about something they’re genuinely proud of or interested in. People relax when they feel heard, and that relaxation shows up in the images.
What I’d Add From My Own Experience
Tucker’s framework is solid, and the emotional intentionality behind it is what separates a portrait project from a portrait session. But one thing I’d layer on top is the idea of a location pre-shoot. I now make it a habit to visit a location the Sunday before a portrait shoot, no camera, just my eyes and my phone. I’m looking at where shadows fall, how the light changes from morning to midday, and what backgrounds are going to compete with my subject. It sounds like extra work, but it’s cut my on-site setup time in half and almost completely eliminated the shots I used to lose because I was still problem-solving when I should have been connecting with the person in front of me.
The single biggest thing Sean Tucker’s tutorial reinforced for me is this: the best portrait work starts with something worth photographing. Technique is learnable. Gear is acquirable. But having a real reason to make a portrait, that’s what gives the images staying power.
Watch the full tutorial on YouTube to see Tucker’s portraits of each mentor and hear the complete stories behind them. The finished images are worth the watch on their own.
Comments (2)
Would love to see a follow-up going deeper into this topic.
Finally someone explains this in a way that actually makes sense.
Leave a Comment