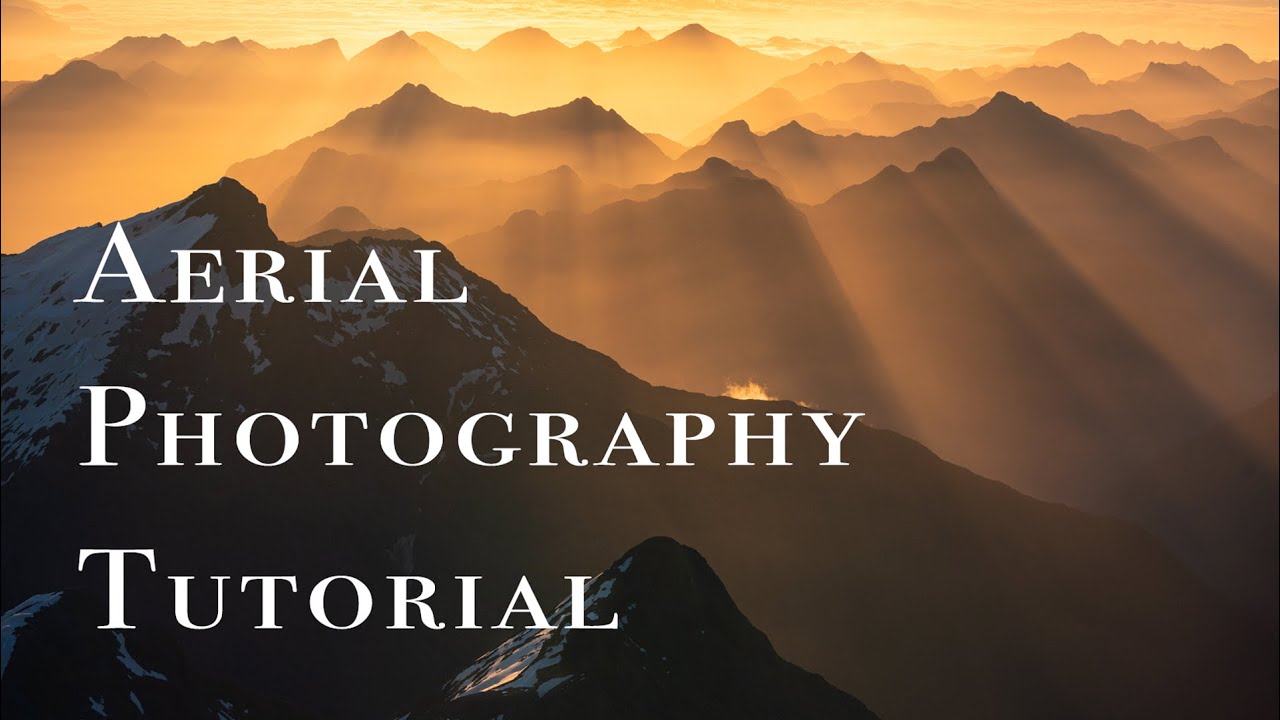
Aerial photography from a small plane is one of those experiences that sounds dreamy right up until you’re buckled in, the door is off, and you have about forty-five minutes to come home with something you’re proud of. There’s no reshoot. There’s no “let me adjust and try again tomorrow.” The light does what it does, the plane moves whether you’re ready or not, and your pilot is waiting on your direction. I’ve watched so many photographers come back from aerial flights with nothing usable, not because conditions were bad, but because they went up without a plan.
That’s exactly what this tutorial addresses. In this William Patino tutorial on aerial photography, filmed during a sunset flight over Fiordland, New Zealand, Will breaks down how he prepares before he ever boards the plane, how he communicates with his pilot, and how he adapts when the original plan stops making sense. It’s one of the more practical aerial breakdowns I’ve come across, and I keep coming back to it before my own flights. Watch the full tutorial on YouTube if you want to see the location footage alongside the planning commentary.
Here’s the full walkthrough of what Will covers, translated into steps you can apply before your next flight.
Step 1: Define Your Primary Goal Before You Leave the Ground
 Will explaining the importance of having a clear aerial game plan
Before you book the flight, before you even check the weather, you need a concrete photographic goal. Not “I want to shoot the mountains.” Something specific enough that you can explain it to your pilot in one sentence. Will’s example from this flight: he wanted to position above Charles Sound at an elevation where he could use the two branching arms of the fjord as leading lines, drawing the viewer’s eye out toward the open ocean. That level of specificity shapes every decision that follows, including altitude, approach angle, and timing.
Will explaining the importance of having a clear aerial game plan
Before you book the flight, before you even check the weather, you need a concrete photographic goal. Not “I want to shoot the mountains.” Something specific enough that you can explain it to your pilot in one sentence. Will’s example from this flight: he wanted to position above Charles Sound at an elevation where he could use the two branching arms of the fjord as leading lines, drawing the viewer’s eye out toward the open ocean. That level of specificity shapes every decision that follows, including altitude, approach angle, and timing.
If you can’t articulate what you’re after, you’ll spend your flight reacting instead of directing. A vague goal hands the creative control to whoever is flying the plane, and pilots are great at flying but they’re not photographers.
Step 2: Build Plans B, C, and D
 Will referencing multiple backup locations for the flight
Conditions in the air change fast. Light shifts, cloud rolls in, the angle you planned from Google Earth looks completely different at altitude. Will’s approach is to map out multiple backup locations before the flight so that when Plan A stops working, he can pivot immediately without burning time or creating awkward silence with his pilot.
Will referencing multiple backup locations for the flight
Conditions in the air change fast. Light shifts, cloud rolls in, the angle you planned from Google Earth looks completely different at altitude. Will’s approach is to map out multiple backup locations before the flight so that when Plan A stops working, he can pivot immediately without burning time or creating awkward silence with his pilot.
For this particular flight, his fallbacks included Bradshaw Sound and Nancy Sound, both nearby and each offering different compositional possibilities depending on where the light landed. The key is doing this research on the ground, not in the air. You want the backup decisions already made so you can execute, not deliberate, when the moment comes.
Step 3: Use Topographic Maps and Google Earth for Pre-Visualization
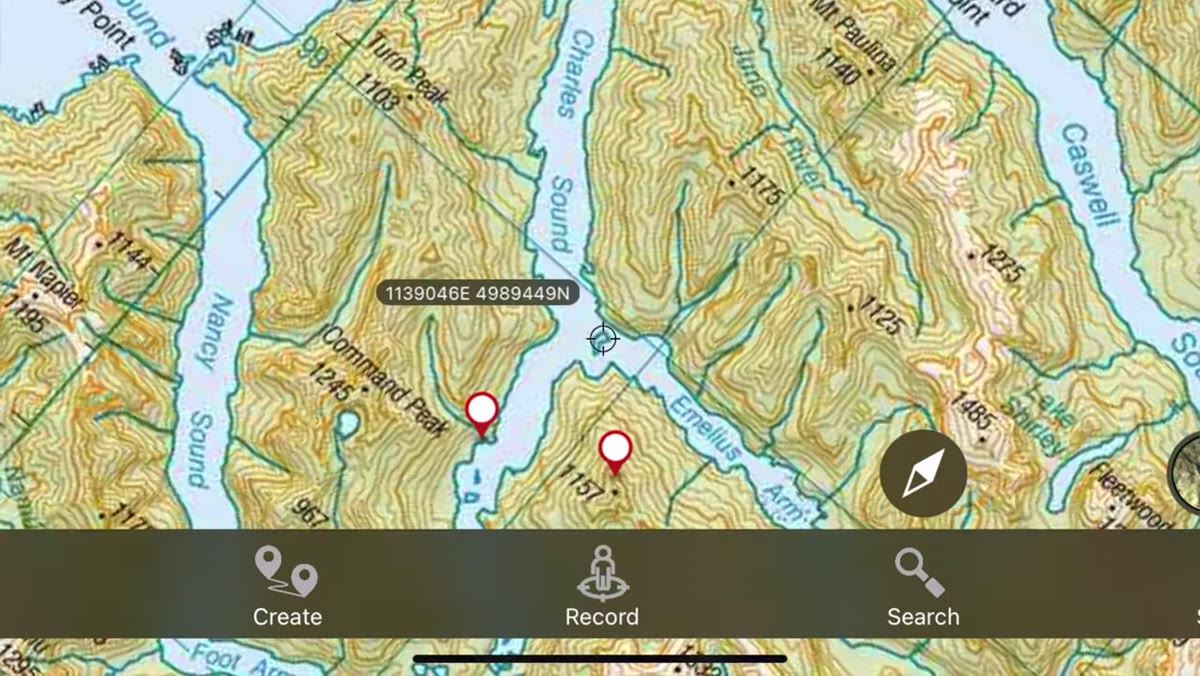 Will reviewing topographic map data and Google Earth imagery
This is where a lot of photographers skip a step they shouldn’t. Will uses topographic maps alongside Google Earth to pre-visualize what the terrain will look like from altitude. He’s specifically looking at the shape of the landforms, how the ridges connect, where the water flows, and what kind of compositional structures exist from above. It’s essentially scouting without leaving your desk.
Will reviewing topographic map data and Google Earth imagery
This is where a lot of photographers skip a step they shouldn’t. Will uses topographic maps alongside Google Earth to pre-visualize what the terrain will look like from altitude. He’s specifically looking at the shape of the landforms, how the ridges connect, where the water flows, and what kind of compositional structures exist from above. It’s essentially scouting without leaving your desk.
Google Earth is particularly useful because you can adjust your viewpoint angle and get a rough approximation of the aerial perspective you’ll actually encounter. It won’t be perfect, but it gets you close enough to walk in with a real plan. Pair that with a topographic map to understand elevation changes and you have a solid mental model of the location before takeoff.
Step 4: Check Sun Direction with the Photographer’s Ephemeris
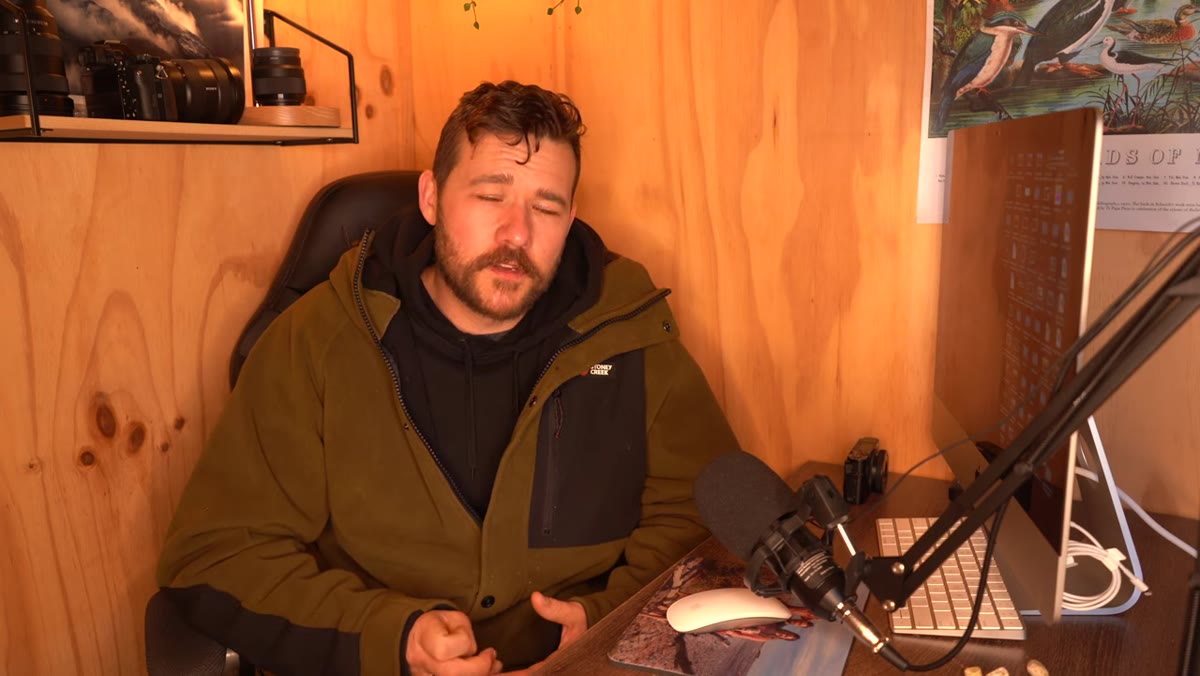 Will checking sun angle using Photographer’s Ephemeris
Light direction matters more from the air than it does on the ground, because you have far less control over where you position yourself relative to the sun. Will uses the Photographer’s Ephemeris to map out exactly where the sun will be during the flight window. For this shoot, the winter sun was tracking far to the north, which worked perfectly for the orientation of Charles Sound. He was looking to shoot toward the sun or with strong side light, both of which create depth and drama in aerial landscapes.
Will checking sun angle using Photographer’s Ephemeris
Light direction matters more from the air than it does on the ground, because you have far less control over where you position yourself relative to the sun. Will uses the Photographer’s Ephemeris to map out exactly where the sun will be during the flight window. For this shoot, the winter sun was tracking far to the north, which worked perfectly for the orientation of Charles Sound. He was looking to shoot toward the sun or with strong side light, both of which create depth and drama in aerial landscapes.
The specific thing he was hoping for: light beams breaking over the mountain peaks and cutting through moisture in the atmosphere. That only happens under specific sun angle and atmospheric conditions, and knowing ahead of time whether those conditions are even geometrically possible saves you from chasing a shot that was never going to happen on that particular day.
Step 5: Check Wind and Cloud Conditions with the Right Tools
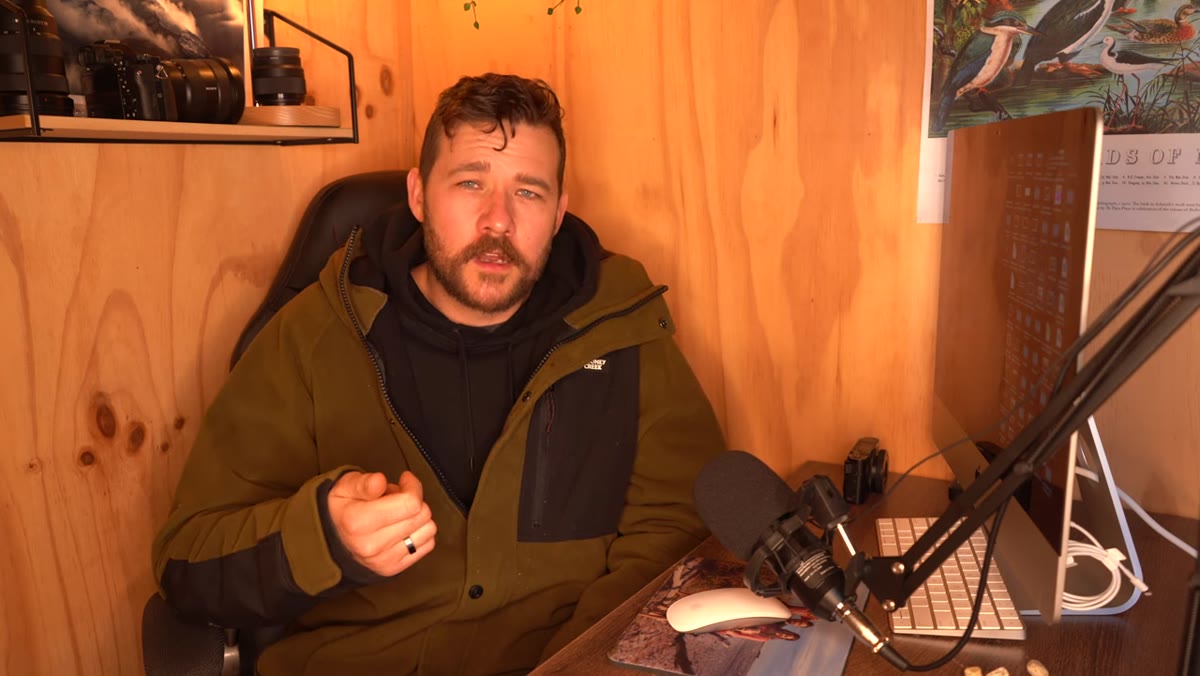 Will reviewing Windy app satellite imagery before the flight
Weather apps are not optional. Will references both YR and Windy before the flight, with a particular focus on Windy’s satellite imagery layer for visualizing actual cloud coverage and wind movement. For small aircraft like the Cessna 172 he uses, wind over mountain terrain is a real safety consideration, not just a comfort one. Strong updrafts and rotor turbulence near ridgelines can make shooting nearly impossible and can put you in a rough situation quickly.
Will reviewing Windy app satellite imagery before the flight
Weather apps are not optional. Will references both YR and Windy before the flight, with a particular focus on Windy’s satellite imagery layer for visualizing actual cloud coverage and wind movement. For small aircraft like the Cessna 172 he uses, wind over mountain terrain is a real safety consideration, not just a comfort one. Strong updrafts and rotor turbulence near ridgelines can make shooting nearly impossible and can put you in a rough situation quickly.
For photography purposes specifically, you want scattered cloud rather than solid overcast. Solid cloud gives you flat, directionless light with no texture and no shadow. Scattered cloud, especially in combination with low winter sun, creates the contrast and mood that makes aerial landscape images compelling.
Step 6: Build a Working Relationship with Your Pilot
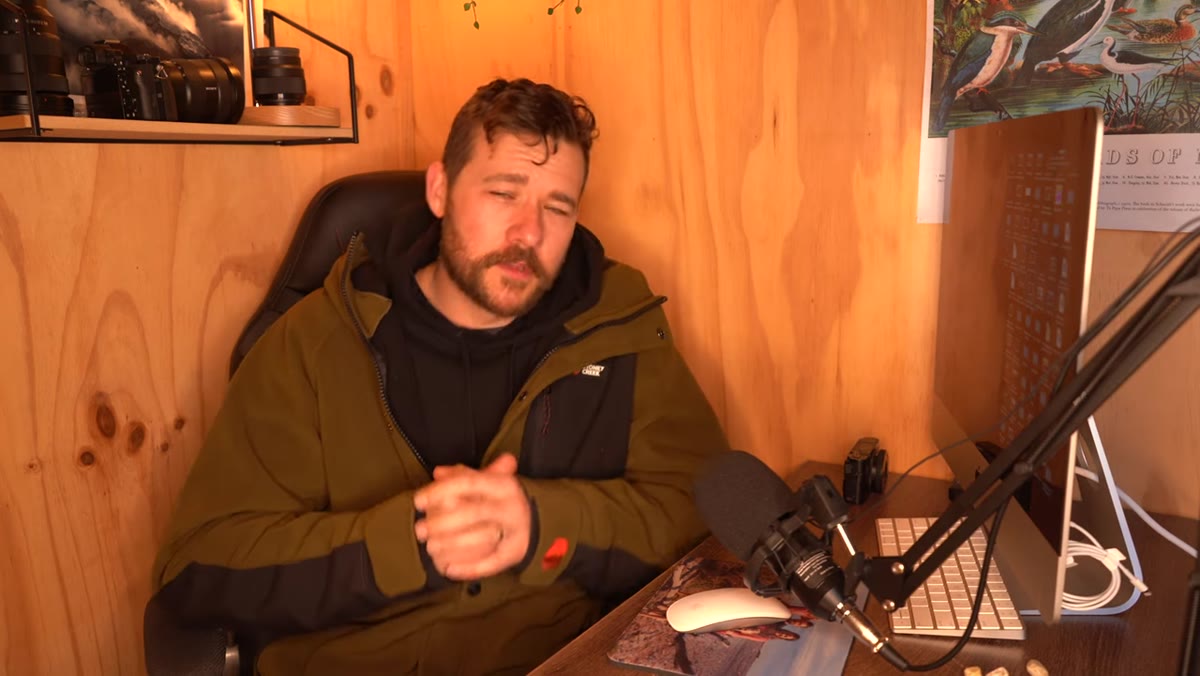 Will describing his ongoing partnership with his regular pilot Sean
Your pilot is your creative collaborator in the air. Will flies regularly with the same pilot, Sean, and emphasizes that the relationship matters as much as the planning does. A pilot who understands what you’re looking for photographically will anticipate your needs, hold a bank angle a little longer, or circle back without you having to shout over the engine noise.
Will describing his ongoing partnership with his regular pilot Sean
Your pilot is your creative collaborator in the air. Will flies regularly with the same pilot, Sean, and emphasizes that the relationship matters as much as the planning does. A pilot who understands what you’re looking for photographically will anticipate your needs, hold a bank angle a little longer, or circle back without you having to shout over the engine noise.
That said, he makes an important point about respecting the working relationship. Changing your mind constantly, asking for sharp redirects, or being indecisive wastes fuel and creates friction. The goal is to come in with a clear enough plan that your pilot can execute smoothly, while still leaving room to call an audible when something genuinely better presents itself.
A Note from My Own Experience: React, But Have a Threshold
One thing I’d add to Will’s framework is giving yourself a personal threshold for when you’ll actually abandon Plan A. It’s tempting to chase every interesting cloud formation or shaft of light you spot from the window, but that scattered focus rarely produces your strongest work. I try to stick with my primary location until I’ve either achieved something I’m genuinely happy with, or until it’s clear the conditions there simply aren’t going to cooperate. Then I move. Having that mental line drawn ahead of time keeps me from second-guessing myself mid-flight, which is a very expensive place to be indecisive.
The single most important takeaway from this tutorial is that great aerial photography is made on the ground, in the planning stage, long before the engine starts. Treat your flight time as execution, not exploration, and you’ll come back with images that justify every dollar of that charter cost.
Watch the full tutorial on YouTube to see Will’s actual planning process and the Fiordland footage that came out of it.
Comments
Leave a Comment