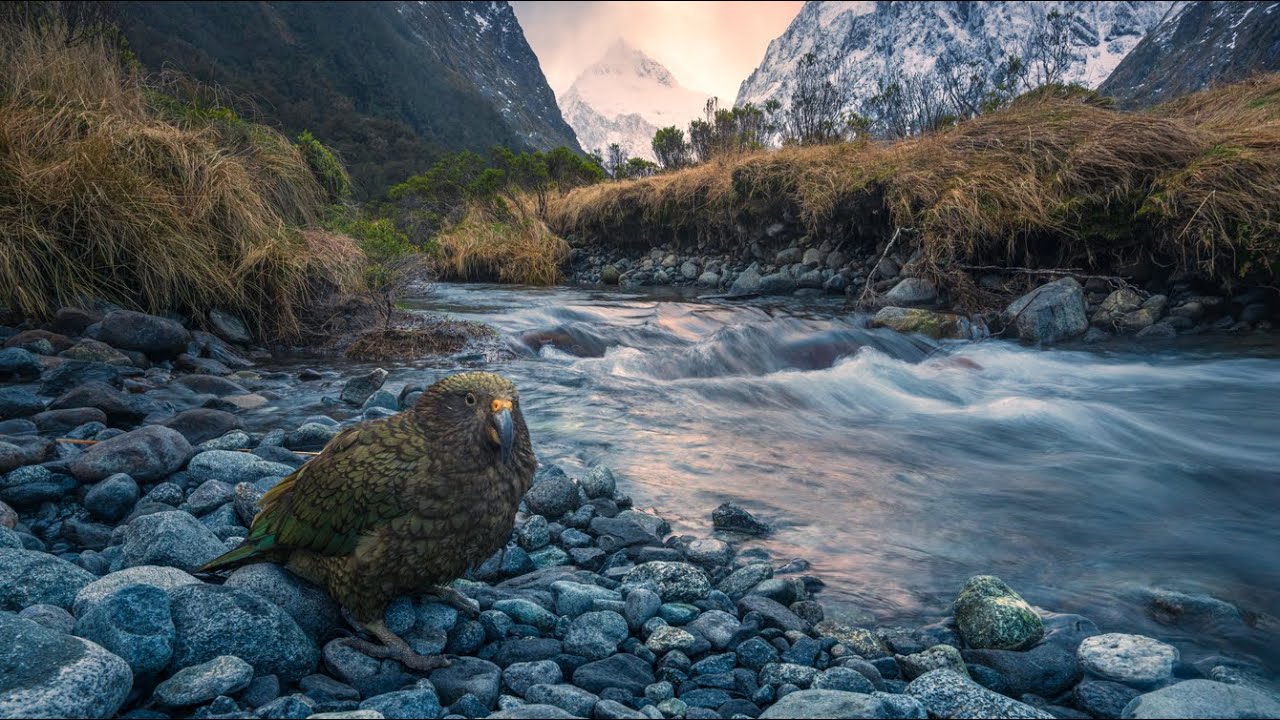
Every landscape photographer eventually faces this problem: you spend an hour composing the perfect shot, and then something living walks into the frame and ruins your plan. Or, if you’re lucky, it makes your plan ten times better. The difference between those two outcomes usually comes down to whether you’ve thought about wildlife as a compositional element before the animal shows up, not after.
That’s the core lesson I took from this William Patino tutorial filmed during his encounters with kea, the world’s only alpine parrot, in the New Zealand mountains. Watch the full tutorial on YouTube. Patino is primarily a landscape photographer, not a wildlife photographer, and that distinction matters enormously here. He’s not chasing the animal for a tight portrait. He’s trying to place the animal inside a grand scene, with intention.
I’ve spent years doing Sunday morning photo walks, and wildlife encounters are the ones that most often catch me flat-footed. I’ll see a heron, panic, and spray frames in burst mode, then come home with forty nearly identical shots that say nothing about where I was. Watching Patino work slowly, deliberately, staying low, using technique even while emotionally overwhelmed by what he’s witnessing, reframed how I think about these moments entirely.
Step 1: Decide Your Priority Before the Animal Arrives
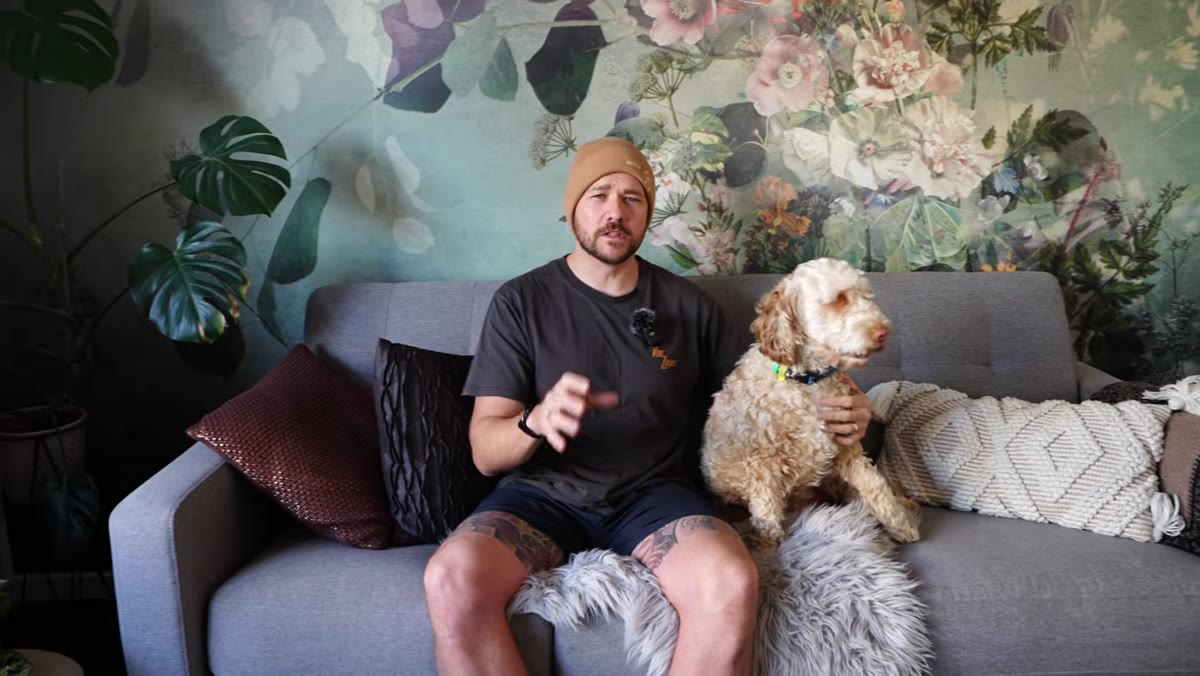
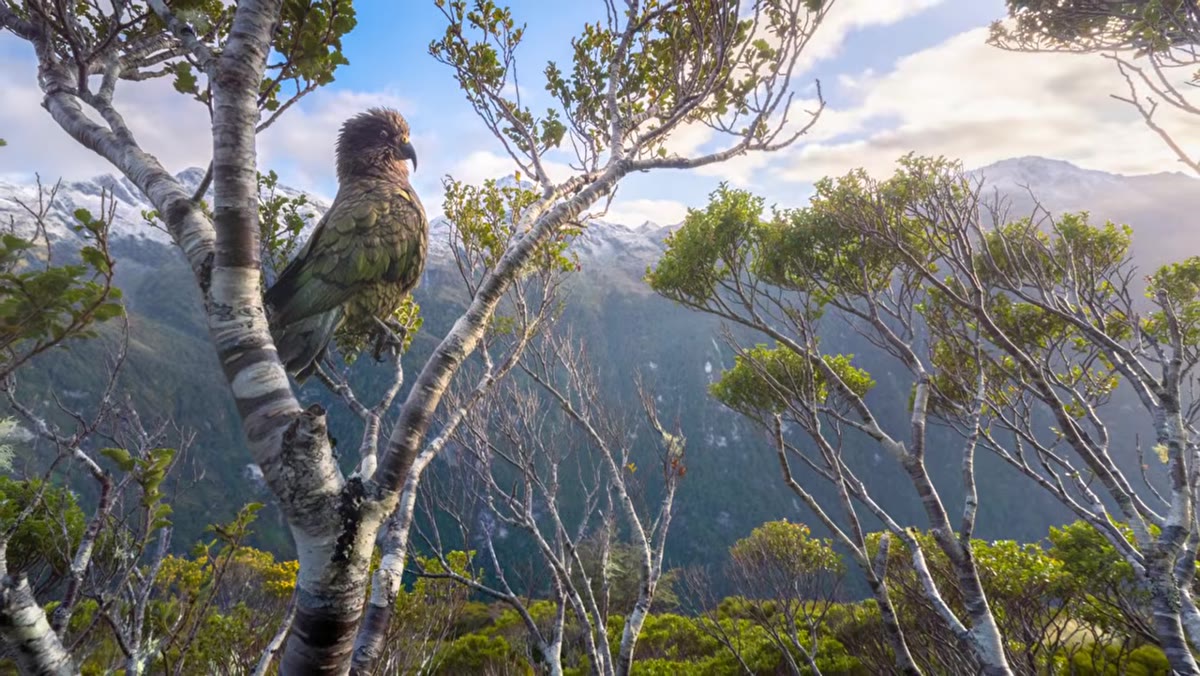 Patino explaining his intention to make a landscape photo, not a wildlife photo
The first decision Patino makes is a conceptual one, and he makes it before the camera even comes up. He wants to create a landscape photograph that includes the animal as a complementary subject, not a wildlife photograph that happens to have a mountain in the background. That sounds like a small distinction, but it changes everything: your focal length, your framing, your aperture choice, and how much you move.
Patino explaining his intention to make a landscape photo, not a wildlife photo
The first decision Patino makes is a conceptual one, and he makes it before the camera even comes up. He wants to create a landscape photograph that includes the animal as a complementary subject, not a wildlife photograph that happens to have a mountain in the background. That sounds like a small distinction, but it changes everything: your focal length, your framing, your aperture choice, and how much you move.
If the landscape is your subject, you hold your ground and wait for the animal to move into a position that serves your existing composition. If the animal is your subject, you follow it. Know which game you’re playing before the encounter starts, or you’ll end up compromising both and getting neither.
Step 2: Read the Light and Conditions as Your Starting Frame
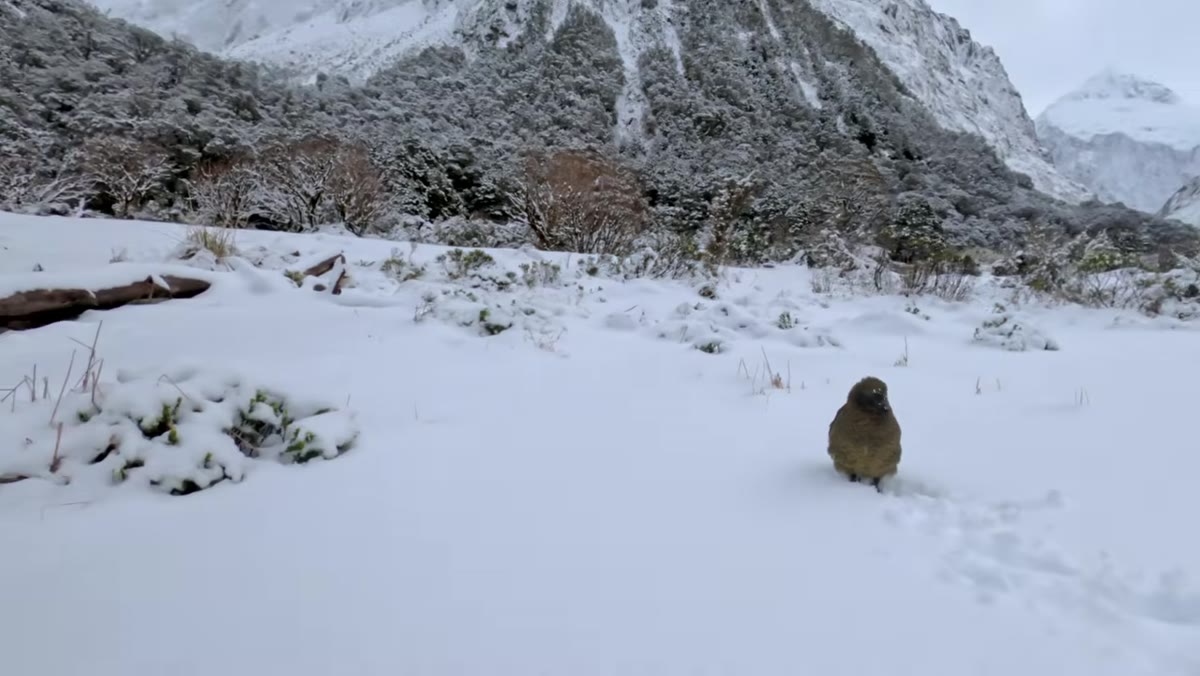
 Fresh snow on alpine terrain with dramatic available light
Patino specifically sought out this encounter because the conditions were already exceptional: fresh snow and strong directional light. He wasn’t relying on the animal to carry the image. The scene was already working. The kea elevated it.
Fresh snow on alpine terrain with dramatic available light
Patino specifically sought out this encounter because the conditions were already exceptional: fresh snow and strong directional light. He wasn’t relying on the animal to carry the image. The scene was already working. The kea elevated it.
This is a practical pre-shoot habit. Before you start looking for wildlife, ask yourself whether the scene in front of you is already worth photographing on its own. If the answer is yes, you have a foundation. If the answer is no, adding an animal rarely rescues a flat composition. Strong light, interesting texture, and depth in the landscape are the baseline, not a bonus.
Step 3: Move Slowly and Close the Distance Gradually
 Patino crawling closer across snowy terrain toward the kea
Once Patino has his composition in mind, he begins closing the distance between himself and the bird by moving incrementally. He describes crawling closer, pausing, reading the bird’s comfort level, then moving again. This is standard wildlife approach technique, but the reason he’s doing it here is specifically compositional: he needs the bird at a particular size within the frame relative to the background elements he wants to include.
Patino crawling closer across snowy terrain toward the kea
Once Patino has his composition in mind, he begins closing the distance between himself and the bird by moving incrementally. He describes crawling closer, pausing, reading the bird’s comfort level, then moving again. This is standard wildlife approach technique, but the reason he’s doing it here is specifically compositional: he needs the bird at a particular size within the frame relative to the background elements he wants to include.
The practical rule is to move in small stages and stop when the animal’s body language changes. Ears flatten, heads swivel, posture stiffens. Those are your signals to freeze and wait. Rushing this process doesn’t save time. It ends the encounter. Patience here is not a personality trait, it’s a technical requirement.
Step 4: Use Focus Stacking to Get the Full Scene Sharp
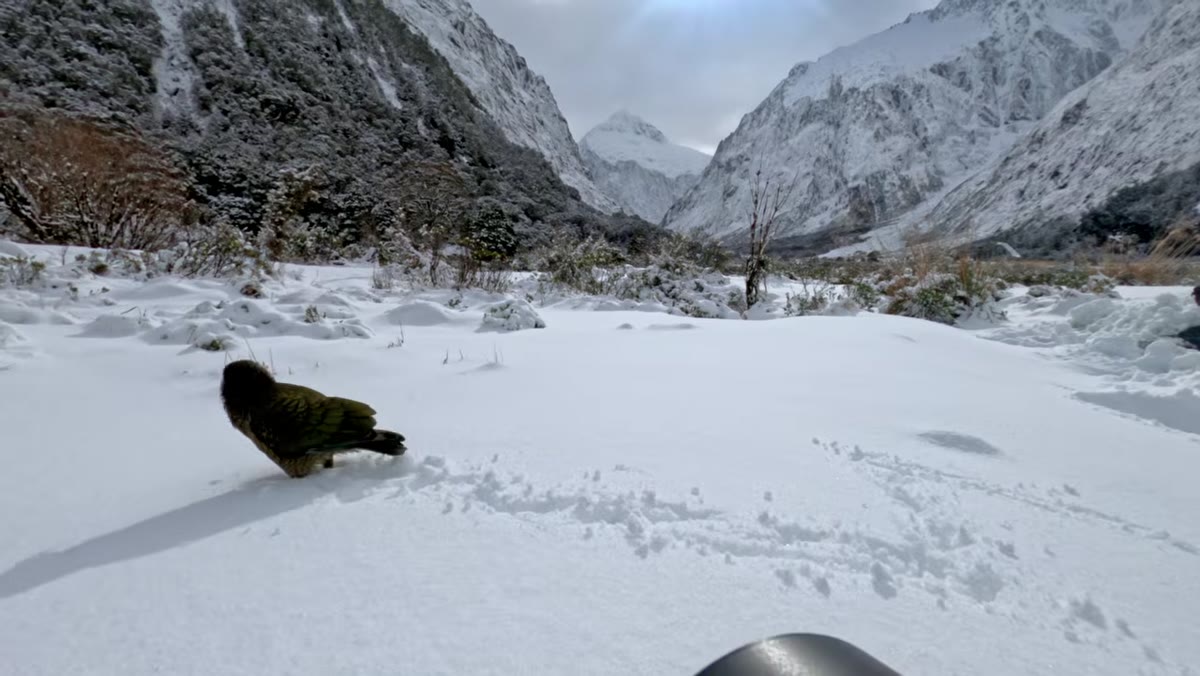 Shutter firing multiple times as Patino focus stacks in the field
Here’s where Patino does something most wildlife photographers skip entirely: he focus stacks in the field. You can hear the shutter firing several times in rapid succession. He’s capturing multiple frames at different focus distances so he can blend them in post and achieve sharpness across both the foreground subject and the distant landscape.
Shutter firing multiple times as Patino focus stacks in the field
Here’s where Patino does something most wildlife photographers skip entirely: he focus stacks in the field. You can hear the shutter firing several times in rapid succession. He’s capturing multiple frames at different focus distances so he can blend them in post and achieve sharpness across both the foreground subject and the distant landscape.
To do this yourself, keep your camera on a stable position (a low angle on snow or ground works), manually shift your focus point between shots rather than changing your aperture, and shoot at least three to five frames covering near, mid, and far focus distances. You’ll need to blend these in Lightroom or Photoshop using the auto-align and auto-blend tools. The payoff is an image where both the bird at your feet and the mountain range behind it are tack sharp, which is nearly impossible to achieve in a single exposure with a wide-angle lens at close range.
Step 5: Frame for the Background, Not Just the Subject
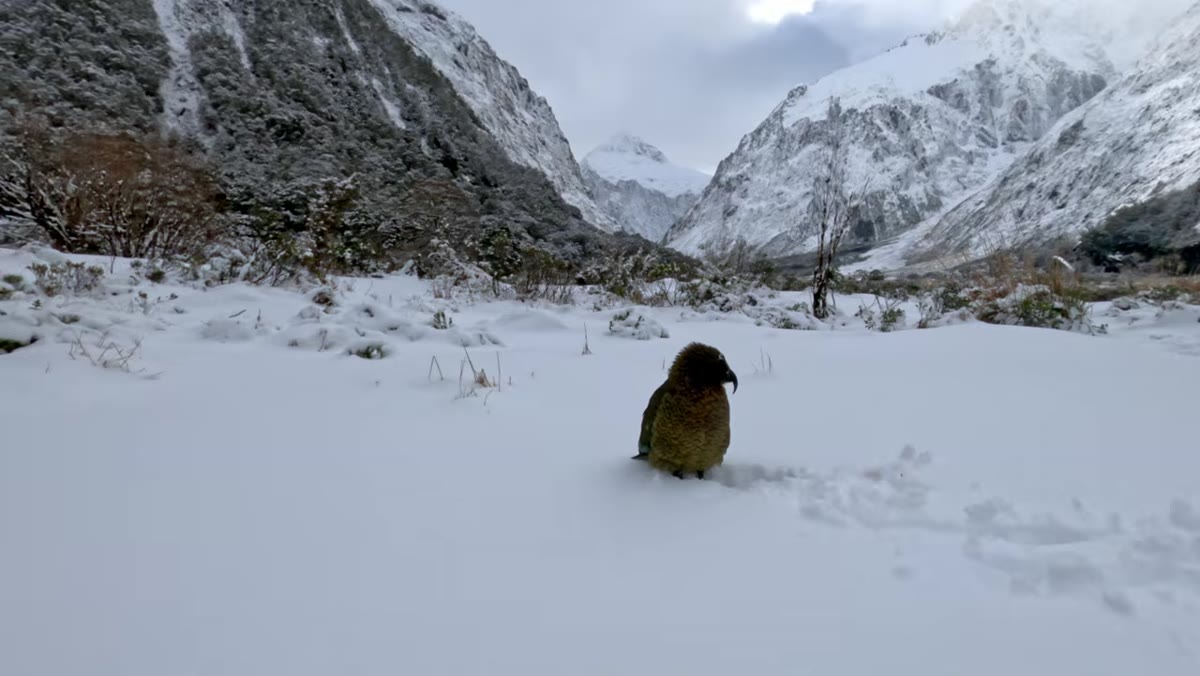 Patino repositioning to include background light and mountain context
Several times during the encounter, Patino explicitly says he’s trying to get the background into the frame, not just the bird. He repositions his angle to include light falling on distant terrain. This is the move that separates a landscape-wildlife image from a snapshot.
Patino repositioning to include background light and mountain context
Several times during the encounter, Patino explicitly says he’s trying to get the background into the frame, not just the bird. He repositions his angle to include light falling on distant terrain. This is the move that separates a landscape-wildlife image from a snapshot.
The practical approach: once you have a rough composition, look past your subject and identify two or three background elements that add depth or context. Then adjust your position until those elements appear where you want them relative to the animal. Small lateral shifts of even a foot or two can dramatically change what the background looks like at your focal length.
Step 6: Work Reflections and Environmental Details When They Appear
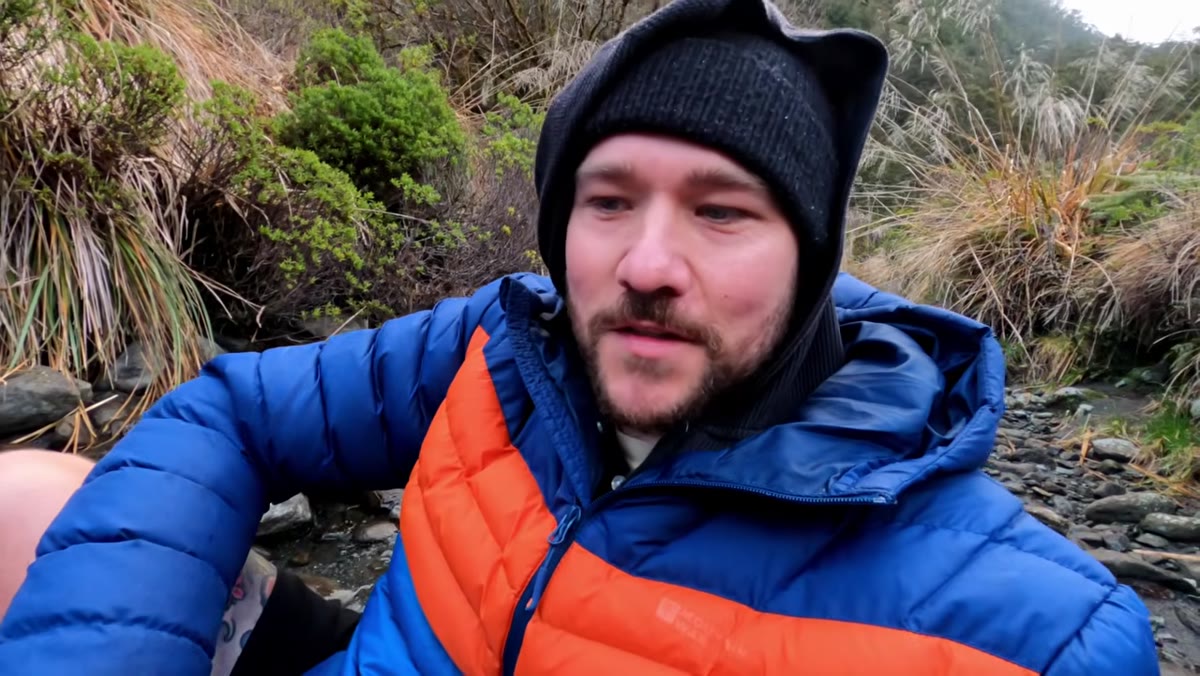 Patino repositioning in a creek to capture water reflection below the kea
Later in the encounter, Patino moves into a shallow creek specifically to capture a water reflection beneath the bird. He’s not just shooting from wherever he ends up. He’s actively looking for additional compositional opportunities the environment is offering.
Patino repositioning in a creek to capture water reflection below the kea
Later in the encounter, Patino moves into a shallow creek specifically to capture a water reflection beneath the bird. He’s not just shooting from wherever he ends up. He’s actively looking for additional compositional opportunities the environment is offering.
This is a habit worth building into any wildlife encounter: once you have your primary composition locked, scan the immediate area for secondary elements. Reflections, leading lines, framing from nearby rocks or branches. The animal may stay in place long enough for you to explore two or three variations. Work them all.
What I’d Add From My Own Experience
The emotional dimension of Patino’s footage is worth paying attention to, not because it’s touching, but because it’s instructive. He’s clearly moved by what’s happening, and yet he keeps shooting. He keeps making technical decisions: crawl closer, focus stack, reframe for the background, move into the creek.
My own tendency in moments of genuine surprise is to stop shooting and just stare, which is how I miss the frame. I’ve started treating emotional response as a trigger rather than a pause. When I feel that rush of “oh wow,” that’s exactly when I slow my breathing, check my settings, and keep working. The photograph and the feeling can coexist. You don’t have to choose.
One note on ethics Patino raises that I’ll second strongly: if you ever encounter kea or any wildlife that’s habituated to humans, resist the urge to feed them. It disrupts their behavior, their health, and ultimately the quality of the very encounters you came to photograph. Presence without interference is the whole game.
The single most important idea in this tutorial is this: decide before the encounter whether you’re making a landscape or a wildlife image, then commit every technical decision to that goal. Wildlife inside a landscape is a genuinely difficult photograph to make well. It rewards preparation, patience, and knowing what you’re actually after before the subject walks into the frame.
Watch the full tutorial on YouTube to see Patino’s GoPro footage and the finished images he produced from this encounter. The conditions he captured are remarkable, but the technique is replicable anywhere wildlife and landscape intersect.
Comments
Leave a Comment