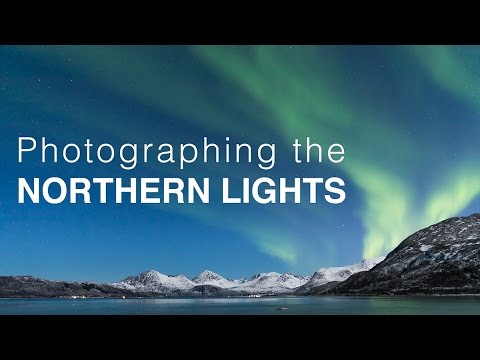
Every so often I watch a tutorial and think, “okay, this is the one I wish existed before I embarrassed myself.” Aurora photography has been on my bucket list for years, and the mental image I had of it was simple: point camera at sky, get green swirls, go home happy. What nobody told me is that the green swirls are the easy part. Finding a composition in the dark, in Arctic temperatures, while the lights are doing whatever they want on their own schedule - that’s the actual challenge.
In this Thomas Heaton tutorial filmed on location in Northern Norway, he works through a full night of aurora photography in real time, including the parts where things don’t cooperate. That honesty is what makes it worth your time. He’s not presenting a highlight reel. He’s navigating the cold, scouting in the dark, moving locations when a spot doesn’t deliver, and adjusting on the fly. If you’re planning a Northern Lights trip or just want to understand night landscape photography better, this is a fantastic reference. Watch the full tutorial on YouTube and then come back here for the step-by-step breakdown.
What Thomas makes clear from the very beginning reframed how I think about the whole genre. Aurora photography is landscape photography. That sounds obvious until you realize most people treat the lights as the entire subject and forget everything else they know about making a strong image.
Step 1: Treat It Like Any Other Landscape - Composition Comes First
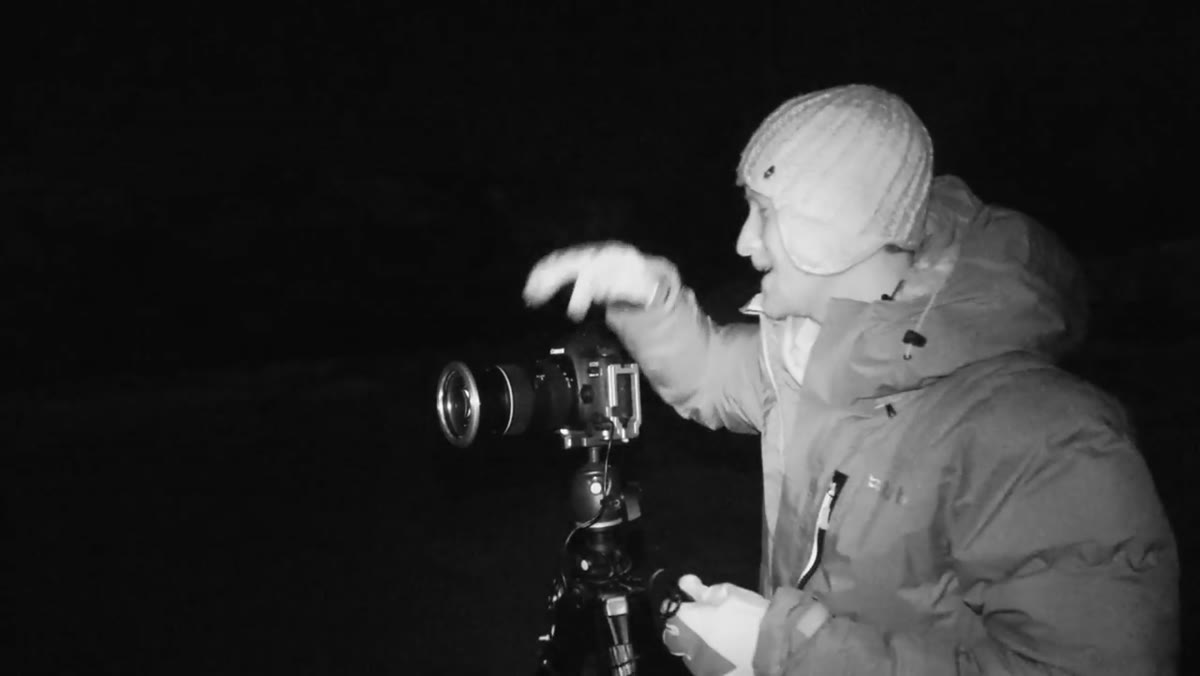
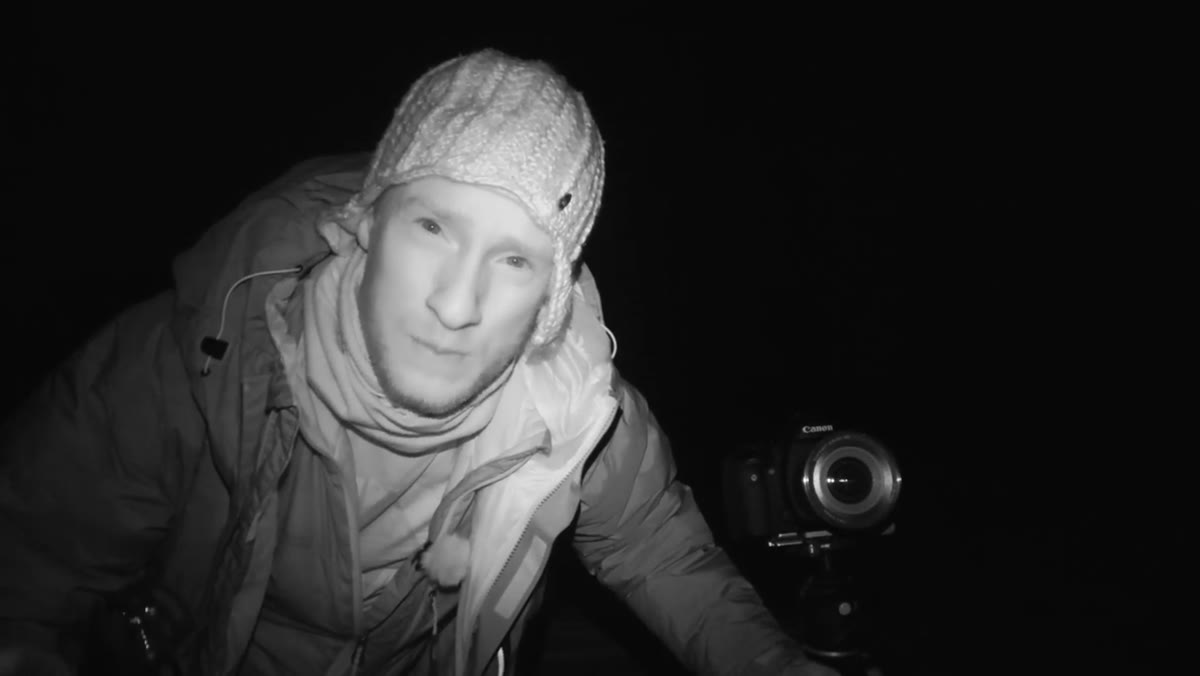 Photographer standing among pine trees scanning the sky
Before you touch your camera settings, you need a composition. Thomas is explicit about this: the Northern Lights are just the light source. The same rules that govern any landscape shot still apply - you need a foreground subject, interesting structure, visual depth, and a reason for the eye to move through the frame. He spends a significant portion of his shoot simply walking and rejecting locations because the tree arrangements aren’t working, or scrubby undergrowth is cluttering the frame.
Do your location scouting during daylight whenever possible. Identify two or three potential compositions so that when the lights appear, you’re not fumbling around in the dark trying to find something that works. If you’re somewhere unfamiliar, use Google Earth or PhotoPills to preview the terrain before you arrive.
Step 2: Use Moonlight as Your Ambient Fill
 Snow-covered landscape illuminated by partial moon with mountains behind
One of the most useful observations Thomas makes is about the role of moonlight. A half to three-quarter moon was lighting up the snow and the mountain slopes during his shoot, and he treats that as a genuine asset, not just background noise. The moon gives the foreground dimension and prevents the shot from being a green smear against pure black.
When you’re planning your aurora outing, check the lunar calendar alongside the aurora forecast. A moonless night gives you darker skies but can leave your foreground flat and featureless. A bright moon competes with the lights but illuminates your landscape beautifully. The sweet spot is somewhere in between - a crescent to half moon that adds texture without washing out the aurora.
Step 3: Set Your Focus to Manual and Lock It at Infinity
 Camera controls being adjusted, manual focus indicated
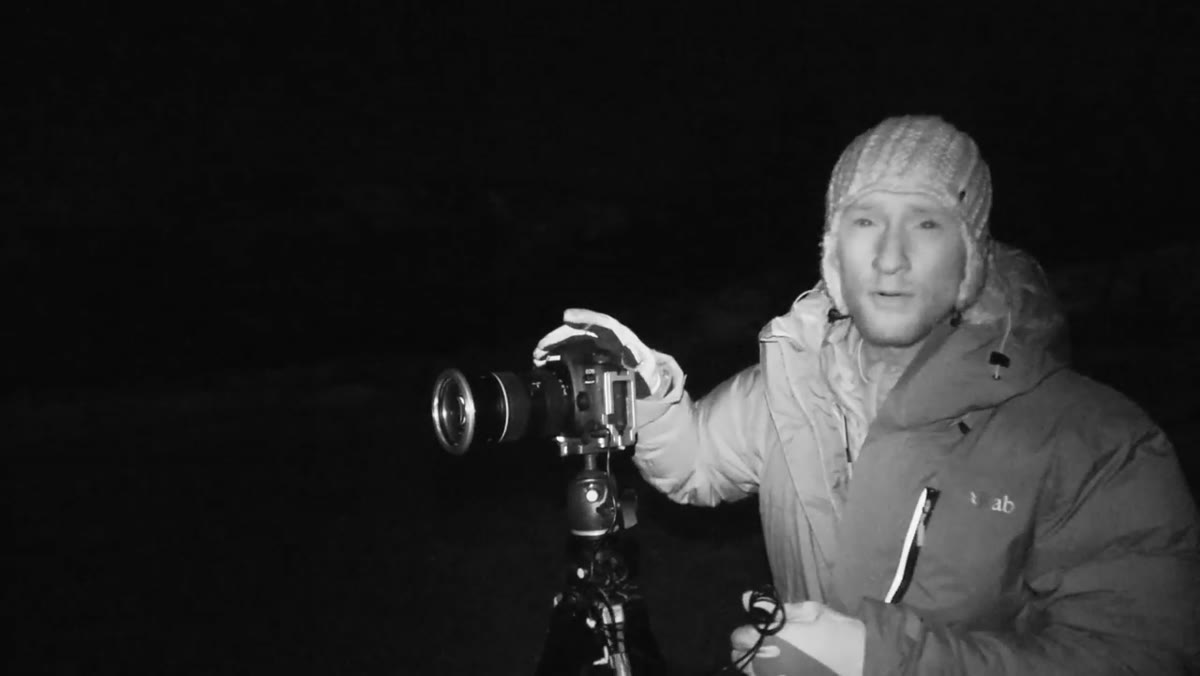
Autofocus is useless at night. Your camera will hunt, miss, and occasionally convince itself that a patch of dark sky is in focus when it absolutely is not. Switch your lens to manual focus, then use live view to zoom into a bright star or distant light and dial in focus until it’s sharp. Once it’s set, do not touch the focus ring again for the rest of the shoot.
If your lens has a hard infinity stop, that’s your starting point - but many modern lenses focus slightly past infinity, so always verify with live view rather than trusting the marking alone. A slightly soft image of the aurora is heartbreaking when you realize it back home on a large screen.
Step 4: Open Your Aperture as Wide as It Will Go
 Aperture setting shown on camera display at f/2.8
Use your widest available aperture. Thomas is shooting at f/2.8 for this session, and if your lens opens to f/1.8 or wider, use that. Aurora light is bright enough to see with your eyes but still demands that you gather as much of it as possible. Every stop of aperture you give up is light you have to compensate for elsewhere - usually with a slower shutter speed, which causes problems in the next step.
Wide apertures also give you more flexibility with ISO, which means cleaner, less noisy files. If you’re working with a kit lens that maxes out at f/3.5 or f/4, that’s workable, but expect to push your ISO higher to compensate.
Step 5: Keep Your Shutter Speed Between 2 and 6 Seconds
 Shutter speed setting on camera display, Northern Lights visible in sky
This is the setting most beginners get wrong, and Thomas is direct about why. Aurora displays move. They ripple and shift in real time, which means a 15 or 20 second exposure - perfectly fine for a static star field - will turn the Northern Lights into a flat, blurry wash of green with no internal structure or detail.
His target range is 2 to 6 seconds. During an active display, he leans toward the shorter end to preserve the definition in the light pillars. During a quieter period, he might push toward 6 seconds to let enough light accumulate. Think of it like photographing a waterfall - you choose your shutter speed based on how much movement you want to capture versus how much you want to freeze.
Step 6: Dial In Your ISO Based on the Display and Your Camera
 ISO setting visible on camera, showing 1250
Thomas is shooting ISO 1250 for this particular session, but he makes clear that the right ISO depends entirely on your camera’s noise performance. A modern full-frame mirrorless camera might handle ISO 3200 or even 6400 cleanly. An older crop sensor body might start producing distracting noise above ISO 800.
The process is straightforward: set your aperture and pick a shutter speed within the 2-6 second window, then raise ISO until your histogram shows a proper exposure without clipping the bright areas of the aurora. Shoot a test frame, zoom into the darkest shadow areas on your preview screen, and check whether the noise level is something you can live with in post.
Step 7: Stay Flexible and Be Ready to Move Locations
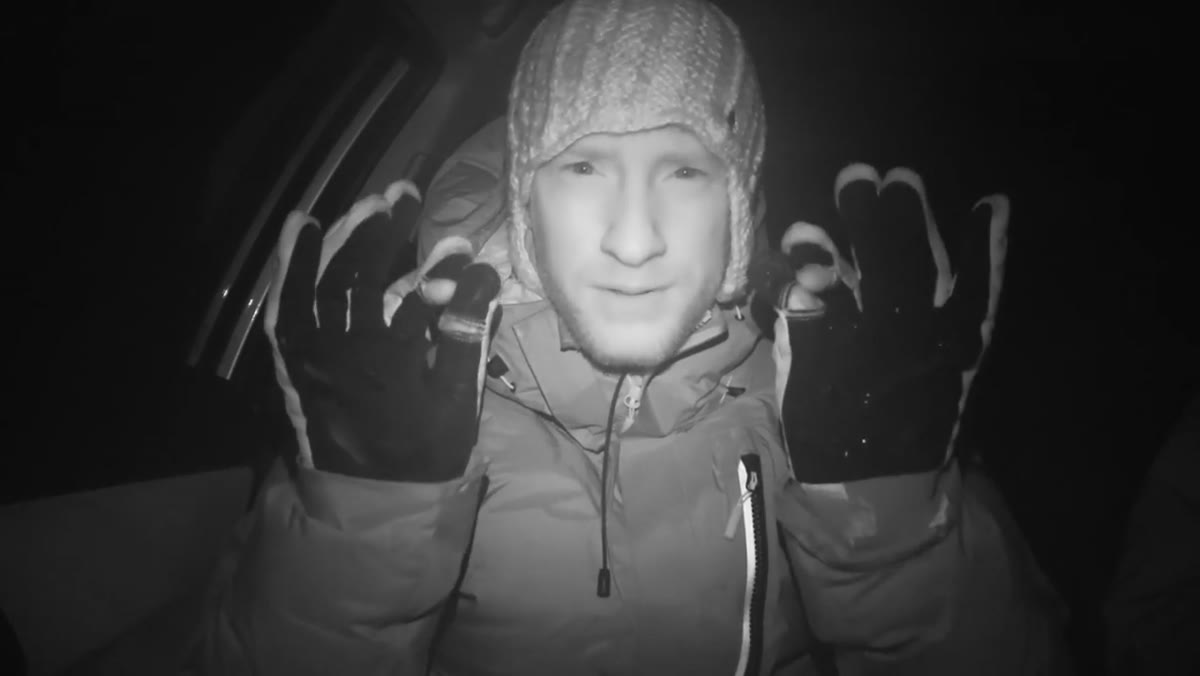 Photographer returning to car after lights fade over mountain pass
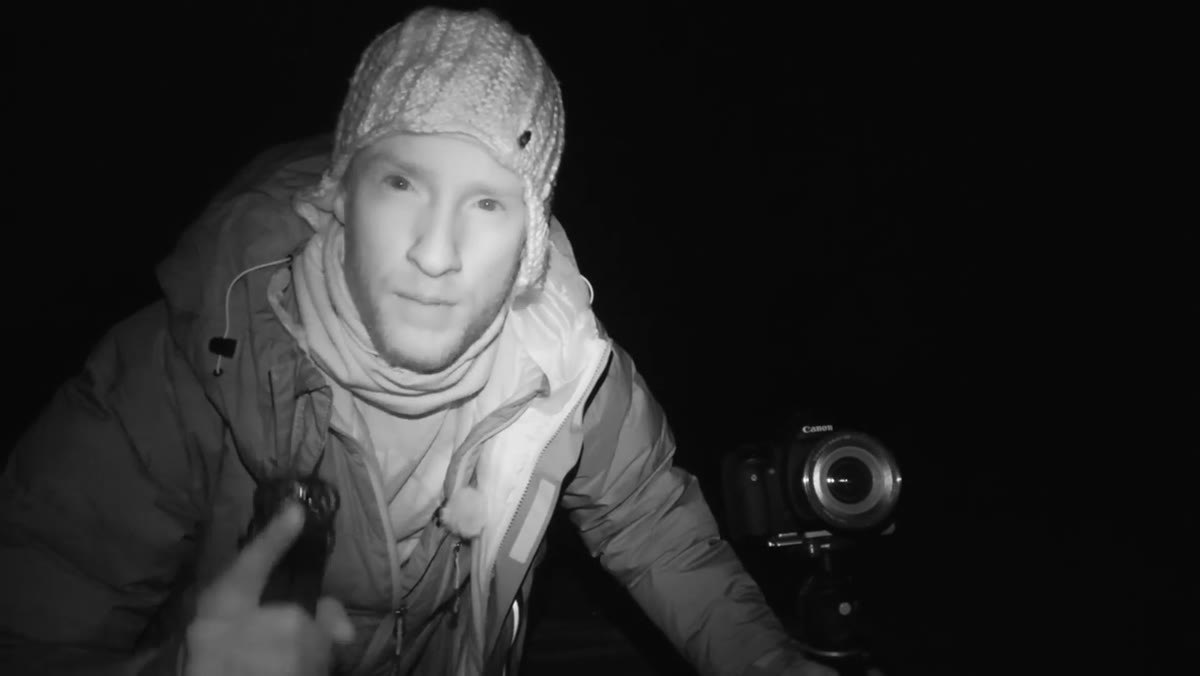
Thomas drives up a mountain pass mid-session hoping for a better composition, the lights fade completely the moment he sets up, and he heads back to the car. This is not failure. This is aurora photography. The lights operate on their own timeline, and the ability to relocate quickly - with gear packed efficiently and a backup location already in mind - separates a productive night from a frustrating one.
Have your locations ranked in advance. If your primary spot isn’t producing compelling images either because the lights aren’t cooperating or the composition isn’t landing, know exactly where you’re going next. Warm up in the car between attempts. Cold cameras and cold photographers both make mistakes.
A Note From My Own Experience: Cold Is the Real Variable
I have not yet made it to Norway (it is firmly on the list), but I’ve done plenty of cold-weather shooting in the Pacific Northwest and in Iceland, and I want to underline something Thomas mentions almost in passing: the cold is relentless. Batteries drain at roughly half their rated capacity in sub-zero temperatures. Your fingers lose dexterity faster than you expect, which makes adjusting small camera controls genuinely difficult. And condensation can fog your lens the moment you bring cold gear into a warm car.
Bring at least two fully charged batteries and keep spares in an inside jacket pocket against your body heat. Use thick liner gloves with a removable mitten shell so you can operate controls without fully exposing your hands. And if you move from cold to warm and back again, give your gear time to adjust slowly rather than shocking it with temperature swings.
The single most important takeaway from Thomas’s tutorial is the one he leads with: the Northern Lights are not a substitute for composition. They are the light. Your job is still to find the shot. Go in with a location, a backup location, realistic camera settings, and warm layers, and you give yourself a genuine chance at something worth keeping.
Watch the full tutorial on YouTube to see Thomas work through a full night in real time, including all the moments where the lights disappear right when he’s ready for them. It’s honest, and that honesty is the most useful thing about it.
Comments
Leave a Comment