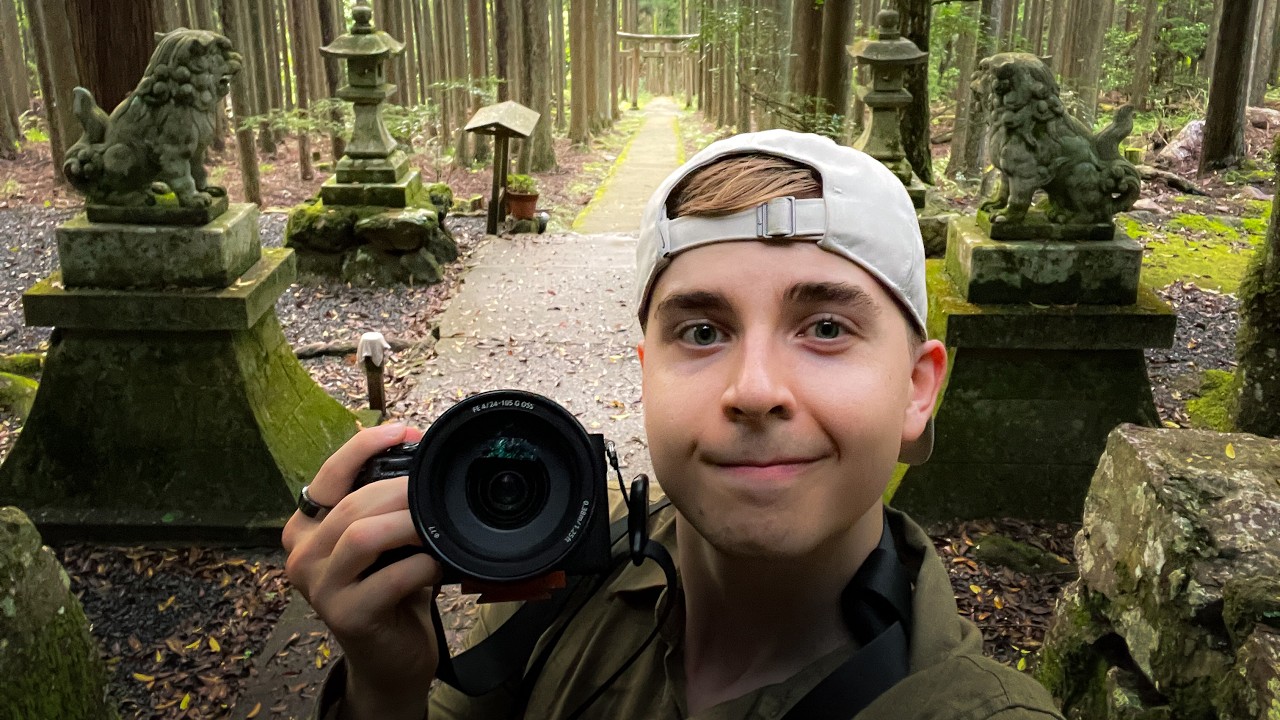
There’s a version of travel photography that looks effortless on Instagram. The golden light, the perfect composition, the serene temple with no tourists in frame. What you don’t see is the missed taxi, the wrong AI estimate, the hike into bear country with a bell clipped to your bag. That gap between the polished image and the messy reality is exactly what I kept thinking about while watching this Hugo Korhonen behind-the-scenes vlog from his two-week trip photographing sacred Japan.
I’ve spent enough mornings wandering Seattle’s neighborhoods on my Sunday photo walks to know that the planning phase makes or breaks a shoot. You can have the best camera in your bag and still waste a full day if you haven’t thought through logistics. What Hugo does well in this video is show the unglamorous version of a working photographer’s process, and there’s a lot to learn from it. Watch the full tutorial on YouTube alongside this breakdown for the full context.
Here’s what I pulled out of the footage, step by step.
Step 1: Arrive with a Gear Checklist – and Expect One Item to Be Missing
 Photographer searching for a power adapter in Kyoto
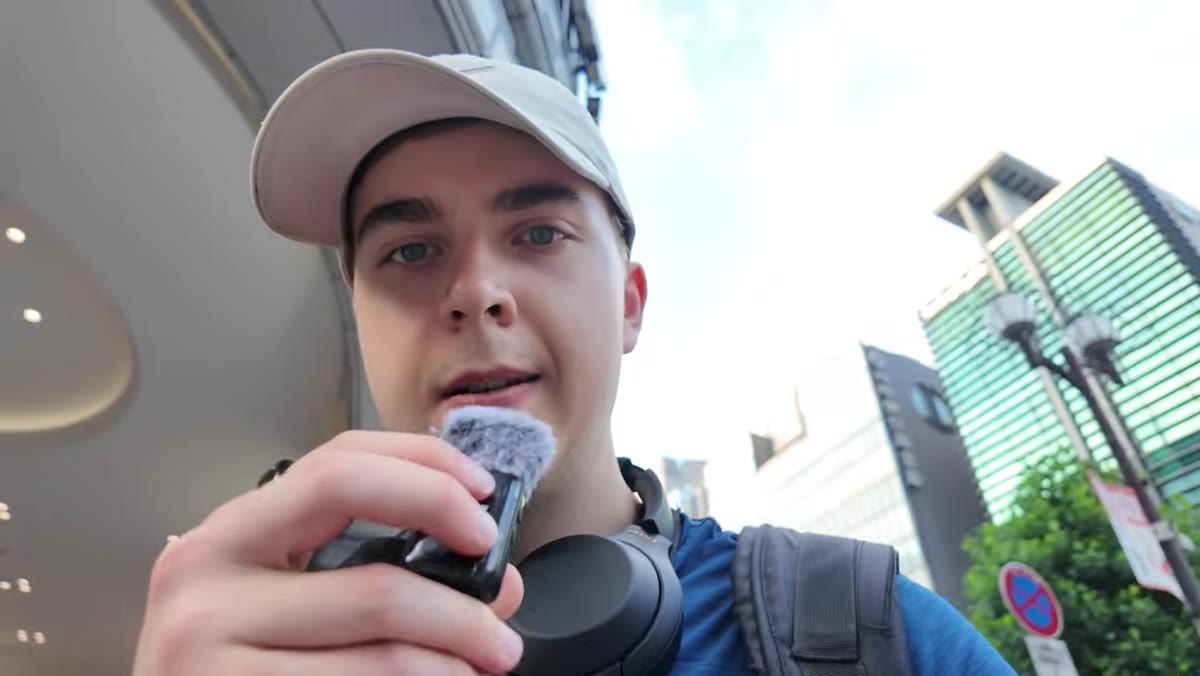
Before Hugo even thinks about a shot, he’s hunting for a power adapter on his first day in Kyoto. It sounds like a minor thing until you realize a dead battery means a missed shoot. The lesson here is unglamorous but important: build a pre-travel gear checklist that includes country-specific items like plug adapters, and pack them in your carry-on, not your checked bag. For Japan specifically, outlets are Type A (the same as the US), but voltage is 100V, so double-check that your charger handles 100-240V input, most modern camera chargers do, but confirm before you go. Arriving and immediately losing time to logistics is a pattern every travel photographer falls into at least once. Set yourself up so day one is for shooting, not shopping.
Photographer searching for a power adapter in Kyoto
Before Hugo even thinks about a shot, he’s hunting for a power adapter on his first day in Kyoto. It sounds like a minor thing until you realize a dead battery means a missed shoot. The lesson here is unglamorous but important: build a pre-travel gear checklist that includes country-specific items like plug adapters, and pack them in your carry-on, not your checked bag. For Japan specifically, outlets are Type A (the same as the US), but voltage is 100V, so double-check that your charger handles 100-240V input, most modern camera chargers do, but confirm before you go. Arriving and immediately losing time to logistics is a pattern every travel photographer falls into at least once. Set yourself up so day one is for shooting, not shopping.
Step 2: Plan Your Shoots Before You Land – Then Reality-Check the Logistics
 Photographer reviewing shoot plans and location notes at desk
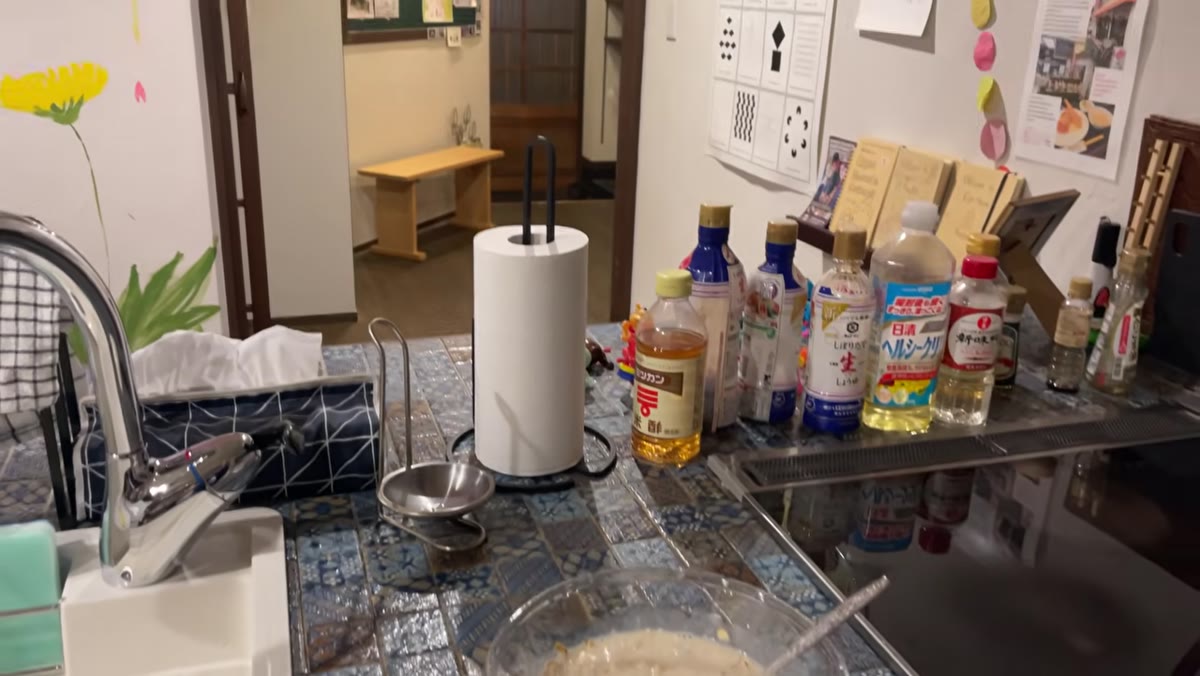
Hugo sits down his first evening to map out his upcoming shoots, and this is where things get interesting. He had used an AI tool to estimate taxi costs to remote locations, and the real prices turned out to be roughly double the estimate. One-way trips were coming in around $100 rather than the $50 the tool had suggested. The practical takeaway: AI assistants are useful for generating location ideas and rough itineraries, but always cross-reference transportation costs using local apps or Google Maps with live pricing. For Japan, the Navitime or Japan Transit Planner apps are far more accurate than a general-purpose chatbot for both train routes and taxi estimates. Budget a 30-50% buffer on any transport estimate for rural or off-grid locations.
Photographer reviewing shoot plans and location notes at desk
Hugo sits down his first evening to map out his upcoming shoots, and this is where things get interesting. He had used an AI tool to estimate taxi costs to remote locations, and the real prices turned out to be roughly double the estimate. One-way trips were coming in around $100 rather than the $50 the tool had suggested. The practical takeaway: AI assistants are useful for generating location ideas and rough itineraries, but always cross-reference transportation costs using local apps or Google Maps with live pricing. For Japan, the Navitime or Japan Transit Planner apps are far more accurate than a general-purpose chatbot for both train routes and taxi estimates. Budget a 30-50% buffer on any transport estimate for rural or off-grid locations.
Step 3: Scout Stone Statues and Sacred Sites During Flat or Overcast Light
Hugo’s first shoot is a set of stone statues in a shaded, textured environment. For this kind of subject, overcast or diffused light is genuinely your friend. Harsh midday sun creates deep shadows in the carved recesses of stone, and you lose the fine surface detail that makes these subjects worth photographing. Shoot during an overcast window, early morning shade, or the blue hour before sunrise. A circular polarizer is useful here too, which becomes relevant in the next step. For composition, Hugo gravitates toward the relationship between the statues and their environment, the moss, the trees, the sense of age. Don’t isolate the subject from its context. Include enough of the surrounding space to communicate the atmosphere.
Step 4: Fix Your Gear Before It Costs You a Shoot
Hugo mentions stopping to fix his polarizer, and this deserves more attention than it gets in the vlog. A polarizer that won’t rotate properly, or that has been mounted incorrectly on a step-up ring, will either cut too much light at the wrong angle or do nothing useful at all. Before any trip, test every filter on every lens you plan to use. Check that the rotation is smooth and that the mount doesn’t vignette at your widest focal length. In the field, carry a small lens cloth and a filter wrench in your bag. The wrench costs about five dollars and has saved me from losing a jammed filter to brute force more than once.
Step 5: When the Day Breaks Down, Document the Process Anyway
 Photographer walking through Kyoto after a day that didn’t go as planned
One of the most honest moments in the video is Hugo recapping a day where things simply didn’t come together as planned. Transport issues, timing problems, conditions that didn’t cooperate. His response is to keep the camera moving. This is a mindset shift that took me a while to make. A “failed” shoot day still produces reference images, location knowledge, and observations about the light at different times. Even if you don’t come home with a portfolio shot, you come home with information. Keep shooting even when it feels like nothing is working. Some of my most-used reference shots came from days I thought were a total wash.
Photographer walking through Kyoto after a day that didn’t go as planned
One of the most honest moments in the video is Hugo recapping a day where things simply didn’t come together as planned. Transport issues, timing problems, conditions that didn’t cooperate. His response is to keep the camera moving. This is a mindset shift that took me a while to make. A “failed” shoot day still produces reference images, location knowledge, and observations about the light at different times. Even if you don’t come home with a portfolio shot, you come home with information. Keep shooting even when it feels like nothing is working. Some of my most-used reference shots came from days I thought were a total wash.
Step 6: Prepare for Remote and Wild Locations Like a Hiker, Not Just a Photographer
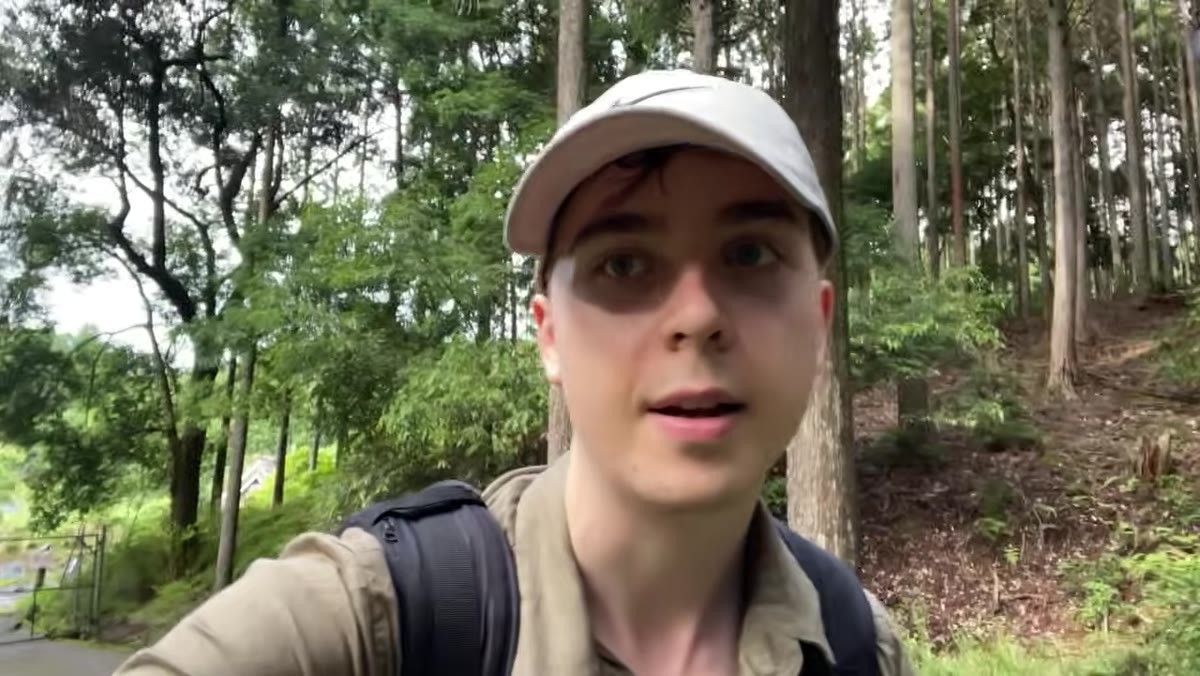
Hugo buys a bear bell before heading into the Japanese countryside. This is not a photography tip, except it completely is. Getting into remote, off-trail locations is where genuinely compelling landscape and shrine photography happens in Japan. The same areas that have the abandoned shrines, the overgrown torii gates, the untouched forest paths, are also the areas with wildlife risk. In Japan, brown bears (Hokkaido) and Asian black bears (Honshu, Shikoku, Kyushu) are a genuine concern in forested and mountainous areas. A bear bell attached to your bag is a standard precaution. Also plan your exit before you go in. Hugo notes the stress of being in an unfamiliar zone with limited visibility. Know your return route, carry a charged phone with offline maps downloaded, and tell someone where you’re going.
Step 7: Photograph Abandoned Shrines with Restraint and Respect
 Overgrown abandoned shrine structure in a Japanese forest setting
The abandoned shrine sequence is the visual heart of the video. Hugo’s approach is slow and deliberate. He lets the environment lead rather than forcing a composition. For these locations, use a wider aperture to separate the weathered architectural details from the background foliage, something in the f/2.8 to f/4 range rather than a fully stopped-down landscape setting. The decay and texture are the subject, not the overall scene. A moment in the video where a local stops Hugo near a temple garden is also a good reminder: always ask before entering spaces that aren’t clearly public. Respect goes beyond legal permission. It affects what you’re actually able to capture, because people who trust you will let you stay longer and go further.
Overgrown abandoned shrine structure in a Japanese forest setting
The abandoned shrine sequence is the visual heart of the video. Hugo’s approach is slow and deliberate. He lets the environment lead rather than forcing a composition. For these locations, use a wider aperture to separate the weathered architectural details from the background foliage, something in the f/2.8 to f/4 range rather than a fully stopped-down landscape setting. The decay and texture are the subject, not the overall scene. A moment in the video where a local stops Hugo near a temple garden is also a good reminder: always ask before entering spaces that aren’t clearly public. Respect goes beyond legal permission. It affects what you’re actually able to capture, because people who trust you will let you stay longer and go further.
A Note from My Own Experience
I’ve never shot in Japan yet (it’s firmly on the list), but I’ve spent enough time chasing specific shots in unfamiliar places to recognize everything Hugo describes. The overprepared plans that crumble on day two. The unexpected location that turns out to be better than the one you originally drove three hours to find. What this video reminded me is that flexibility is the real skill. You can plan the gear list, the taxi route, and the shooting windows, but the shot itself will come from being present and adaptable when the plan changes. The bear bell is funny until it isn’t. The fixed polarizer matters until the light changes and you need to shoot through a gap in the clouds right now. Build systems that get you to the location prepared. Then let go of the plan.
The single most important thing this tutorial illustrates is that professional travel photography is a logistics problem as much as a creative one. If you solve the logistics, the creativity has room to happen. Watch the full tutorial on YouTube to see Hugo’s actual footage from the shrines, the hiking trails, and the countryside that makes the planning worth every frustrating day.
Comments (2)
I tried this on a client project yesterday and the results were way better than expected.
Tried this technique this morning. Game changer for real.
Leave a Comment