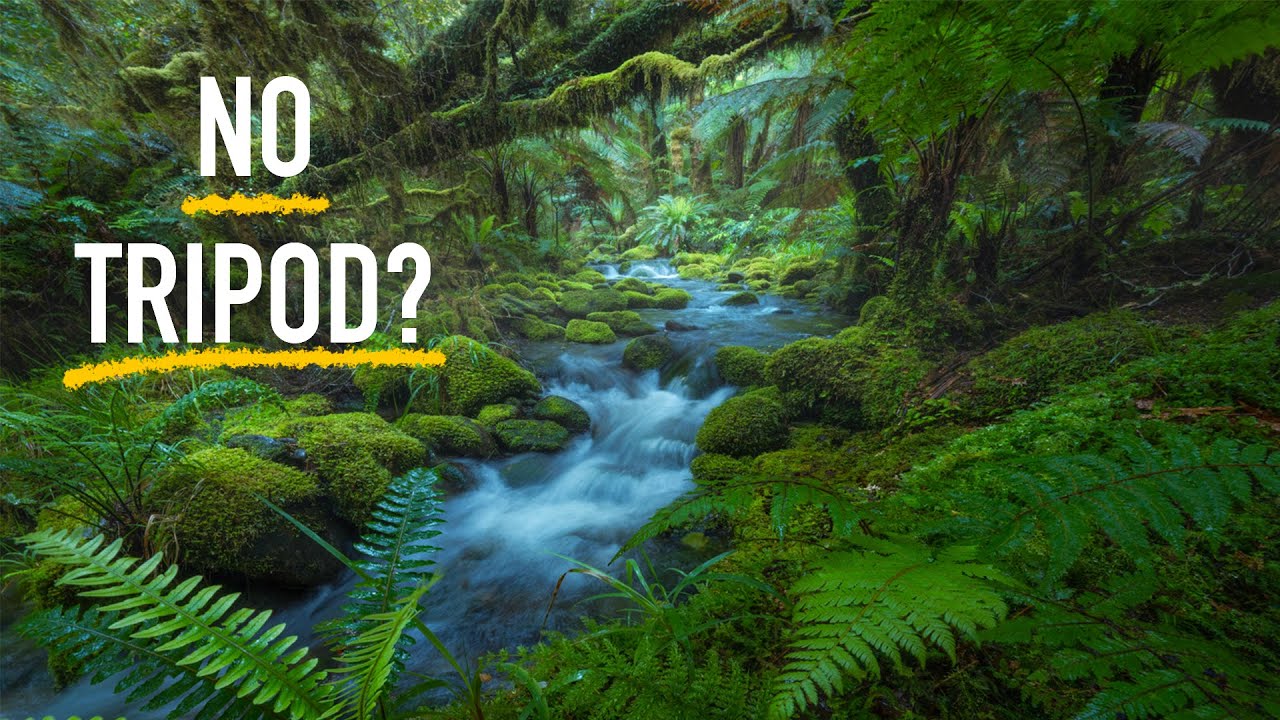
I once spent an entire vacation chasing a single waterfall shot. Every evening, my dinner went cold while I crouched in wet boots adjusting my tripod by millimeters. My family thought I’d lost my mind. But here’s the thing I kept trying to explain: waterfalls only look that good after heavy rain. The flow is fuller, the rocks are slick and dark, the ferns are dripping and lush. The miserable conditions are the whole point.
That’s exactly the mindset William Patino brings to his New Zealand rainforest shoot, and it’s why this tutorial landed so well with me when I watched it. In it, he walks through an unplanned session on a wet, overcast day in what looks like a temperate rainforest full of cascading streams and native ferns. No perfect light. No ideal conditions. Just a photographer who knows what he’s looking for and knows how to adapt when the scene doesn’t cooperate. Watch the full tutorial on YouTube and then come back here for the breakdown.
What makes this tutorial particularly useful is that William doesn’t just show you a pretty location and tell you he got lucky. He narrates his actual decision-making process in real time, including the moments when a composition isn’t working and why. That’s rare, and that’s what I want to unpack step by step below.
Step 1: Choose Your Day Deliberately
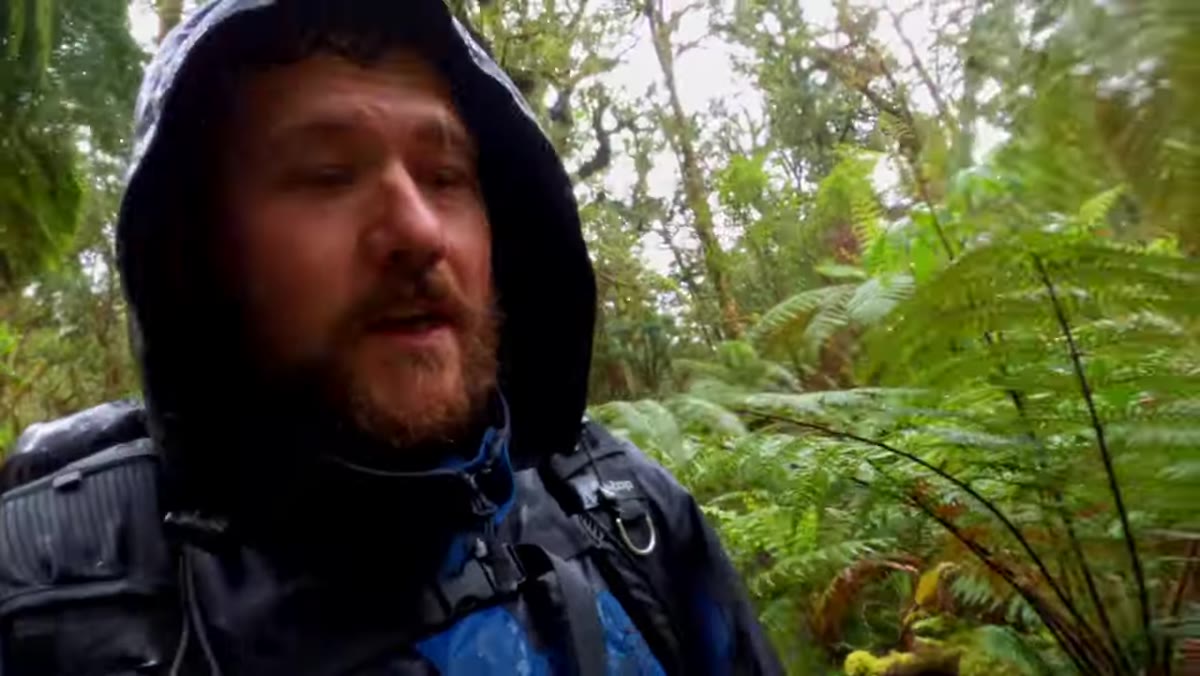 Photographer heading into rainforest on a wet overcast day
Most people wait for the sun. William heads out in the rain, and that’s not just personality. It’s strategy. Rainy days produce temporary streams and cascades that simply don’t exist in dry conditions. If you wait for sunshine, you may arrive at a location that has gorgeous bones but a barely-trickling creek. The overcast sky also works as a giant softbox, eliminating harsh shadows in dense forest canopy where contrast would otherwise be brutal.
Photographer heading into rainforest on a wet overcast day
Most people wait for the sun. William heads out in the rain, and that’s not just personality. It’s strategy. Rainy days produce temporary streams and cascades that simply don’t exist in dry conditions. If you wait for sunshine, you may arrive at a location that has gorgeous bones but a barely-trickling creek. The overcast sky also works as a giant softbox, eliminating harsh shadows in dense forest canopy where contrast would otherwise be brutal.
The takeaway here is simple: build a short list of waterfall or creek locations near you, then check them specifically after significant rainfall. That’s the condition to target, not to avoid.
Step 2: Scout for the Right Combination of Water and Frame
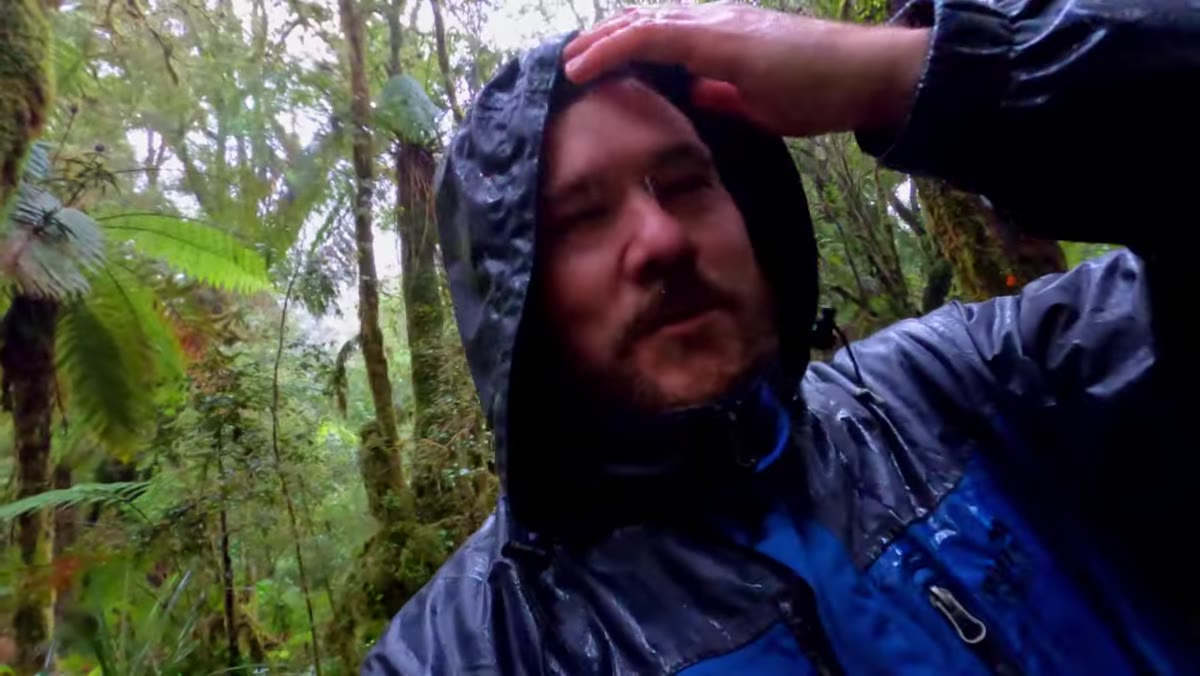 Evaluating a small cascade surrounded by ferns and trees
William arrives at a small cascade and immediately starts evaluating it the way a photographer, not a hiker, would. He’s not just looking at the waterfall. He’s looking at what surrounds it. Are the banks too messy? Is the vegetation framing the scene naturally, or is everything cluttered and competing? He even notes that he’s been to this particular spot before when there wasn’t enough water flow, which tells you something important: location knowledge compounds over time.
Evaluating a small cascade surrounded by ferns and trees
William arrives at a small cascade and immediately starts evaluating it the way a photographer, not a hiker, would. He’s not just looking at the waterfall. He’s looking at what surrounds it. Are the banks too messy? Is the vegetation framing the scene naturally, or is everything cluttered and competing? He even notes that he’s been to this particular spot before when there wasn’t enough water flow, which tells you something important: location knowledge compounds over time.
When you’re scouting, train yourself to look for natural openings. You want the trees and ferns to form a kind of visual container around the water, not fight with it. If the frame feels chaotic in person, it will feel chaotic in the image.
Step 3: Use the Stream as a Leading Line
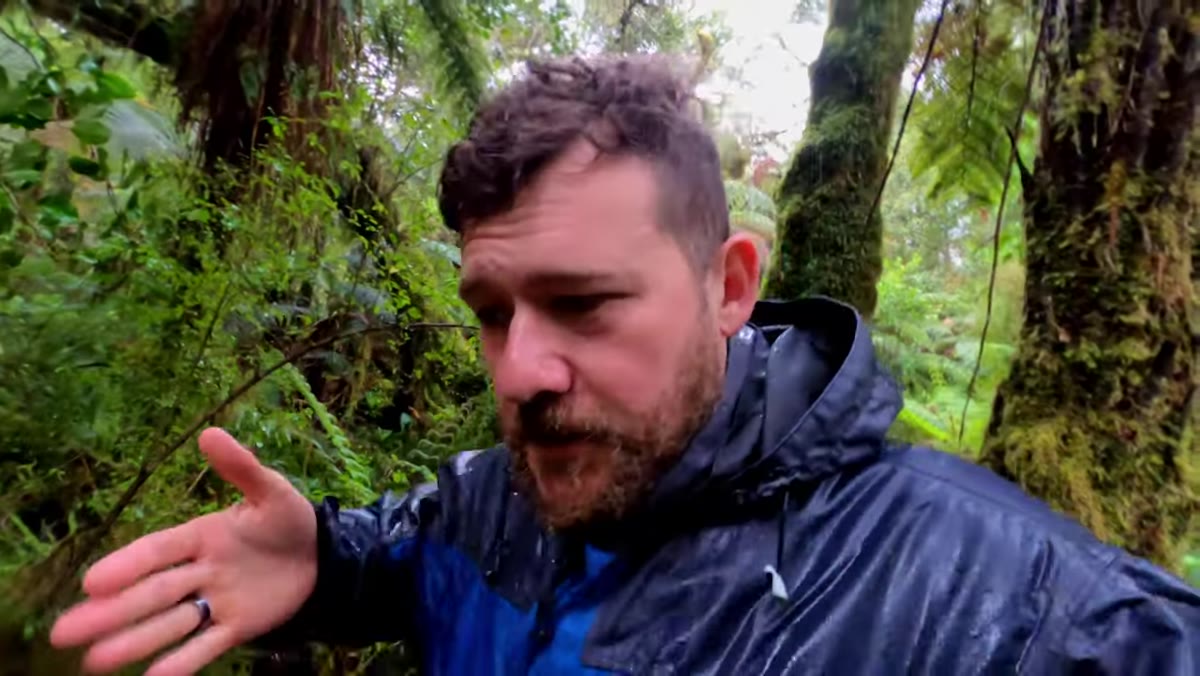 Wide angle framing with creek wider in foreground, tapering toward background
This is one of the most practical compositional ideas in the whole video. William explains that a creek or stream works best not just as a subject but as a directional tool. Shooting with a wide angle lens, you position the widest part of the water in the foreground and let it naturally taper as it moves toward the back of the frame. That taper creates linear perspective, and it pulls the viewer’s eye straight through the image into the scene.
Wide angle framing with creek wider in foreground, tapering toward background
This is one of the most practical compositional ideas in the whole video. William explains that a creek or stream works best not just as a subject but as a directional tool. Shooting with a wide angle lens, you position the widest part of the water in the foreground and let it naturally taper as it moves toward the back of the frame. That taper creates linear perspective, and it pulls the viewer’s eye straight through the image into the scene.
To use this effectively, get lower than you think you need to. A low angle exaggerates the width of the foreground water and strengthens that sense of depth. It also naturally brings ferns or mossy rocks into the bottom of the frame, which adds texture and anchors the composition.
Step 4: Dial In Your Shutter Speed for Silky Water (Without Losing Texture)
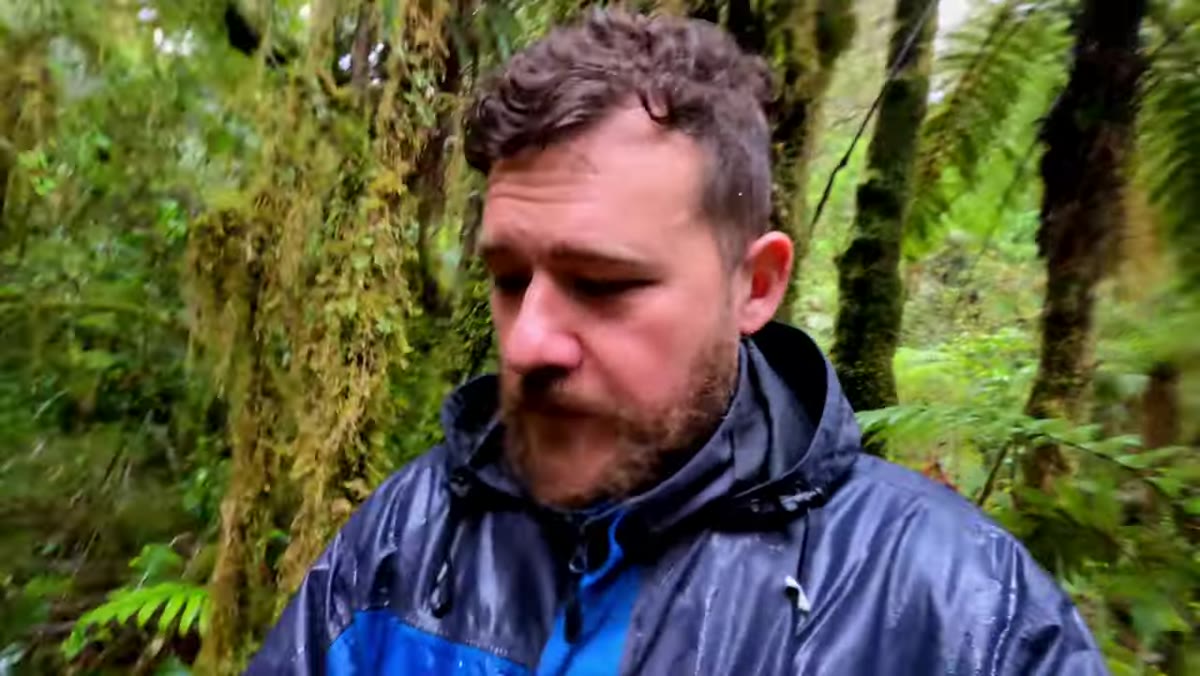 Shooting slow shutter waterfall, discussing 1/8 to 1/4 second range
Here’s where a lot of waterfall photographers go wrong: they shoot too slow. A 2-second exposure on a fast-moving stream turns the water into a flat, featureless white blur. William keeps his shutter speed in the 1/10 to 1/4 second range depending on how fast the water is moving. That’s slow enough to smooth the surface and create silky motion, but fast enough to preserve the individual threads and cascades in the white water. That texture is what makes the image feel alive.
Shooting slow shutter waterfall, discussing 1/8 to 1/4 second range
Here’s where a lot of waterfall photographers go wrong: they shoot too slow. A 2-second exposure on a fast-moving stream turns the water into a flat, featureless white blur. William keeps his shutter speed in the 1/10 to 1/4 second range depending on how fast the water is moving. That’s slow enough to smooth the surface and create silky motion, but fast enough to preserve the individual threads and cascades in the white water. That texture is what makes the image feel alive.
He’s shooting at f/9 to f/11 to keep the scene sharp across the depth of field. Use your lowest native ISO to minimize noise in those shadow areas under the canopy, and lean on your tripod completely. Any camera movement at these shutter speeds is a wrecked shot.
Step 5: Handle Moving Foreground Elements with Separate Exposures
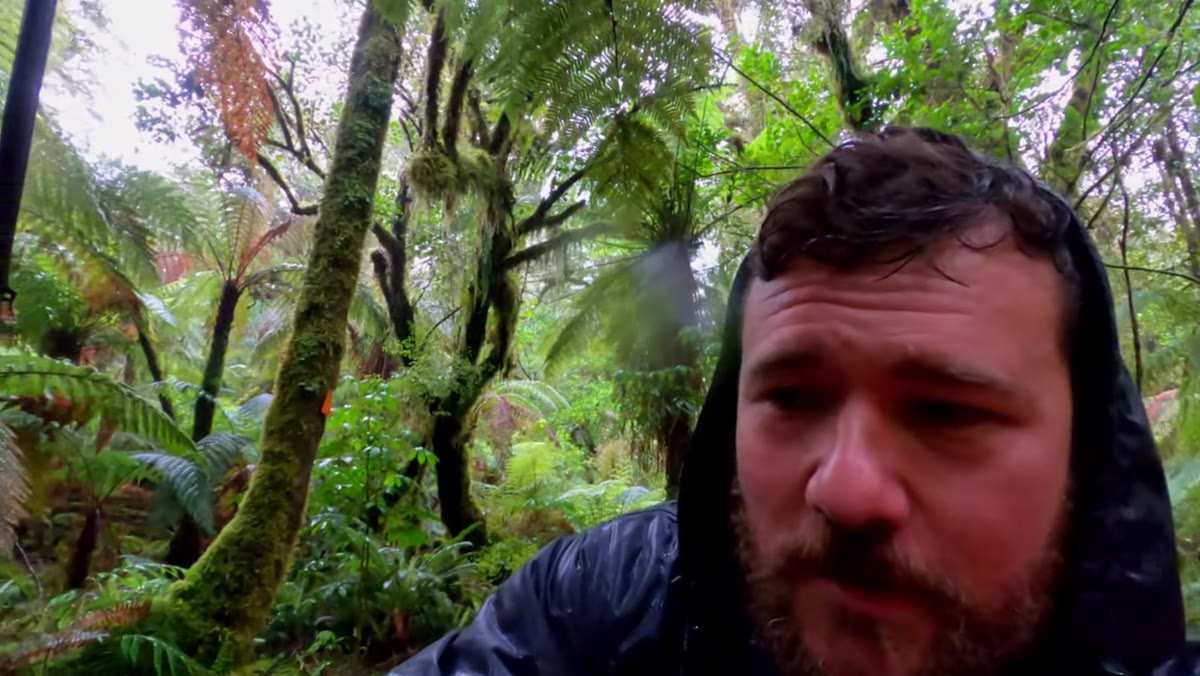 Rain hitting foreground ferns, planning a faster exposure for those elements
Rain introduces a problem that sunny-day waterfall shooters don’t face: your foreground ferns are moving, hit by individual droplets, and they’ll blur even at 1/4 second. William’s solution is clean and practical. He shoots a separate, faster exposure specifically for the foreground at around 1/20 second, then blends it in post with the slower-shutter main exposure.
Rain hitting foreground ferns, planning a faster exposure for those elements
Rain introduces a problem that sunny-day waterfall shooters don’t face: your foreground ferns are moving, hit by individual droplets, and they’ll blur even at 1/4 second. William’s solution is clean and practical. He shoots a separate, faster exposure specifically for the foreground at around 1/20 second, then blends it in post with the slower-shutter main exposure.
This is essentially the same principle as HDR blending, just applied to motion rather than exposure range. You’re combining the best version of each element into a single final image. In Photoshop, use a luminosity mask or a simple layer mask painted by hand to blend the sharper foreground over the motion-blurred background. It takes maybe ten minutes once you’ve done it a couple of times.
Step 6: Focus Stack When You’re Close to the Foreground
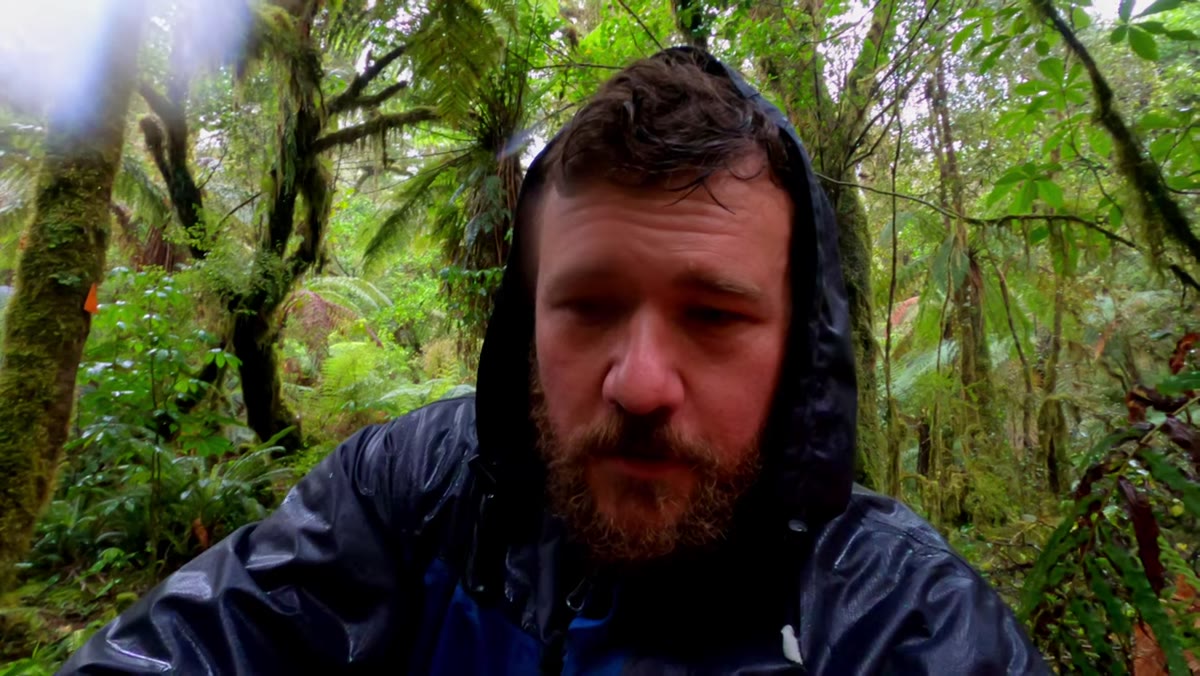 Discussing focus stacking for sharp foreground ferns and background cascade
If you’re positioning ferns close to the lens to frame your shot, a single focus point won’t cover your full depth of field even at f/11. William mentions focus stacking as a natural part of his workflow here. You shoot multiple frames focused at different distances, then merge them in Lightroom or Photoshop to get edge-to-edge sharpness.
Discussing focus stacking for sharp foreground ferns and background cascade
If you’re positioning ferns close to the lens to frame your shot, a single focus point won’t cover your full depth of field even at f/11. William mentions focus stacking as a natural part of his workflow here. You shoot multiple frames focused at different distances, then merge them in Lightroom or Photoshop to get edge-to-edge sharpness.
For a typical rainforest foreground-to-background shot, two to three frames is usually enough: one focused on the nearest fern fronds, one on the midground, and one locked on the cascade itself. Photoshop’s Auto-Align and Auto-Blend functions handle this reasonably well automatically, though you’ll want to check the edges manually.
A Note From My Own Muddy Boots
The thing I keep coming back to in this tutorial is how much William’s comfort level with imperfect conditions drives the quality of his results. He’s not waiting for a break in the rain to shoot. He’s problem-solving around the rain in real time: separate exposures for moving ferns, deciding on the fly whether a focus stack is worth it, accepting that some bonus locations are worth stopping for even when they weren’t the plan.
I think about my Sunday morning photo walks in Seattle, where I’ve learned more from forcing myself out in drizzle than I ever did waiting for blue skies. Wet conditions aren’t a compromise. They’re often a specific look you can’t manufacture any other way. If your waterfall images feel flat or generic, check the date you shot them. There’s a good chance it wasn’t raining.
The single most important thing William demonstrates here isn’t a camera setting. It’s the habit of reading a location as a combination of elements: water, framing vegetation, light, and depth. Get that combination right, and the technical settings are just details to sort out. Get it wrong, and no amount of slow shutter speed will save the image.
Watch the full tutorial on YouTube to see William’s full decision-making process in real time, including the locations he keeps moving past and why.
Comments (2)
I've been looking for exactly this kind of tutorial. Perfect timing.
This should be required reading for anyone starting out.
Leave a Comment