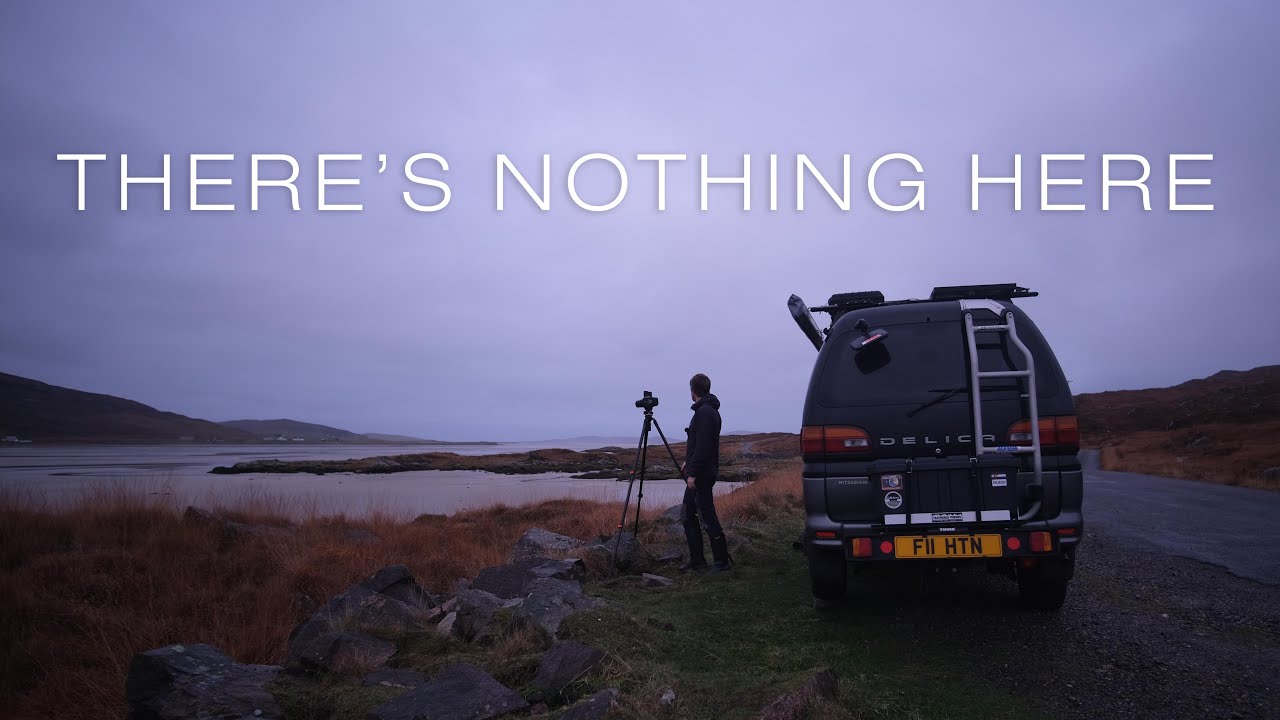
There’s a specific kind of morning that used to send me straight back to the car. Flat light, no obvious subject, the kind of scene where your eyes keep scanning and finding nothing to grab onto. I used to chalk those mornings up as losses. Now I treat them as a different kind of challenge, and honestly, some of my favorite work has come from exactly those conditions.
In this Thomas Heaton tutorial, he wakes up in his van on the Scottish coast to overcast skies and a wide tidal estuary at low tide. No golden hour, no dramatic peaks, no obvious hero shot. What follows is one of the best on-location demonstrations I’ve seen of how to build photographs out of almost nothing. Watch the full tutorial on YouTube - then come back here for the breakdown.
The techniques he works through are ones I come back to constantly on my Sunday morning photo walks when Seattle is doing its typical grey thing. This is a step-by-step look at how he pulls it off.
Step 1: Reframe “Nothing” as an Asset
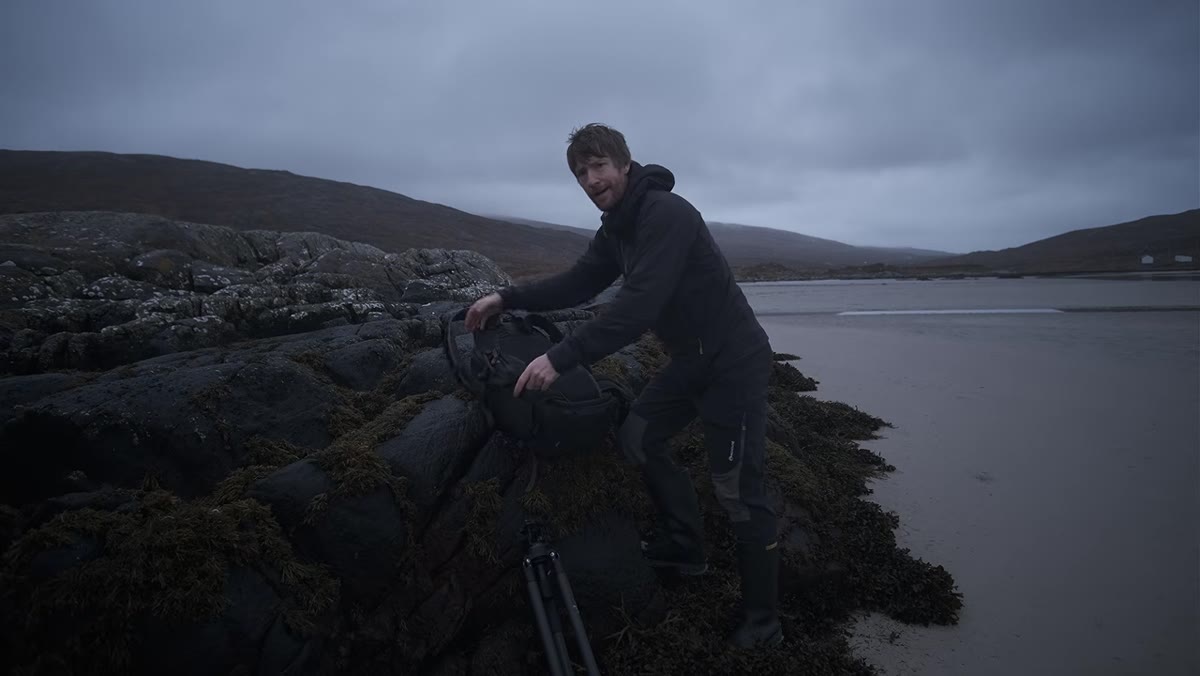 Thomas standing on vast empty tidal flats at low tide
When Heaton steps out onto the estuary, his first reaction is enthusiasm rather than disappointment. Acres of empty sand at low tide is not a problem to him. It is the raw material. This is the mindset shift the whole session depends on.
Before you set up a single piece of gear, spend a few minutes just walking and looking. Minimal landscapes reward patience at this stage more than any other genre. You are searching for one small element, a line, a curve, a break in texture, that can anchor the entire frame. Nothing else needs to be there.
Step 2: Build a Composition from a Single Anchor Point
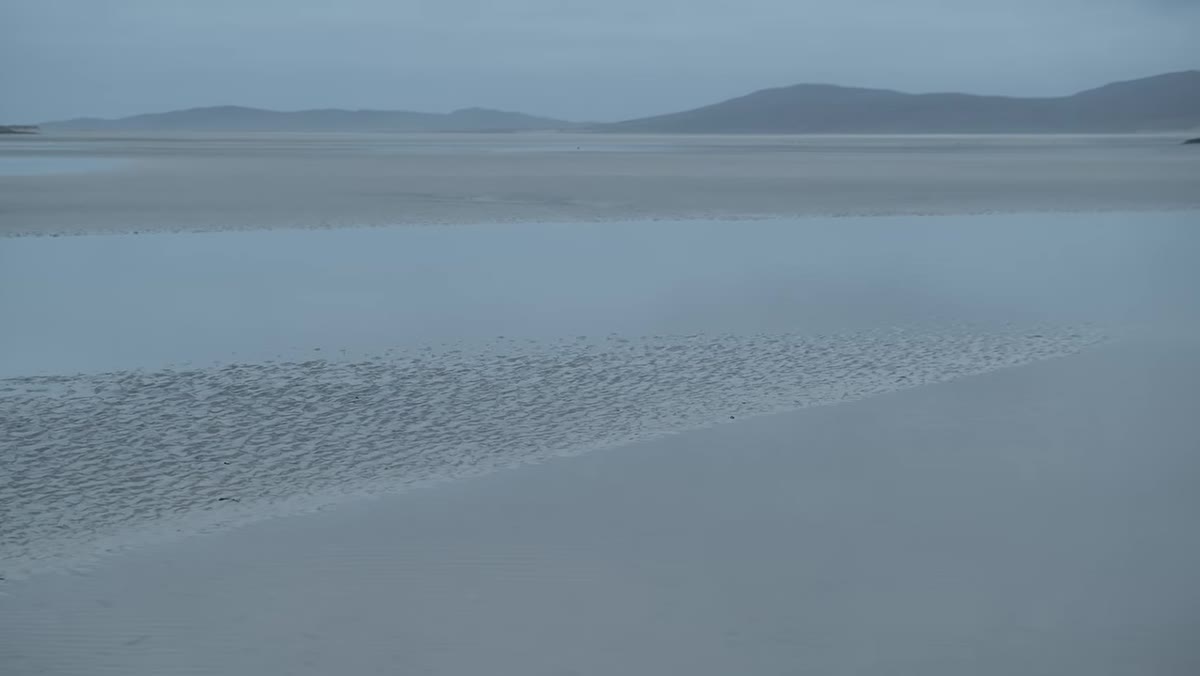 Heaton locating a small feature in the sand to anchor his composition
Heaton finds one modest compositional element out on the flats and uses it as his starting point. The key word he uses is “minimal.” He is not looking for a scene that tells a complex story. He wants a single point of visual interest surrounded by space, because the space itself becomes part of the image.
Look for tonal contrast, a dark pool against pale sand, a small spit of land cutting into water, a line of ripples. Get physically close to it, then look back through your viewfinder and evaluate how much empty space you want around it. In minimal work, generous negative space is not laziness. It is the whole point.
Step 3: Set Your Base Exposure for Flat Light
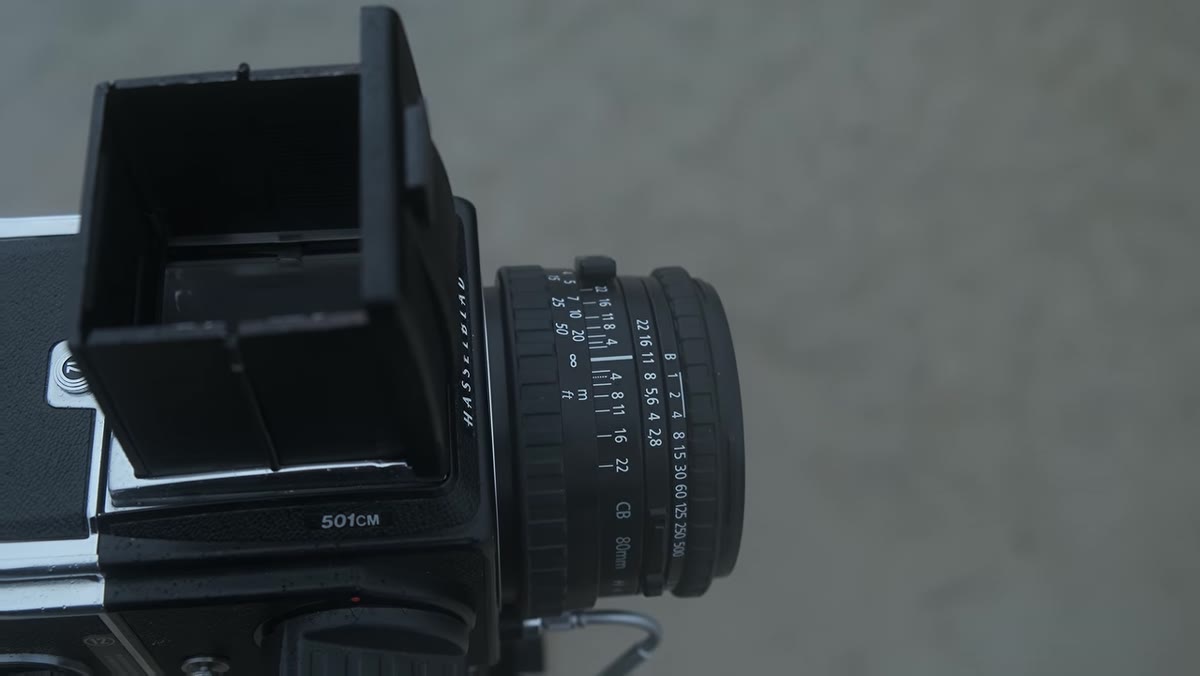 Camera settings shown: f/11 at two seconds
Heaton shoots f/11 as his default aperture throughout the session. In flat, even light without harsh shadows or highlights, f/11 gives him solid sharpness across the scene without diffraction softening things at f/16 or f/22. His starting shutter speed is two seconds, which on a still morning gives the water surface a slight smoothing without completely erasing texture.
If you are working in similar conditions, start there and bracket up or down based on your histogram. The light in scenes like this is often more even than it looks, and you will find the exposure locks in quickly. Use a remote shutter release or the two-second self-timer to avoid any camera shake on those longer exposures.
Step 4: Use a Neutral Density Filter to Iron Out Ripples
 Heaton placing a four-stop ND filter onto the lens
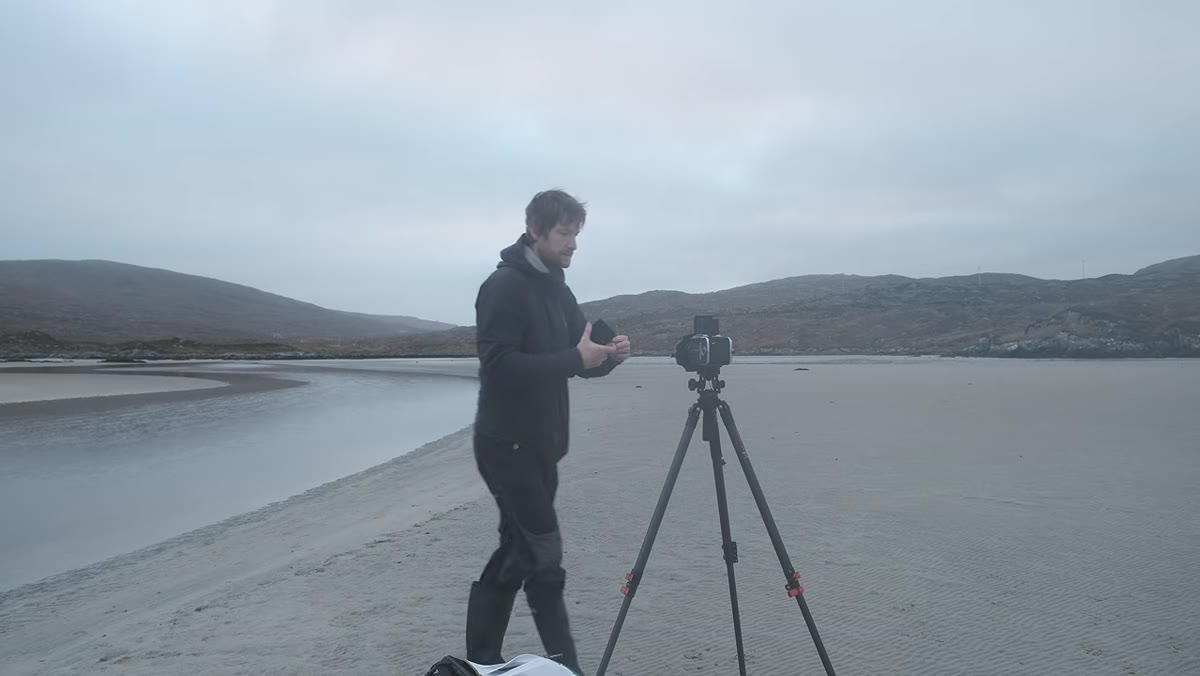
When Heaton crosses a tidal stream and finds a beautiful S-curve of water reflecting soft pink sky toward the hills, there is one problem: a slight breeze is putting small ripples on the water. Those ripples break up the clean reflection and add visual noise to what he wants to be a calm, mirror-like surface.
His solution is a four-stop ND filter, which extends his exposure from one second to around four seconds. That additional time is enough to average out the ripple movement and render the surface smooth. This is one of the most practical reasons to carry ND filters beyond just shooting waterfalls. Even a modest breeze on flat water can be corrected with a two- to four-stop filter and a longer shutter speed.
Step 5: Adjust Focus Intentionally, Not by Default
 Heaton manually shifting focus from infinity to a foreground sand spit
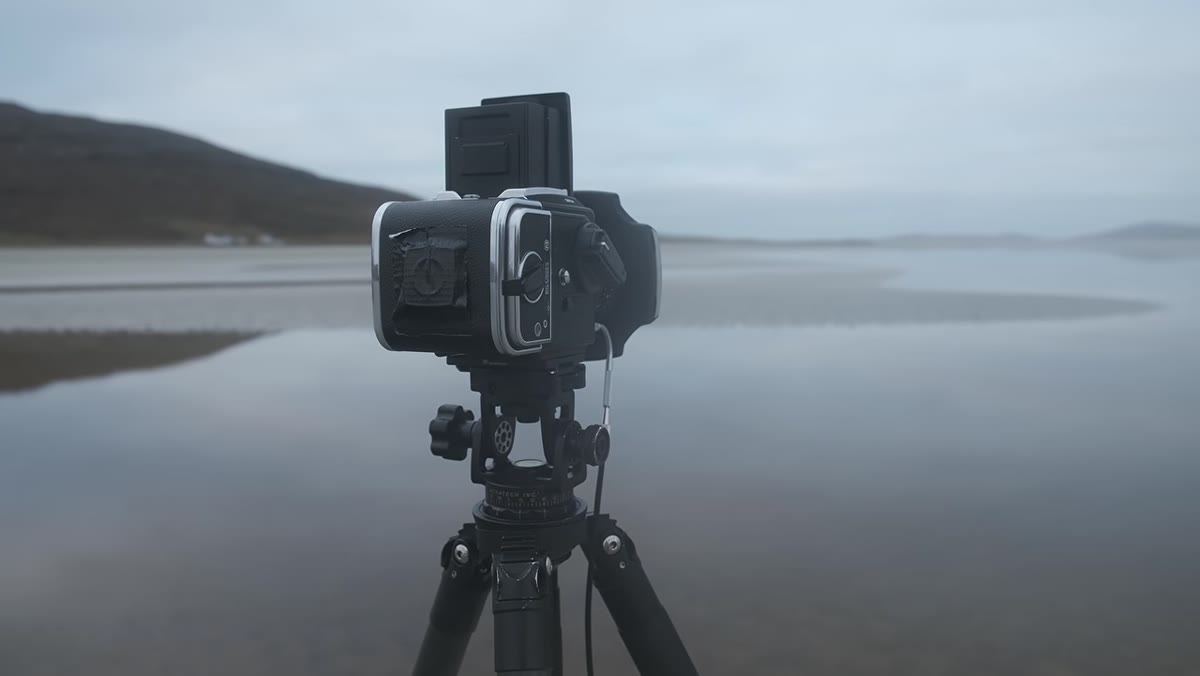
For most of the session Heaton focuses to infinity, because with minimal compositions and no strong foreground element there is little reason to do otherwise. But when he finds a small spit of sand cutting into the water in the foreground, he deliberately shifts his focus point closer to capture that detail sharply.
This is worth slowing down for in the field. Before every shot, ask yourself what you actually want to be sharp. Infinity is not always the right answer. In this case the foreground element was what drew his eye to the scene in the first place, so locking focus there makes the image honest to that first impression.
Step 6: Let Small Details Lead You to New Compositions
 Heaton noticing wading birds feeding in the sand and mud
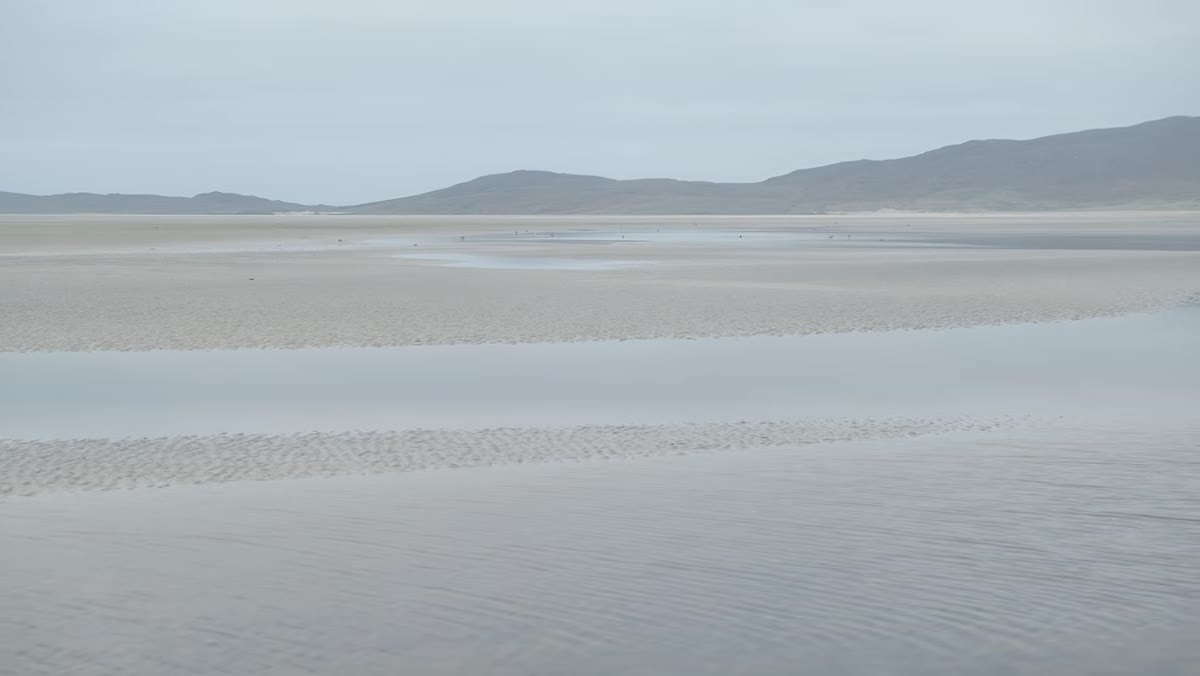
At one point Heaton is drawn to a new location entirely because he spots wading birds feeding in the mud. He acknowledges they will likely just be tiny dark specks in the final image. The point is not that the birds were photogenic. The point is that curiosity about one small thing led him to a composition he would not have found otherwise.
Keep moving during a session like this. Treat the first composition as a starting position, not a destination. Let small details, birds, a patch of color, an unexpected line, pull you somewhere new. The best minimal shots often come from the third or fourth location you find, not the first.
What I’d Add: Shoot More Frames Than You Think You Need
Flat, featureless scenes are deceptively tricky to nail in camera. There is nowhere for a slightly off horizon or a focus miss to hide. On mornings like this I will often shoot the same composition at three different focus distances and two different exposure lengths, just to give myself options in editing. It feels like over-shooting, but minimal images demand technical precision, and the margin for error is genuinely smaller than in busier scenes.
I also keep my phone in my pocket on these mornings. Sometimes I will use it to preview a rough crop before committing to a full setup with the tripod. It sounds ridiculous, but it has saved me from walking 100 yards out onto wet sand for a composition that does not actually work.
The biggest thing this tutorial teaches is not a camera setting. It is the willingness to treat emptiness as opportunity rather than absence. If you can train yourself to look at a featureless tidal flat and feel curious instead of deflated, a whole category of images opens up to you.
Watch the full tutorial on YouTube and pay attention to how unhurried Heaton is throughout. That pace is part of the method.
Comments
Leave a Comment