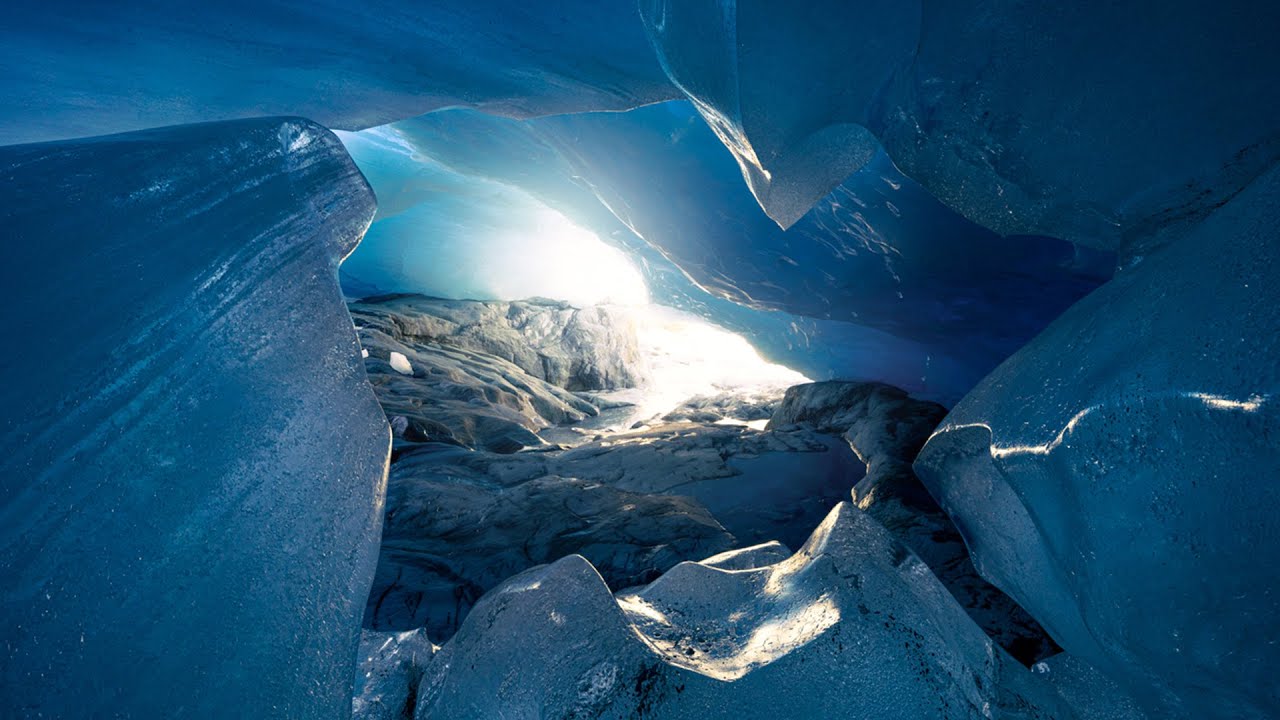
There’s a specific kind of photography problem I think about a lot: what do you do when the location does everything right, and you still come home with flat images? You had the dramatic setting. You had the weird, beautiful light. And somehow the photos look like a postcard someone already took. I’ve been in that exact situation more times than I’d like to admit, usually in places where I only get one shot at it. That’s why I keep coming back to tutorials from photographers who work in genuinely extreme environments, because the decisions they’re forced to make under pressure reveal the real fundamentals. Watch the full tutorial on YouTube
In this William Patino tutorial, he documents an overnight trip in New Zealand, hiking to the base of a glacier to photograph ice caves. What makes it worth your time isn’t the dramatic scenery (though it’s stunning). It’s how clearly he articulates what he’s actually responding to as a photographer while he’s inside the caves. The light, the water, the texture of the ice, and the relationship between all three. That clarity about subject and motivation is something you can bring into any location shoot, even if you’re nowhere near a glacier.
Here’s what I pulled out of this video as a working photographer, broken down into steps you can actually apply.
Step 1: Commit to the Physical Access
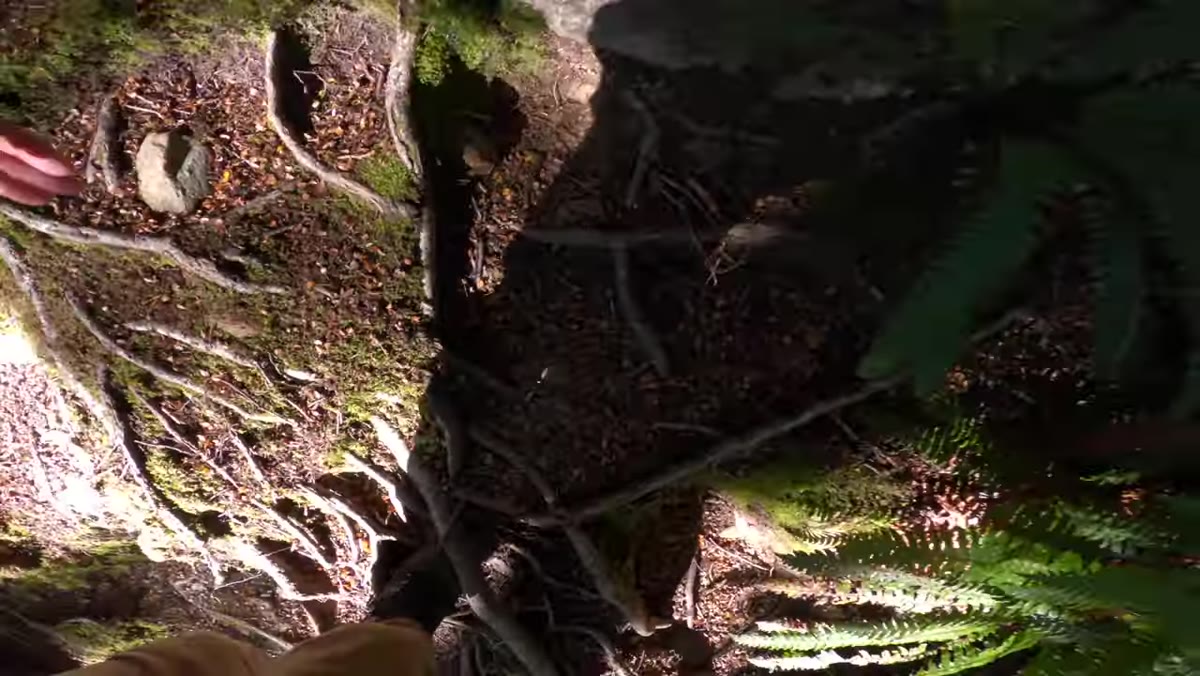 Hiker ascending steep mountain trail toward glacier
Getting to the location is part of the creative decision. Patino doesn’t gloss over the slog, and neither should you. The hike in this video covers steep vertical gain with full overnight gear. That commitment matters photographically because glacier cave systems are unstable and short-lived. If you’re planning any shoot in a time-sensitive natural environment, whether that’s a glacier, a wildflower bloom, or a specific tidal window, build in a buffer. Arrive early. Accept that conditions may be completely different from any reference photo you’ve seen.
Hiker ascending steep mountain trail toward glacier
Getting to the location is part of the creative decision. Patino doesn’t gloss over the slog, and neither should you. The hike in this video covers steep vertical gain with full overnight gear. That commitment matters photographically because glacier cave systems are unstable and short-lived. If you’re planning any shoot in a time-sensitive natural environment, whether that’s a glacier, a wildflower bloom, or a specific tidal window, build in a buffer. Arrive early. Accept that conditions may be completely different from any reference photo you’ve seen.
Practically speaking, this means researching your location beyond aesthetics. Understand access routes, permit requirements, seasonal windows, and safety conditions. For glacier or ice work specifically, check recent trip reports from local alpine clubs or guiding companies. These environments change week to week.
Step 2: Use the Overnight Stay to Shoot First Light
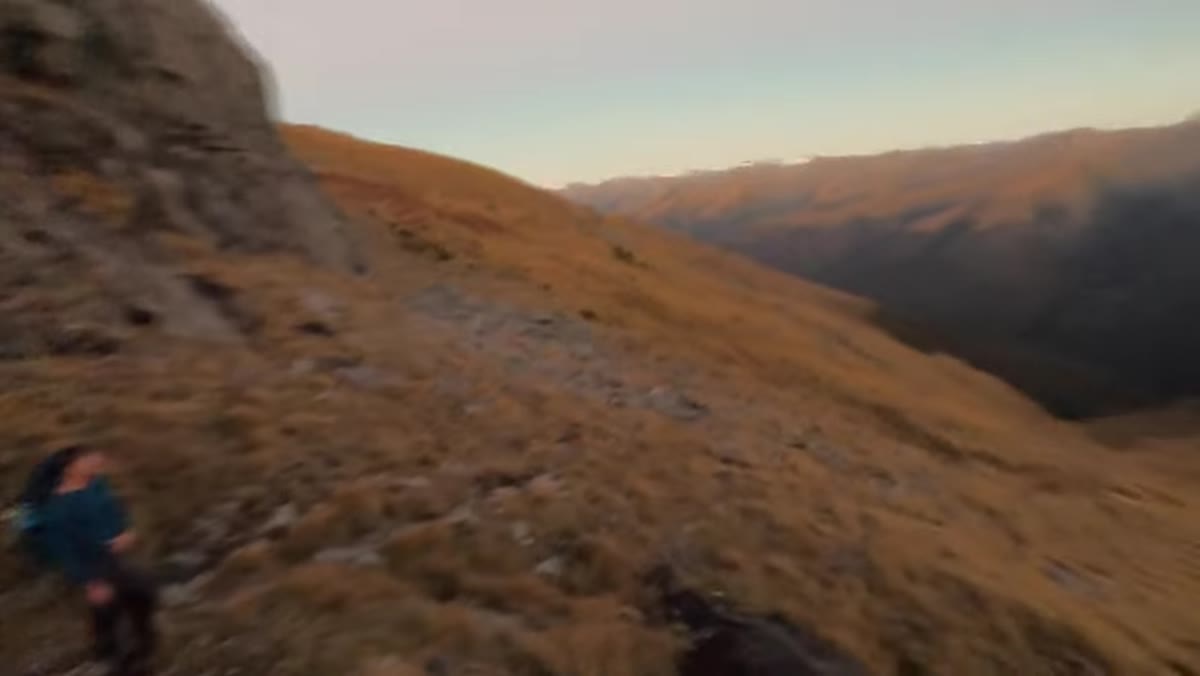 Dawn light spreading across mountain peaks and landscape
Patino and his group camped at altitude and were up early enough to catch first light from a nearby peak before continuing to the glacier. This is a classic move and it works because golden hour at elevation hits differently. The light scatters across contoured terrain in a way that flat midday light completely erases.
Dawn light spreading across mountain peaks and landscape
Patino and his group camped at altitude and were up early enough to catch first light from a nearby peak before continuing to the glacier. This is a classic move and it works because golden hour at elevation hits differently. The light scatters across contoured terrain in a way that flat midday light completely erases.
If you’re planning a multi-day location shoot, resist the temptation to sleep in and “save energy” for the main event. The light in those first 20 to 30 minutes after sunrise is often the most useful light of the entire trip. Set two alarms. It sounds obvious, but I’ve watched people skip this step and then spend the rest of the trip trying to recreate a mood the light simply stopped offering.
Step 3: Assess the Location Before You Lift Your Camera
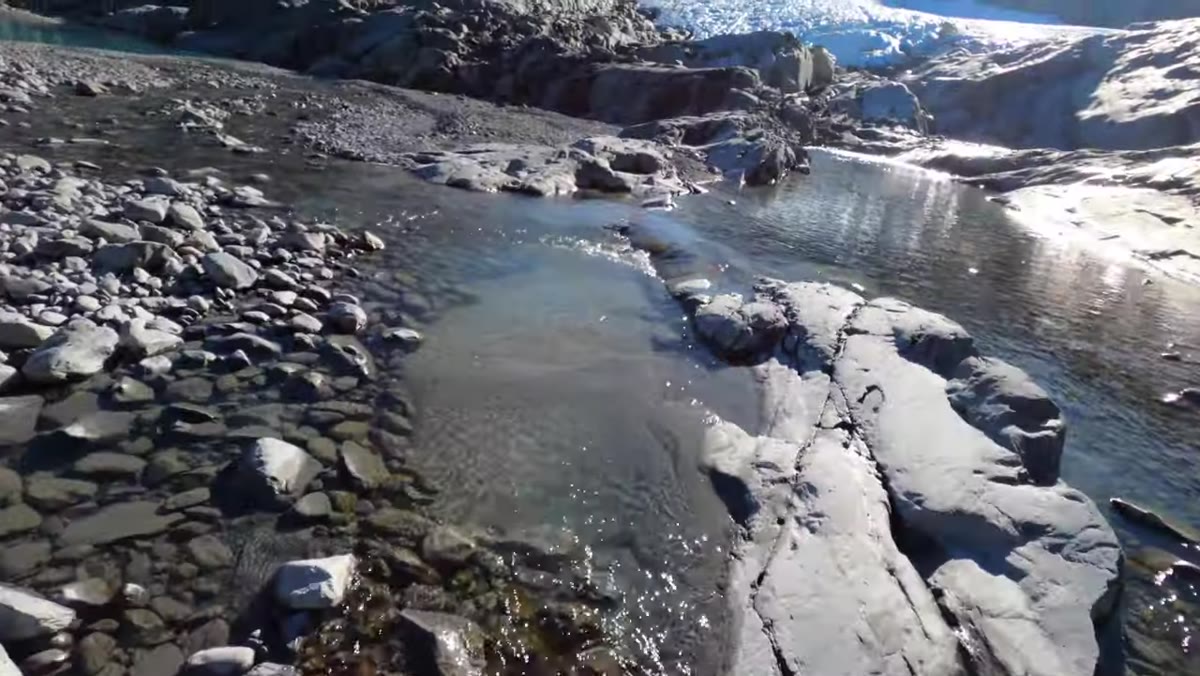 Terminal face of glacier visible after crossing rocky terrain
When Patino finally reaches the glacier’s terminal face, there’s a palpable shift in his energy. He describes feeling anxious to see what the cave systems looked like, knowing they could have collapsed since anyone last photographed them. That anticipation is actually a useful photographic state. It keeps your eyes open.
Terminal face of glacier visible after crossing rocky terrain
When Patino finally reaches the glacier’s terminal face, there’s a palpable shift in his energy. He describes feeling anxious to see what the cave systems looked like, knowing they could have collapsed since anyone last photographed them. That anticipation is actually a useful photographic state. It keeps your eyes open.
Before shooting, walk the accessible area first. Look for the relationships between elements: where light is entering, where water is moving, which surfaces have texture and depth versus flat uniformity. This reconnaissance phase, even five or ten minutes of just observing, will shape every compositional decision that follows. You’ll stop photographing the first thing that catches your eye and start photographing what’s actually most interesting.
Step 4: Anchor Your Composition Around Light and One Other Element
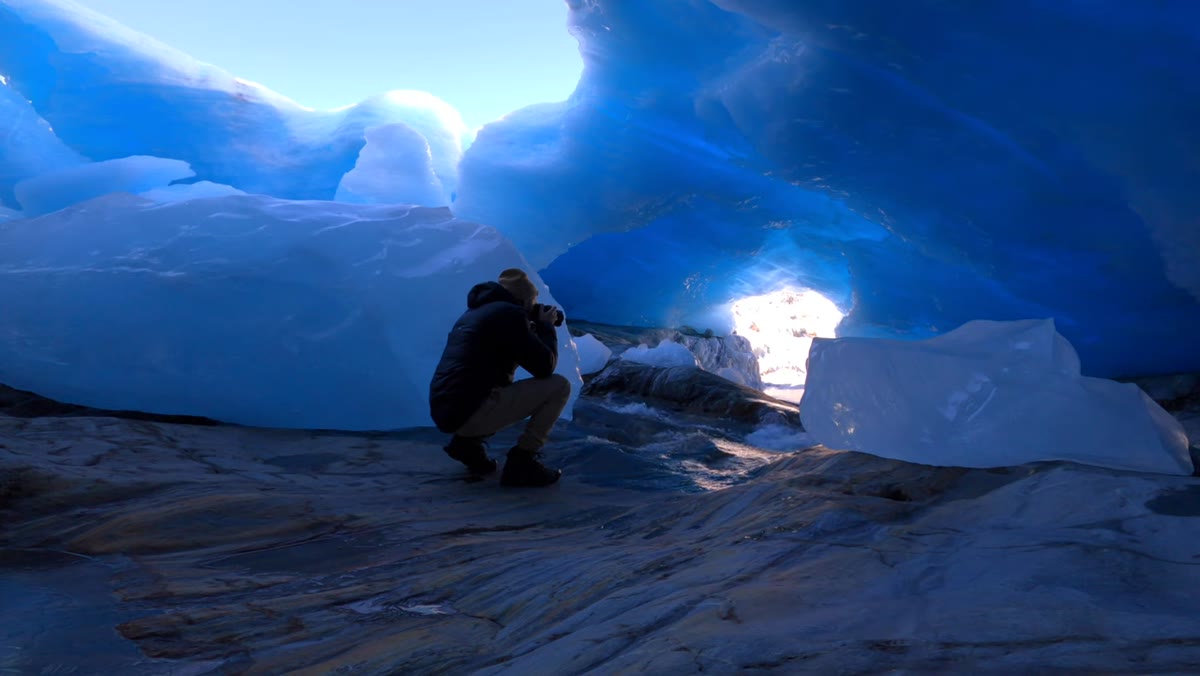 Water flowing inside ice cave with blue light filtering through
Patino is direct about what made the most memorable images from inside the caves: the combination of water and light. Not the ice alone. Not the cave’s scale. The interaction between two specific elements working together. This is a useful constraint to impose on yourself in any visually complex environment.
Water flowing inside ice cave with blue light filtering through
Patino is direct about what made the most memorable images from inside the caves: the combination of water and light. Not the ice alone. Not the cave’s scale. The interaction between two specific elements working together. This is a useful constraint to impose on yourself in any visually complex environment.
When you’re overwhelmed by a location, pick two elements and build your composition around their relationship. Light and texture. Color and movement. Foreground detail and background scale. Having two anchors gives your frame a reason to exist beyond “this place looks cool.” In the caves, the way blue light filtered through ice and reflected off moving water created images with genuine visual tension. Look for that kind of pairing wherever you’re shooting.
Step 5: Let the Blues Work - Don’t Correct Them Out
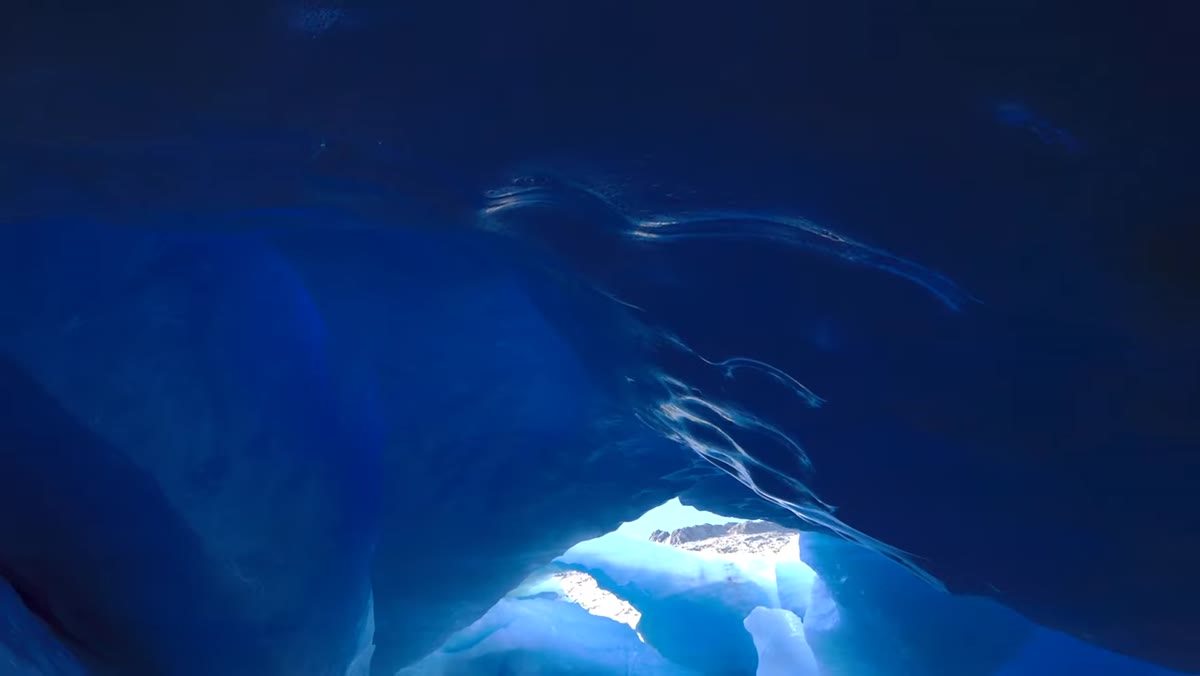 Deep blue tones in ice textures and cave walls
Patino notes how many distinct shades of blue were revealed inside the caves, describing it as a range of tones across textures and contours. Ice and snow in natural light read blue, especially in open shade or overcast conditions, and a lot of newer photographers instinctively warm up those tones in post because they look “cold.” Resist that.
Deep blue tones in ice textures and cave walls
Patino notes how many distinct shades of blue were revealed inside the caves, describing it as a range of tones across textures and contours. Ice and snow in natural light read blue, especially in open shade or overcast conditions, and a lot of newer photographers instinctively warm up those tones in post because they look “cold.” Resist that.
In cave or glacier environments, the cool color palette is accurate and atmospheric. If anything, you can deepen those blues slightly in the HSL panel of Lightroom by pulling down the luminance on the blue channel. Avoid over-saturating, which creates a fake, painted look. The goal is to preserve what the light was actually doing, not to make it look like a screensaver.
Step 6: Photograph the Details, Not Just the Scale
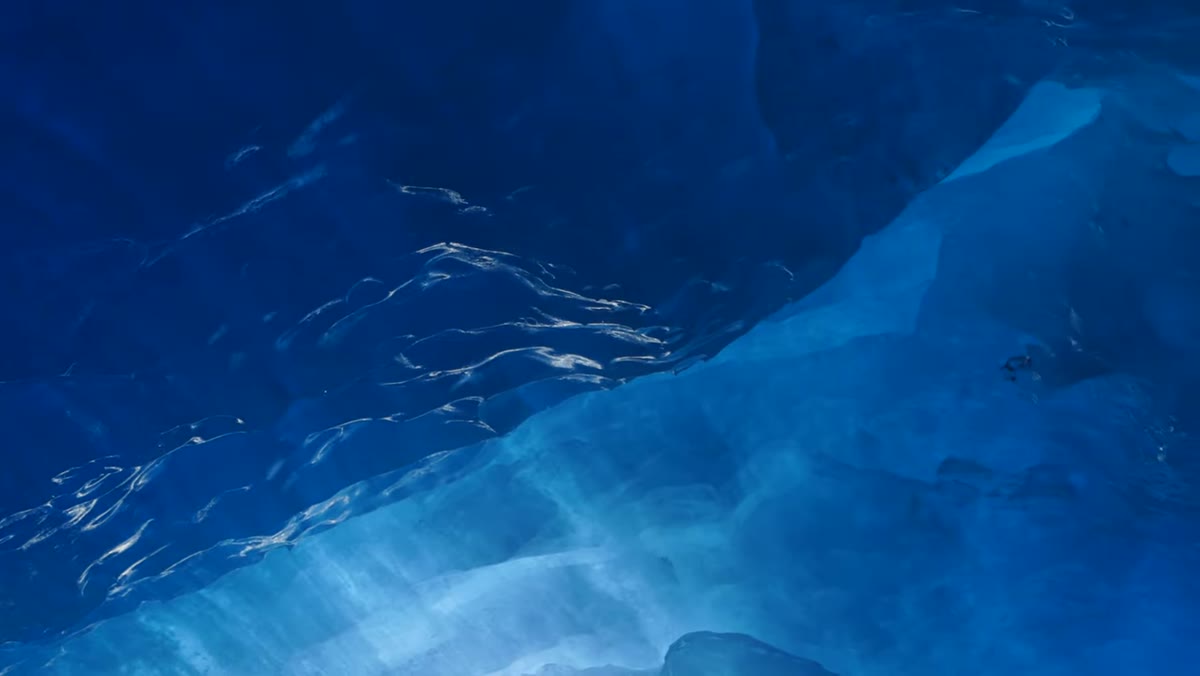 Close-up of ice surface texture showing contours and translucency
Wide establishing shots of a glacier or ice cave are visually impressive, but they often don’t tell you anything specific. Patino describes being drawn repeatedly to the textures and contours of the ice itself. The close detail shots, the compressed angles, the small sections of surface or refracted light, are what give a series of images its depth.
Close-up of ice surface texture showing contours and translucency
Wide establishing shots of a glacier or ice cave are visually impressive, but they often don’t tell you anything specific. Patino describes being drawn repeatedly to the textures and contours of the ice itself. The close detail shots, the compressed angles, the small sections of surface or refracted light, are what give a series of images its depth.
Shoot wide for context and then move in close. Really close. Look for the veins in the ice, the air bubbles trapped in layers, the way light changes color as it passes through varying thickness. These images hold up over time in a way that pure landscape shots often don’t, because they ask the viewer to look rather than just register.
What I’d Add from My Own Experience
If you’re shooting in a cave environment for the first time, exposure is going to fight you. Your camera’s metering will try to correct for the darkness and blow out any bright openings where light is entering. Switch to spot metering and meter off the brightest light source in the frame, usually the cave mouth or a patch of ice catching direct light. Then use exposure compensation to bring up the shadows in post. It’s much easier to recover dark ice detail than to rescue blown highlights in a bright ice wall.
Also: bring more batteries than you think you need. Cold temperatures drain battery life fast. I keep one inside my jacket at all times on cold-weather shoots so at least one charge stays warm.
The single most important thing this tutorial reinforced for me is that the quality of your images in an extraordinary location comes down to clarity of vision, knowing what you’re responding to and why before you press the shutter. The glacier provides the drama. You have to bring the intention.
Watch the full tutorial on YouTube and pay close attention to how Patino talks about what draws his eye. That running commentary is the real lesson.
Comments (6)
I've been looking for exactly this kind of tutorial. Perfect timing.
My workflow just got 10x faster. Not even kidding.
This is fantastic. I've been recommending this approach to my readers too.
This is going in my reference folder. Incredibly useful.
This is going in my reference folder. Incredibly useful.
Excellent tutorial. I'd add that from a color grading standpoint, this technique is incredibly versatile.
Leave a Comment